Explore All
BROWSE BY CATEGORY
Interior
Exterior
Home Essentials
Homeowner Tools
Blogs & Guides
Find a Pro
Book Your Appointment Now
Home Essentials
About Renovize Home
Explore All
BROWSE BY CATEGORY
Interior
Exterior
Home Essentials
Homeowner Tools
Blogs & Guides
Find a Pro
Book Your Appointment Now
Home Essentials
About Renovize Home
Last Updated 2025-12-05
Replacing window hardware is one of the simplest ways to improve how your windows open, close, and lock. Over time, handles, cranks, latches, hinges, and balance systems wear out, causing stiff movement, loose frames, rattling, drafts, and weak security. Installing new hardware restores smooth operation, strengthens the window’s support, and ensures the locks engage properly for better safety and energy performance.
Whether your window sticks halfway, feels shaky, refuses to lock, or won’t stay open, updating the hardware brings it back to safe, reliable working condition without needing a full window replacement.
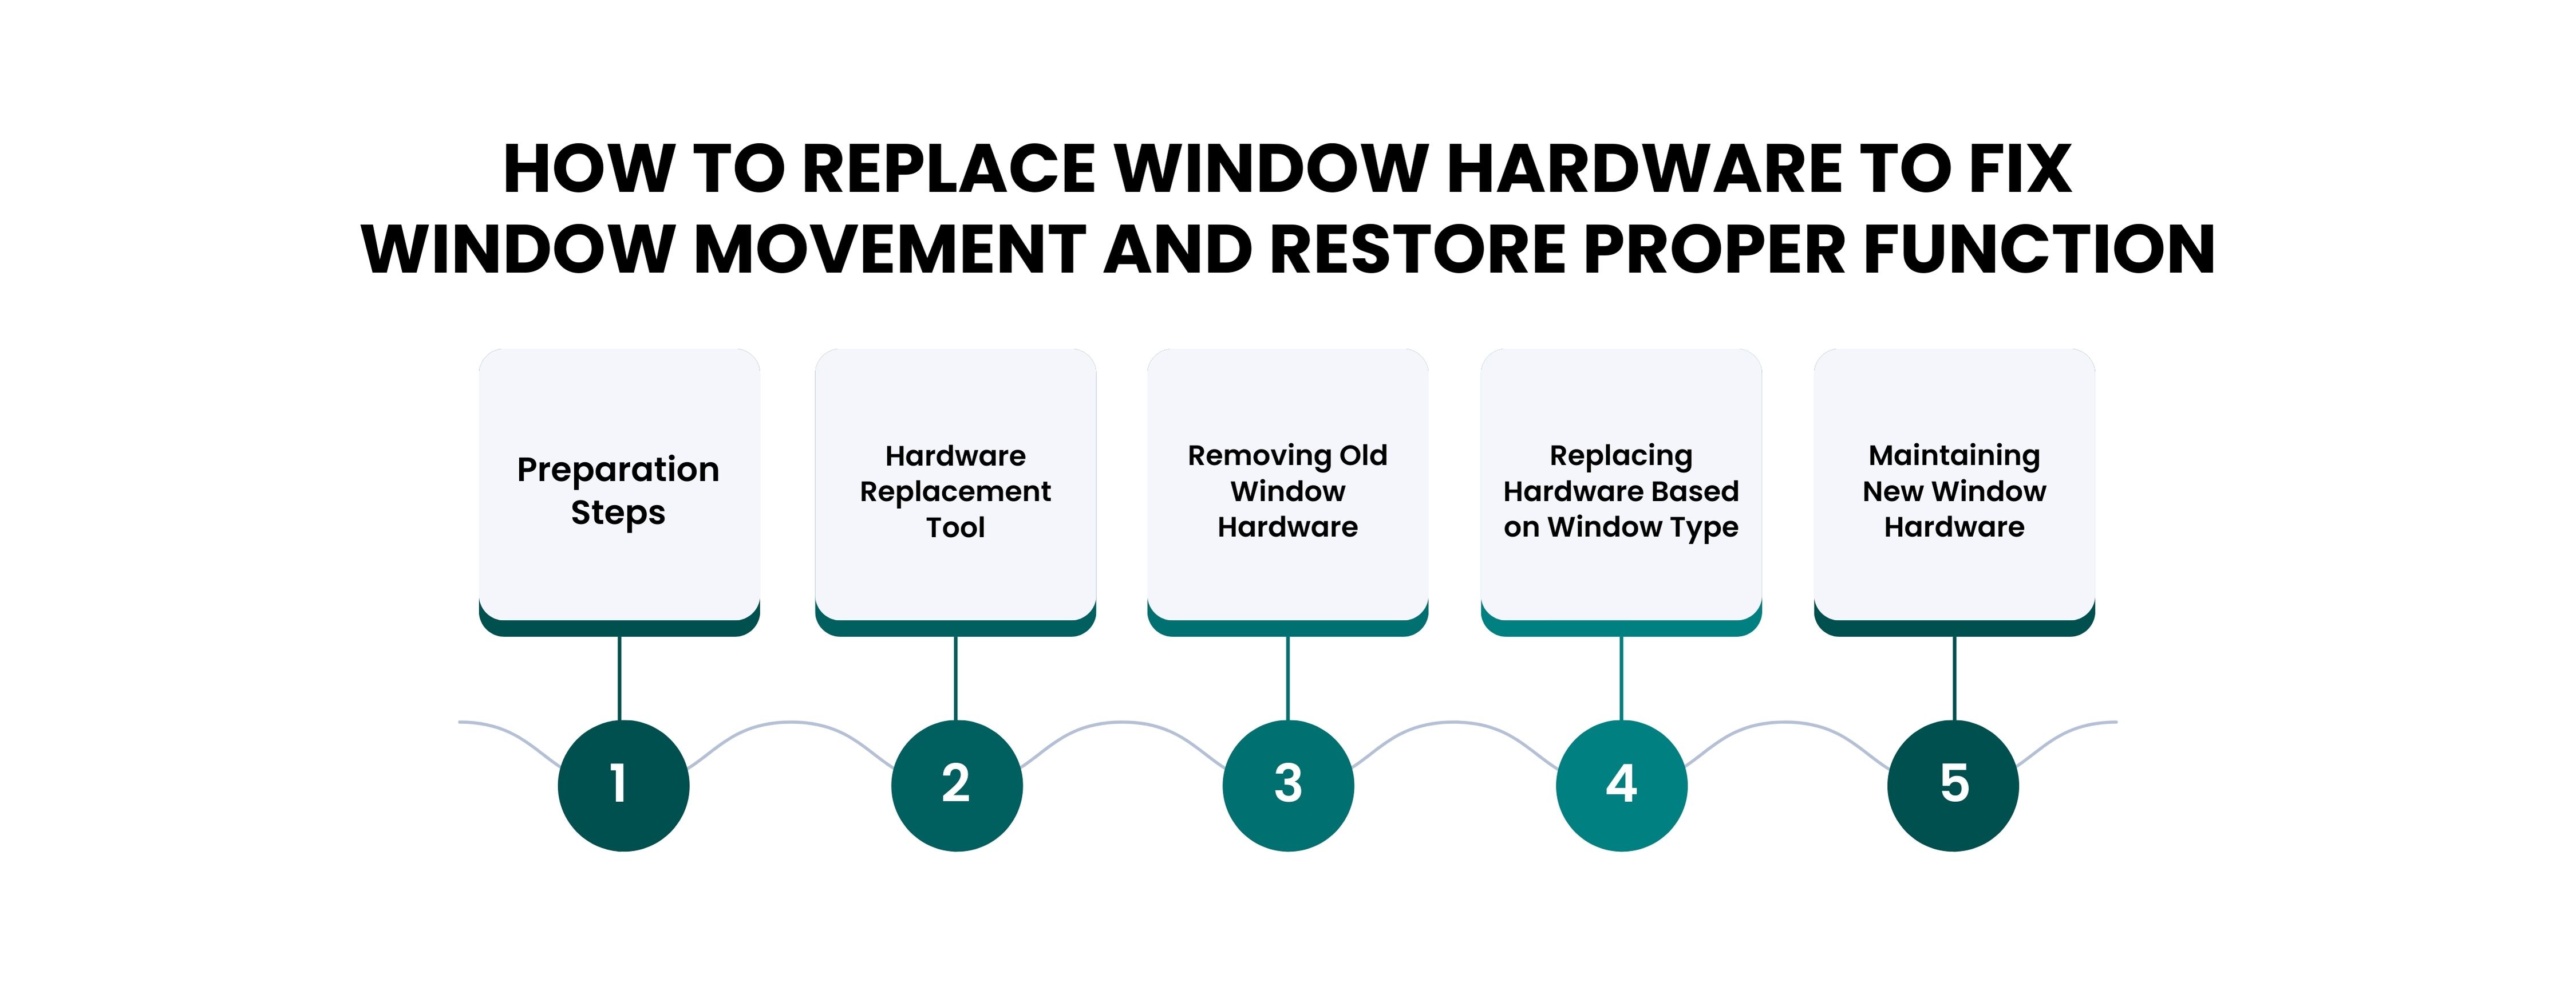
Table of Contents
Preparing the Window Before Hardware Replacement
Tools Needed to Replace Window Hardware
Removing Old and Damaged Window Hardware
Matching the Correct Replacement Hardware
Installing New Window Hardware Correctly
Replacing Hardware Based on Window Type
Calibrating New Hardware After Installation
Cost of Replacing Different Window Hardware Types
Maintaining New Window Hardware for Long-Term Performance
Final Takeways
Before installing new window hardware, the window must be stable, clean, and fully accessible. This ensures the new parts fit correctly, move smoothly, and align with the sash and frame. Preparing the window properly prevents future problems like sticking, misalignment, or premature hardware wear. A well-prepared window also makes installation safer and more precise.
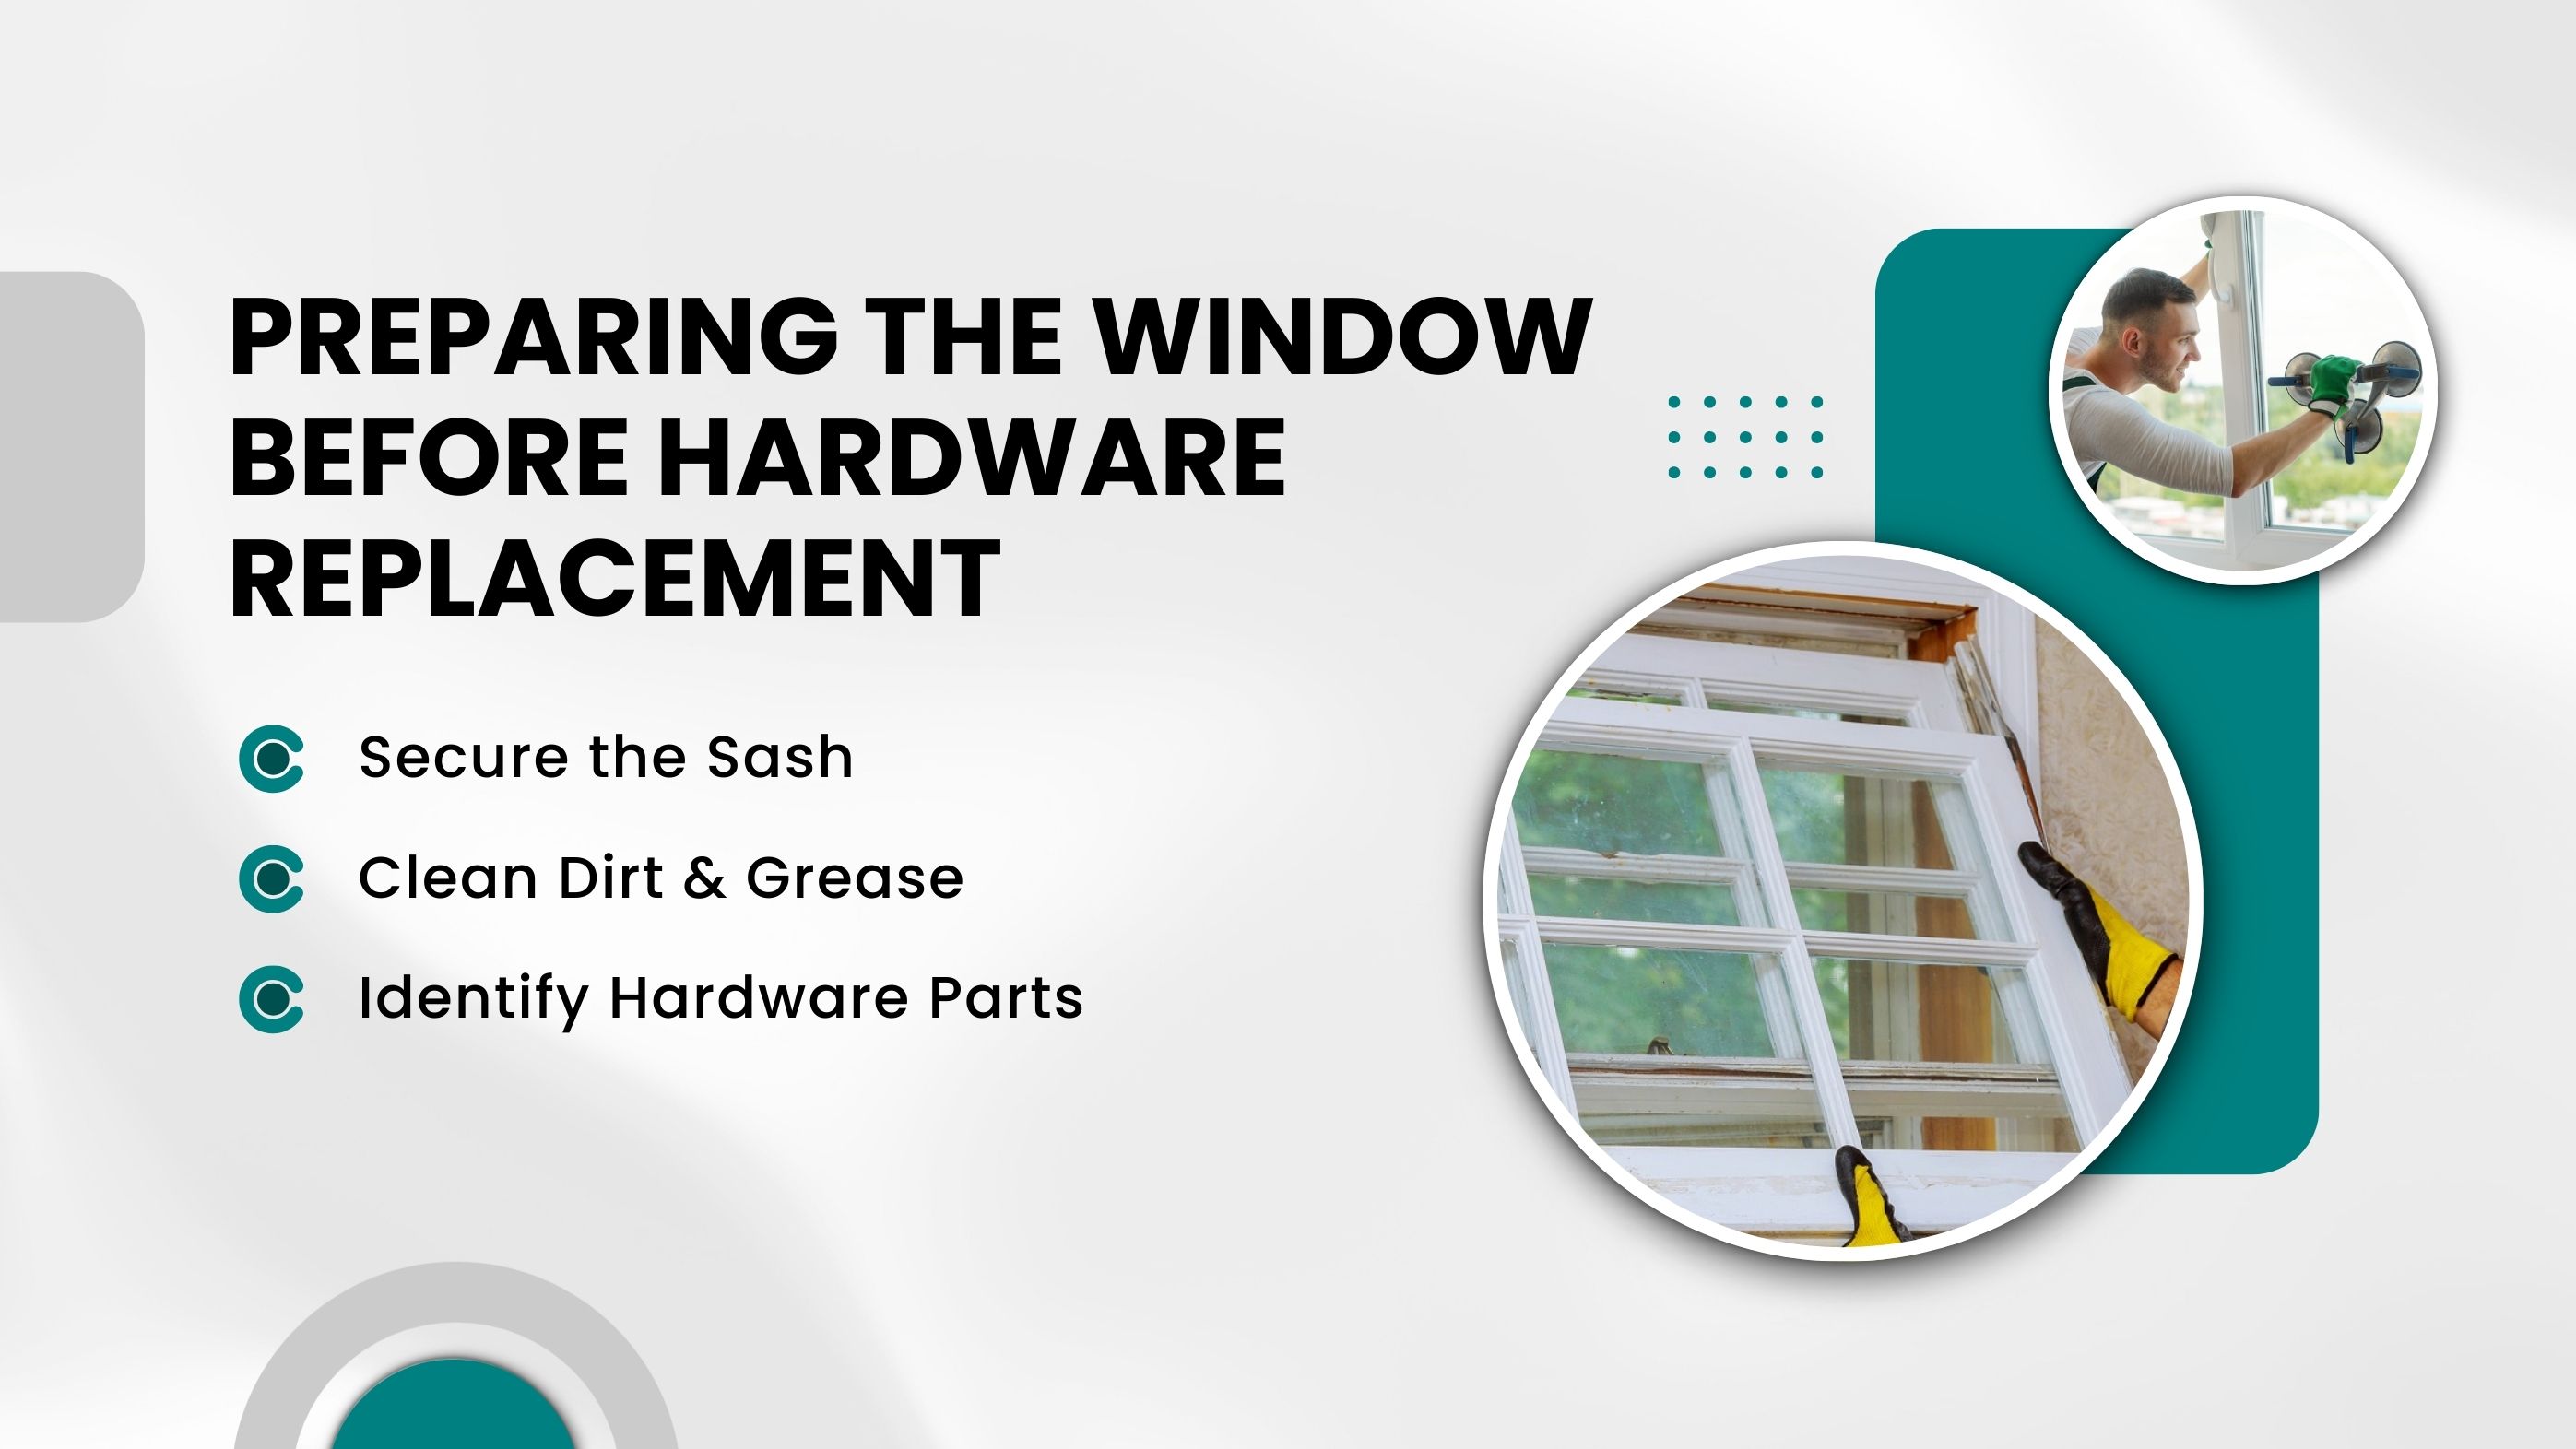
The sash must be held firmly in place so it doesn’t move while you’re removing or installing hardware. This prevents accidental shifting that can scratch the frame or throw off alignment. Depending on the window type, you may need to support it from below, lock it partially open, or use wedges to hold it steady. A secure sash makes the entire repair process easier and safer.
Over time, dust, old grease, and debris collect around hinges, tracks, and screw areas. Before replacing hardware, these surfaces must be wiped clean so screw heads and mounting holes are fully exposed. Cleaning also helps the new hardware operate smoothly without interference. A simple cloth, mild cleaner, or degreaser is usually enough to remove buildup.
Each window uses different components, such as locks, cranks, tilt latches, hinges, balances, and operator arms. Before removing anything, identify each piece and note how it attaches to the frame. This prevents confusion during reinstallation and ensures you install the correct replacement parts. Taking a quick photo can help you remember the original hardware layout.
Using the right tools prevents damage to the frame, reduces installation time, and ensures screws, brackets, and moving parts fit exactly as they should. Having everything ready before you begin makes the hardware replacement process smooth and mistake-free.
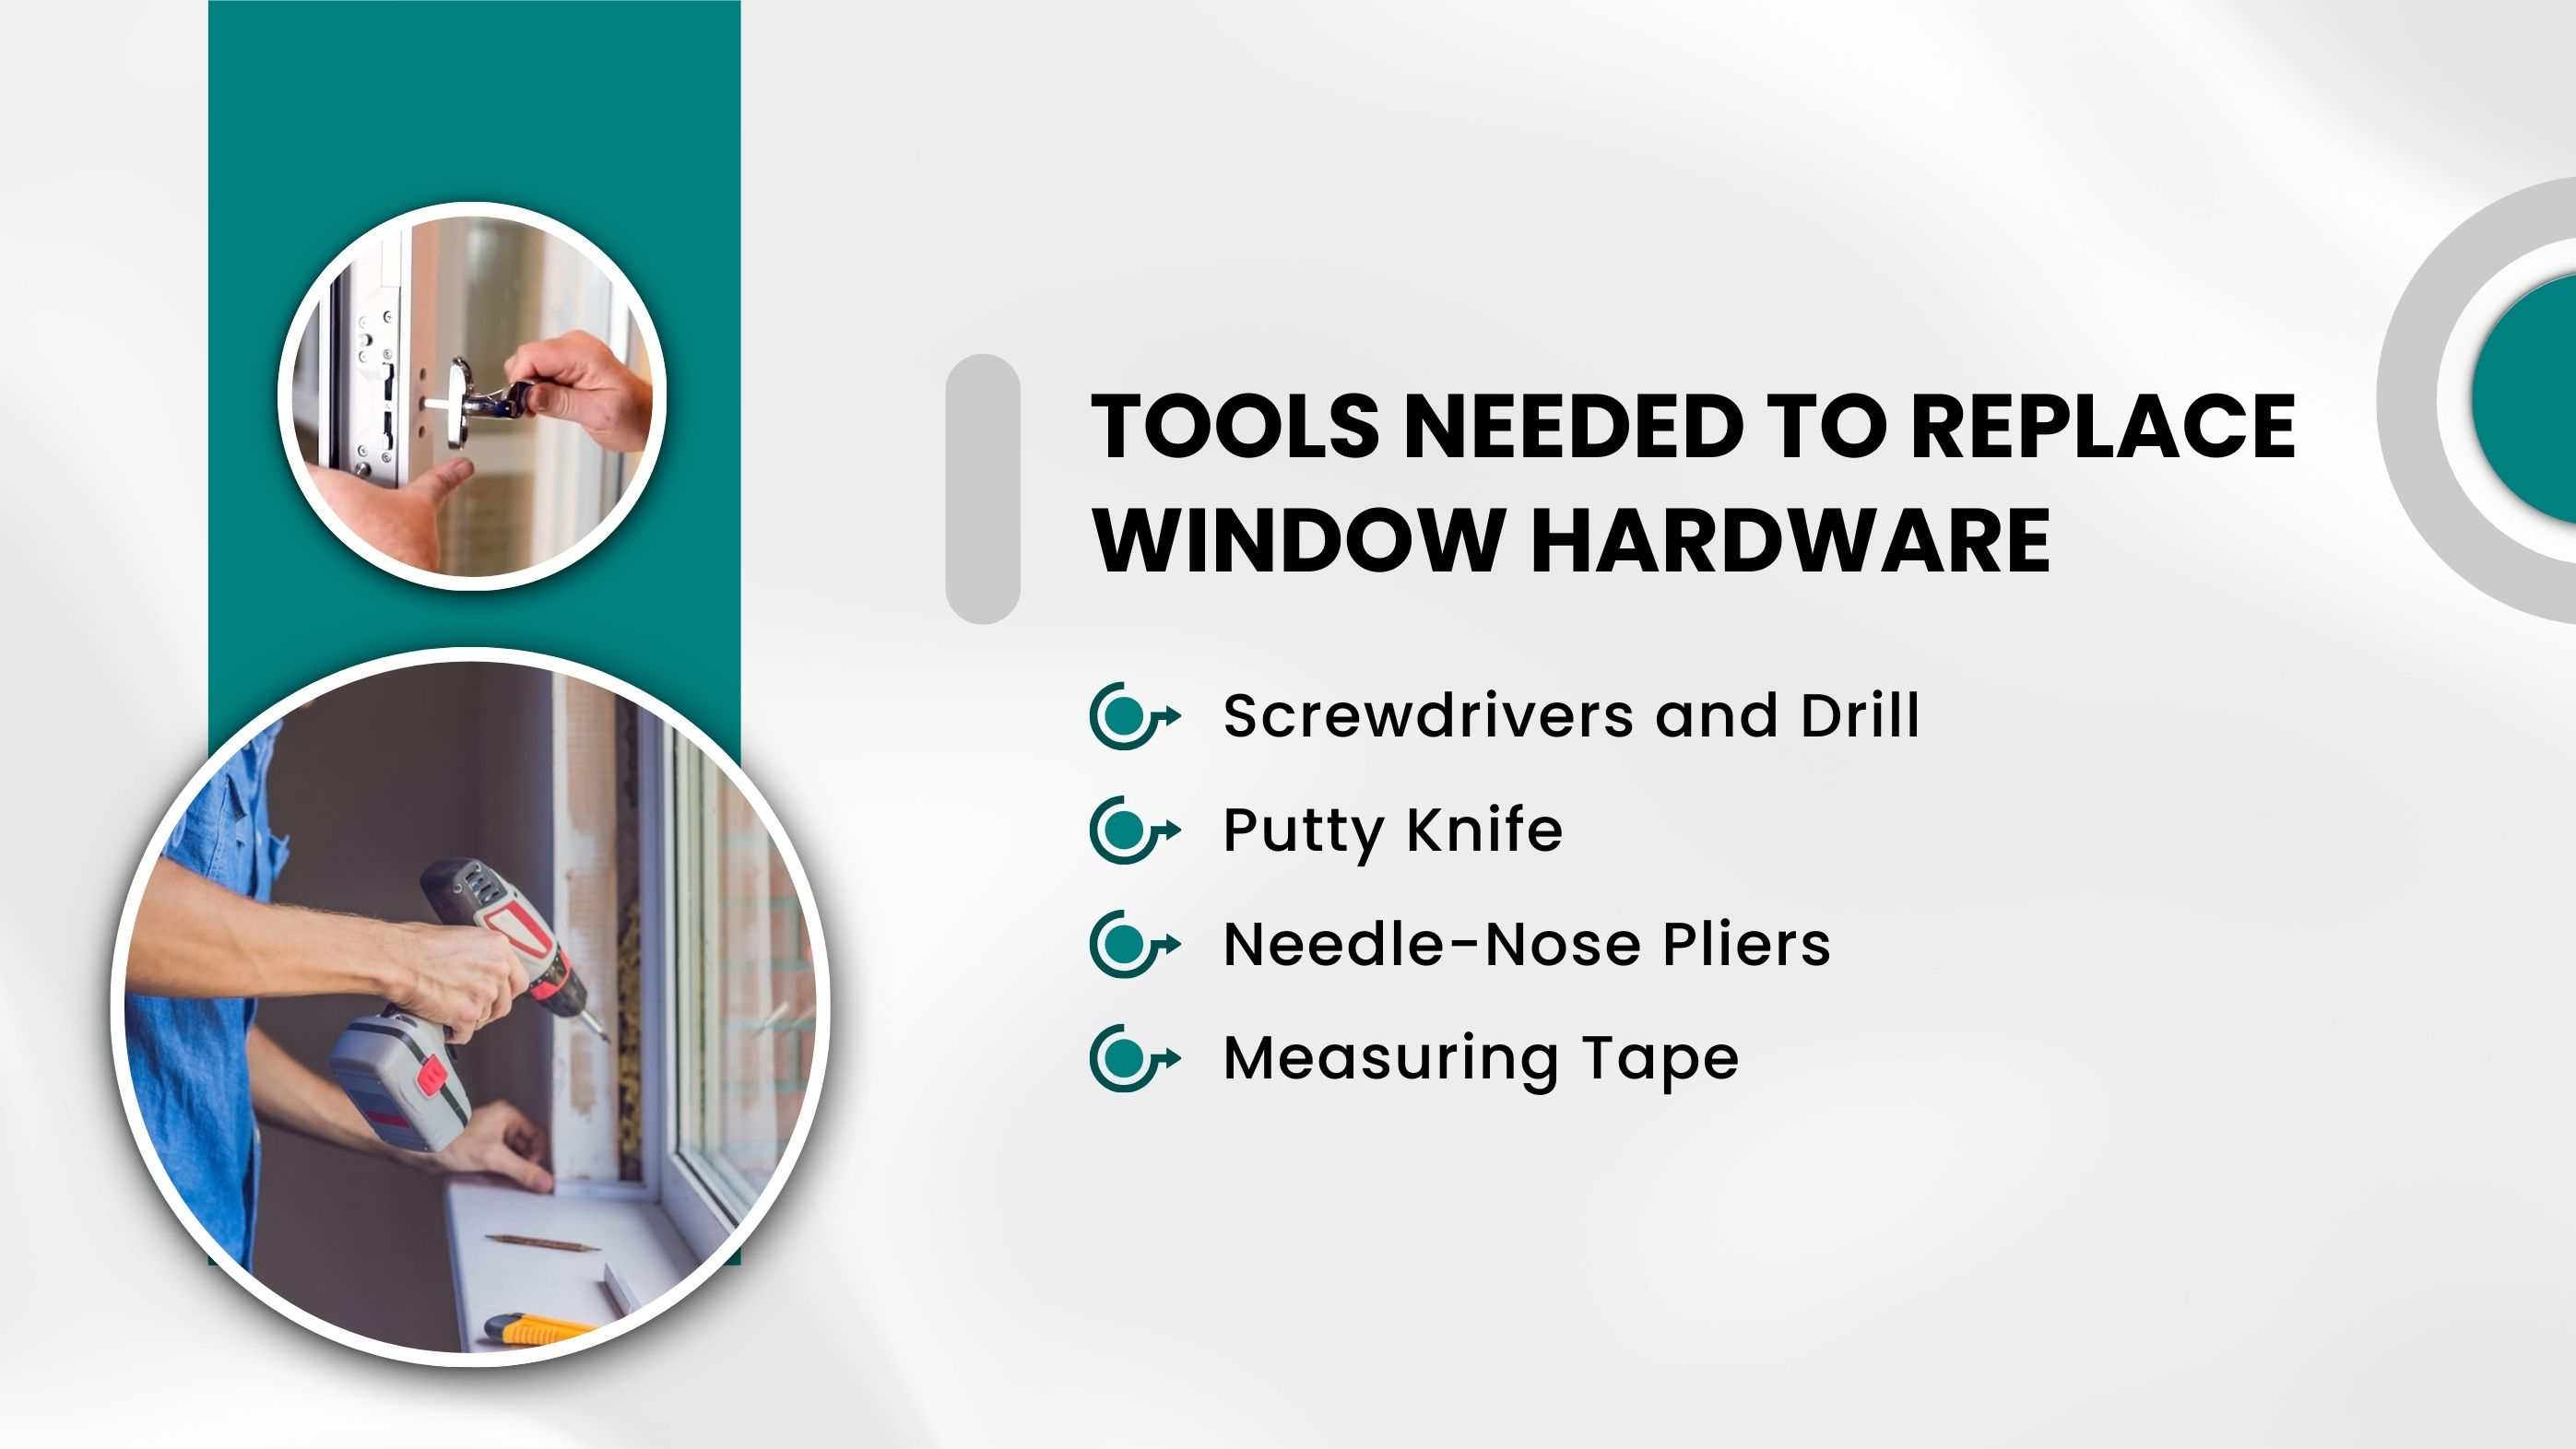
Screwdrivers or a power drill are used to remove old screws holding locks, cranks, and hinges in place. A drill can speed up the process, but using the correct bit is important to avoid stripping screw heads. For delicate or older windows, a manual screwdriver may be safer to prevent over-tightening.
A thin pry tool or putty knife helps gently lift old hardware away from the frame without scratching the paint. Some hardware pieces may be stuck due to old caulk, dried paint, or rust. A flexible putty knife allows you to loosen the edges cleanly without damaging the sash.
Needle-nose pliers make it easy to grip small moving parts like springs, pivot bars, and operator arms. They are especially useful when removing or adjusting balance mechanisms inside double-hung windows. Their narrow tip provides control and precision in tight spaces.
A measuring tape is essential for making sure the new hardware matches the spacing of the old parts. Measurements like screw spacing, arm length, and operator size must match exactly for proper function. Incorrect hardware measurements can result in misalignment or a window that doesn’t close tightly.
Removing old or worn window hardware must be done slowly and carefully so the frame, sash, and surrounding trim stay intact. When hardware is taken off the right way, the new components fit perfectly and operate smoothly without sticking or misalignment. These steps ensure the mounting area is clean, level, and fully prepared for installing new hardware.
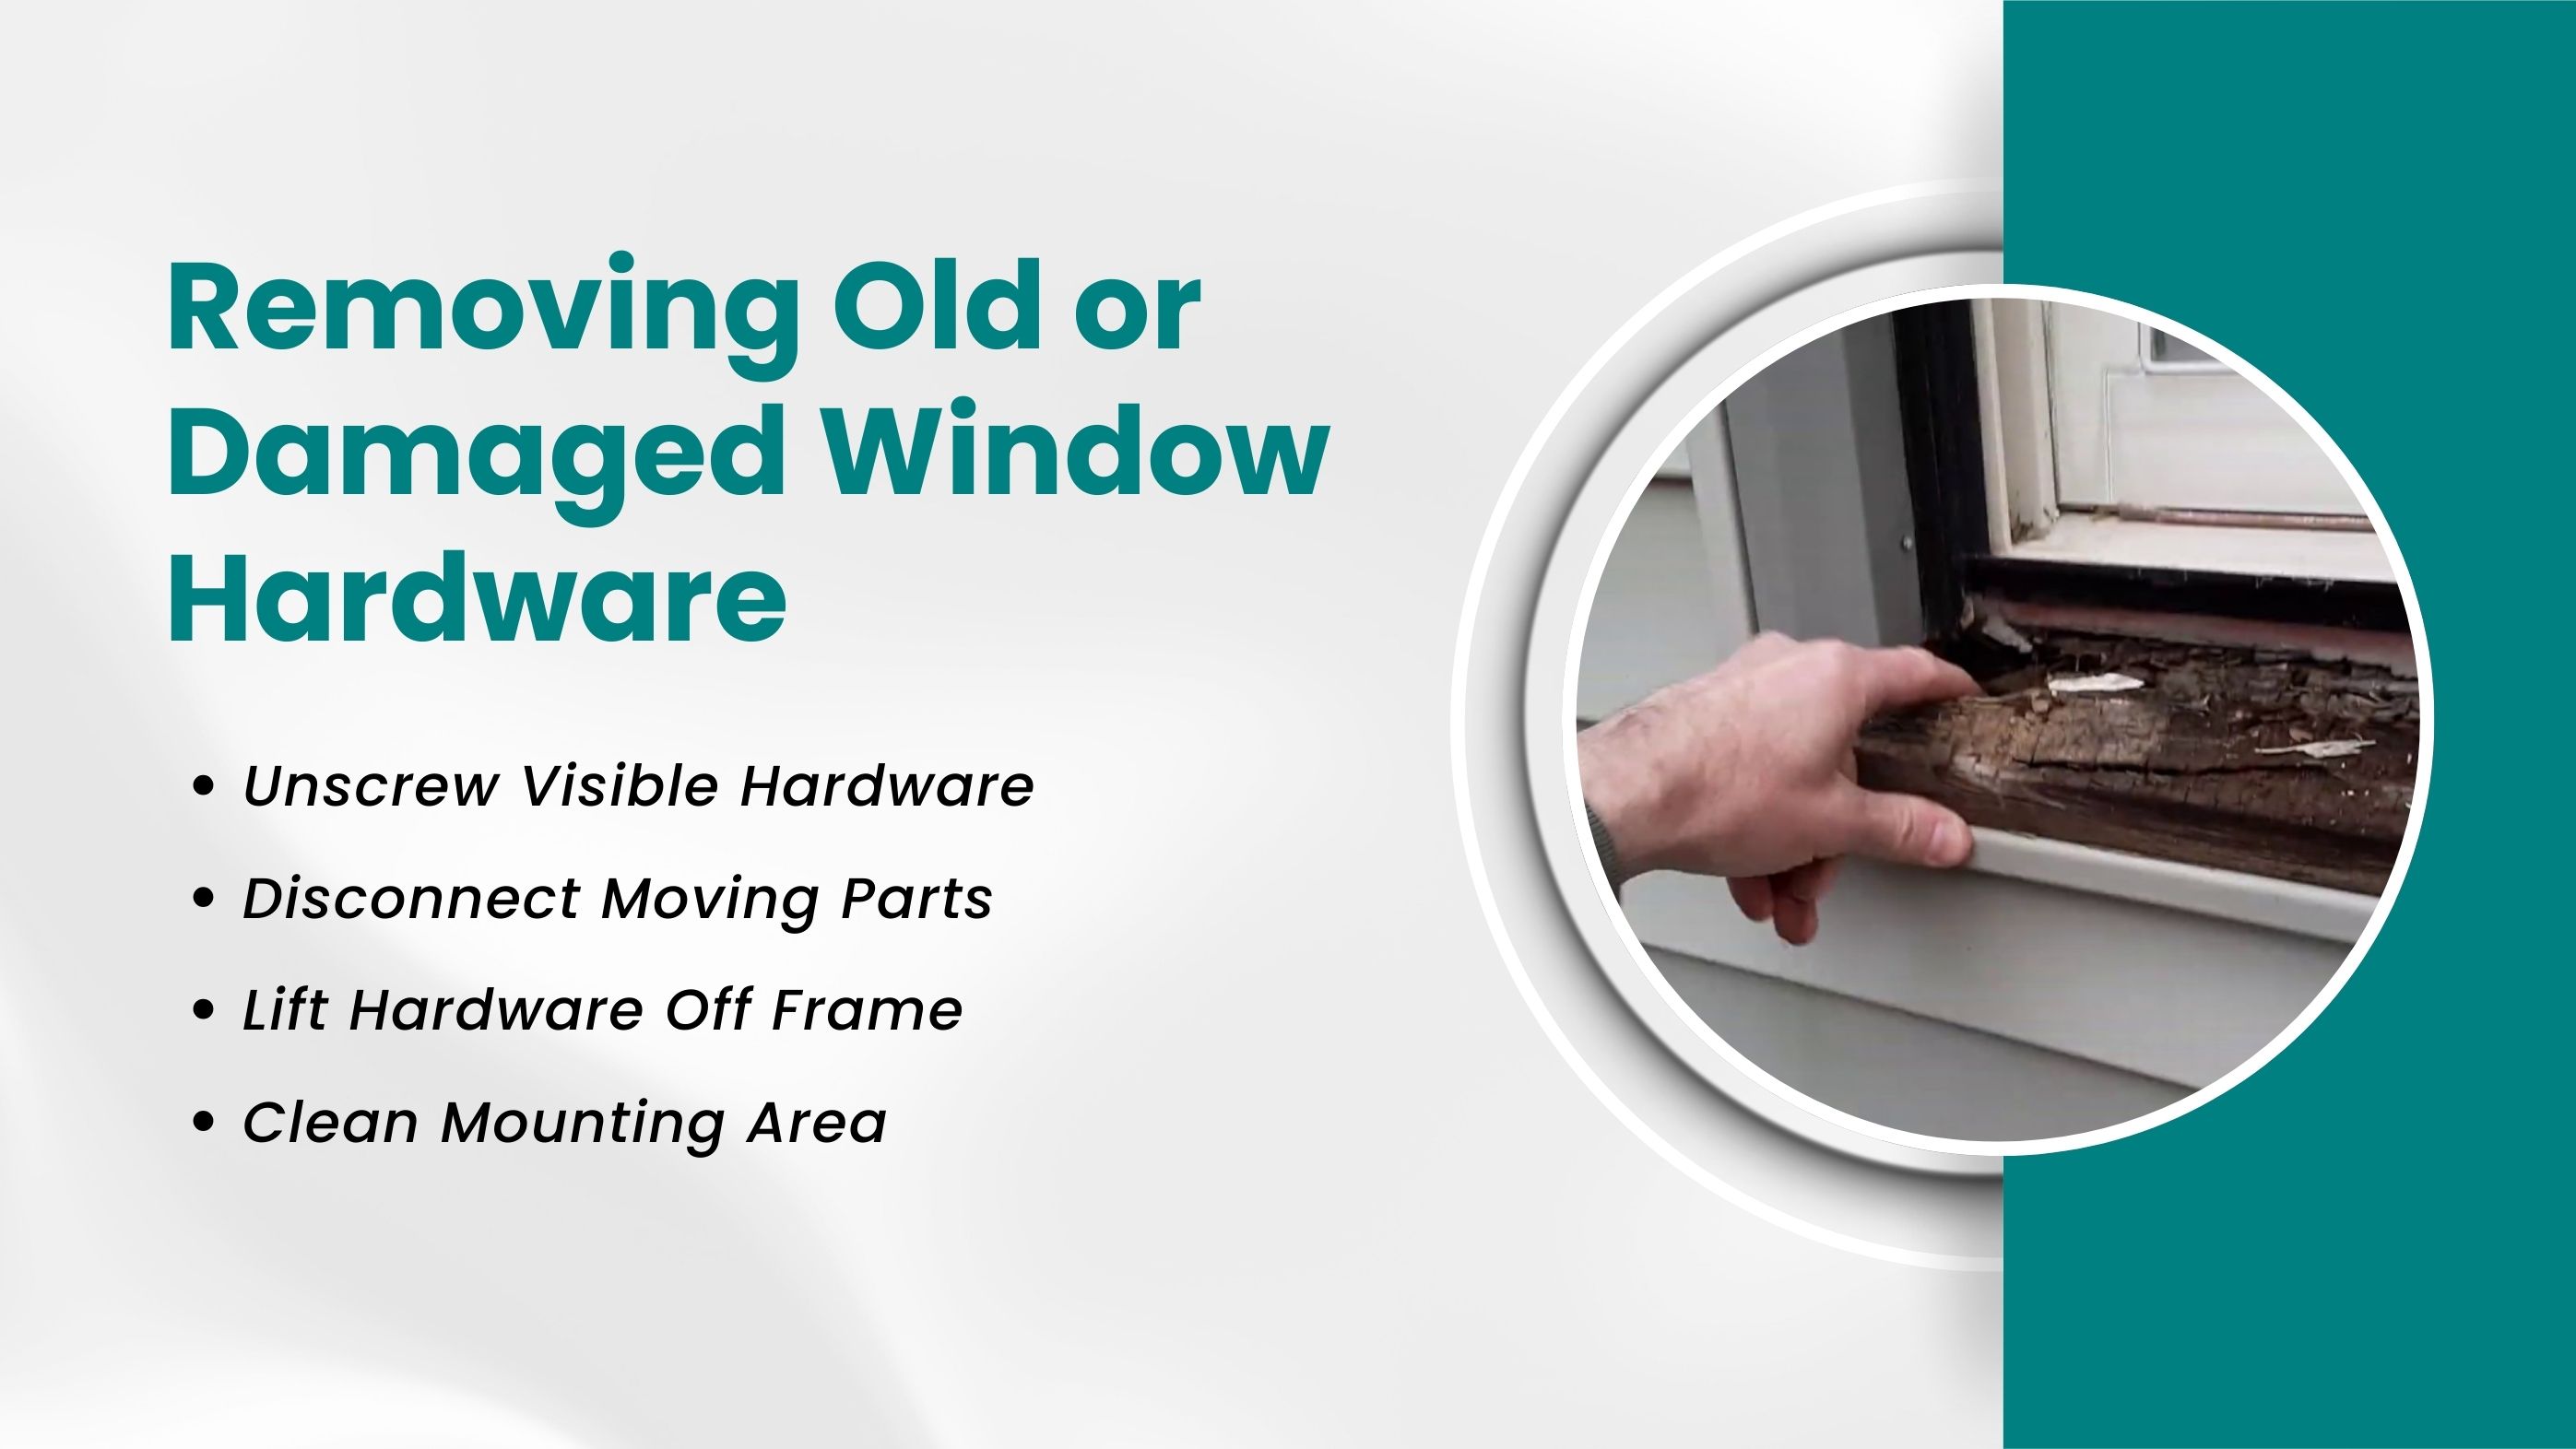
Begin by locating and removing all visible screws that secure the hardware to the window. This includes screws on locks, latches, operator handles, hinges, brackets, and support arms. Some screws may be worn, rusted, or covered with old paint, so work slowly to avoid stripping them.
Use a screwdriver that fits the screw head exactly, and apply steady pressure. Once removed, place the screws in a small container so they don’t get lost, you may need them later for comparison or measurement.
After removing the main screws, focus on the moving components such as operator arms, balance springs, tilt mechanisms, and pivot bars. These parts typically have tension or small connection points that must be released gently. Use needle-nose pliers or your fingers to wiggle the parts free without bending metal pieces.
Disconnecting these components correctly prevents damage to the sash and ensures the new hardware can attach smoothly. If any part feels stuck, do not force it, apply gentle pressure from different angles until it loosens safely.
Once all screws and moving parts are detached, carefully lift the hardware away from the frame. Use a putty knife, trim tool, or thin pry tool to slide under the edges and separate the hardware without scratching the sash.
Old windows often have layers of dried paint, caulk, or rust holding the hardware in place, so work slowly and lift evenly to avoid chipping wood or damaging vinyl surfaces. Removing the hardware cleanly ensures the frame stays smooth and ready for accurate installation of new components.
With the hardware removed, clean the exposed mounting area thoroughly. Wipe away dirt, rust flakes, dried lubricant, paint chips, and any fragments left behind from old hardware. If needed, lightly sand the surface to remove rough spots or corrosion.
A clean, level mounting surface is essential, new hardware will only sit flush and operate smoothly if the area is completely free of buildup. Proper cleaning also helps the screws grip tightly and ensures the window mechanism performs like new once installed.
Choosing the correct replacement hardware is one of the most important steps in the repair process. Window hardware must match the original design, hole spacing, movement type, and operating mechanism. Using the wrong part can cause misalignment, sticking, difficulty locking, or complete failure of the window system. Proper matching ensures smooth operation and long-term reliability.
Every hardware piece has a specific screw-hole pattern, and even a small difference can prevent proper installation. Measuring the distance between screw mounts ensures the new hardware fits exactly where the old one was. If the spacing is off by even a few millimeters, the hardware may sit crooked or create stress on the sash. Always measure before purchasing replacement parts.
Casement and awning windows often use directional hardware. A left-hand operator will not work on a right-swinging sash, and vice versa. Identifying the correct orientation prevents installation errors and ensures the window opens smoothly in the correct direction. Always check the sash swing before choosing the replacement.
Different windows use different operator arm systems, including single-arm, dual-arm, and gear-driven mechanisms. The replacement arm must match the original design or it won't connect properly to the sash. Matching the correct arm ensures the window opens fully, closes tightly, and seals properly when locked.
Double-hung windows rely on balance systems rated for specific sash weights. Too weak, and the window will drop; too strong, and it will be hard to close. Choosing the correct balance strength based on the sash weight ensures proper vertical movement and prevents future strain on the frame or hardware.
Proper installation is critical for strong locking, smooth operation, and long-lasting performance. Each hardware piece must be aligned precisely and attached with the right tension to prevent premature wear or mechanical issues.
The new hardware must be positioned in the exact location of the original piece. Misalignment by even a few millimeters can cause sticking, binding, or air leaks. Professionals often mark the original outline or use existing holes to ensure perfect placement.
Over-tightening screws can warp metal brackets, stress the sash, or crack vinyl and wood frames. Screws should be snug but not forced. Proper tension ensures the hardware moves correctly without damaging the window.
Next, the operator arms, pivot bars, springs, or tilt-latch components are connected. These moving parts must be aligned precisely to allow smooth motion. A secure connection ensures the window opens evenly and locks without resistance.
Before tightening all screws completely, open and close the sash several times. This allows you to check for friction, misalignment, or stiffness. Adjustments can be made while the hardware is still loose, ensuring the final installation is smooth and accurate.
Different window styles require different hardware systems, and each one follows its own installation pattern. Understanding these differences ensures the correct parts are installed, and the window operates safely and efficiently.

Casement windows use a crank operator connected to an arm and hinge system. The process includes attaching the new operator to the frame, connecting the arm to the sash, securing the crank handle, and aligning the side hinges. Proper alignment ensures full opening and tight sealing when closed.
Awning windows open from the bottom, so the hinges are mounted along the top edge. Repairs involve replacing these top-mounted hinges, connecting the operator arm, and adjusting the tension so the window opens smoothly and stays secure. Correct alignment prevents sagging and uneven closing.
Double-hung windows rely on balance springs and tilt latches. Replacing hardware involves removing the old balances, installing new springs rated for the sash weight, attaching new tilt latches, and reseating the sash into the track. Proper balance ensures the sash stays open without falling.
Sliding windows use latch housings and keepers to secure the sash. Installation includes mounting the latch, aligning the keeper on the opposite sash, and adjusting slide resistance. Proper alignment ensures the window locks securely and glides smoothly.
Jalousie windows use a gear-driven mechanism that opens multiple glass slats at once. Replacement involves installing a new gear operator, aligning the clips that hold each slat, and securing the crank. This ensures even movement and a tight seal when closed.
Avoiding common hardware-replacement mistakes protects the window frame, extends hardware lifespan, and ensures smooth performance. Small errors during installation often lead to long-term problems like drafts, misalignment, and premature wear.
Different hardware pieces are rarely compatible, even if they appear similar. Mixing old arms, latches, or balances with new ones causes uneven pressure, loose movement, or unstable operation. Always replace matching components as a complete set.
Skipping measurements leads to misalignment, poor sealing, and difficulty opening or closing the window. Screw spacing, arm length, and hinge placement must match the original design exactly. Even a small misplacement can cause binding or air leakage.
Using screws that are too long, too short, or the wrong diameter can damage vinyl, wood, or aluminum frames. Incorrect screws may strip the mounting area or push through the frame. Always use the screw type recommended for the specific hardware.
Applying too much lubricant attracts dust and dirt, which leads to friction and premature wear. Oil-based lubricants should be avoided because they gum up moving parts. Use silicone-based lubricant sparingly for smooth, clean operation.
The cost of window hardware replacement depends on the type of hardware, window design, and complexity of installation. Simple latch replacements may cost as little as $15–$40, while advanced parts like crank operators or balances may range from $50–$180+. Larger or specialty windows often require more precise calibration, increasing labor costs.
Replacing a latch or lock is usually the most affordable repair, costing $15–$50 for parts and $30–$75 for labor. These parts are quick to install and require minimal alignment, making them ideal for simple upgrades.
Casement and awning crank operators are more complex and typically cost $40–$120 for the hardware plus $75–$150 for installation. The higher price comes from precise arm alignment and gear mechanisms that must fit the sash perfectly.
Hinges vary by window type and sash weight. Standard hinges cost $20–$60, while heavy-duty casement hinges can reach $80–$150. Labor averages $60–$120, depending on how difficult the hinge is to access and align.
Double-hung window balances range from $25–$80 each, depending on spring strength and window height. Professional installation is usually $70–$150, especially if both balances must be replaced at the same time.
Tilt latches are inexpensive, usually $10–$30 per pair, with labor costs of $25–$60. They are quick to replace and don’t require major calibration unless the sash is misaligned.
| Hardware Type | Part Cost | Labor Cost | Total Estimated Cost |
|---|---|---|---|
| Lock / Latch | $15 – $50 | $30 – $75 | $45 – $125 |
| Crank Operator | $40 – $120 | $75 – $150 | $115 – $270 |
| Hinges (pair) | $20 – $150 | $60 – $120 | $80 – $270 |
| Balances (pair) | $50 – $160 | $70 – $150 | $120 – $310 |
| Tilt Latches (pair) | $10 – $30 | $25 – $60 | $35 – $90 |
Routine maintenance ensures that newly installed hardware stays smooth, secure, and long-lasting. Even high-quality locks, hinges, cranks, and balances can wear down early if dust, moisture, or loose screws are ignored. With a few simple upkeep habits, homeowners can protect their investment and keep windows operating effortlessly for many years.
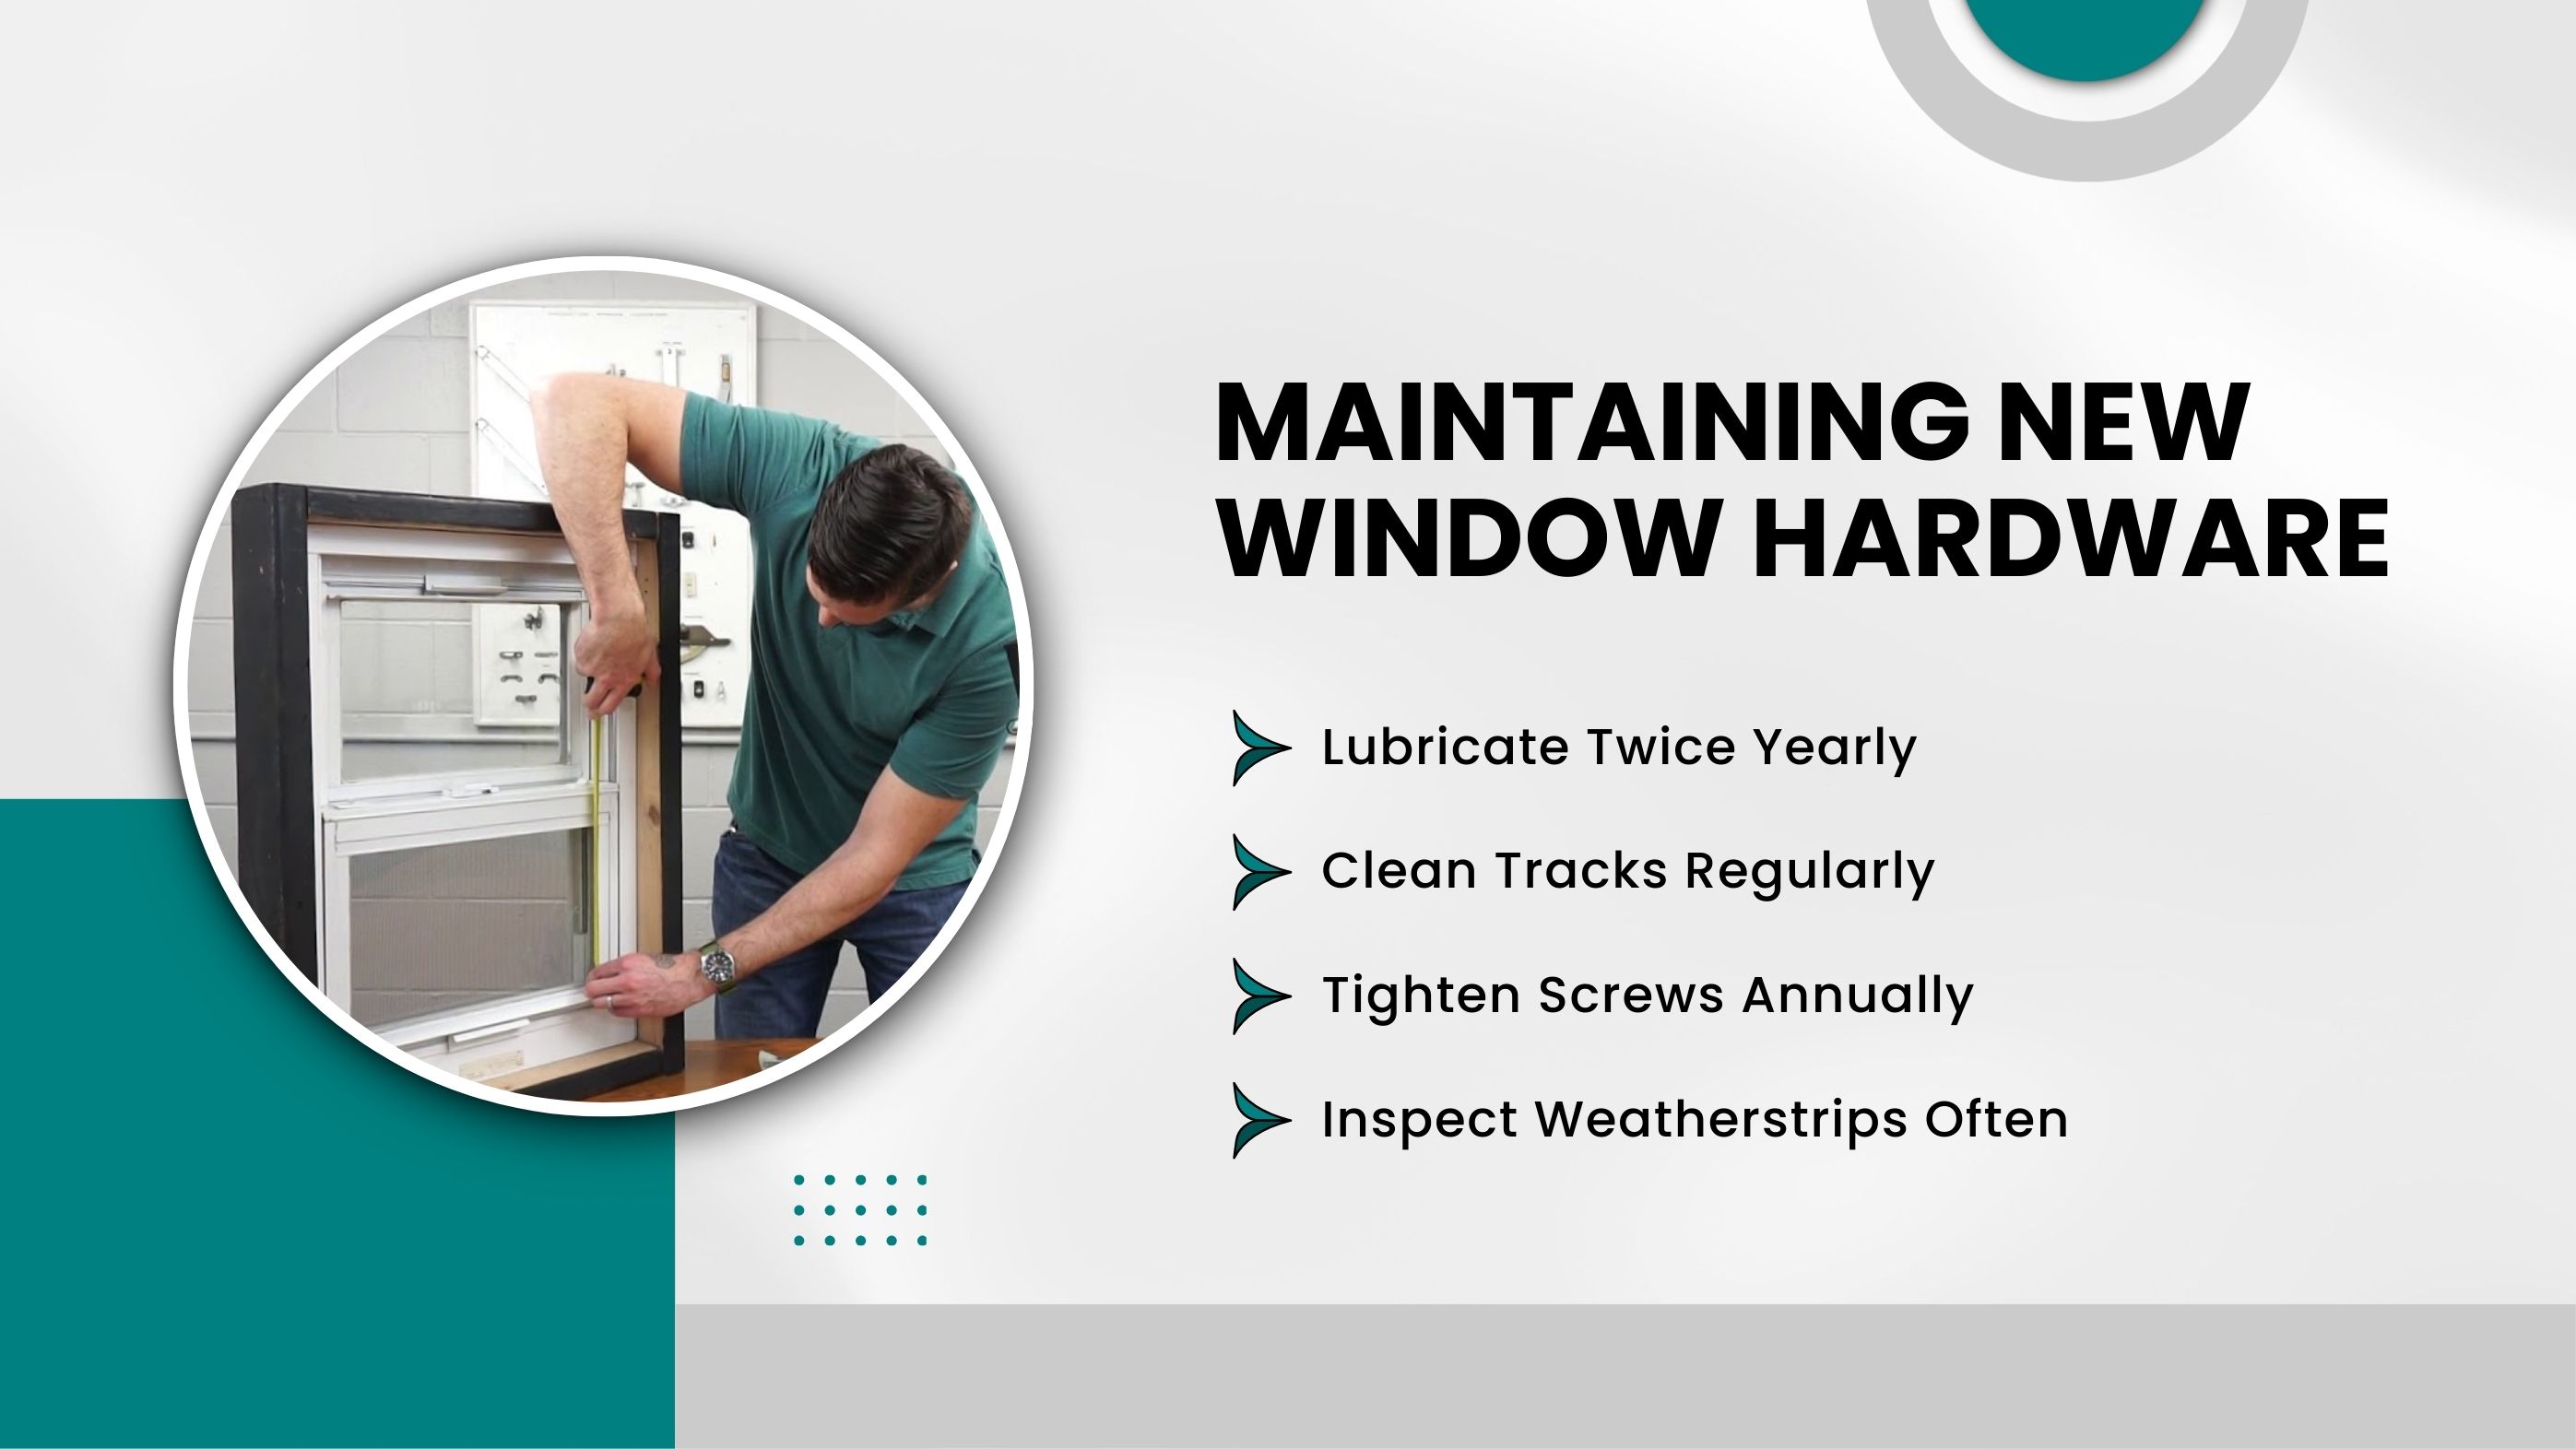
New window hardware needs periodic lubrication to prevent stiffness and friction. Use a silicone-based spray, not oil or grease, because silicone stays dry and doesn’t attract dust. Apply it lightly to hinges, operators, crank gears, and sliding components. A small amount is enough, over-lubrication traps dirt and slows the mechanism. Doing this every spring and fall keeps hardware moving smoothly and prevents early wear.
Dirt, sand, pollen, and small debris naturally collect in window tracks over time. This buildup makes windows harder to slide or lift and places unnecessary strain on the hardware. Clean tracks regularly using a vacuum, soft brush, or damp cloth to remove grit. For sliding windows, you can finish with a light silicone spray to reduce friction. Clean tracks help prevent wear on rollers, balances, and guide rails.
Window frames expand in heat and contract in cold weather, which slowly loosens screws throughout the year. Loose screws cause misalignment, rattling, hard operation, and weak locking. Once a year, gently tighten screws on locks, hinges, tilt latches, crank operators, and keepers. This quick maintenance step keeps everything secure and ensures that the sash opens and closes the way it should.
Worn or damaged weatherstripping forces hardware to work harder because the sash doesn’t seal properly. This increases pressure on locks and hinges and can eventually cause bending or breakage. Inspect weatherstrips for cracking, flattening, peeling, or gaps. Replace any worn sections to maintain a proper seal, reduce drafts, and keep hardware under less strain. Good weatherstripping also helps lower energy bills.
Repairing or replacing window hardware might seem like a small task, but it plays a major role in how safely, smoothly, and efficiently your windows operate. From choosing the right hardware to installing it correctly and maintaining it afterward, every step helps extend the life of the window and prevents costly future issues. With the proper tools, accurate measurements, and routine care, homeowners can keep their windows secure, easy to use, and well-protected for years. And when the damage is complex or involves structural alignment, calling a professional ensures the job is done safely and correctly.
Yes, it’s recommended to replace both hinges. Mismatched tension between the two hinges can cause uneven operation, which may lead to additional wear and tear. Replacing both ensures balanced functionality and prevents further damage to the window frame and sash.
A new crank may feel stiff initially because the gears and moving parts need a break-in period to settle and align. While it's normal for new hardware to be a bit tight, it should not grind or cause friction. Over time, as the parts wear in, the operation will smooth out and become easier to turn.
Yes, replacement hardware can significantly improve the window seal. Stronger locks, properly aligned hardware, and correctly installed components ensure better compression of the window sash against the frame. This leads to a tighter seal, reducing drafts, moisture intrusion, and energy loss, improving overall window performance.
If the replacement holes don’t match exactly, it’s best to use adapter plates. Forcing screws into misaligned holes can damage both the window frame and hardware. Adapter plates allow you to align the new hardware correctly, preserving the integrity of the frame and ensuring a secure installation.
Yes, it’s safe to replace hardware on old wooden windows, provided the window frame is not cracked or rotting. Old wood frames can often be restored with new hardware, which improves functionality and security. However, it's crucial to inspect the condition of the wood first—if the frame is compromised, it may need repairs or reinforcement before installing new hardware.
Join our mailing list for exclusive updates, expert tips, and special offers tailored to your needs. Be the first to know about the latest in home services.

Renovize Home is a platform that supports homeowners from planning to renovation. Whether it’s Renovize AI for guidance or a one-on-one call with Pro Finder, we understand your project and match you with local contractors tailored to your needs.
Who We Are
About Renovize HomeGet in TouchHomeownwer Support:
Coming Soon!
General Inquiries:
support@renovizehome.com
Head Office:
24 Greenway Plaza, STE 1800M, Houston, TX 77046.