Explore All
BROWSE BY CATEGORY
Interior
Exterior
Home Essentials
Homeowner Tools
Blogs & Guides
Find a Pro
Book Your Appointment Now
Home Essentials
About Renovize Home
Explore All
BROWSE BY CATEGORY
Interior
Exterior
Home Essentials
Homeowner Tools
Blogs & Guides
Find a Pro
Book Your Appointment Now
Home Essentials
About Renovize Home
Last Updated 2025-12-17
Localized siding damage can happen from storms, impact, aging panels, moisture exposure, or installation errors, and even small damaged sections can allow water, pests, and air leaks into the home. Replacing the affected boards is the most effective way to restore the siding’s protective barrier without redoing the entire exterior. This approach is cost-efficient, fast, and ideal for homeowners who want to keep the home structurally sound while maintaining its curb appeal.
By understanding the causes of board damage, knowing how repairs work, and recognizing when partial replacement is the right solution, homeowners can extend the life of their siding and prevent bigger issues such as rot, mold, or insulation deterioration.
Table of Contents
Where Board Damage Typically Appears on a Home Exterior
Determining When a Board Must Be Replaced Instead of Repaired
Removing a Damaged Siding Board Safely Without Disturbing Adjacent Panels
Choosing the Right Replacement Material for Your Siding Repair
Installing the New Board With Correct Alignment and Weatherproofing
Material-Specific Considerations for Replacing Damaged Boards
Cost For Replacing Damaged Boards
Protect Future Board Damage After Replacement
Final Thoughts
Siding boards rarely fail all at once. Damage usually starts in small, high-stress areas where moisture, impact, or movement is concentrated. These weak points commonly appear near corners, edges, openings, or places where water and physical contact occur more often. Identifying these areas early helps homeowners replace only the affected boards, preventing wider damage while preserving the rest of the siding system.
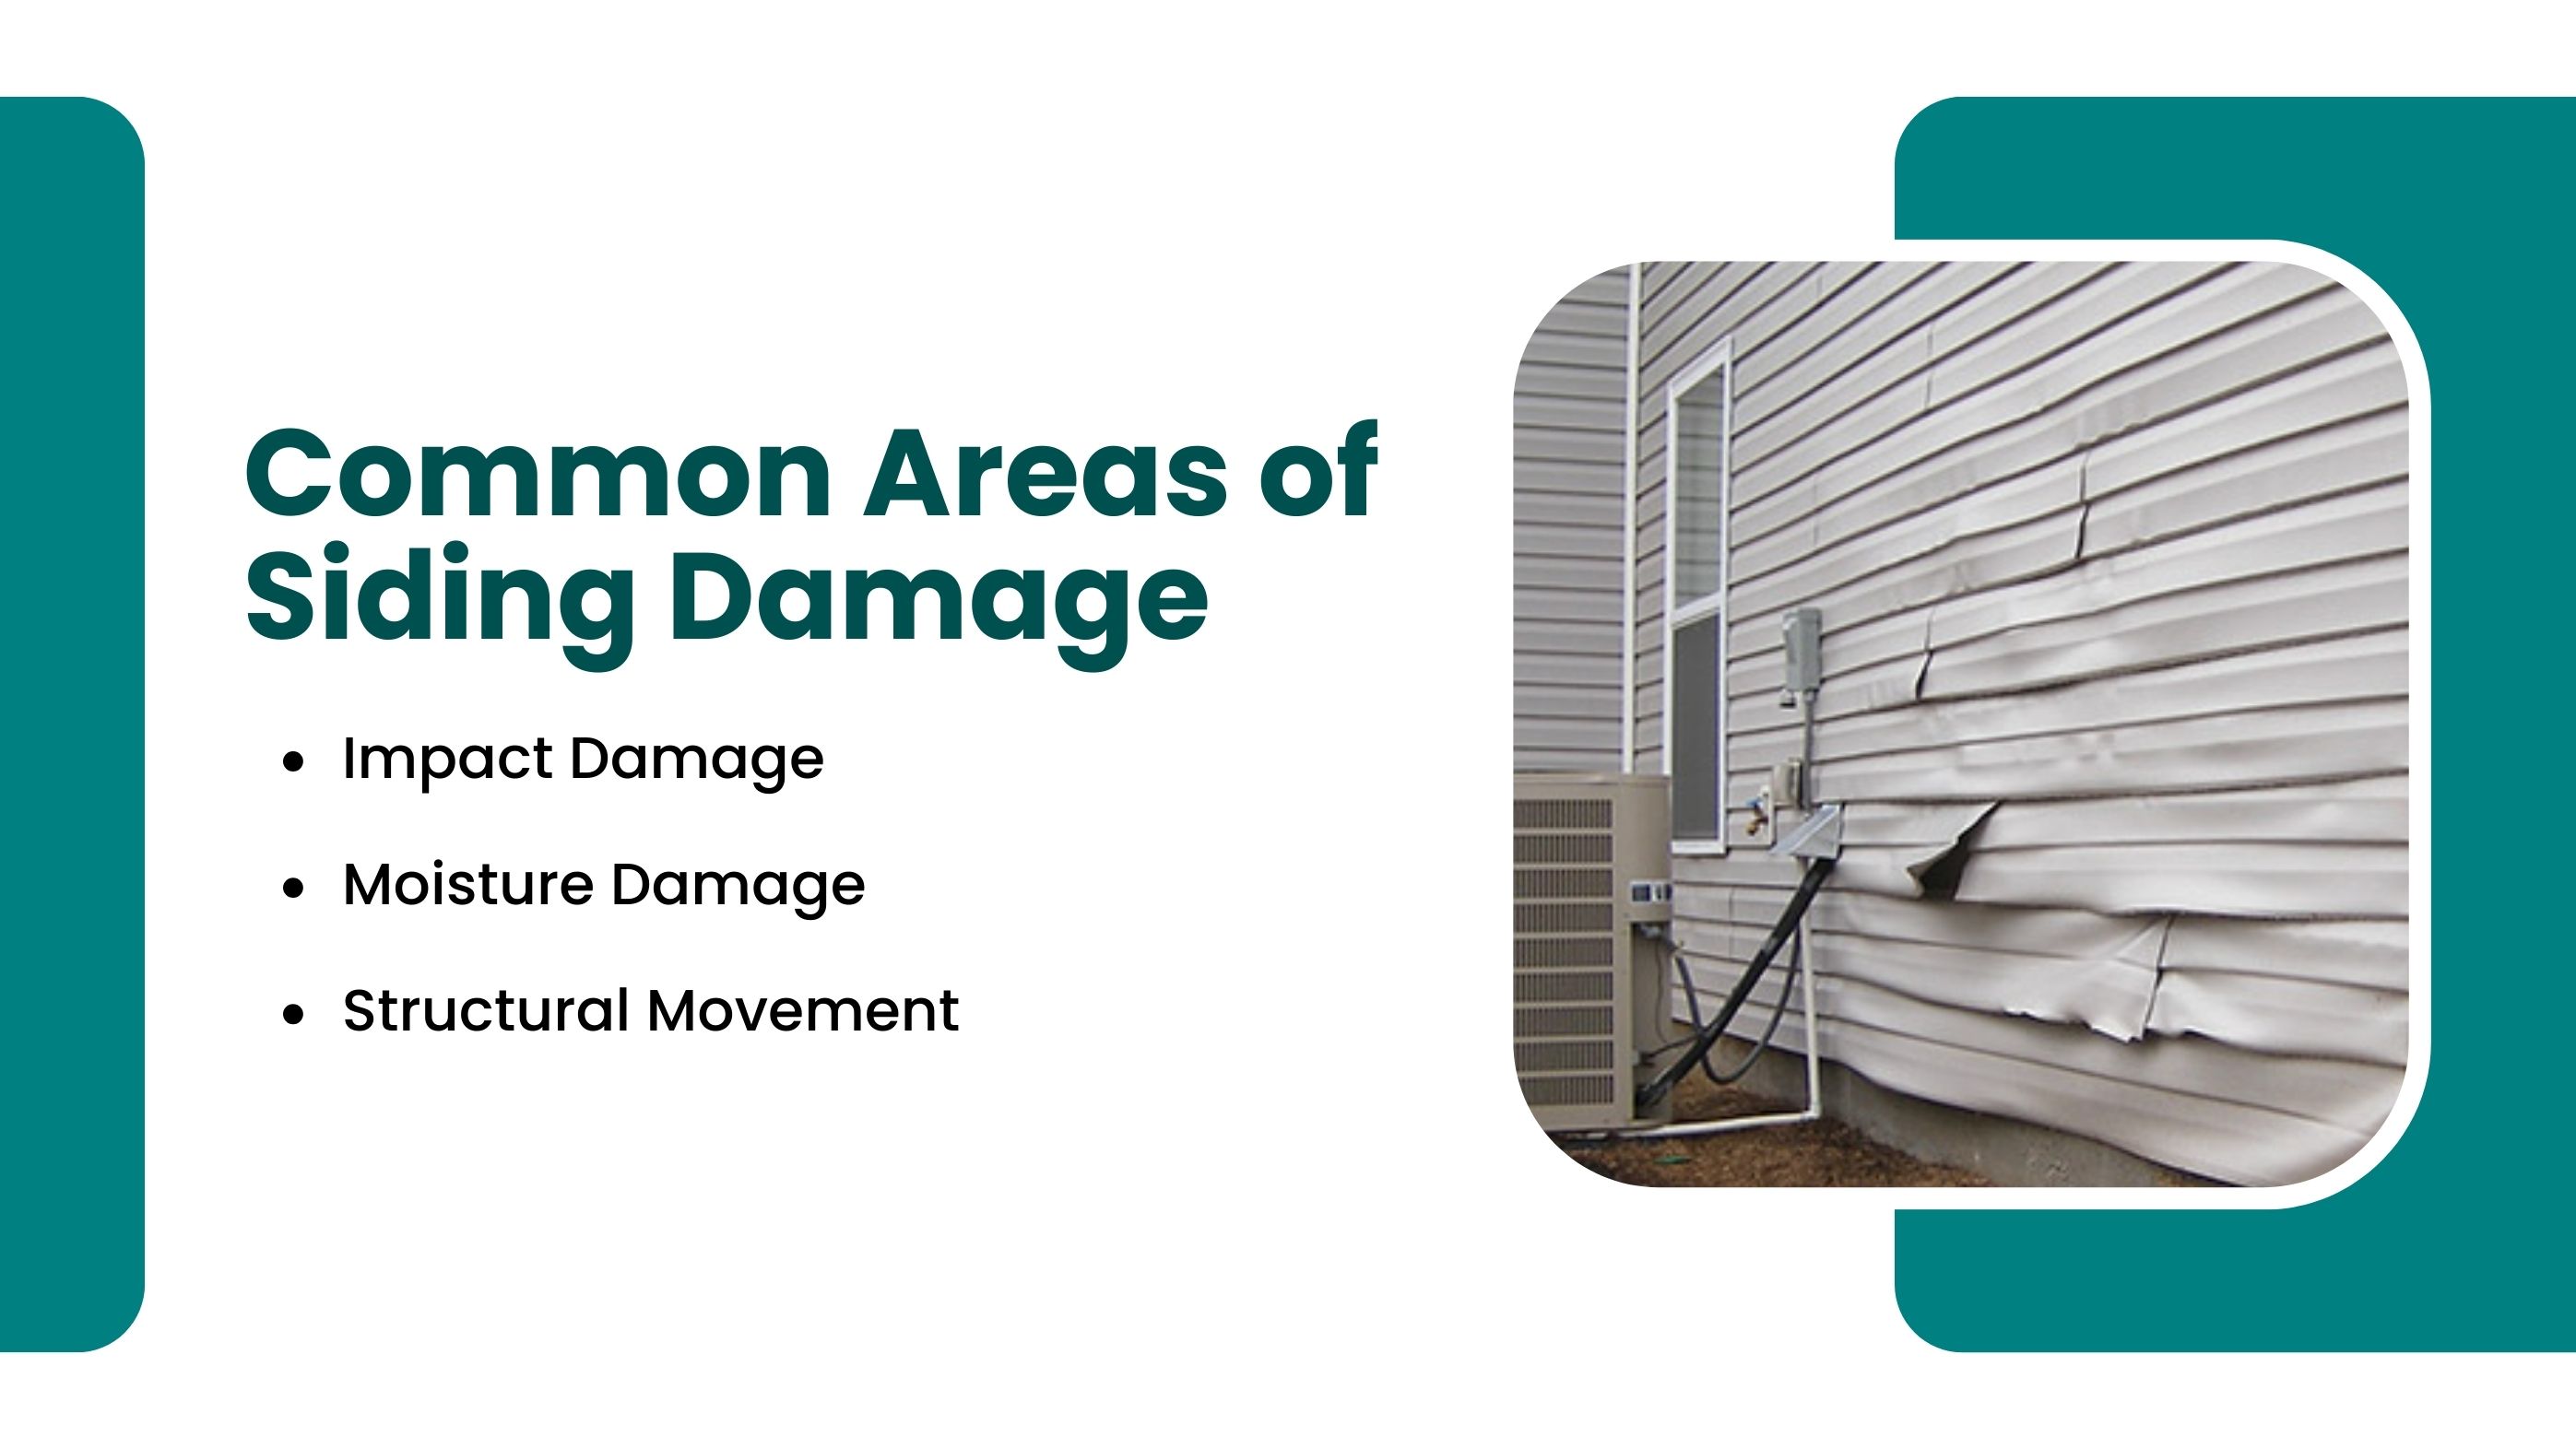
Siding boards can crack, dent, or break when struck by flying debris, hail, lawn equipment, or accidental impacts. In most cases, damage affects just 1–2 boards, not the entire wall. Even a small break can expose the wall underneath, increasing moisture entry at that spot by 25–40%, making quick replacement important to restore protection.
Moisture-related damage often begins behind the siding where water slowly penetrates weakened areas. Boards may swell, soften, or crumble once moisture becomes trapped. Homeowners usually notice this damage in localized sections, often near trim or lower wall areas, long before the rest of the siding shows wear. Once a board softens, it can lose over half of its structural strength, allowing damage to spread if not repaired.
As a home settles and materials expand or contract, individual siding boards may shift out of alignment. This movement can cause a board to bow, pull loose, or sit unevenly compared to surrounding panels. Even a slight separation—sometimes less than ½ inch—can break the siding’s protective seal and allow wind-driven rain to enter. Replacing or re-securing the affected board restores both appearance and weather resistance.
Not all siding damage can be fixed with patching or filler. Some boards lose their structural strength, while others allow moisture, air, or pests into the wall system. Knowing when a board must be replaced—rather than repaired—helps homeowners prevent hidden issues like rot, mold, or sheathing damage. In many cases, replacing a single board early can stop damage from spreading to 5–10 surrounding boards later.
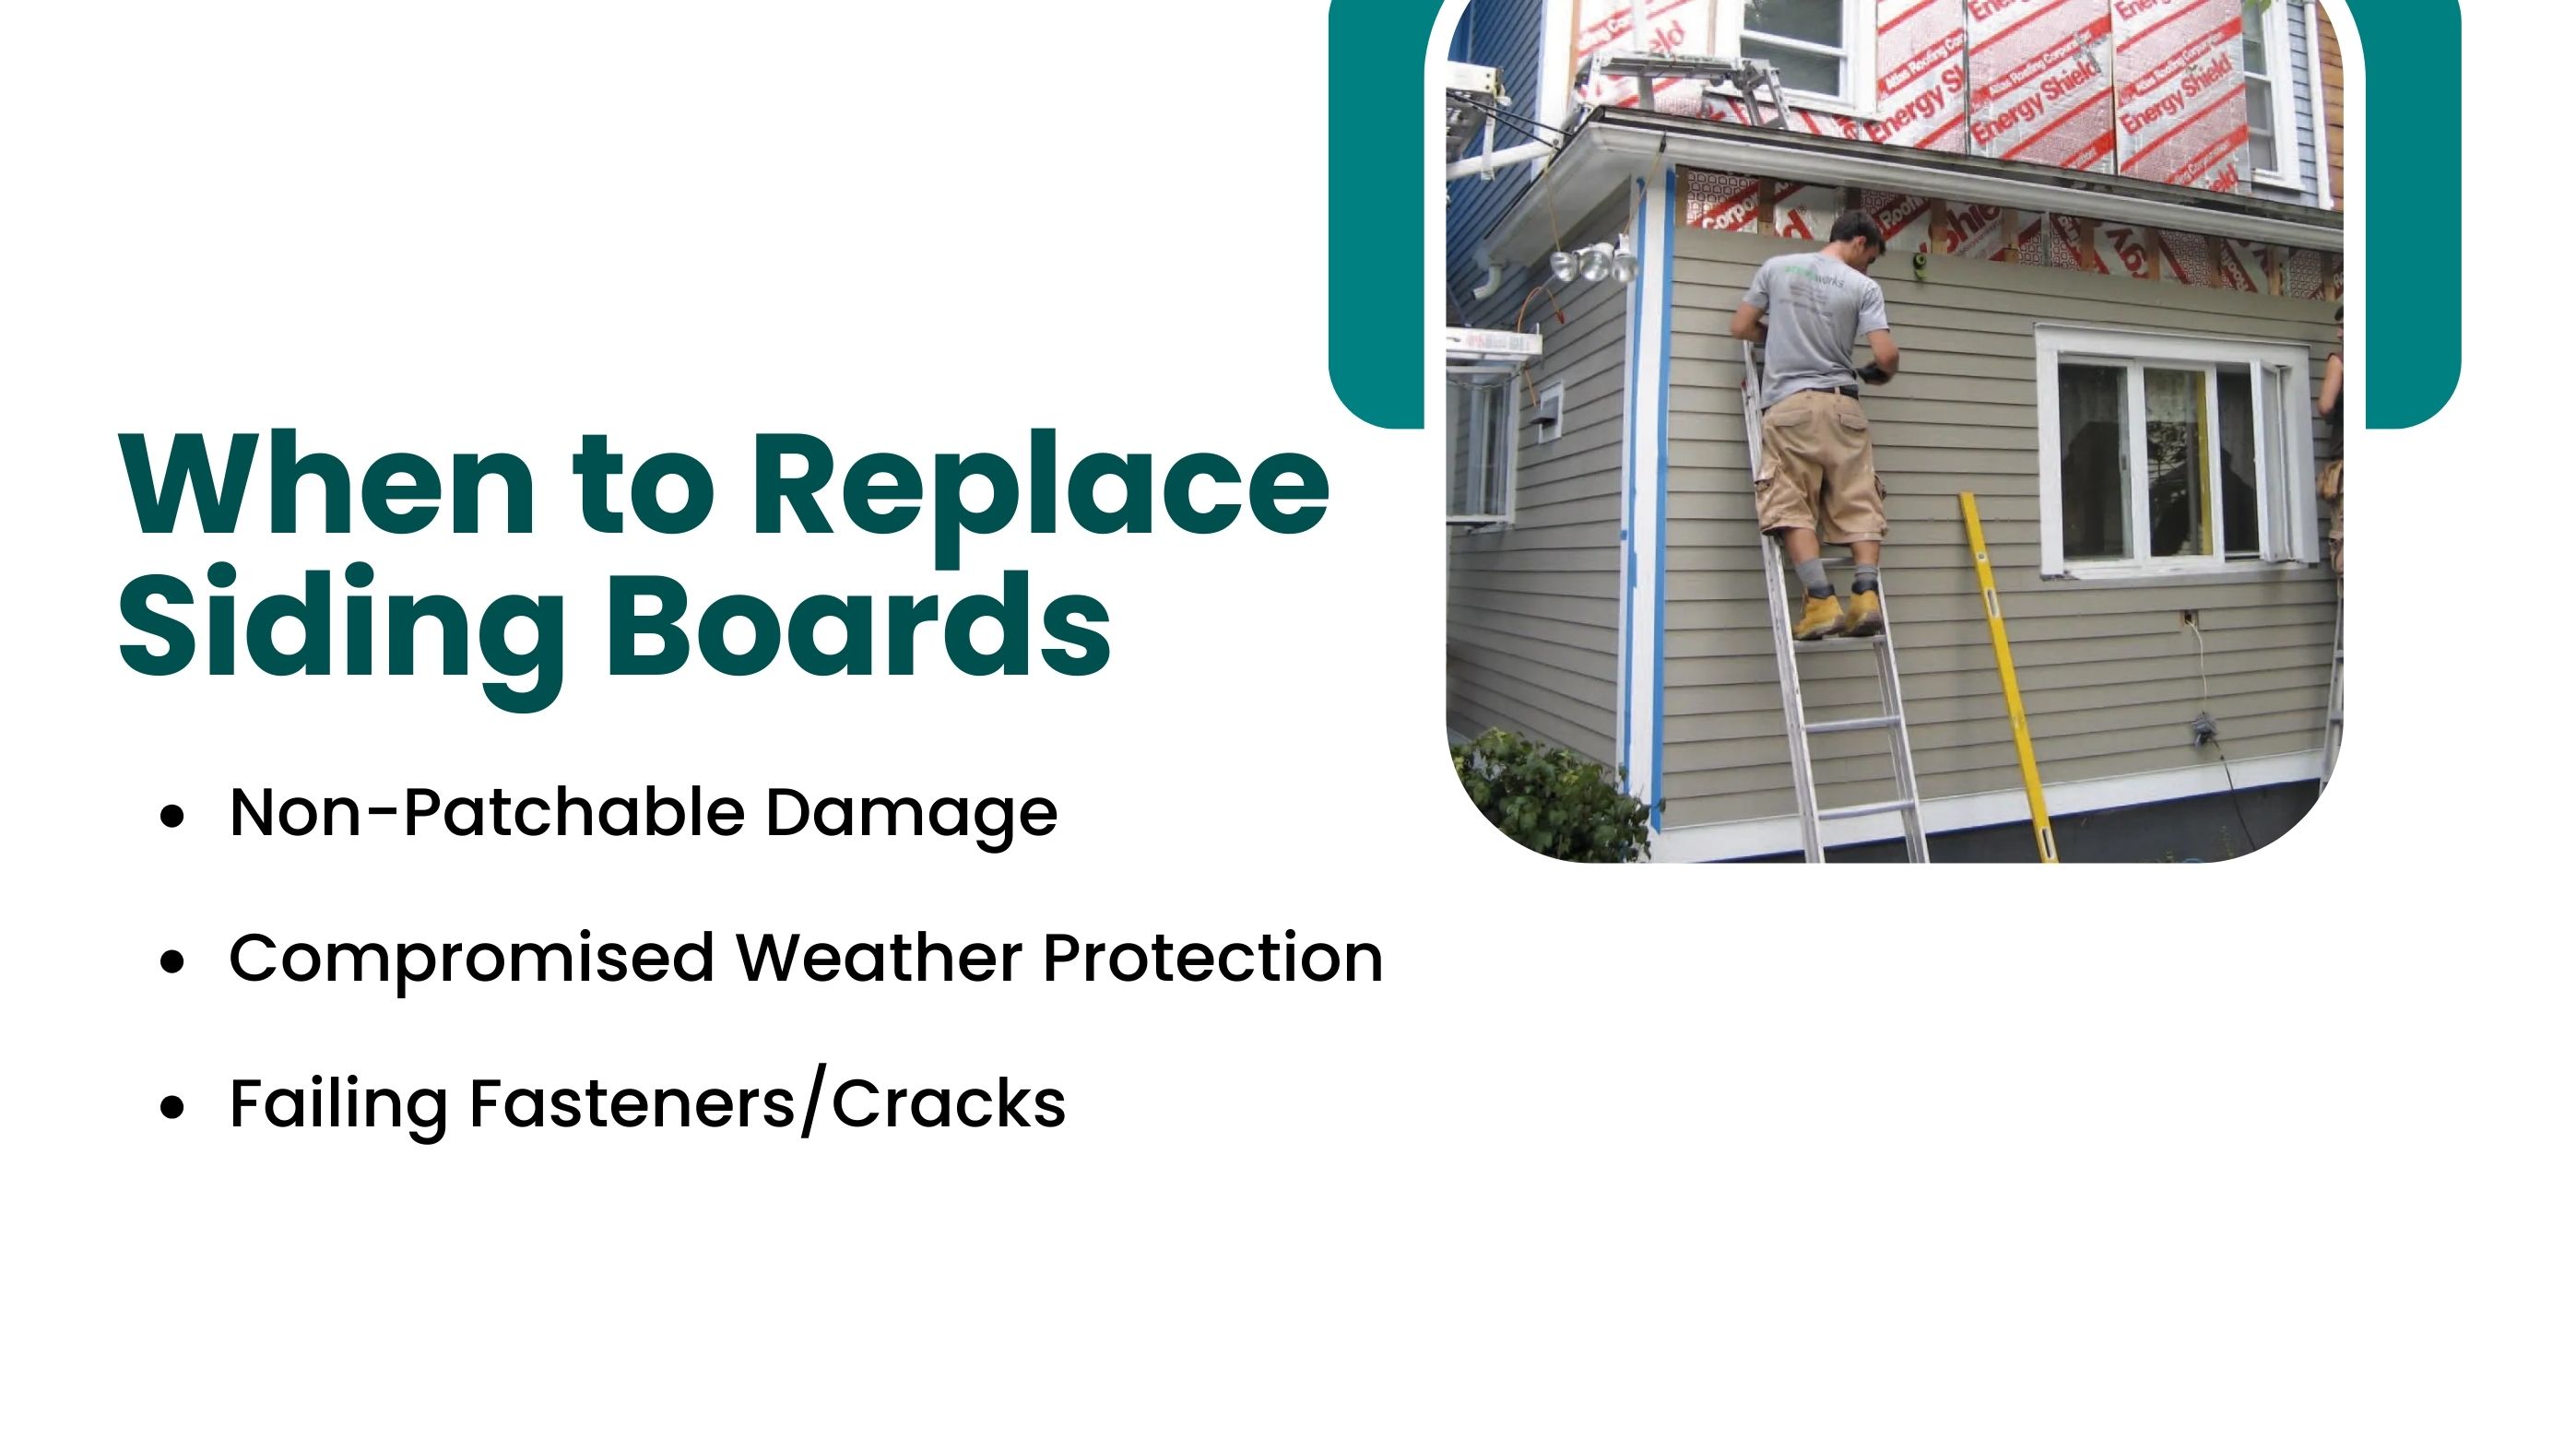
Some cracks, holes, or breaks are too large or too deep for exterior-grade fillers to hold safely. When damage affects more than 25–30% of a board’s surface, patching no longer restores strength or weather resistance. Impact damage, shattered corners, or crumbling sections weaken the board and leave the wall exposed. In these cases, replacement is the only way to restore full protection.
If a damaged board allows wind-driven rain, moisture, or insects behind the siding, surface repair is not enough. Even a small opening can increase water entry by 30–40% at that location. Once moisture reaches the sheathing, the risk of rot and mold rises quickly. Replacing the compromised board reseals the exterior and restores proper weather protection.
Replacing the affected board ensures the wall becomes watertight again and prevents hidden structural damage.
When fasteners no longer hold securely, repairs become unreliable. Cracked edges, split nail slots, or warped boards prevent nails or screws from gripping properly. This causes boards to loosen, rattle in wind, or slide out of alignment. Once fastener strength drops below a secure hold—often felt as movement with light pressure—replacement provides a solid anchoring surface and restores installation stability.
Boards that feel soft when pressed, crumble at the edges, or flake apart indicate internal moisture damage. In these cases, the board may have lost over 50% of its original strength, even if the surface looks intact. Repairs cannot reverse internal decay, and leaving the board in place allows moisture to spread deeper into the wall system. Replacement stops further deterioration at the source.
If a board bows outward, twists, or sits noticeably out of line compared to surrounding panels, it breaks the siding’s protective seal. Even a misalignment of ½ inch or less can let wind and water pass behind the siding. Replacing the misaligned board restores uniform coverage, improves appearance, and reestablishes proper weather resistance.
When the same board or area needs repeated repairs, it’s a sign the material can no longer perform. Multiple fixes often cost more than replacement and still leave weak points behind. If a board has required repair more than once or twice, replacement is usually the more effective and durable solution.
Replacing a single damaged siding board requires precision and patience. The goal is to remove only the affected piece, avoid stressing nearby panels, and keep the siding system sealed. When done correctly, this process restores protection at that spot without creating gaps, looseness, or alignment problems elsewhere on the wall.
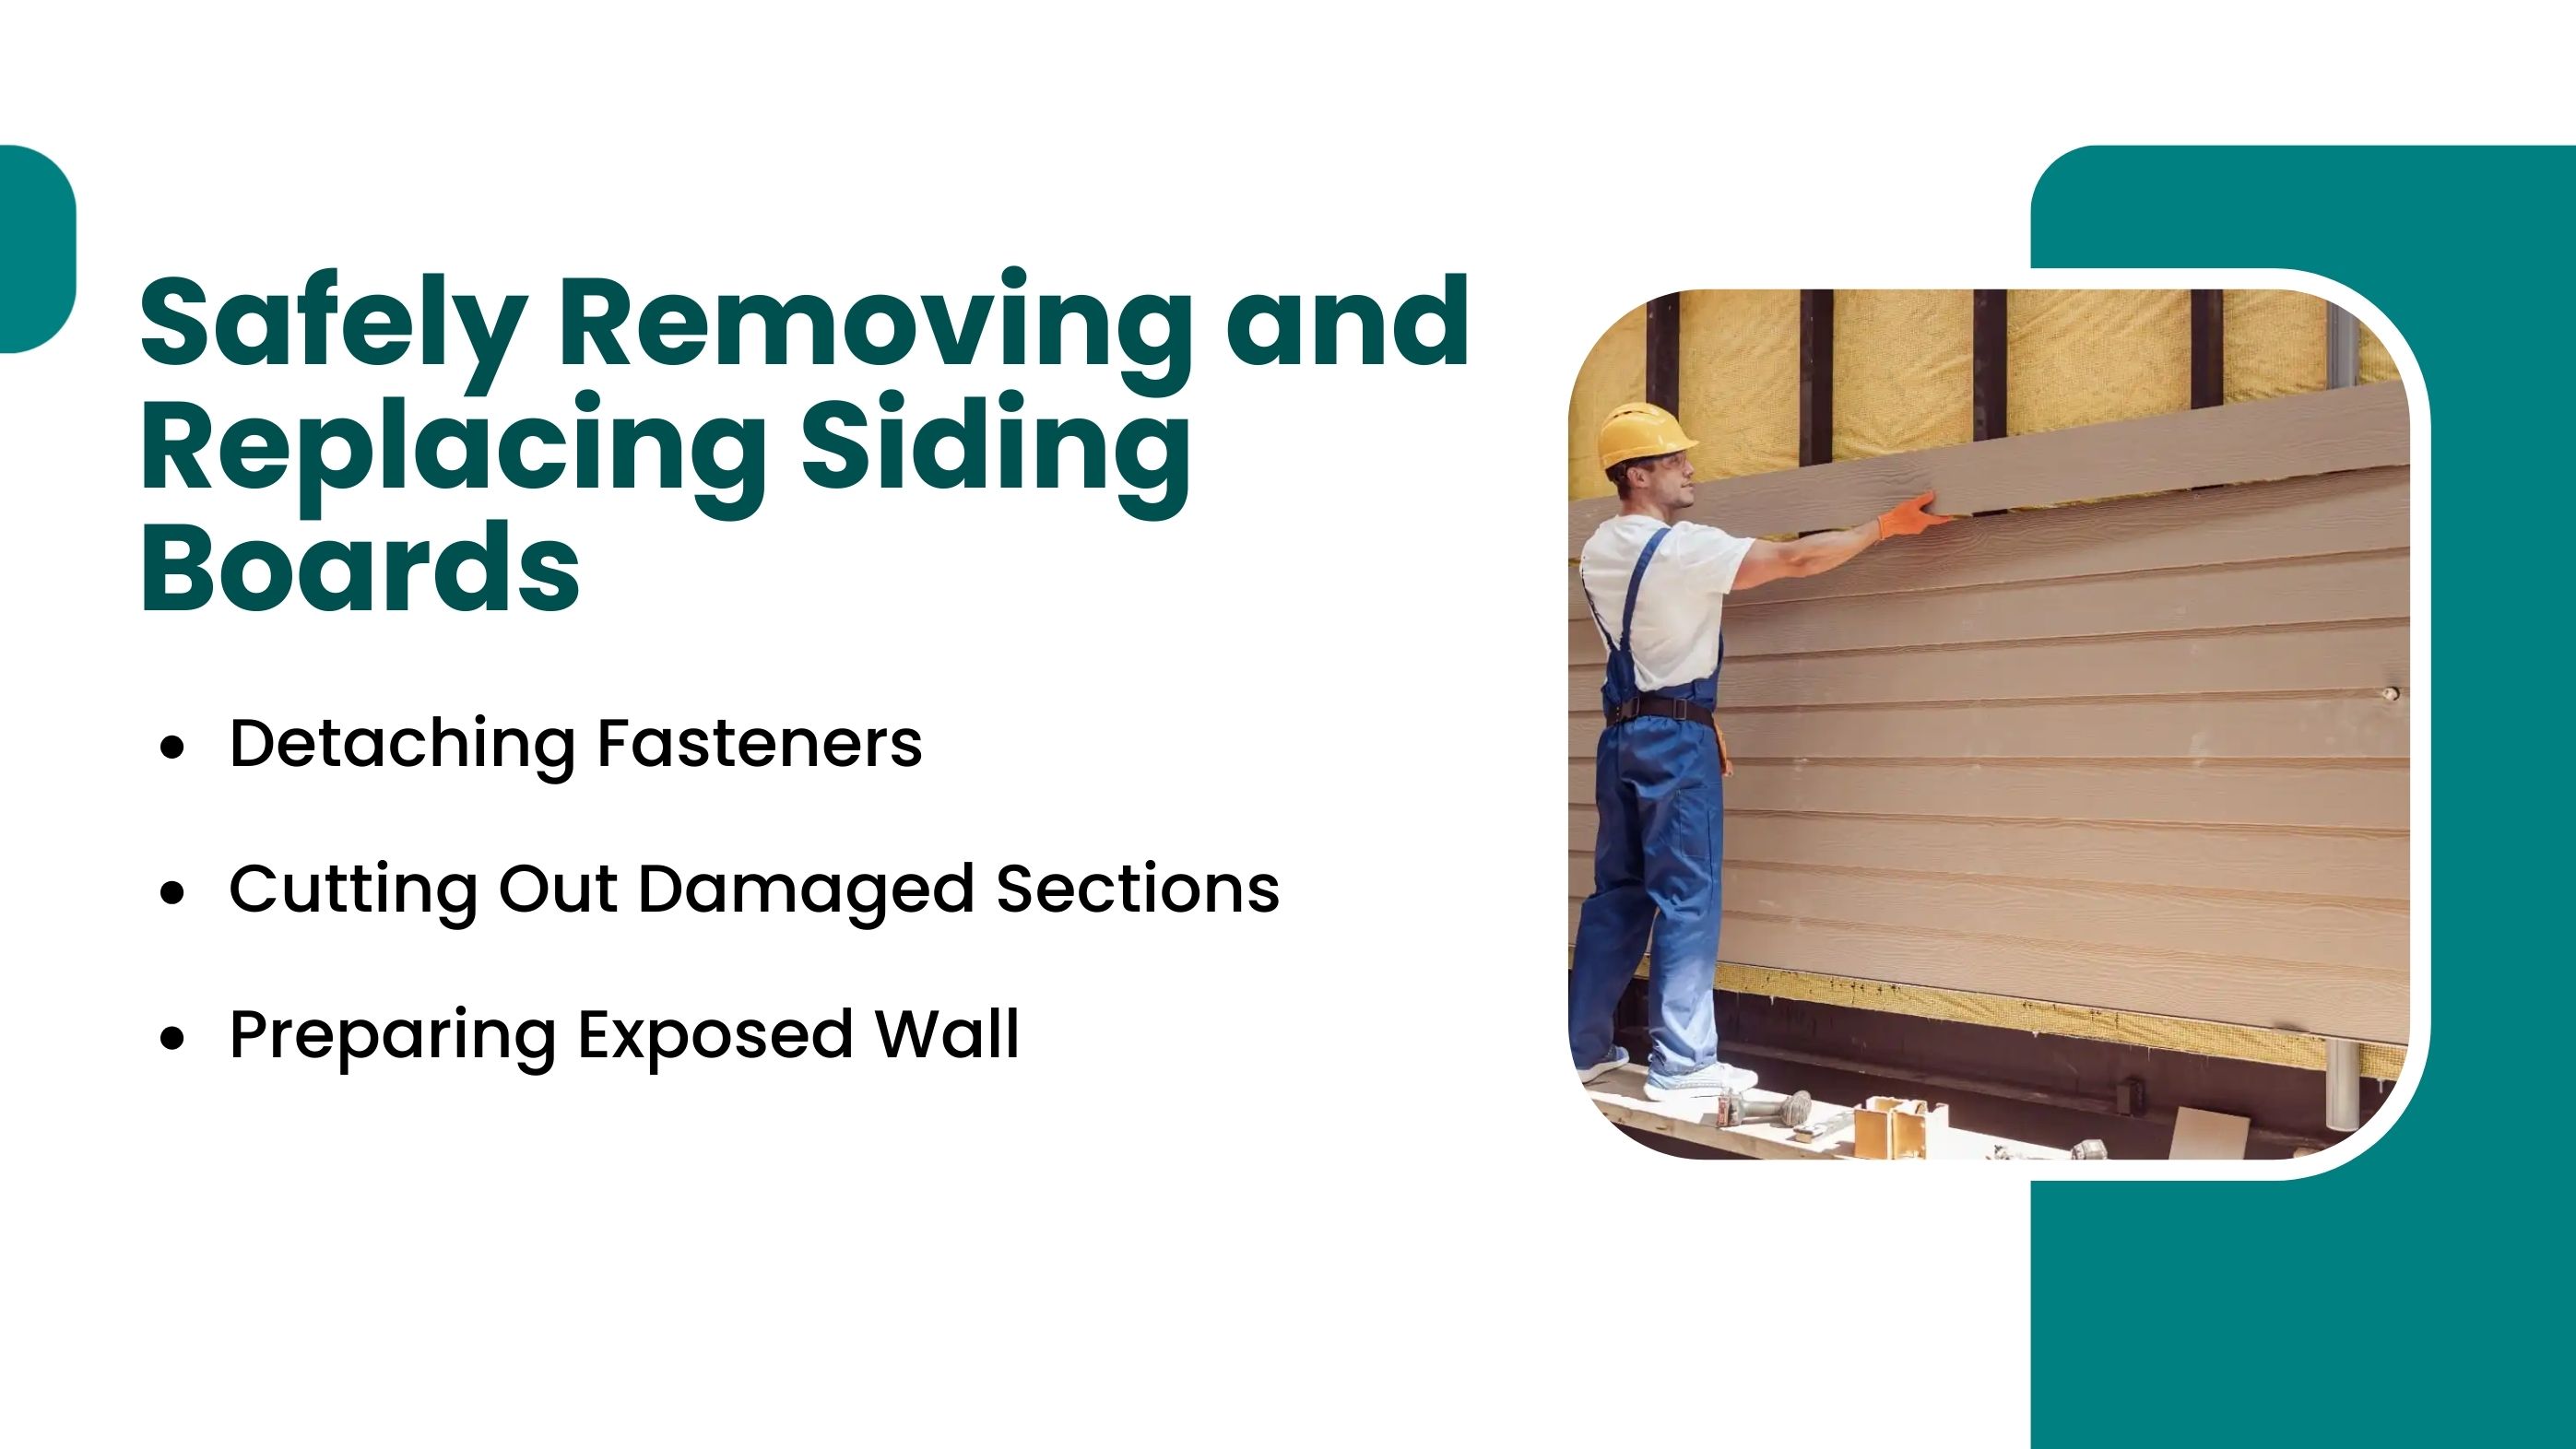
The safest way to free a damaged siding board is to start from the lower edge and work upward, where locking channels are designed to disengage. Installers gently loosen fasteners and release the interlock without bending surrounding panels. Applying too much force can damage 1–2 adjacent boards, especially by cracking their nail slots or locking lips. Controlled release ensures the repair area stays limited to the damaged section only.
When a board is crushed, split, or broken along its locking edge, removing it in one piece may not be possible. In these cases, installers cut out the damaged section using straight, controlled cuts. This approach is commonly used when:
Clean cuts reduce stress on nearby siding and create a precise opening so the replacement board fits securely without forcing it into place.
After the damaged board is removed, the exposed wall area must be checked before installing the replacement. Installers inspect the sheathing for softness, confirm the moisture barrier is intact, and make sure fastening surfaces are solid. Even a small unsealed opening can increase moisture entry by 30–40% at that spot. Any torn wrap, soft wood, or surface damage is corrected immediately so the new board sits flat and restores a watertight seal.
Selecting the correct replacement board ensures the new piece blends with the existing siding and provides long-term durability. Each material behaves differently in terms of weather resistance, maintenance, and cost, so choosing the right one prevents repeat damage and preserves exterior appearance.
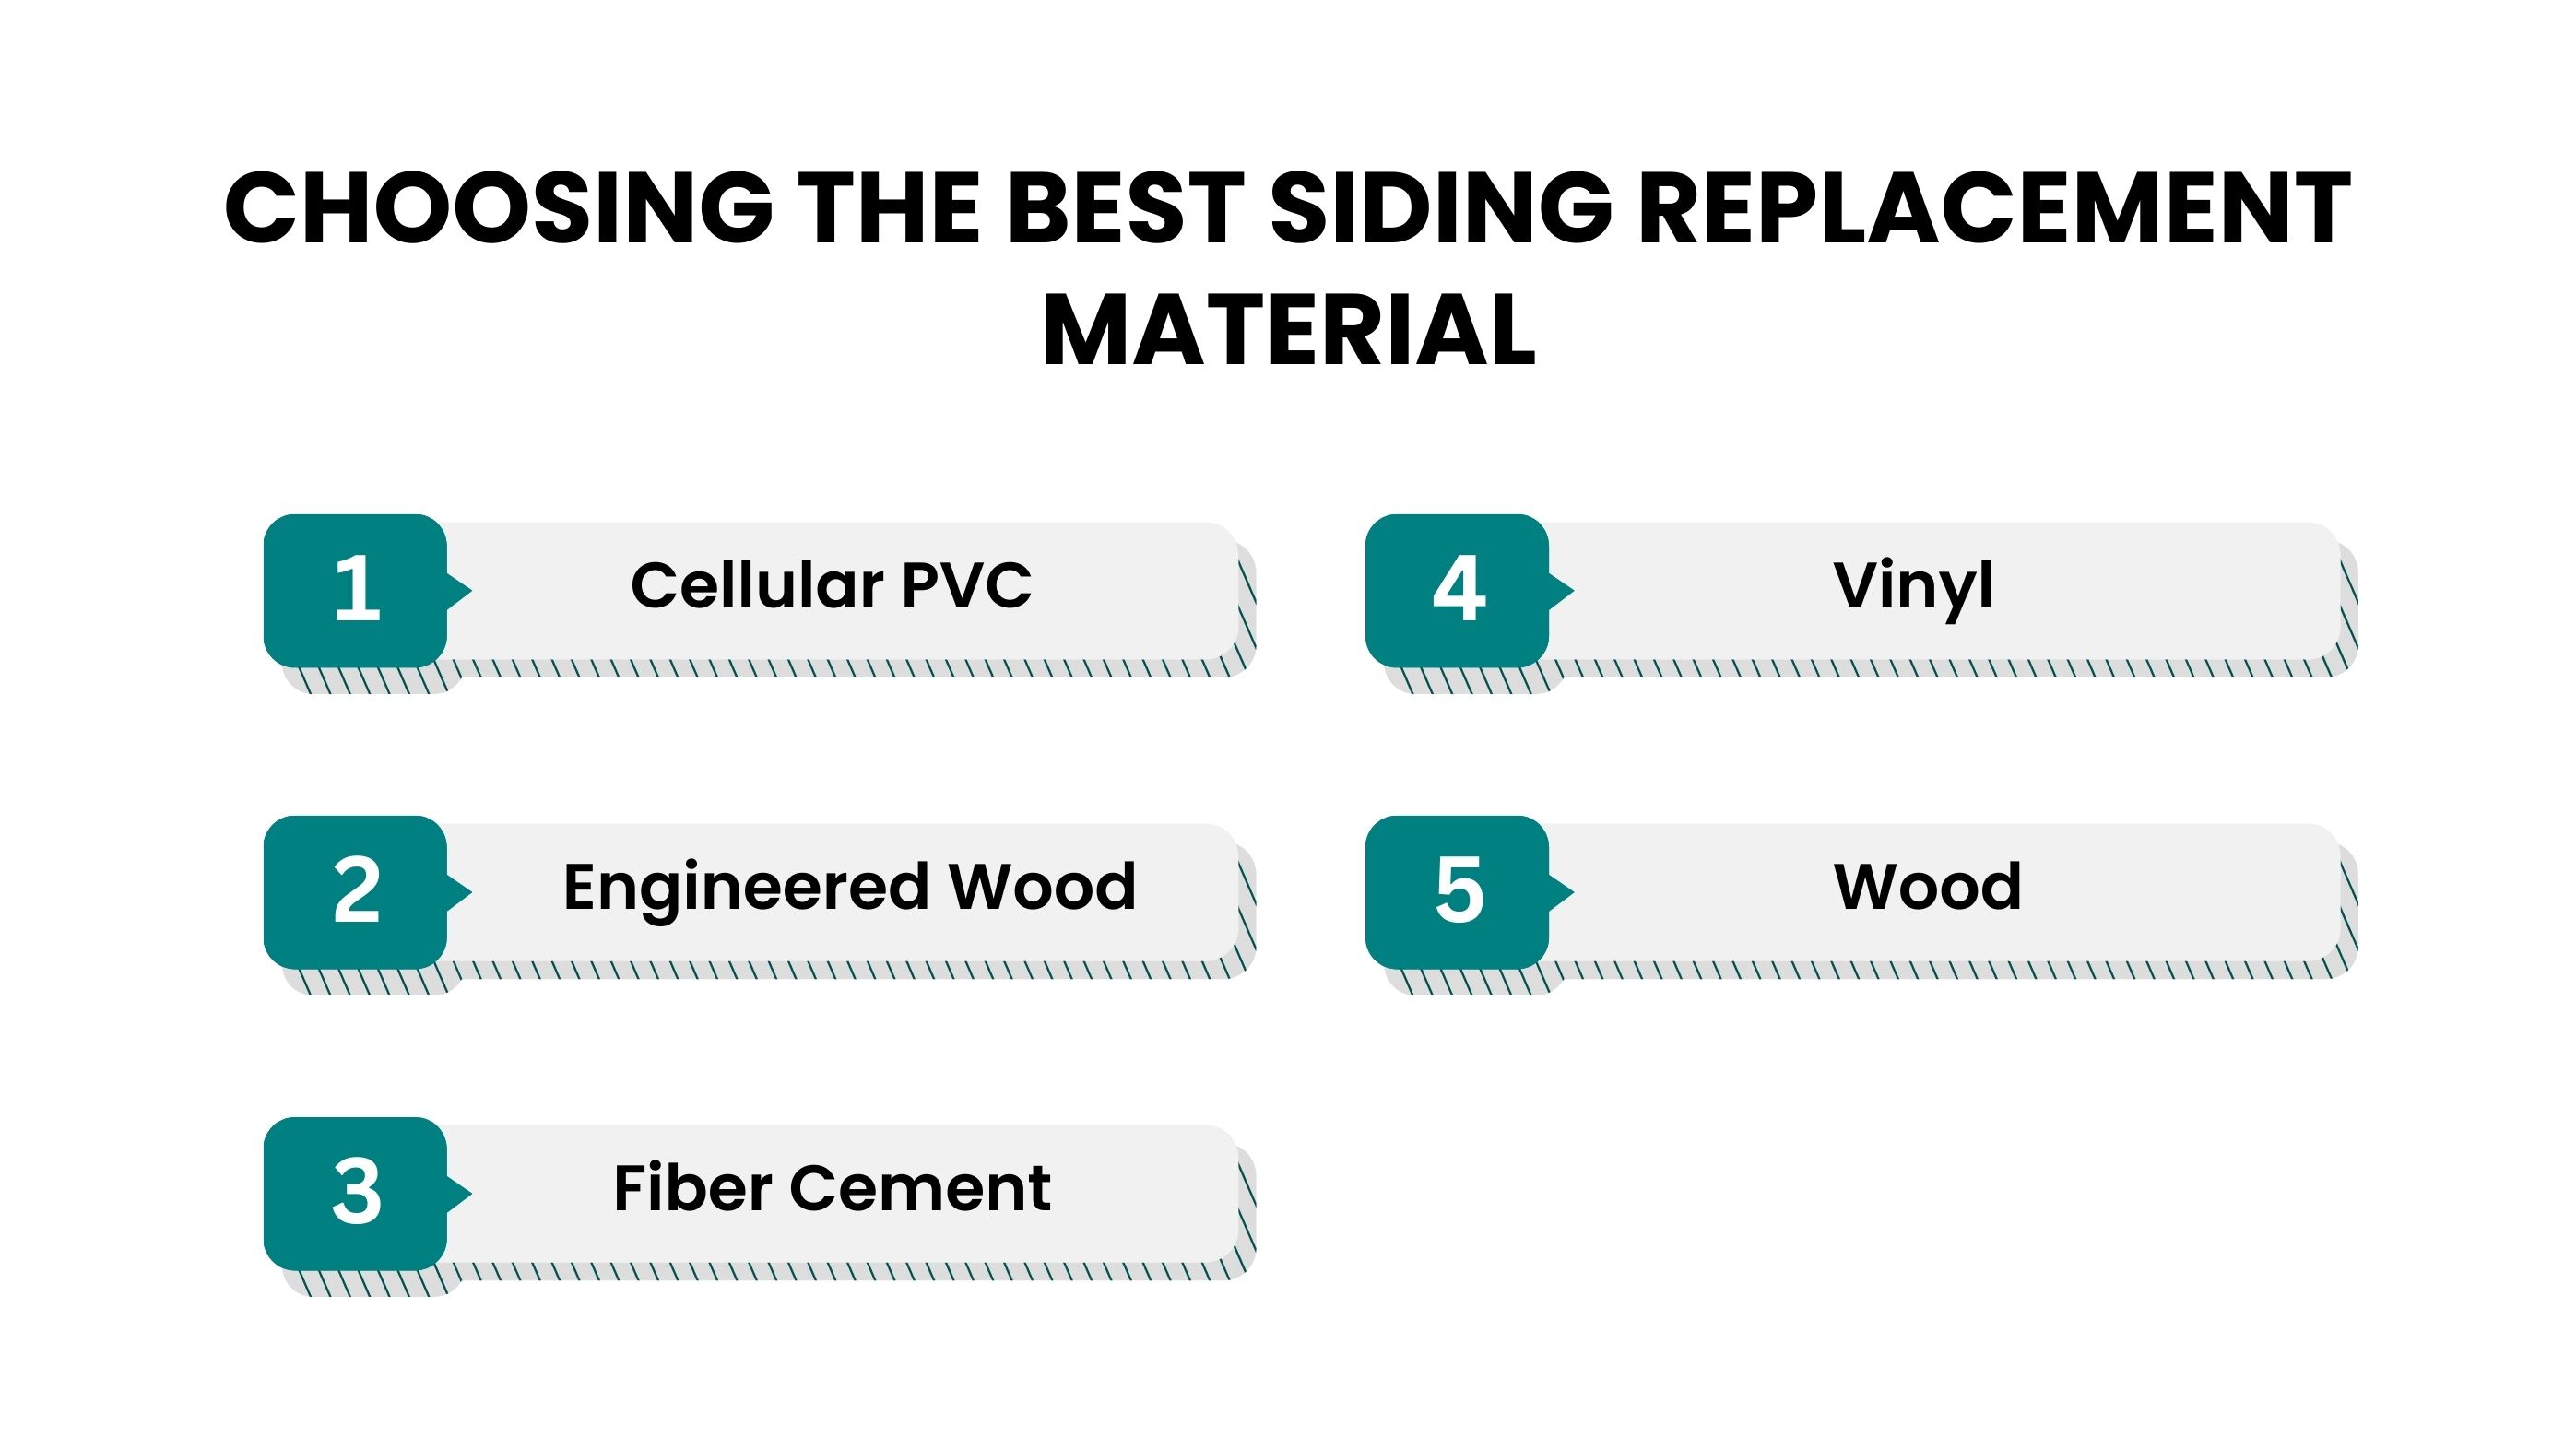
Cellular PVC is an excellent choice for painted siding profiles because it is weatherproof, stable, and resistant to rot and insects. It performs well in humid climates and offers strong insulation benefits.
Engineered wood offers the warmth of natural wood but is built with enhanced moisture resistance and durability. It handles expansion better than traditional wood and fits well into localized repairs.
Fiber cement is one of the most durable siding materials and is ideal for long-lasting repairs. It resists rot, insects, and UV exposure while maintaining structural strength for decades.
Vinyl is one of the most cost-effective replacement materials. It is lightweight, easy to install, and available in many colors and textures that match existing siding.
Wood gives a natural, timeless exterior appearance and is commonly used in older homes or architectural restorations. However, it requires the most maintenance. Before choosing wood, consider:
After removing the damaged siding board, installing the new one correctly is critical. The replacement must line up with surrounding panels and fully restore moisture protection. Even a small alignment or sealing mistake can increase water entry by 20–40% at that spot. Proper matching, fastening, and sealing ensure the repair looks seamless and performs just like the original siding system.
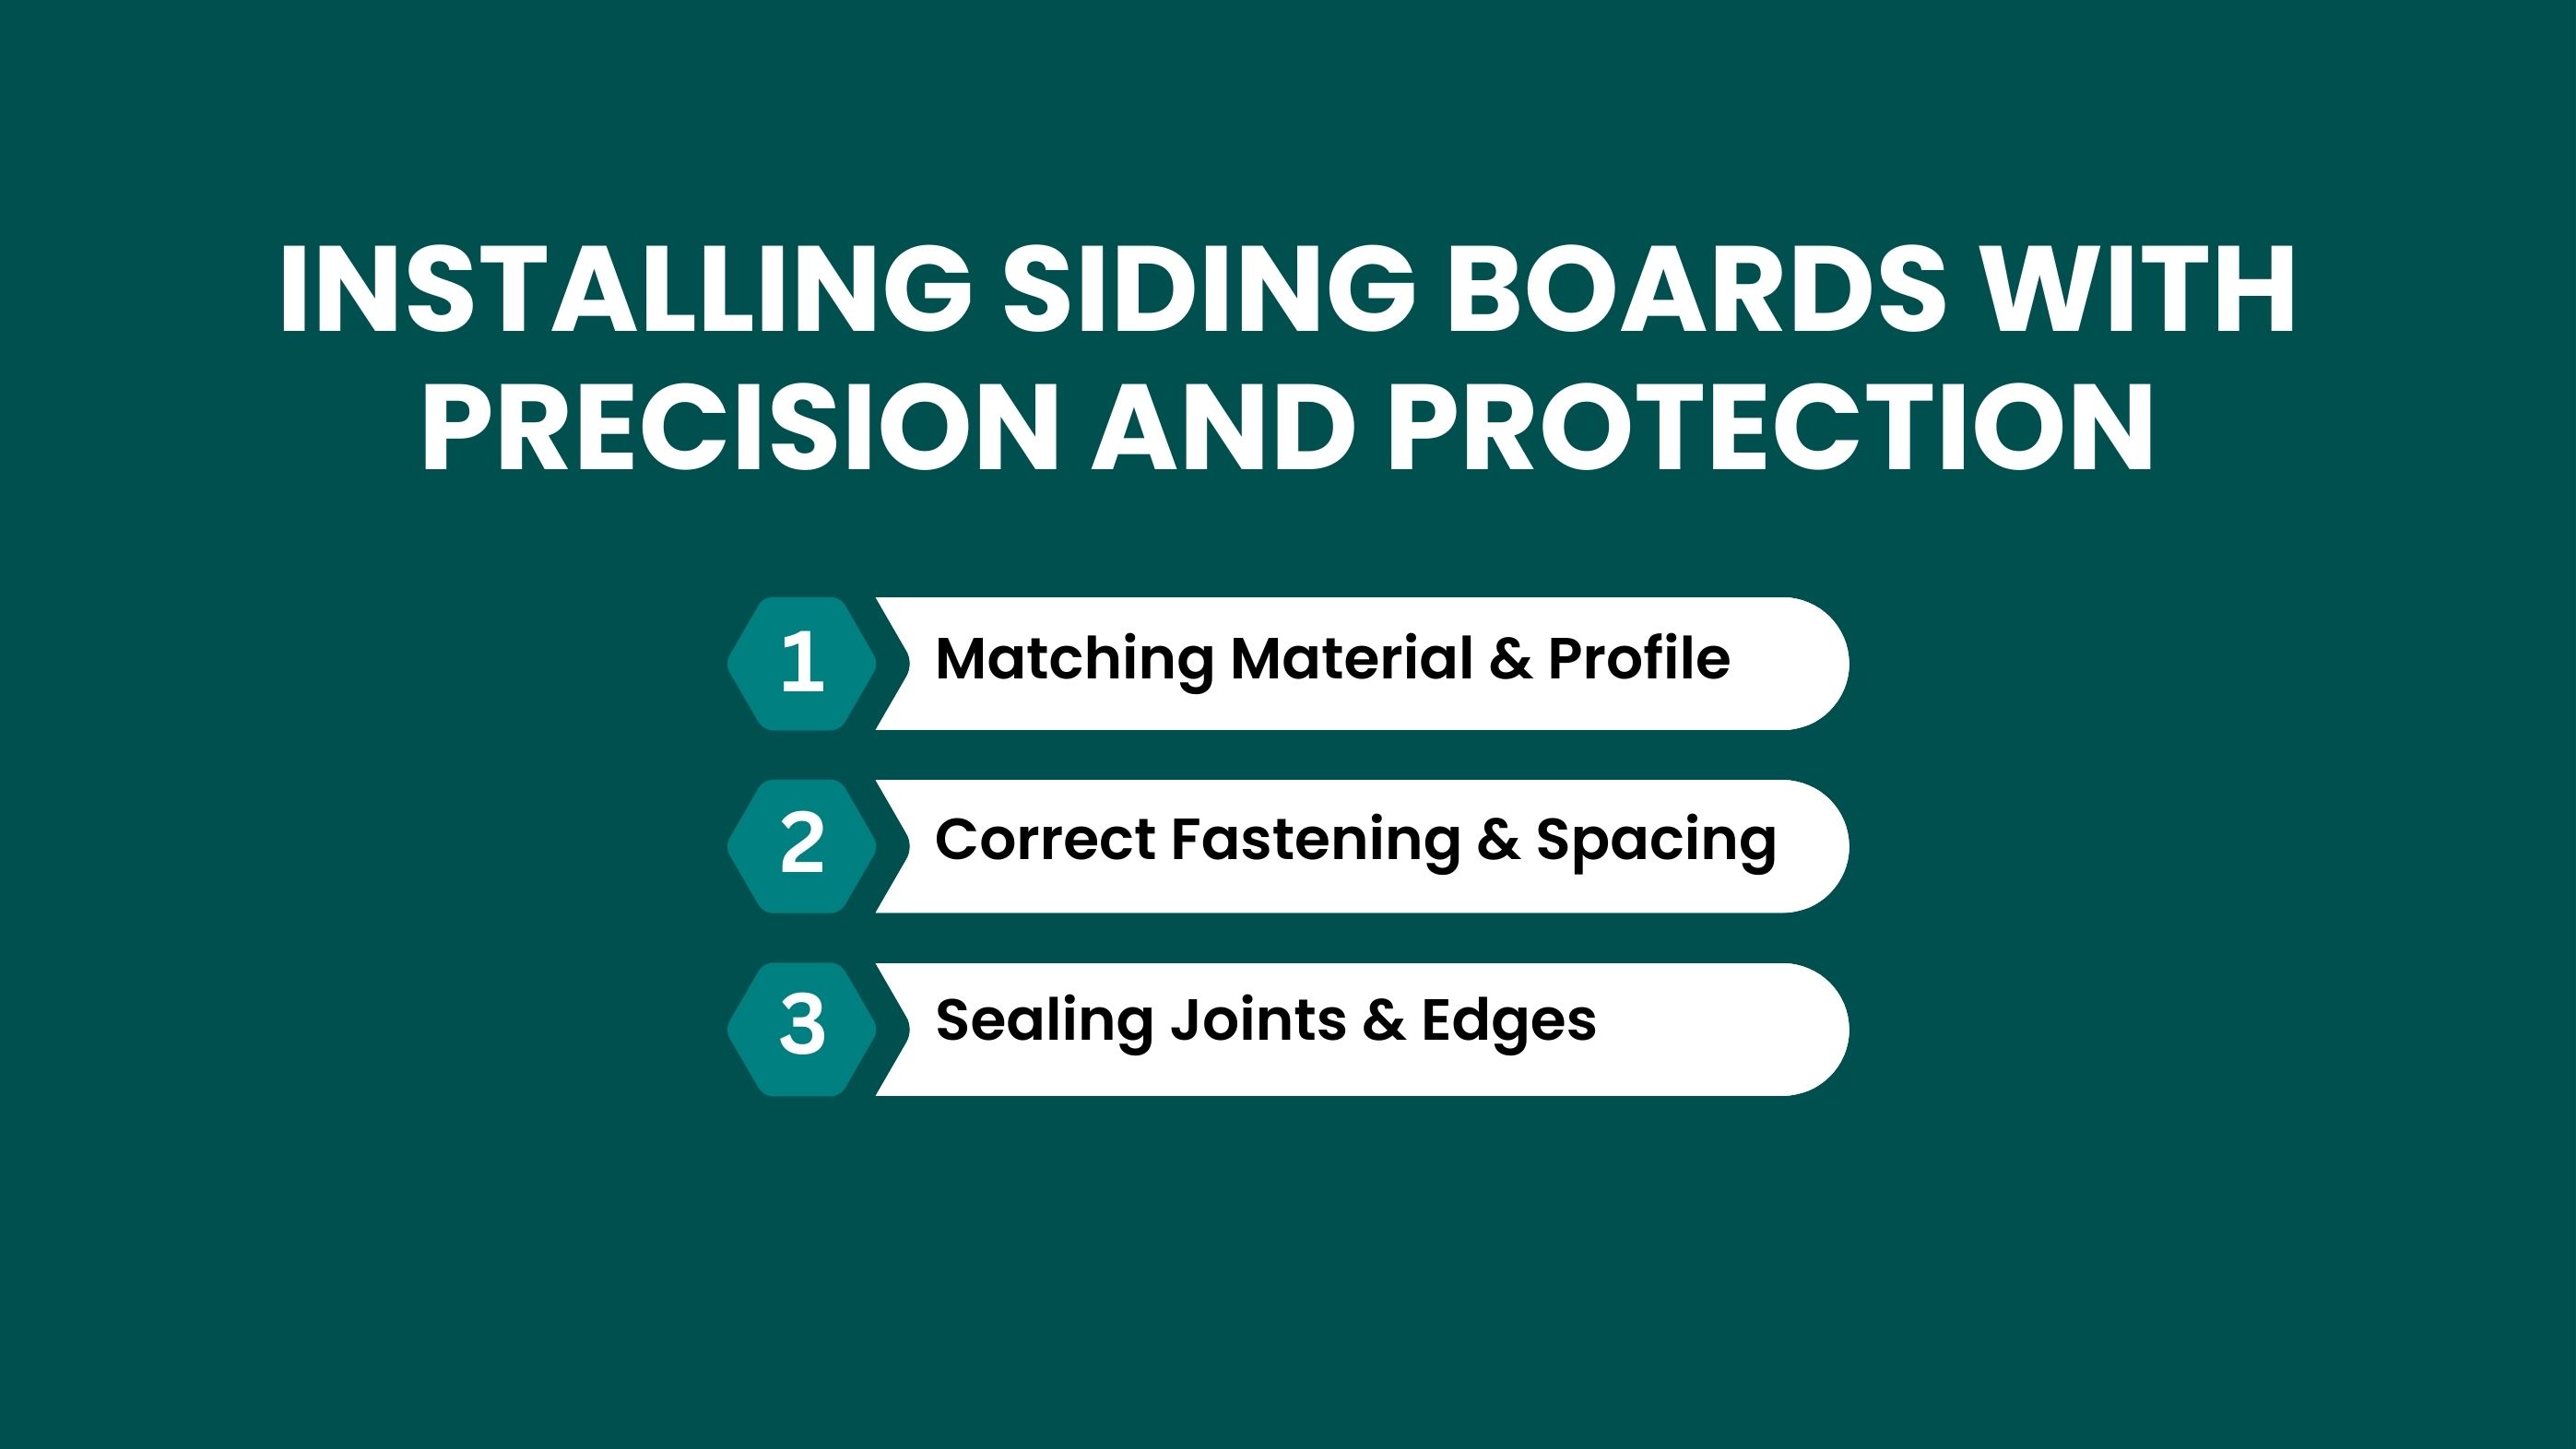
Before installation, the replacement board must match the existing siding in material, thickness, and edge profile. Whether the siding is vinyl, fiber cement, engineered wood, or natural wood, even slight differences can prevent proper locking or overlap. A mismatched board often creates visible seams or uneven lines and may fail to seal correctly, increasing the risk of leaks around that section.
The new board must be secured using the same fastening method as the surrounding panels. Fasteners driven too tight can restrict natural movement, leading to cracking or warping when temperatures change. Fasteners that are too loose can allow the board to shift or rattle in wind. Correct spacing allows controlled movement—often less than ½ inch—while keeping the panel firmly anchored to the wall.
Once the board is secured, all joints and edges must be sealed to block moisture. Caulk is applied at vertical seams, trim intersections, and exposed edges. Around windows, doors, or rooflines, flashing may be added to guide water away from the wall. Even gaps smaller than ¼ inch can allow moisture behind the siding, leading to rot or mold if left unsealed. Proper sealing ensures the replacement board integrates fully into the siding system and restores full weather resistance.
Not all siding materials respond the same way during removal and replacement. Some materials are rigid and brittle, while others flex or absorb moisture. Using the wrong technique can damage 2–3 surrounding boards, tear the moisture barrier, or create alignment issues that allow water intrusion. Understanding how each material behaves ensures the repair stays localized, structurally sound, and visually seamless.
Replacing Hardie board siding in isolated sections requires controlled handling because fiber cement is strong but inflexible. Installers cut planks using dust-controlled tools to avoid edge chipping and airborne particles. The board must be fully supported during removal and installation, as unsupported sections can crack under their own weight.
Fasteners must be corrosion-resistant and driven to the correct depth—overdriving can weaken the plank, while shallow fastening reduces holding strength. Even slight misalignment can create gaps that allow moisture behind the siding, increasing water exposure at that point by 30–40%. Careful alignment ensures the new plank locks cleanly with existing boards and maintains a uniform surface.
Wood siding replacement requires extra attention to moisture control because wood expands and contracts with humidity. Installers leave small expansion gaps—often just a few millimeters—to allow natural movement without buckling. Replacement boards are primed and sealed on all sides, not just the visible face, to reduce moisture absorption.
Before installation, surrounding trim and flashing are inspected to ensure water drains away from the repair area. Without proper sealing, even a well-fitted board can absorb moisture from the back, leading to rot or softening that may spread to nearby boards.
Removing a single Hardie board without disturbing adjacent panels is one of the most delicate siding repairs. Fiber cement does not flex like vinyl or wood, so installers use controlled prying techniques and specialty tools to disengage the damaged plank gradually.
A single cracked edge on an adjacent board can reduce its fastening strength by over 50%, turning a small repair into a multi-board replacement. Careful removal keeps the surrounding siding intact and allows the new board to install cleanly.
Engineered and composite siding products often include layered materials that resist rot but can delaminate if cut or fastened incorrectly. Replacement boards must follow manufacturer-specific fastening patterns and sealing requirements. Incorrect fastener placement can compromise the board’s integrity and lead to surface separation.
During repair, installers check that joints are resealed properly, as exposed seams can allow moisture intrusion even if the board itself is water-resistant. When handled correctly, composite repairs blend cleanly and maintain long-term durability.
Replacing a single damaged board is far more affordable than full siding replacement, but the price varies based on material type, the difficulty of accessing the damaged area, and the amount of repair needed behind the siding. The following breakdown explains how contractors calculate realistic 2025 pricing for localized siding repairs.
Labor cost depends heavily on how difficult the siding is to cut, remove, and reinstall. Hardie board and other fiber-cement products require special tools, dust-controlled cutting, and careful handling, which raises the labor rate. Wood and engineered wood fall into a moderate range because they must be primed or sealed before installation. Vinyl siding is the quickest and easiest to replace, resulting in the lowest labor cost. Typical labor cost ranges per board:
Labor may increase if the repair requires sheathing replacement, high-ladder work, or working around windows and trim.
Material pricing varies depending on the siding type and thickness. Vinyl boards are the most affordable, while composite and fiber-cement boards cost more due to enhanced durability. Wood boards vary widely based on species and finish, especially cedar or redwood. Average material cost per replacement board:
Homeowners should expect slight price differences if the original siding profile has been discontinued and must be matched with an alternative.
Two identical homes can have different repair costs depending on where the damaged board is located and what lies behind it. Repairs on high walls or second stories take more time, while boards near windows, trim, or corners require more precision. If rot, mold, or soft sheathing is found during removal, repair costs increase. Factors that raise the overall cost include:
These costs ensure the wall becomes fully stable and weather-protected before the new siding board is installed.
Beyond the board itself, small materials are required to restore the wall’s protective layers. This includes caulk, paint, sealants, flashing, and compatible trim pieces. While individually inexpensive, these items ensure the repair blends with the surrounding siding and prevents future moisture intrusion. Typical finishing costs:
These finishing steps complete the repair and help the new board look like part of the original wall.
Replacing a damaged siding board restores protection at that spot, but preventing repeat damage is what keeps the repair effective long-term. Most repeat failures happen because of water exposure, impact, or movement at fasteners. By addressing these areas proactively, homeowners can reduce the risk of future board damage by 40–60% and extend the performance of both the repaired section and surrounding siding.
Proper water control is the most important factor in preventing siding damage. Downspouts should direct runoff at least 4–6 feet away from the foundation so water doesn’t splash back onto siding. Gutters need to stay clear so rain doesn’t overflow and repeatedly soak lower panels. Homes with hard soil, concrete paths, or patios near the walls often experience higher splashback, increasing moisture exposure by 20–30%. Adding gravel beds or drainage strips in these areas helps keep boards dry and stable.
Impact damage is a common cause of repeat board failure, especially near ground level. Lawn equipment, sports activity, and wind-blown debris can strike siding repeatedly over time. Even light impacts can weaken a board after multiple contacts, leading to cracks or splits. Installing low shrubs, edging, or protective barriers can absorb impact before it reaches the siding. Keeping ladders, tools, and heavy equipment a few feet away from walls during maintenance further reduces accidental damage.
Seasonal inspections help identify early warning signs before damage spreads. Homeowners should inspect siding once per year, focusing on loose fasteners, raised nail heads, or cracked paint near edges and seams. These small issues can increase moisture entry at that point by 25–40% if ignored. Touching up paint, resealing joints, and tightening fasteners as needed helps preserve the siding’s protective surface and keeps repaired boards performing properly.
Replacing individual damaged siding boards is one of the most effective and budget-friendly ways to restore the home’s weather protection without committing to a full siding project. By identifying where damage starts, removing the affected sections carefully, and installing new boards with proper alignment and sealing, homeowners can stop moisture intrusion, prevent structural decay, and maintain the home’s curb appeal. Localized replacement keeps the home’s exterior performing as intended while extending the lifespan of the surrounding siding.
Long-term success depends on choosing the correct materials, following proper fastening techniques, and maintaining good drainage and ventilation around the exterior. With routine inspections and simple preventive care, the repaired boards blend naturally with the existing siding and stay durable for years. Whether the damage came from impact, moisture, or structural movement, targeted board replacement ensures the home remains protected, stable, and visually consistent.
Yes, single-board replacement works when surrounding boards are secure and the wall sheathing behind them is still solid and dry.
Most localized replacements take 30–90 minutes, depending on the siding material, access, and whether cutting or sealing is required.
Yes, using a different material or profile can cause uneven expansion, visible gaps, and moisture intrusion at the repair area.
Any damaged sheathing or housewrap must be repaired first. Installing a new board over wet or soft surfaces can trap moisture and cause further damage.
It’s possible but difficult. Fiber cement requires special cutting tools, dust control, and careful handling to avoid cracking or unsafe exposure.
In most cases, yes. New boards must be primed and painted or sealed so they match the existing siding and resist moisture and sunlight.
Join our mailing list for exclusive updates, expert tips, and special offers tailored to your needs. Be the first to know about the latest in home services.

Renovize Home is a platform that supports homeowners from planning to renovation. Whether it’s Renovize AI for guidance or a one-on-one call with Pro Finder, we understand your project and match you with local contractors tailored to your needs.
Who We Are
About Renovize HomeGet in TouchHomeownwer Support:
Coming Soon!
General Inquiries:
support@renovizehome.com
Head Office:
24 Greenway Plaza, STE 1800M, Houston, TX 77046.