Explore All
BROWSE BY CATEGORY
Interior
Exterior
Home Essentials
Homeowner Tools
Blogs & Guides
Find a Pro
Book Your Appointment Now
Home Essentials
About Renovize Home
Explore All
BROWSE BY CATEGORY
Interior
Exterior
Home Essentials
Homeowner Tools
Blogs & Guides
Find a Pro
Book Your Appointment Now
Home Essentials
About Renovize Home
Last Updated 2025-12-15
Installing new siding is one of the best ways to strengthen a home’s exterior, improve weather protection, and refresh its appearance. Whether the house is decades old or newly built, the siding installation process follows a similar structure, preparing the walls, adding a moisture barrier, installing trim components, and securing each siding panel correctly. However, older homes often require additional steps such as removing existing siding, repairing damaged sheathing, and correcting moisture issues before new siding can be installed.
In this, we can explain how siding installation works for both old and new houses, including the tools you need, how to prepare the exterior, step-by-step installation instructions, and what changes when working on a newly constructed home versus an older one. By the end of this, homeowners will understand exactly how new siding is installed and what to expect during the process, no matter the age of the home.
Table of Contents
What Installing New Siding Really Involves
Tools and Materials Needed to Install Siding
How to Prepare an Old House for New Siding
How to Prepare a New Construction House for Siding
How to Install New Siding on Any House
Siding Installation Techniques by Material Type
Cost to Install New Siding on a House (2025)
Mistakes to Avoid When Installing Siding
Final Outcome
Installing new siding is a detailed process that protects the home from moisture, improves insulation, and creates a clean, finished appearance. Whether the house is newly built or decades old, the installation follows the same core steps: prepare the walls, install a moisture barrier, set trim pieces, and attach siding panels with proper spacing. Older homes may need additional repairs, but the overall method remains the same.
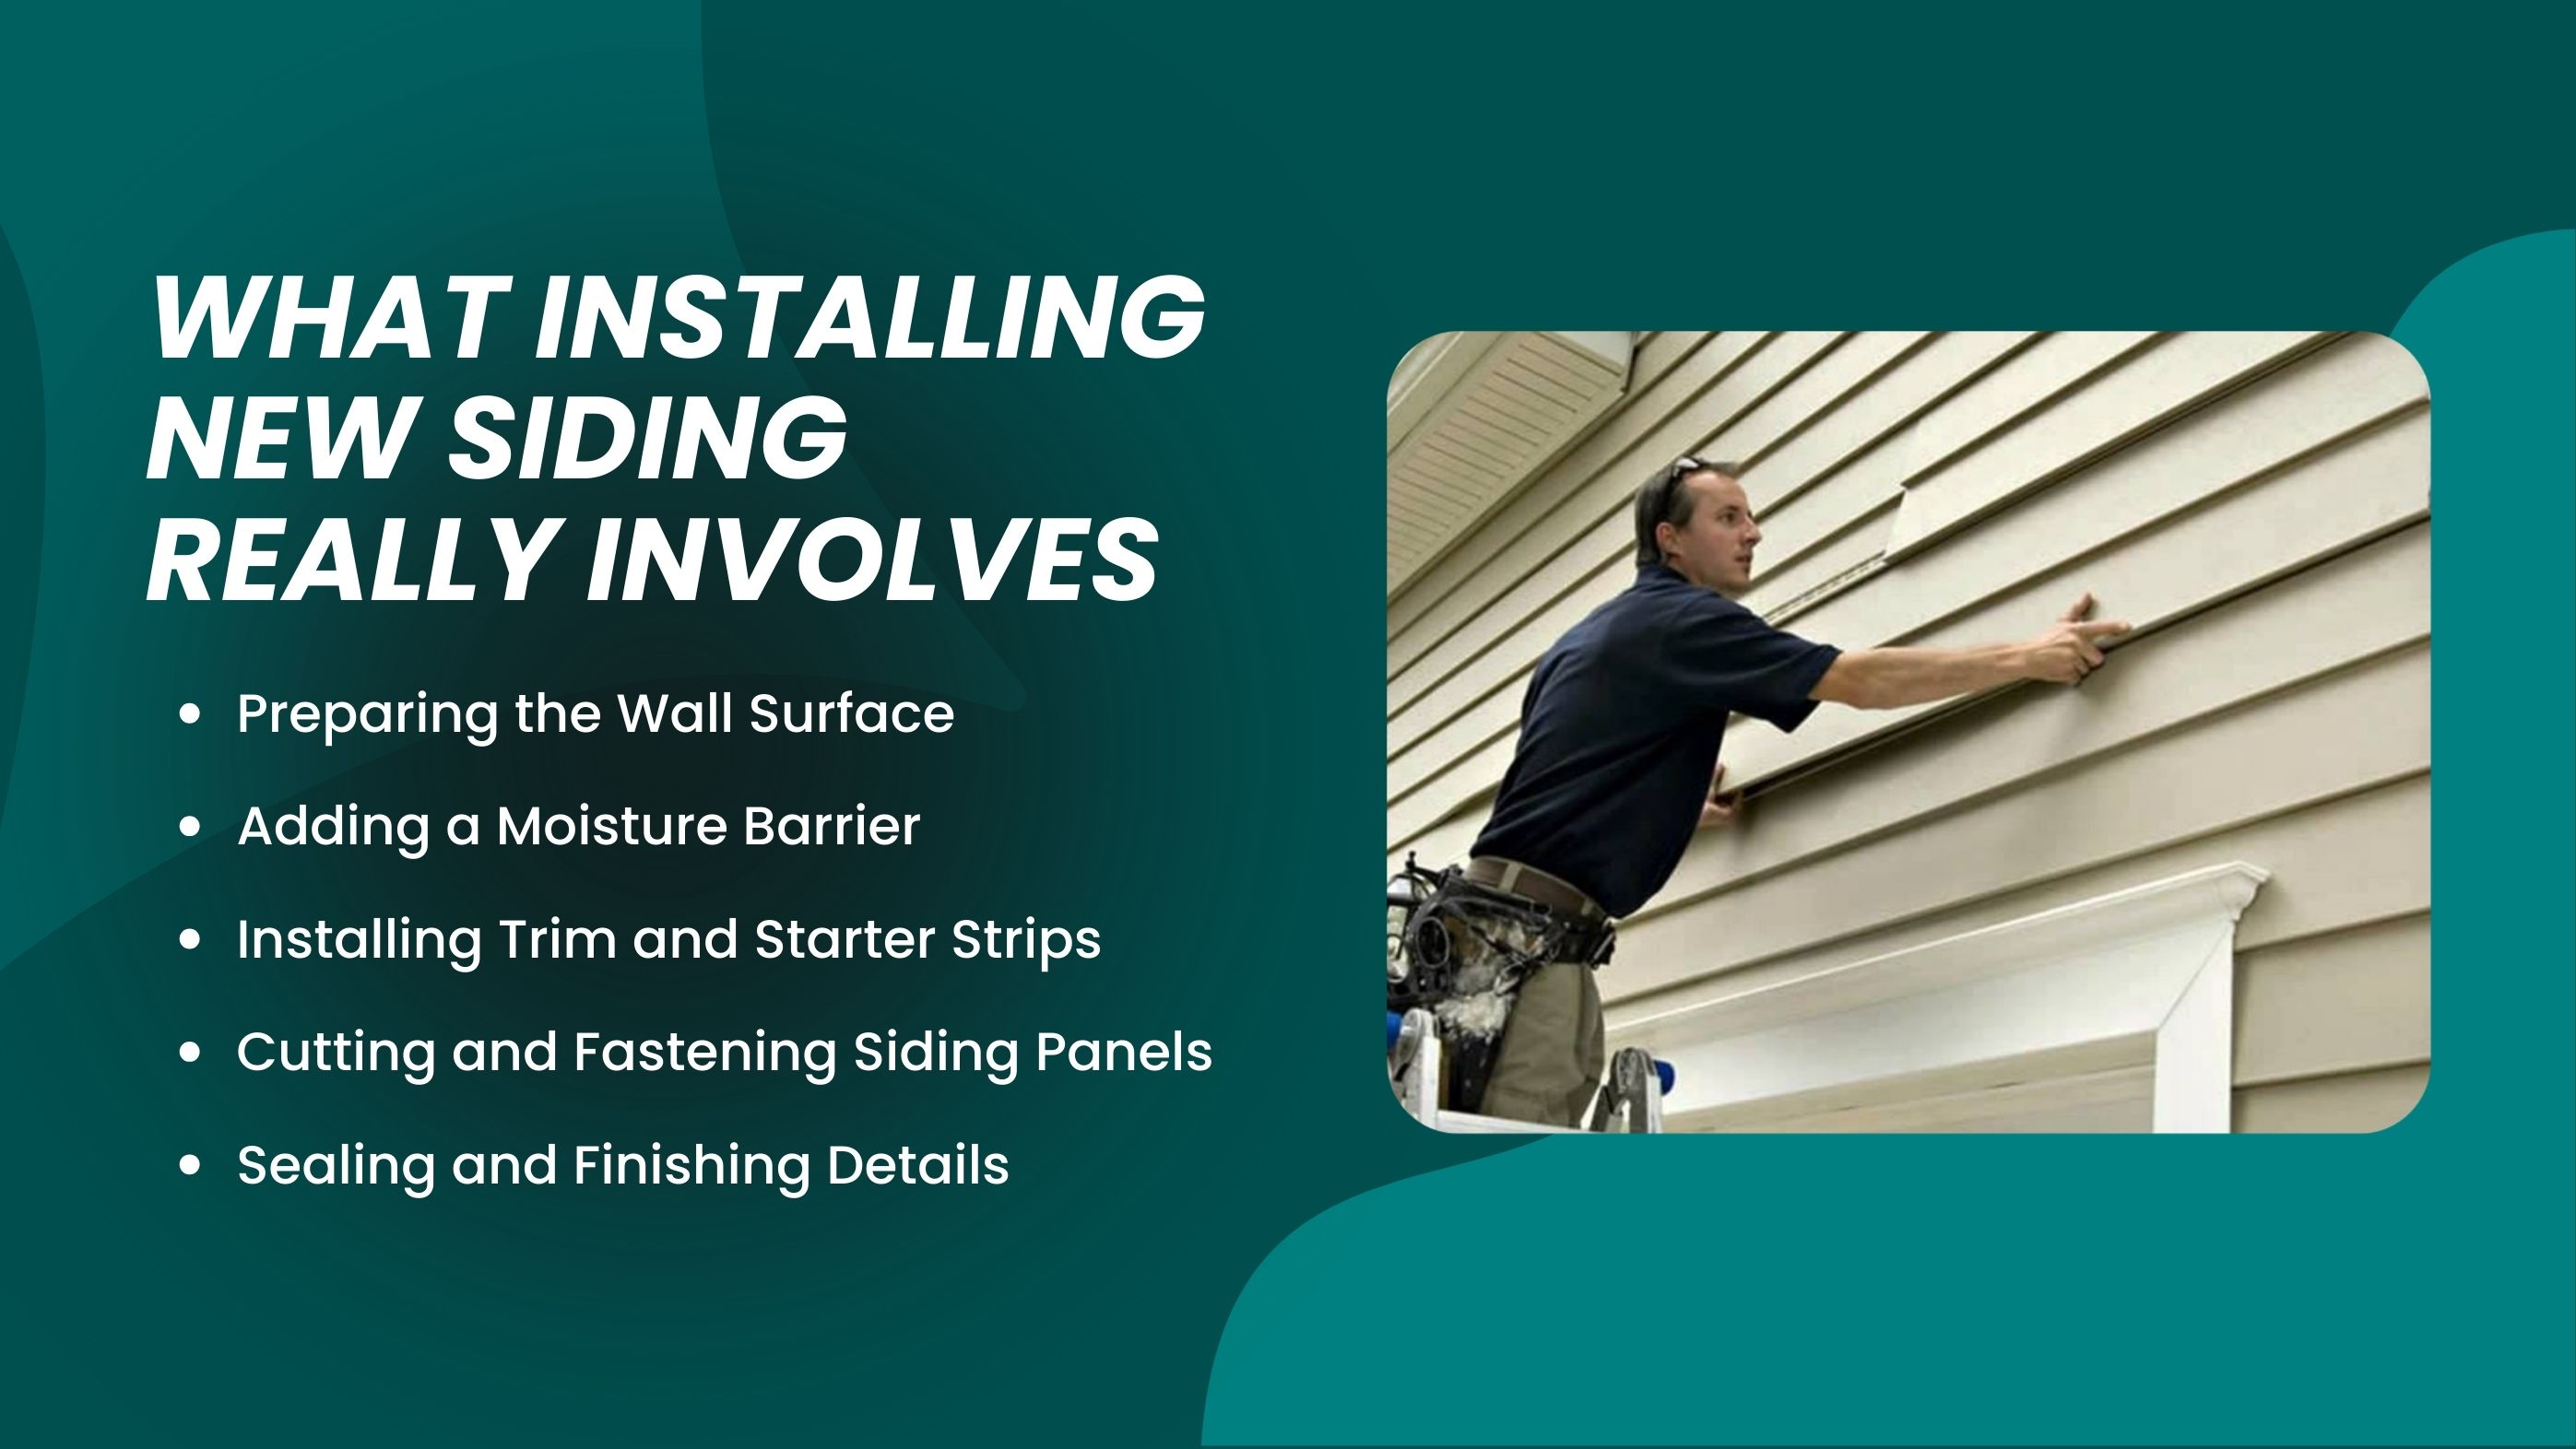
Before siding installation begins, the exterior walls must be smooth, solid, and free from damage.
A well-prepared wall ensures the new siding sits flat, stays secure, and lasts longer.
A house wrap or moisture barrier is applied to protect the sheathing from wind-driven rain and trapped humidity. This barrier stops water from reaching the wood structure while allowing the home to breathe. It is especially important in older homes, where outdated barriers may be damaged or missing. Without this layer, siding alone cannot prevent moisture-related problems such as rot or mold.
Trim components are installed before siding panels because they guide alignment and seal weak points. Starter strips set the base level for the first row of siding, while corner posts, J-channels, and window/door trim prepare the frame. A few key roles of trim include:
Once prep work is complete, siding panels are measured, cut, and attached. Each material, vinyl, fiber cement, engineered wood, or metal, has its own rules for nailing, spacing, and overlapping. Panels must be fastened with enough room for natural expansion and contraction. Precise cutting and secure fastening determine how well the siding handles weather, temperature changes, and long-term wear.
The final step involves closing gaps, adding protective sealants, and installing remaining trim pieces. Proper finishing keeps water from entering around corners, windows, and transitions. It also gives the home a polished appearance and strengthens the entire siding system. Even the smallest finishing details, like caulking seams or installing drip caps, play a major role in long-term durability.
Installing siding requires a combination of cutting tools, fastening tools, safety equipment, and material components. Having the right tools ensures clean cuts, accurate alignment, and strong panel attachment. Whether installing siding on an older home or a new build, these essentials remain the same.
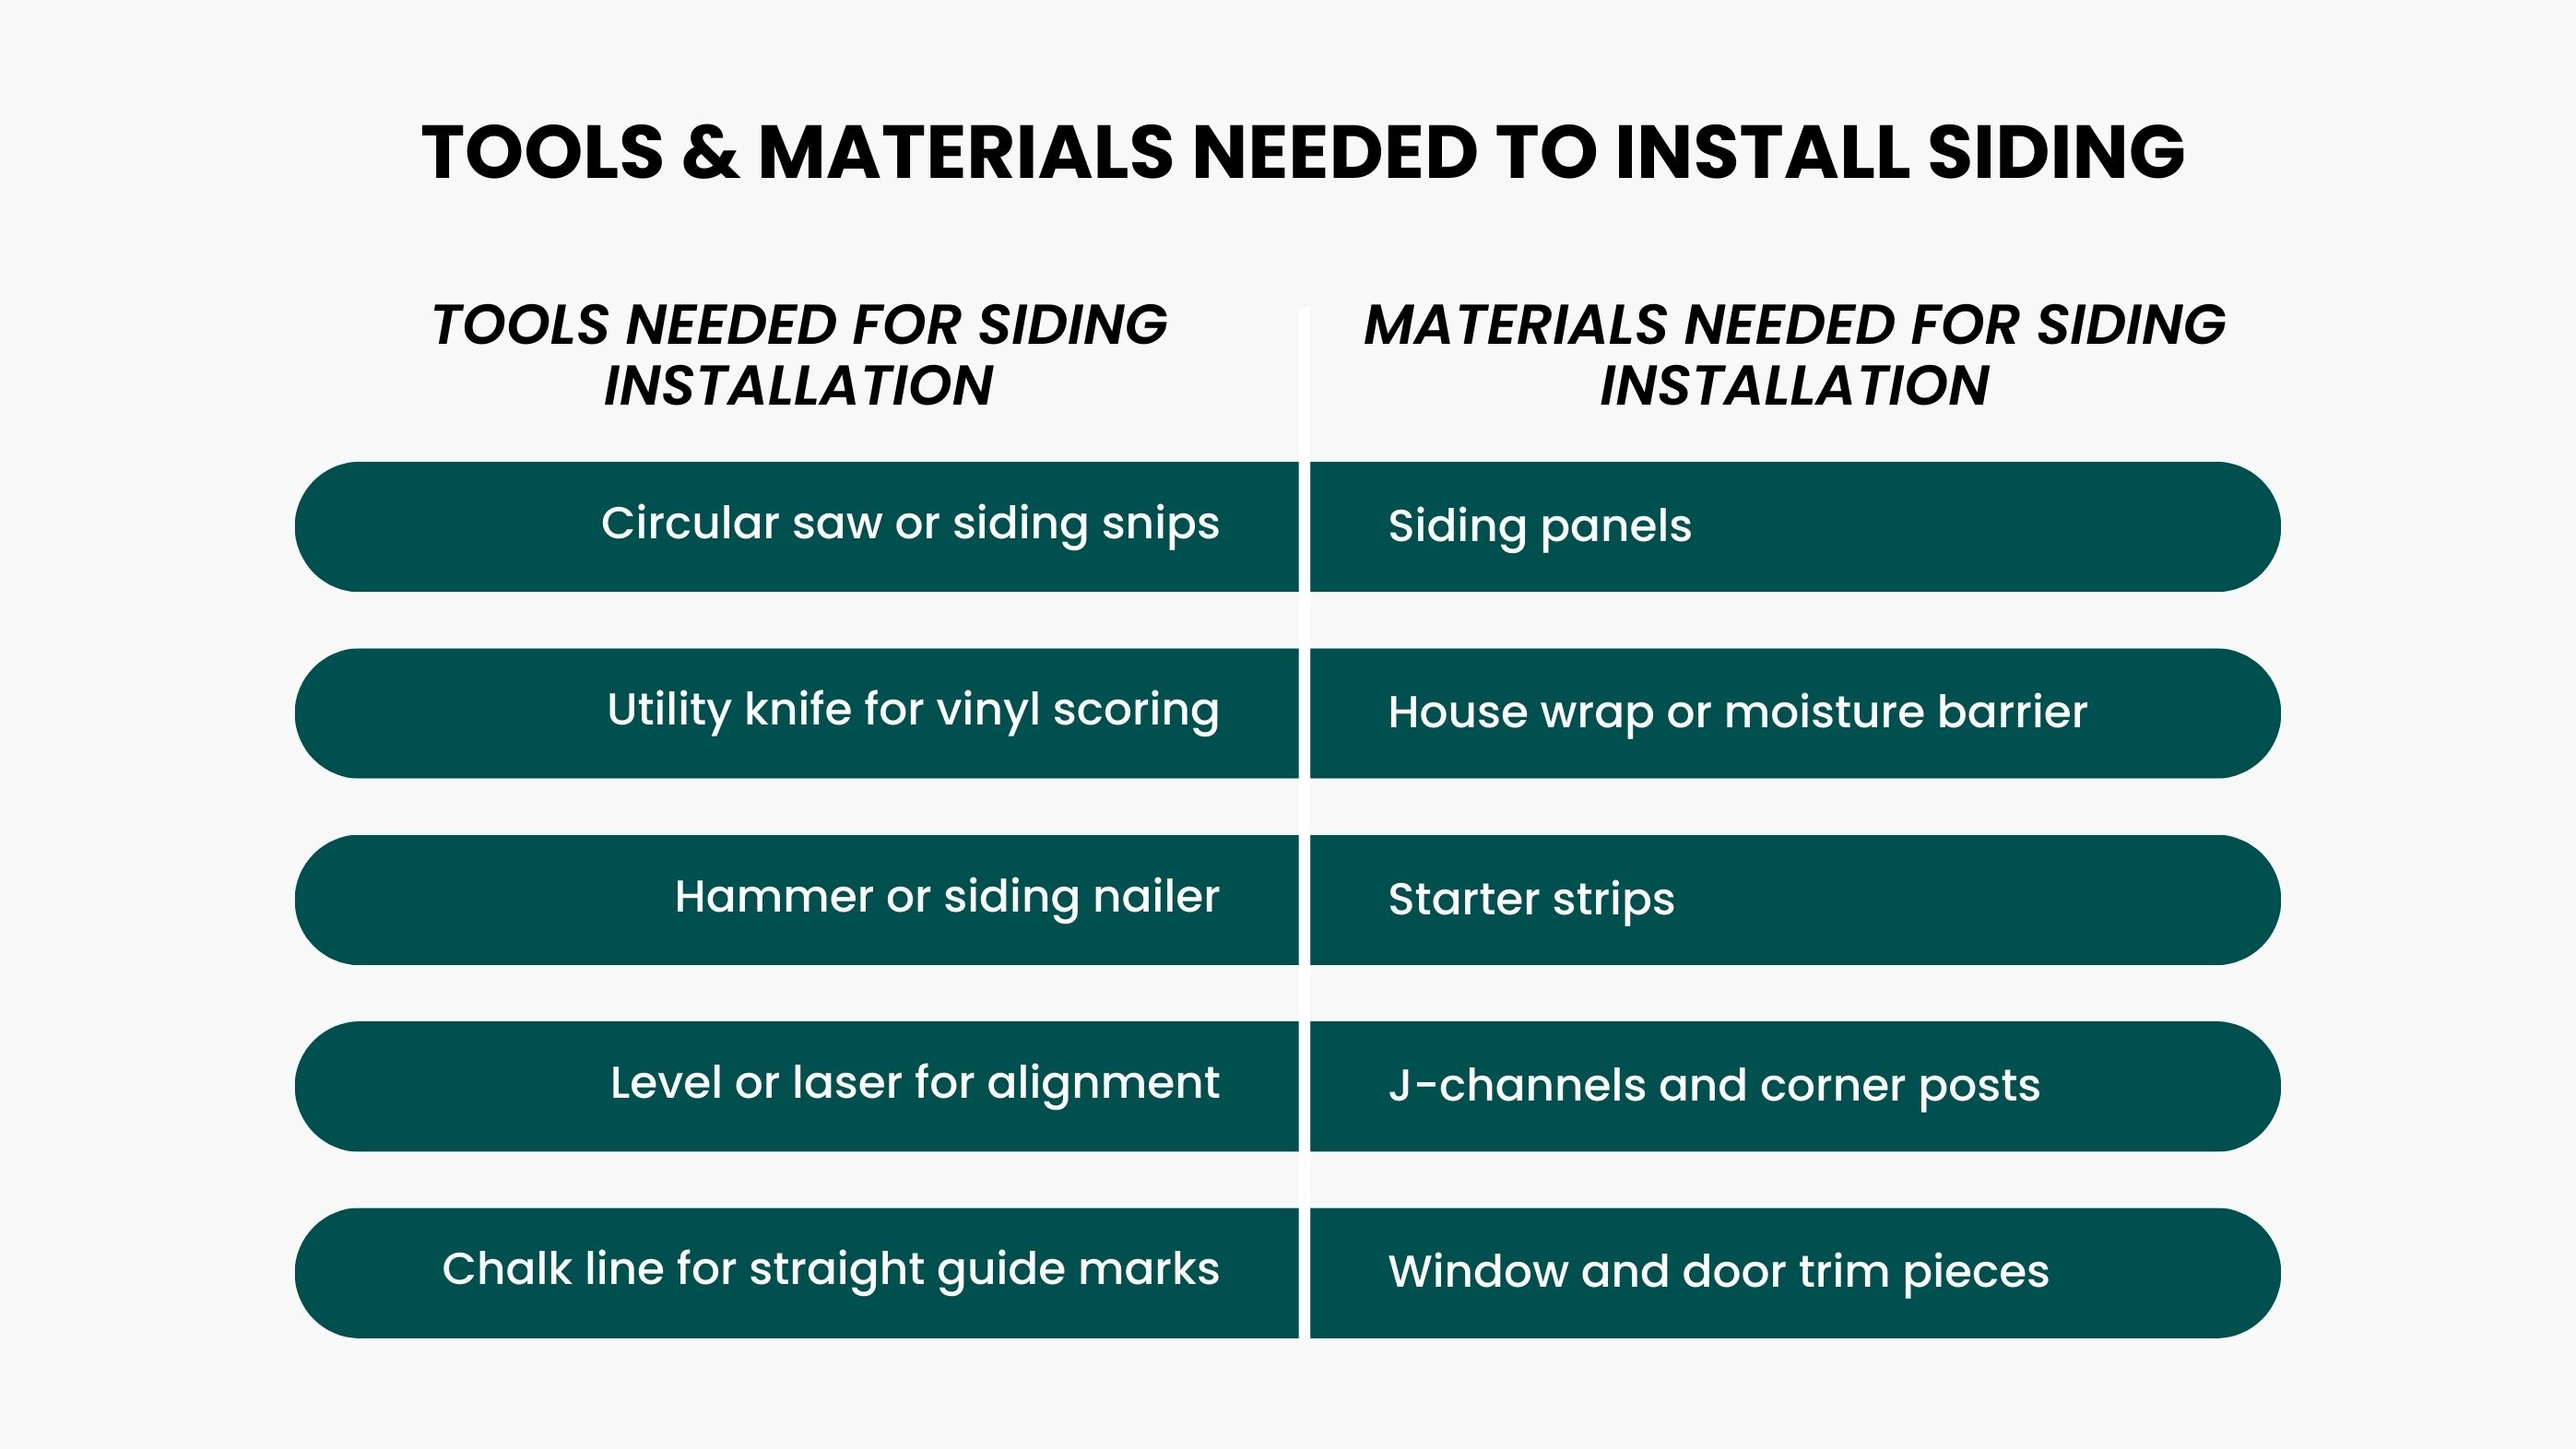
Basic tools are needed to cut siding panels to size and fasten them securely to the wall. Vinyl, fiber cement, wood, and metal siding all require precise cuts and proper fastening to stay durable in changing weather conditions. Common tools include:
These tools help installers maintain accuracy and ensure the siding sits flat and straight.
Siding installation involves working with sharp tools, ladders, and materials that can splinter or produce dust. Safety equipment keeps the installer protected throughout the process. Helpful safety items include:
Regardless of the home’s age, certain materials are essential for a complete siding installation. These materials help create a moisture-resistant, durable, and visually clean exterior. A typical material list includes:
Older homes require more preparation because the existing siding, sheathing, and structural components may have been exposed to decades of weather and moisture. This step is essential to ensure the new siding installs smoothly and lasts for many years. The goal is to identify hidden problems and restore the wall surface so the siding can perform at its best.
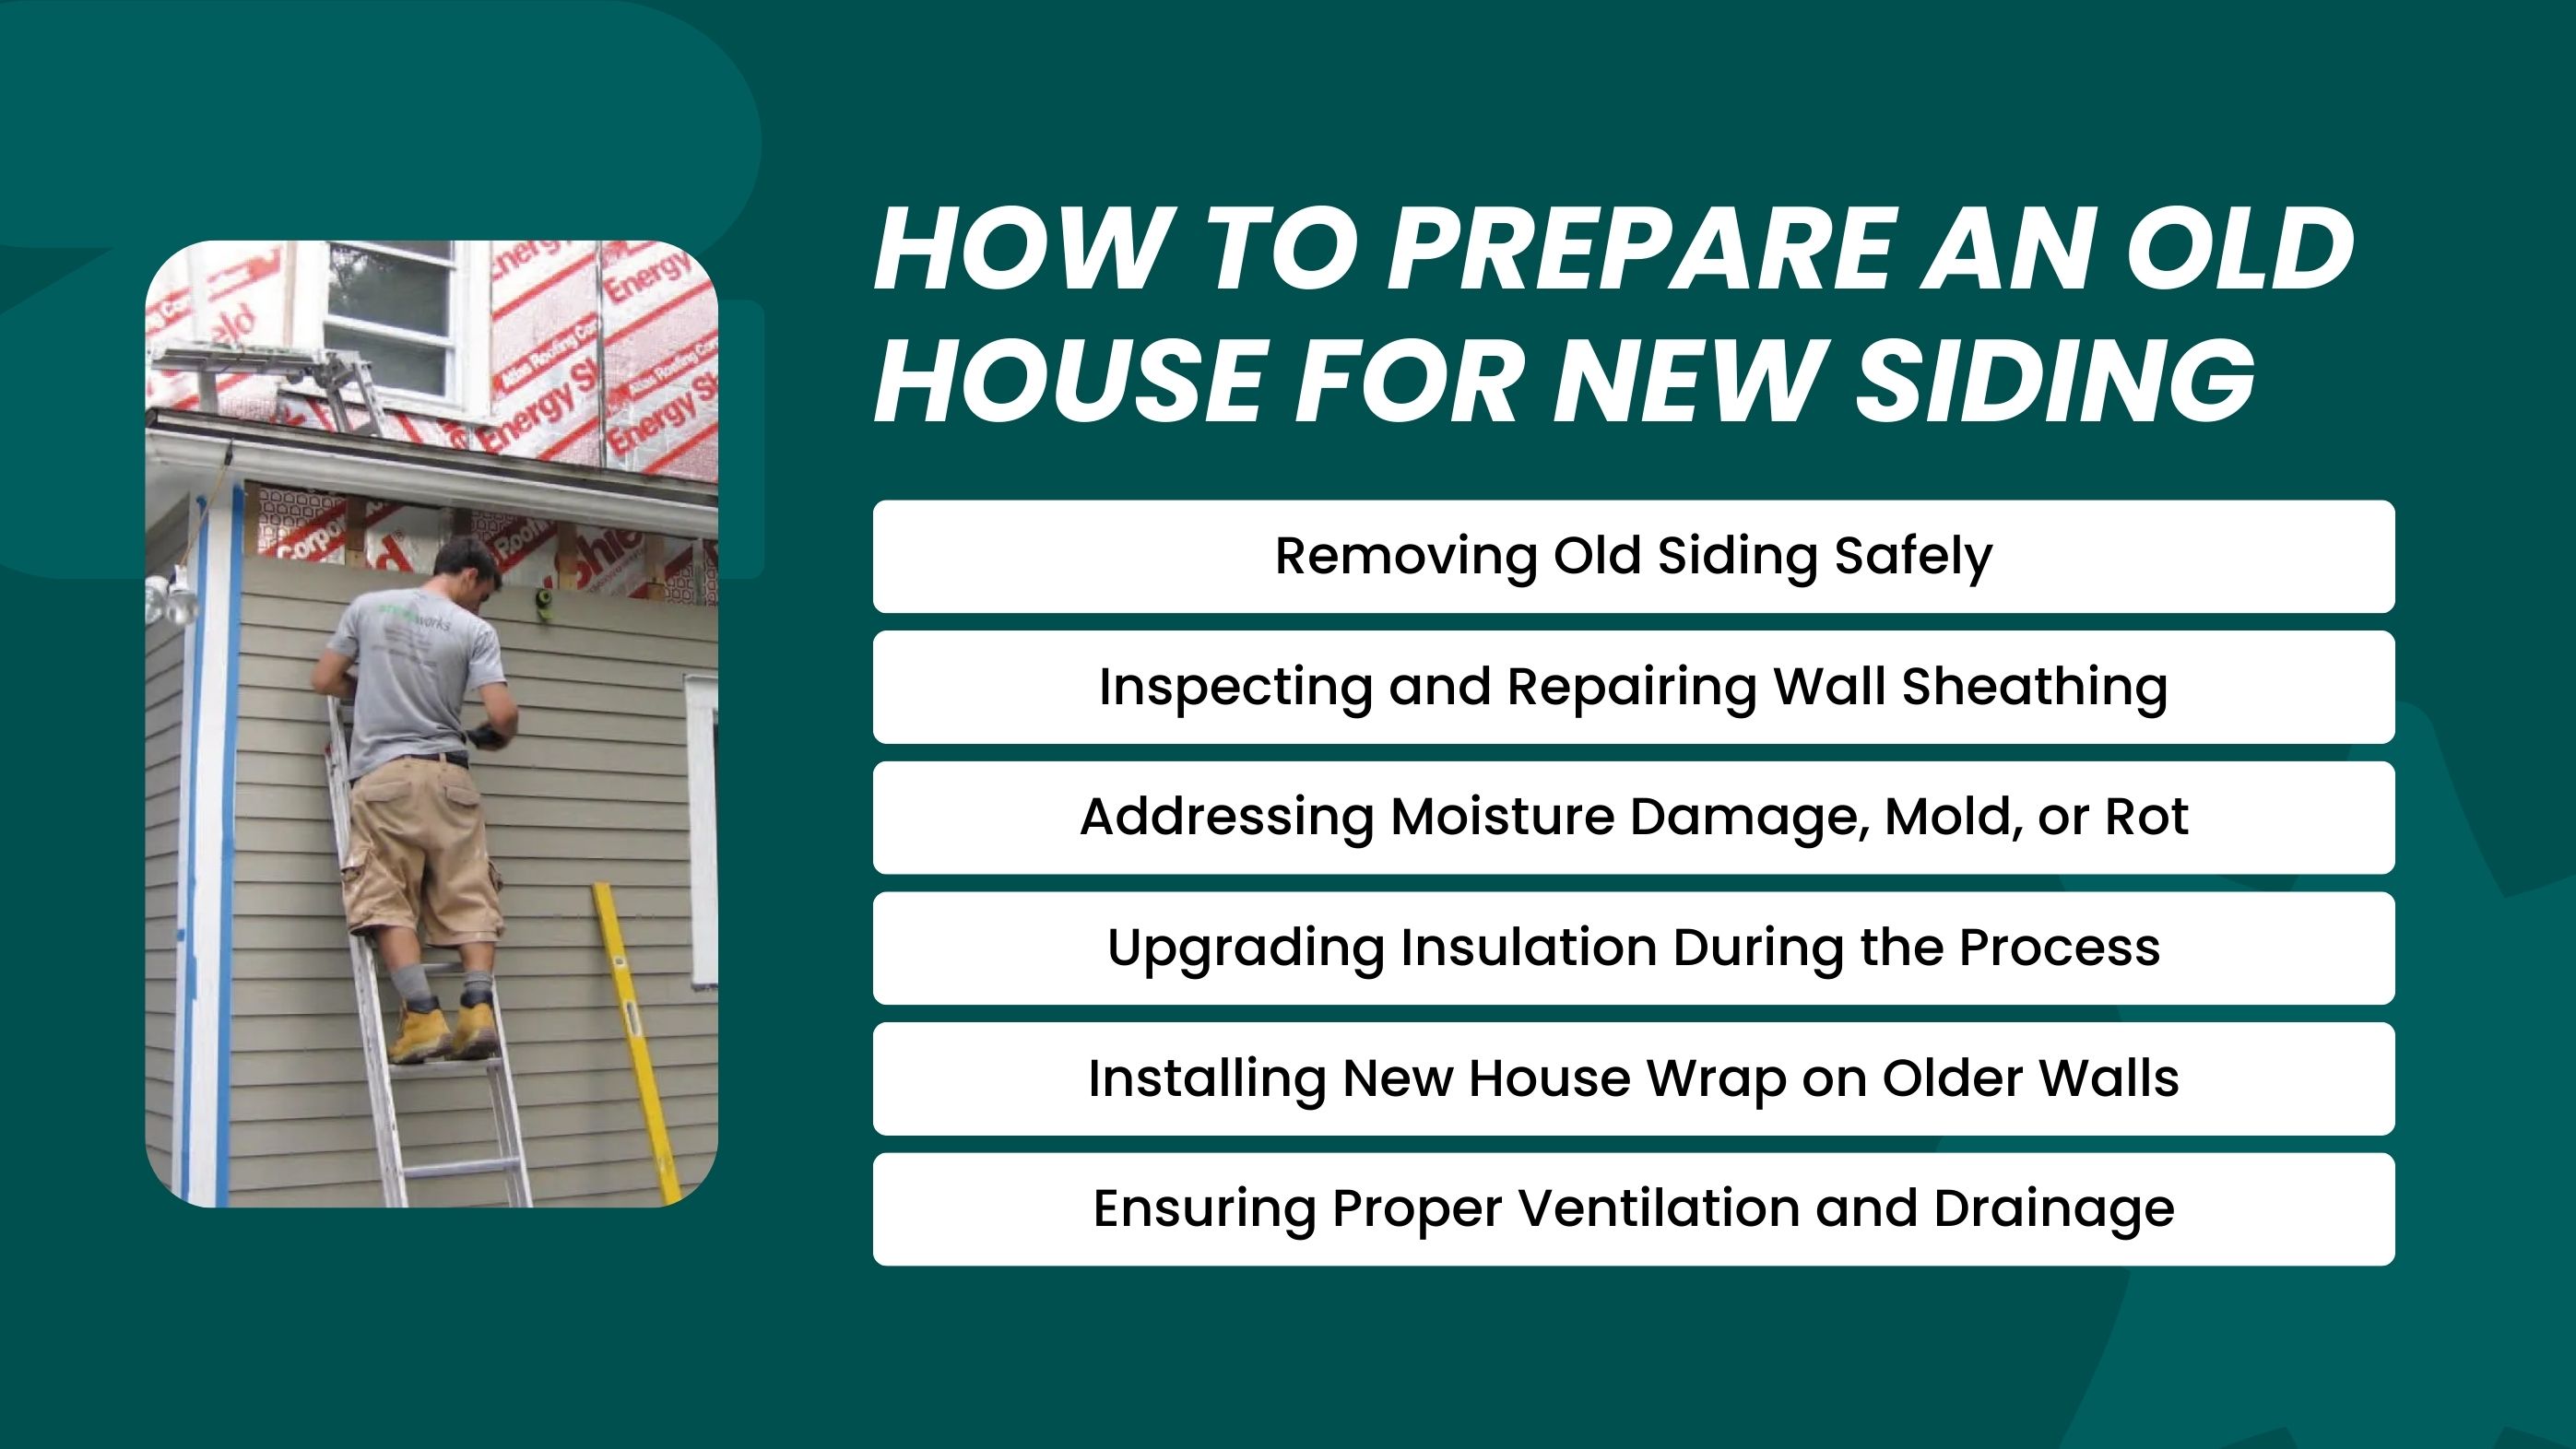
Old siding must be removed carefully to avoid cracking the underlying sheathing or damaging wall studs. Installers typically work in small sections to check what’s behind the panels as they go. If the home contains older siding materials like asbestos shingles, a certified removal contractor must handle the process to ensure safety and proper disposal.
Once the old siding is removed, the exposed sheathing is inspected for holes, soft spots, moisture stains, or areas where the wood feels spongy. Any damaged sheathing must be replaced to provide a strong base for the new siding. Repairing sheathing ensures that the new panels sit flat, remain secure, and don’t shift over time.
Moisture problems are common in older homes because older siding systems often lacked modern moisture barriers. Installers look for signs of mold, rot, or deteriorated wood behind the old siding. Repairs may include:
Replacing siding offers a rare opportunity to upgrade insulation from the outside without opening interior walls. Homeowners can add rigid foam boards, new batt insulation, or weather-resistant exterior insulation. This improves energy efficiency, reduces drafts, and increases the home’s overall comfort.
A fresh weather-resistant barrier (house wrap) is installed over the repaired sheathing to block wind-driven rain and moisture. Older homes may lack this layer entirely or have a worn-out version that no longer performs well. Installing a modern moisture barrier dramatically increases durability and helps the new siding last longer.
Many older houses were built without adequate ventilation pathways or drip edges, leading to trapped moisture. Installers may add soffit vents, improve flashing, or create drainage channels to help moisture escape. Proper airflow and drainage ensure that the new siding remains dry, stable, and protected from future damage.
New construction homes offer a clean, uniform exterior surface, making siding installation more predictable and efficient. With no existing siding to remove, installers can focus entirely on proper alignment, moisture protection, and long-term performance. This preparation stage ensures the siding system is built on a strong, reliable foundation from the start.
New homes provide flat, freshly installed sheathing with no hidden damage or irregularities. Installers inspect the surface to confirm it is level, securely fastened, and ready for siding. This clean base reduces the risk of panel movement, waviness, or alignment issues after installation.
House wrap is installed directly over the sheathing to block moisture intrusion while still allowing vapor to escape. Proper installation includes overlapping seams, sealing edges, and fully covering the wall surface. When applied correctly, house wrap supports energy efficiency and protects the wall system from wind-driven moisture.
Windows and doors are sealed using flashing tape or metal flashing to block common water entry points. Flashing is installed in layers to direct water outward rather than behind the siding. This step protects framing around openings, which are among the most vulnerable areas of the home exterior.
All trim components are installed before siding to establish straight, consistent reference lines. Starter strips set the level for the first row of siding, while corner posts and J-channels define edges and transitions. Accurate trim placement ensures panels install evenly and maintain a clean, professional appearance.
New construction homes typically require less prep work because framing, sheathing, and moisture barriers are already intact. There is no demolition or repair phase, which significantly reduces labor time. This makes siding installation faster, more efficient, and more consistent compared to older homes.
Installing siding follows the same core process whether a home is newly built or several decades old. Once exterior walls are properly prepared, repaired, wrapped, and protected, the installation becomes systematic and reliable. Each step plays a critical role in ensuring the siding sits flat, resists moisture intrusion, and adapts to temperature changes over time. While techniques may vary slightly by siding material, the sequence below applies to most residential siding installations.
Starter strips are installed along the base of the wall to establish a perfectly level starting point for the siding. Because every panel above follows this line, accuracy at this stage is essential. A properly aligned starter strip ensures the entire siding system installs straight and evenly.
Corner posts and trim boards are installed next to define the outer edges of the wall and frame openings. These components create clean transitions, support panel alignment, and allow room for natural expansion. Proper trim installation also helps protect corners and edges from water intrusion.
Siding panels are measured and cut to fit around windows, doors, and wall transitions. Each material requires specific cutting tools, but the goal remains consistent—clean edges and precise sizing. Accurate cuts allow panels to lock together correctly and prevent gaps or warping.
Panels are fastened using designated slots that allow controlled movement as temperatures change. Fasteners are never driven too tightly, as this can cause buckling or cracking. Correct spacing helps the siding withstand wind, heat, and seasonal expansion without damage.
J-channels and window trim pieces are installed around openings to guide panel edges and block moisture. These components create clean borders and prevent water from traveling behind the siding. Proper alignment ensures surrounding panels fit securely and maintain a finished appearance.
In many projects, soffit and fascia are installed or updated alongside the siding. Soffits support attic ventilation, while fascia boards provide a solid base for gutters. Installing these elements together improves exterior protection and creates a cohesive finish.
Each new row of siding overlaps the one below it to create a weather-resistant surface. The overlap depth depends on the siding type, but consistent placement is critical. Proper overlap prevents wind-driven rain from reaching the wall system beneath.
The final step includes sealing joints, installing remaining trim, and inspecting all edges for gaps. Sealants and flashing are applied at vulnerable points such as corners and window edges. These finishing details enhance appearance and ensure long-term moisture protection.
Different siding materials require unique installation techniques. While the overall installation sequence remains similar, each material has its own fastening rules, cutting needs, and handling precautions. Understanding these differences helps ensure proper performance, long-term durability, and consistent appearance across changing weather conditions.
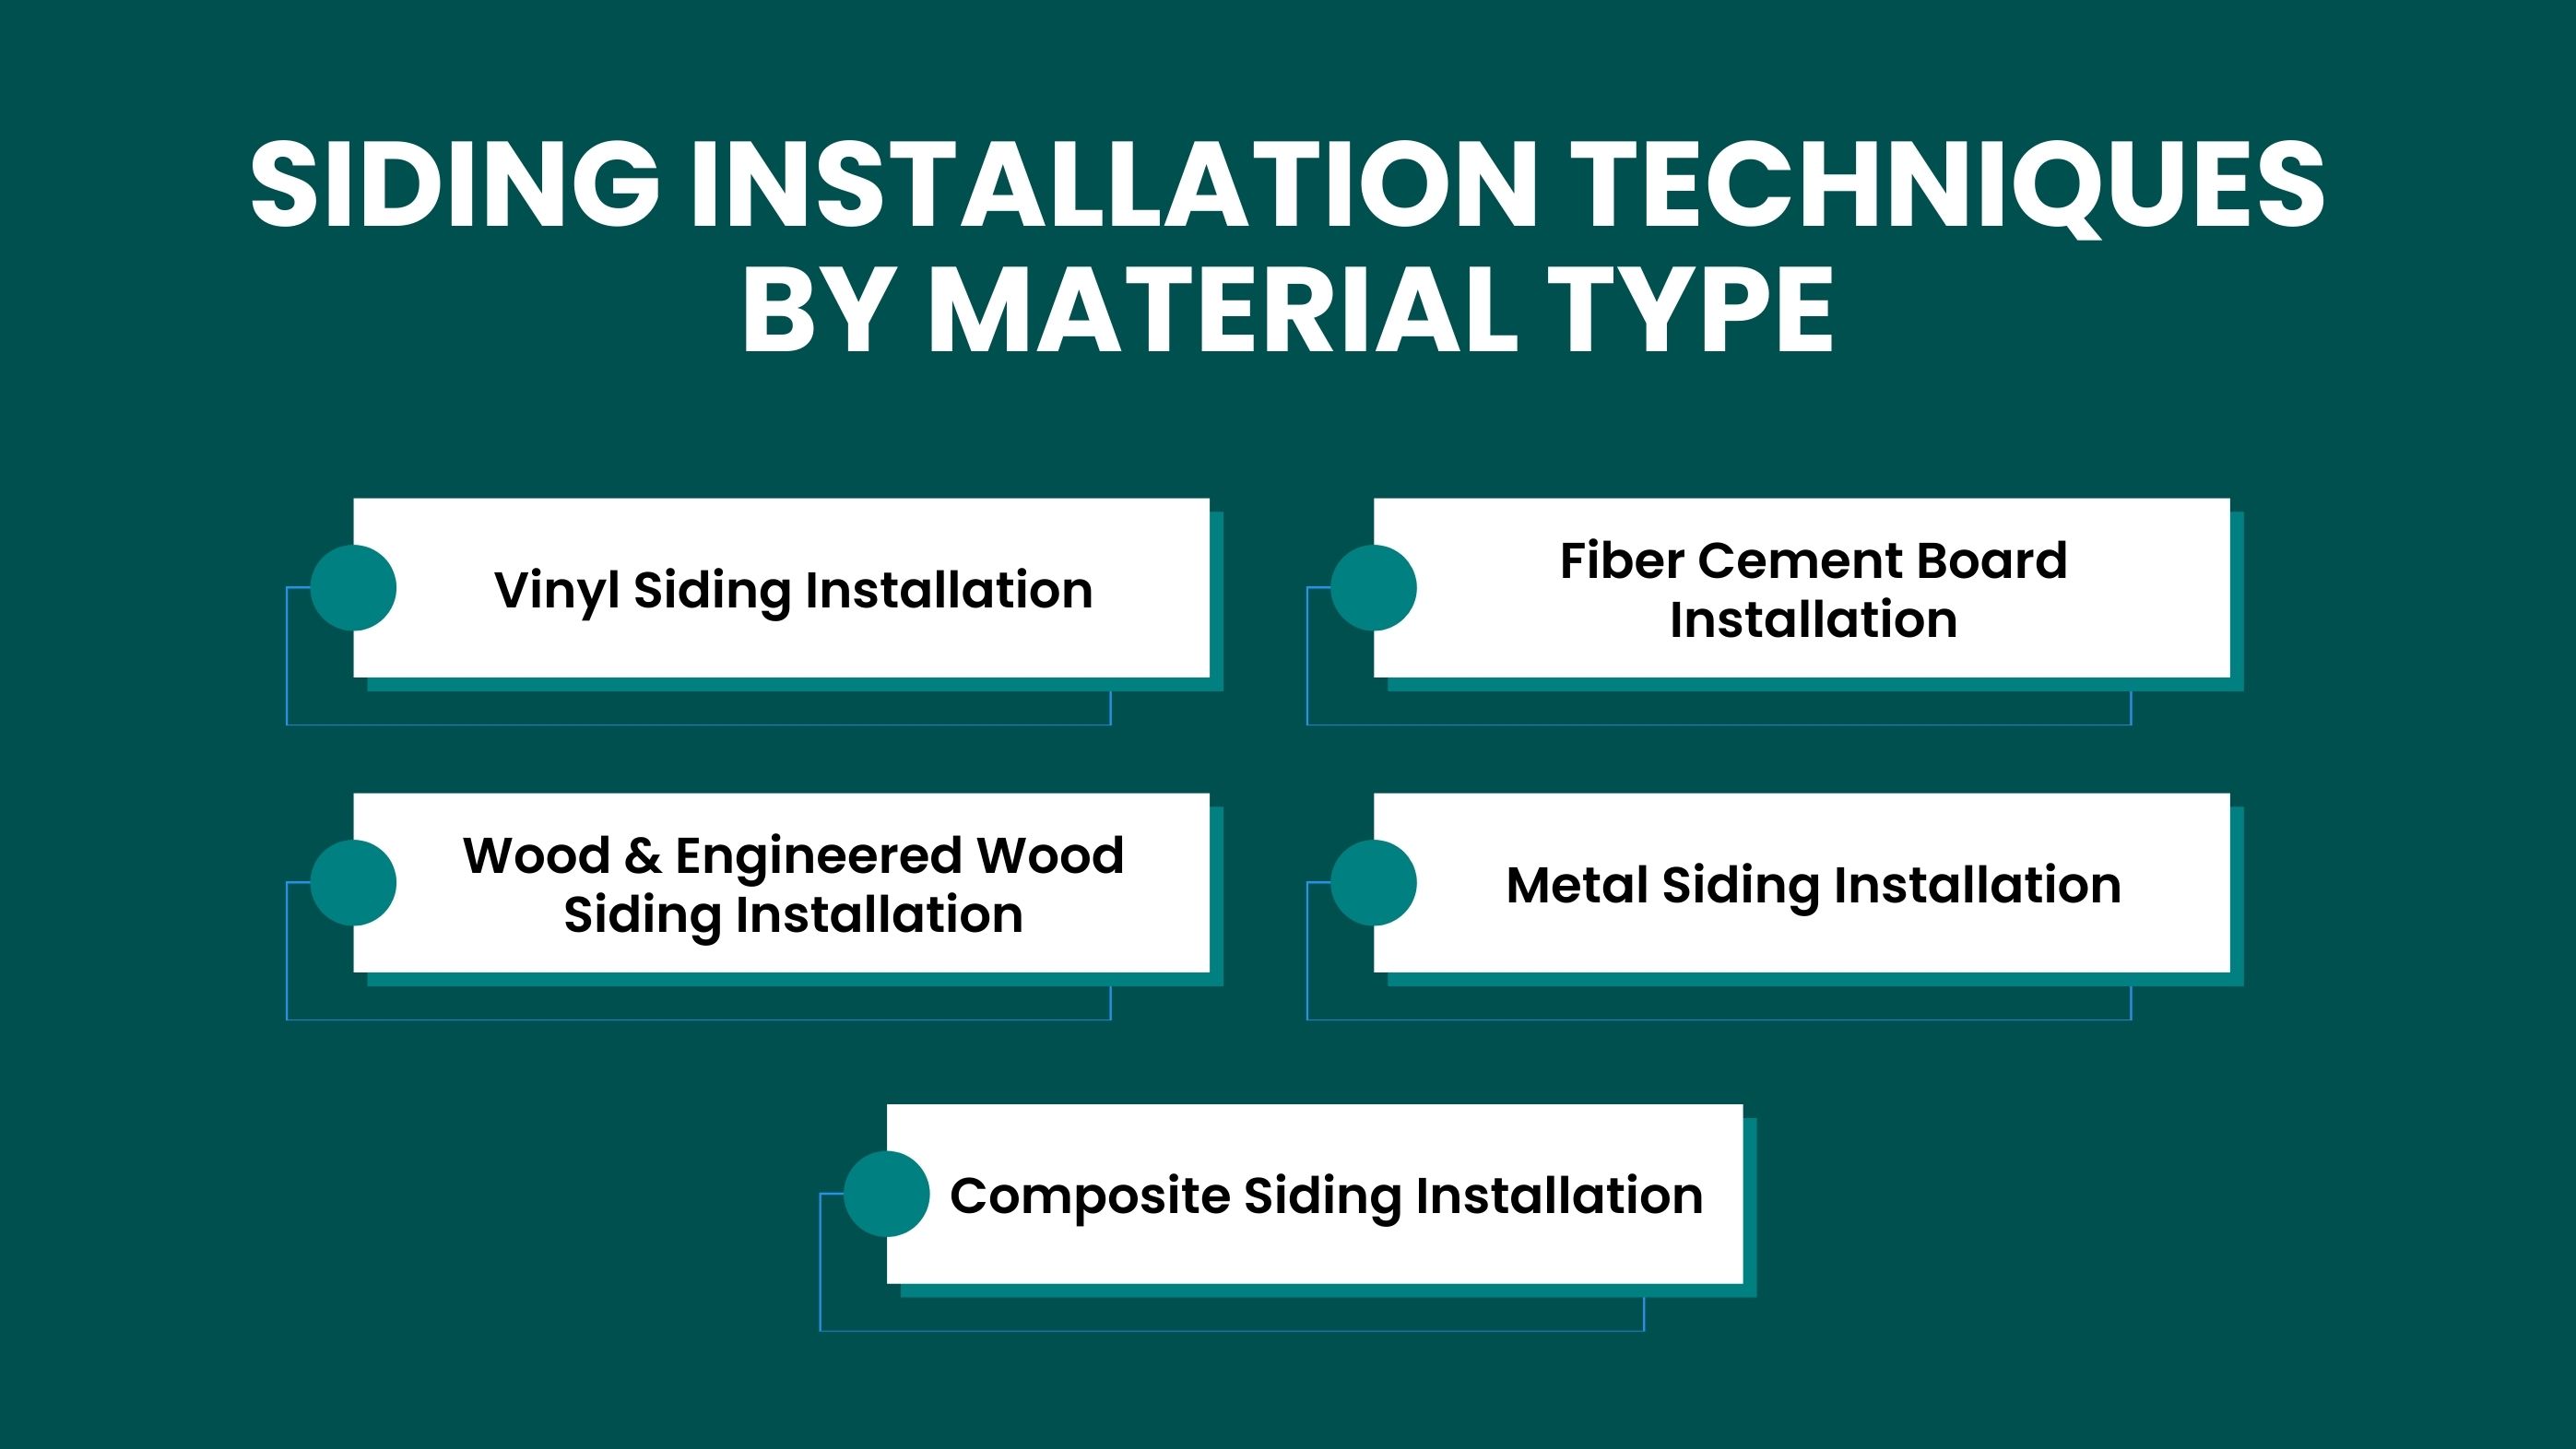
Vinyl siding is installed using a loose-nail method to allow for natural expansion and contraction, which can vary by up to ½ inch across a panel with temperature changes. Panels interlock, and fasteners are placed in slotted holes rather than driven tightly. Proper spacing is essential because vinyl is highly temperature-responsive. When installed correctly, vinyl siding lays flat, resists warping, and typically lasts 20–40 years with minimal maintenance.
Fiber cement boards are dense and heavy, often weighing 2–3 times more than vinyl, which requires specialized cutting tools and secure fastening. Boards are nailed directly through the sheathing using corrosion-resistant fasteners, with precise spacing to prevent cracking. Because of their weight and rigidity, accurate alignment is critical. Properly installed fiber cement siding offers excellent durability and fire resistance, with an expected lifespan of 40–50 years.
Wood and engineered wood siding require careful moisture control during installation. Panels are typically primed and sealed before installation, and small expansion gaps are left to accommodate seasonal moisture changes. Incorrect nailing can cause splitting, especially in solid wood. While these materials provide a warm, natural appearance, they generally require resealing every 3–7 years to prevent rot, swelling, and insect damage.
Metal siding panels, such as aluminum or steel, are installed by fastening them to furring strips or directly to sheathing. Panels interlock or overlap to form a weather-tight exterior, often designed to withstand high-wind conditions when properly secured. Careful handling is required to avoid dents or surface damage. When installed correctly, metal siding can last 40–60 years and offers strong fire resistance with low maintenance needs.
Composite siding is made from blended synthetic materials and wood fibers or polymers. These panels resist moisture, rot, and insect damage, but must be installed according to manufacturer guidelines to maintain warranty coverage—often 30–50 years. Because composite siding holds its shape well, precise alignment during installation is key to achieving a clean, long-lasting finish.
The cost to install new siding depends on the material selected, labor rates in your area, the size of the home, and whether existing siding must be removed. New construction homes usually cost less because preparation is minimal, while older homes often require removal and repairs that increase the final price. In 2025, siding installation is typically priced per square foot, making material choice the biggest cost driver.
| Siding Type | Material Cost per Sq. Ft | Installed Cost per Sq. Ft | Typical Total Project Cost |
|---|---|---|---|
| Vinyl Siding | - | - | $9,000 – $18,000 |
| Fiber Cement | - | - | $12,000 – $28,000 |
| Engineered Wood | - | - | $10,000 – $24,000 |
| Metal Siding | - | - | $12,000 – $32,000 |
| Composite Siding | - | - | $15,000 – $36,000 |
| Old Siding Removal | - | - | $1,500 – $4,000 |
| Repairing Rot / Damage | - | - | +$300 – $2,500 (depending on severity) |
Even small installation errors can cause major problems like warping, water intrusion, or siding failure. Whether installing siding on an old or new home, avoiding common mistakes helps ensure the siding performs well for decades.
Placing nails too close together or far apart affects how siding moves and holds its shape. Incorrect spacing can lead to buckling or panels loosening during storms. Following the manufacturer’s spacing guidelines is essential for proper performance.
Siding should never be nailed tightly against the wall. Panels must hang loosely so they can expand and contract naturally with temperature changes. Over-tightened nails restrict movement, causing cracks or waves to appear.
Installing siding without a proper moisture barrier leaves the home vulnerable to leaks, mold, and wood rot. A high-quality house wrap is essential for keeping the sheathing dry and preventing long-term damage.
Incorrect overlapping allows wind-driven rain to slip behind the siding. Each siding material has specific overlap measurements that must be followed to maintain a weatherproof seal and uniform appearance.
Flashing around windows, doors, and transitions prevents leaks in the most sensitive areas of the home. Poor flashing installation creates long-term moisture issues that can spread into framing and insulation.
If siding is installed with no room for movement, it will warp, ripple, or crack as temperatures change. Leaving proper expansion gaps ensures a smooth and durable finish.
Installing new siding on old or new houses is more than a surface upgrade, it’s a structural investment that protects the home for decades. When the walls are properly prepared, the moisture barrier is installed correctly, and the siding is cut and fastened with precision, the home becomes stronger, more energy-efficient, and better protected against weather, pests, and long-term wear. Whether the project begins with clean new-construction sheathing or involves repairing an older home’s hidden damage, following the right steps ensures a smooth installation and a durable exterior.
Choosing the right siding material, using correct techniques, and avoiding common installation mistakes all contribute to how long the siding will last and how well it performs. Routine maintenance, seasonal inspections, and proper cleaning keep the exterior looking new and prevent small issues from becoming major repairs. With careful planning and the right installation process, homeowners can achieve a beautiful, weather-tight exterior that enhances curb appeal and strengthens the home’s structure for years to come.
Old siding should be removed if it is rotted, warped, cracked, uneven, or trapping moisture behind the walls. Removal is also recommended if repairs, moisture barriers, or sheathing inspection are needed. Overlay installation is only suitable when the existing siding is flat, dry, and structurally sound, with no hidden damage underneath.
Yes, new siding can be installed over old siding only when the existing surface is smooth, securely fastened, and free of moisture damage. The underlying siding must not interfere with fastening, alignment, or flashing. If the old siding hides rot or uneven surfaces, removal is the safer long-term option.
The cost to install new siding depends on material choice, home size, wall condition, and labor complexity. Vinyl siding is typically the most affordable option, while fiber cement, composite, and metal siding cost more due to material weight and installation requirements. Additional costs may apply for removal or repairs.
Yes, but only if existing siding, flashing, and moisture sealing can be properly integrated with the new windows. If window installation disrupts flashing or creates gaps behind siding, partial or full siding removal may be necessary to prevent future leaks and moisture damage.
Join our mailing list for exclusive updates, expert tips, and special offers tailored to your needs. Be the first to know about the latest in home services.

Renovize Home is a platform that supports homeowners from planning to renovation. Whether it’s Renovize AI for guidance or a one-on-one call with Pro Finder, we understand your project and match you with local contractors tailored to your needs.
Who We Are
About Renovize HomeGet in TouchHomeownwer Support:
Coming Soon!
General Inquiries:
support@renovizehome.com
Head Office:
24 Greenway Plaza, STE 1800M, Houston, TX 77046.