Explore All
BROWSE BY CATEGORY
Interior
Exterior
Home Essentials
Homeowner Tools
Blogs & Guides
Find a Pro
Book Your Appointment Now
Home Essentials
About Renovize Home
Explore All
BROWSE BY CATEGORY
Interior
Exterior
Home Essentials
Homeowner Tools
Blogs & Guides
Find a Pro
Book Your Appointment Now
Home Essentials
About Renovize Home
Last Updated 2025-12-17
Filling siding gaps is one of the simplest yet most effective ways to protect your home from moisture intrusion, air leaks, and long-term structural damage. Even small openings around siding edges, trim joints, corners, and window frames can allow rainwater to slip behind the walls, weaken insulation, and create uncomfortable drafts indoors.
This service seals those weak spots so your home stays dry, stable, and energy-efficient. A properly filled gap works like a shield: it blocks water before it reaches the framing, keeps pests out, and restores a clean, finished exterior look.
Table of Contents
Why Repairing Siding Gaps Is Important?
Why Siding Gaps Develop and How to Prevent Them
Types of Siding Gaps Based on Material and Location
Methods to Fill and Fix Gaps Based on Size and Depth
Material-Specific Ways to Seal Siding Gaps Correctly
Caulking and Sealing as One of the Main Fixing Methods
Cost for Filling and Sealing Siding Gaps
Final Thoughts
Repairing and sealing gaps in your siding is one of the most effective ways to protect your home’s structure, comfort, and appearance. Even small gaps—often less than ¼ inch—can allow water, air, and pests to enter the wall system. Over time, these openings increase moisture exposure by 20–30%, leading to damage that is far more expensive to fix later.
Whether you have vinyl, wood, fiber cement, aluminum, or composite siding, taking the time to fix gaps is a simple and effective way to preserve your home's integrity and aesthetic appeal.
Siding gaps don’t appear overnight. They usually form gradually as materials respond to weather, movement, and wear. Even small gaps—sometimes less than ¼ inch—can allow water, air, and pests to enter the wall system. Understanding why these gaps develop helps homeowners prevent leaks, drafts, and structural damage before repairs become costly.
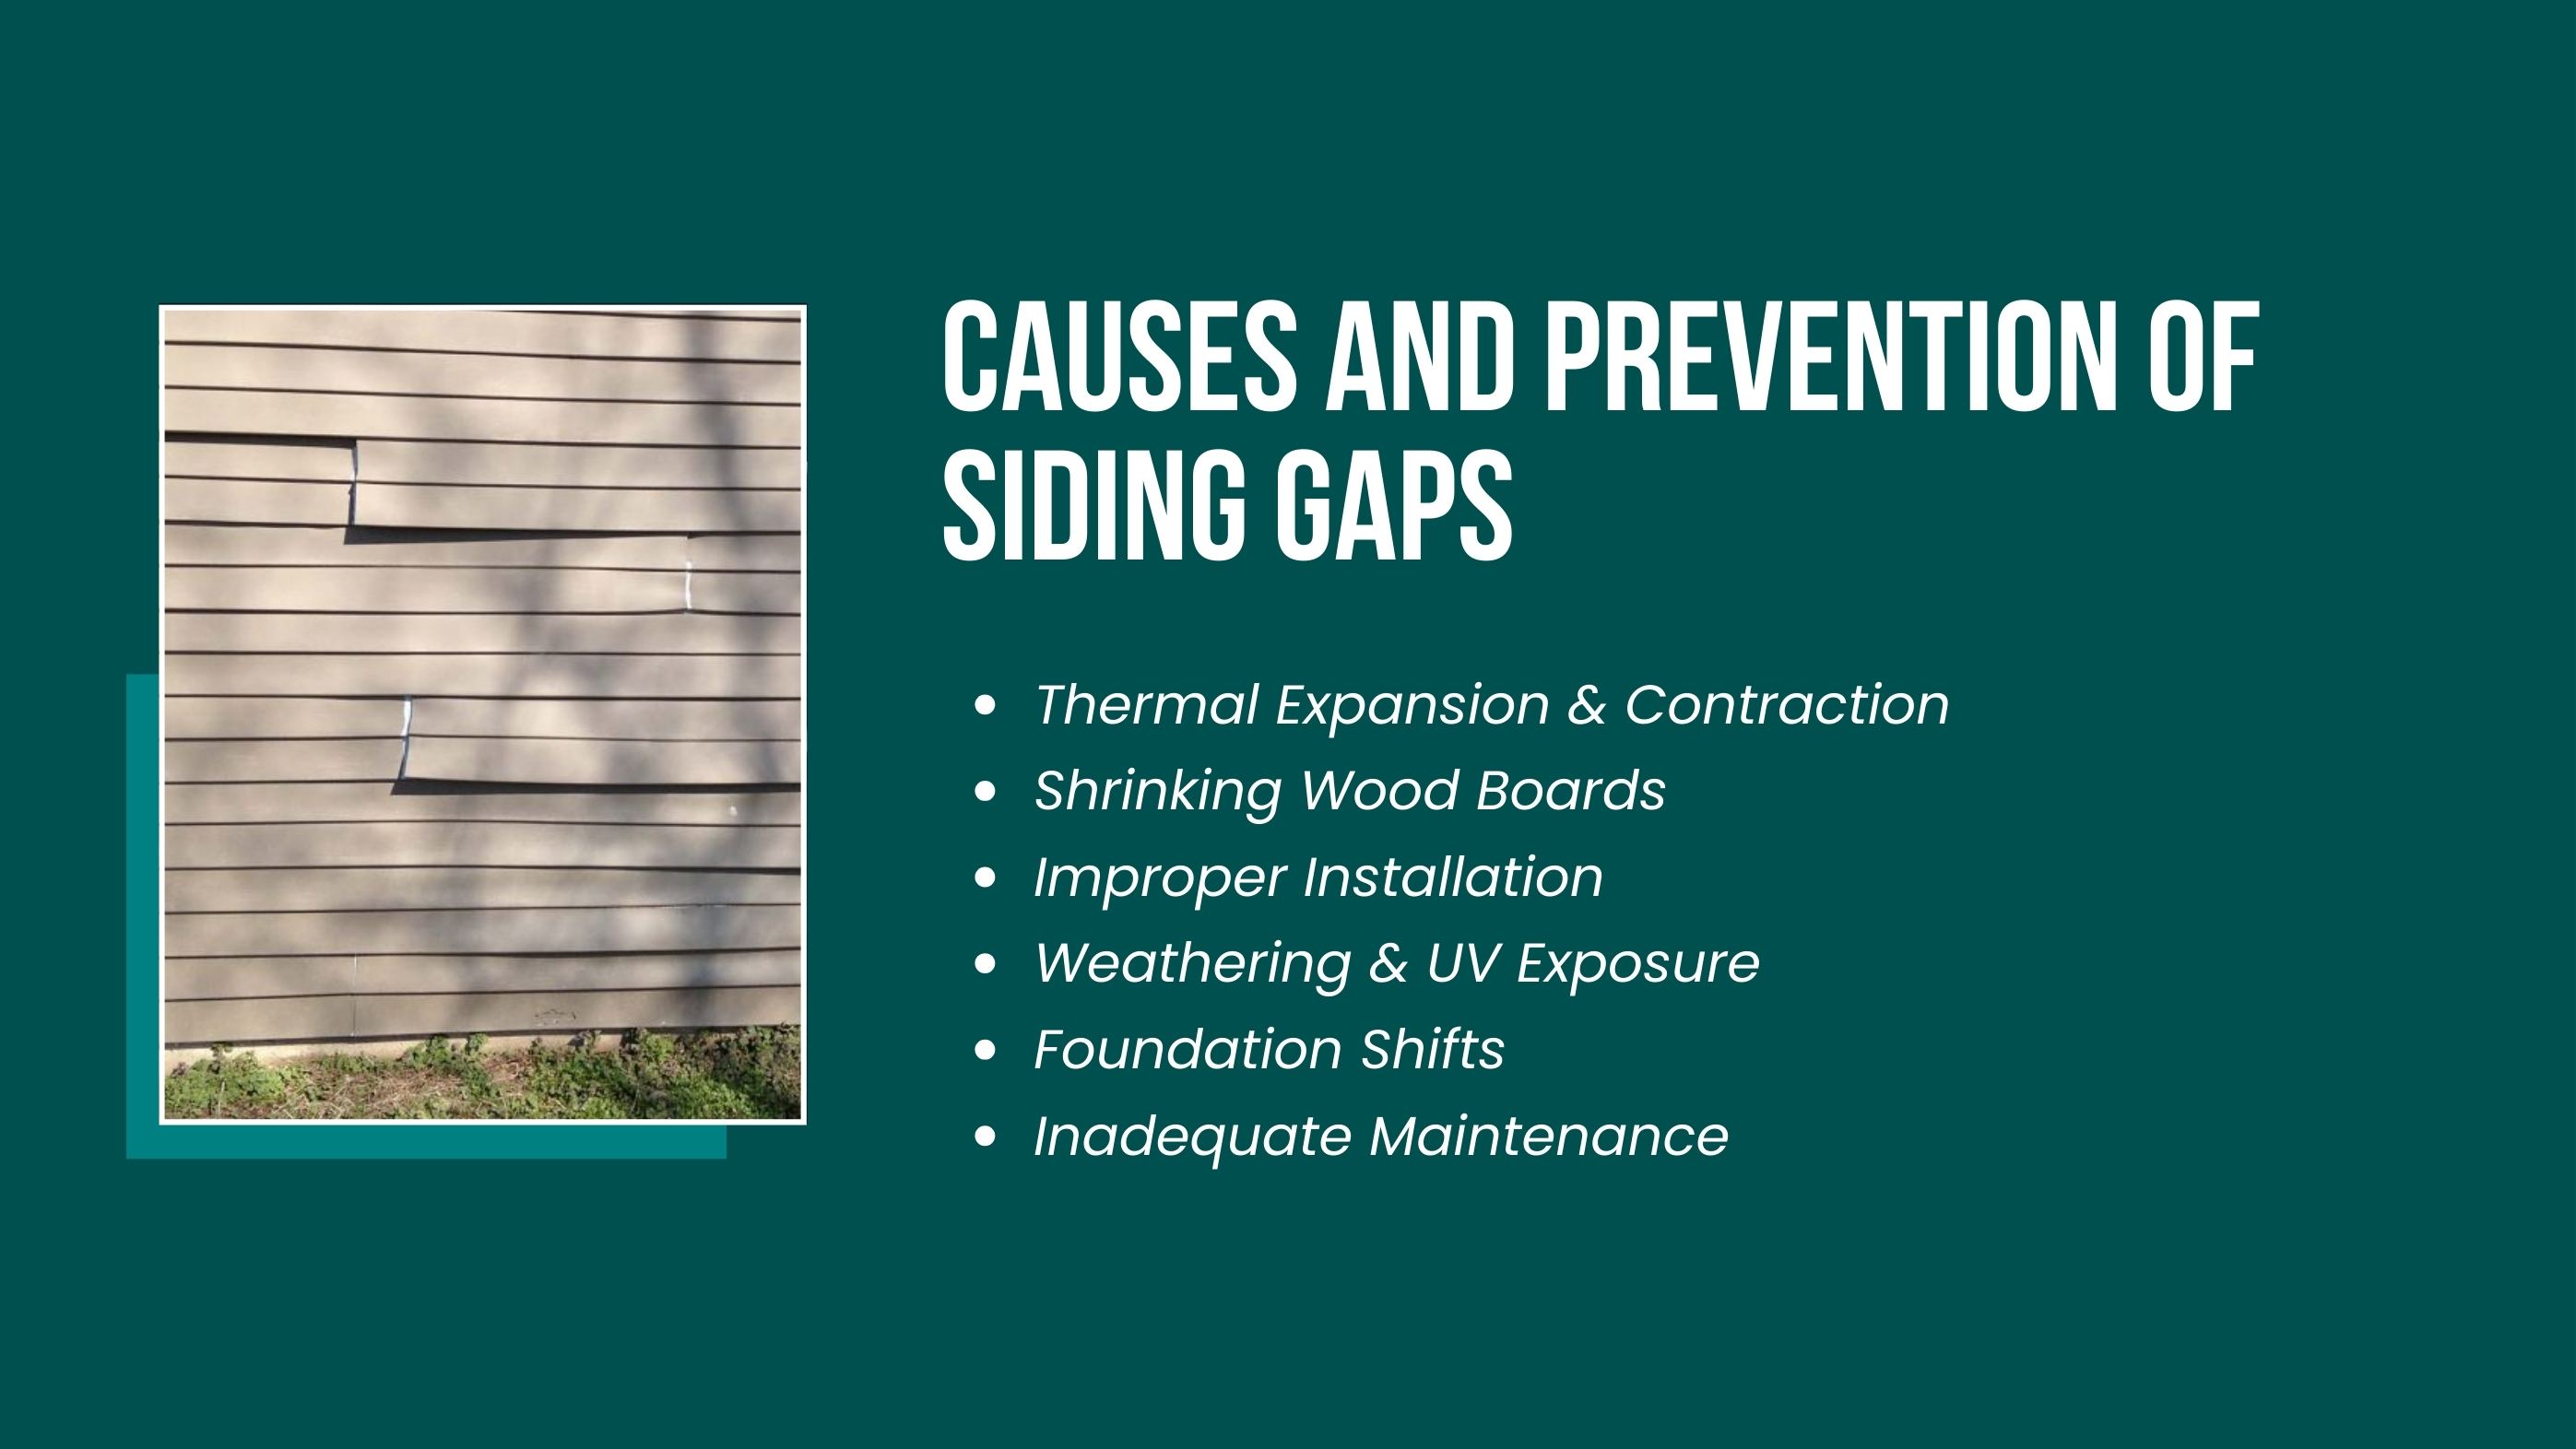
All siding materials expand in heat and contract in cold. Daily and seasonal temperature changes cause repeated movement, which can slowly pull seams apart. When siding is installed without proper expansion spacing, this movement increases stress at joints, leading to visible gaps over time.
Ensure siding is installed with correct expansion allowance and fasteners are not driven too tightly. This allows controlled movement instead of separation.
Wood siding naturally dries as it ages, losing moisture and shrinking in the process. This can create gaps at seams, corners, and trim joints. UV exposure, paint failure, and dry climates speed up this process, increasing the likelihood of cracking and separation.
Keep wood siding properly sealed and repaint or reseal exposed areas before moisture loss accelerates.
Improper installation is one of the most common causes of siding gaps. Nails driven too tight, missing expansion space, or misaligned starter strips can cause panels to shift. Over time, these small errors can increase gap formation by 20–30% compared to correctly installed siding. Use proper fastening techniques and ensure panels are aligned and seated correctly from the start.
Constant exposure to sun, rain, wind, and humidity slowly breaks down siding materials. UV rays weaken surfaces, while moisture causes swelling and drying cycles that lead to warping and cracking. Older or lower-quality siding materials are especially vulnerable. Inspect siding annually and repair early signs of surface wear before gaps form.
As a home settles, small foundation shifts can cause siding panels to move or misalign. These shifts may only be a fraction of an inch, but that’s enough to open seams along walls, especially near corners and window openings.
Monitor recurring gaps in the same areas. Repeated movement may signal structural issues that need attention beyond siding repairs.
Failing caulk or deteriorated sealant around windows, doors, and trim allows moisture behind the siding. Trapped water weakens materials and fasteners, leading to gaps and surface separation over time.
Check caulked joints during seasonal inspections and reseal as needed. Well-maintained sealing can reduce moisture-related siding damage by up to 40%.
Not all siding gaps look the same or form for the same reason. Different siding materials react differently to temperature, moisture, and movement, which affects where gaps appear and how serious they are. Identifying the type of gap helps homeowners choose the right repair method and prevent moisture intrusion, drafts, and hidden wall damage.
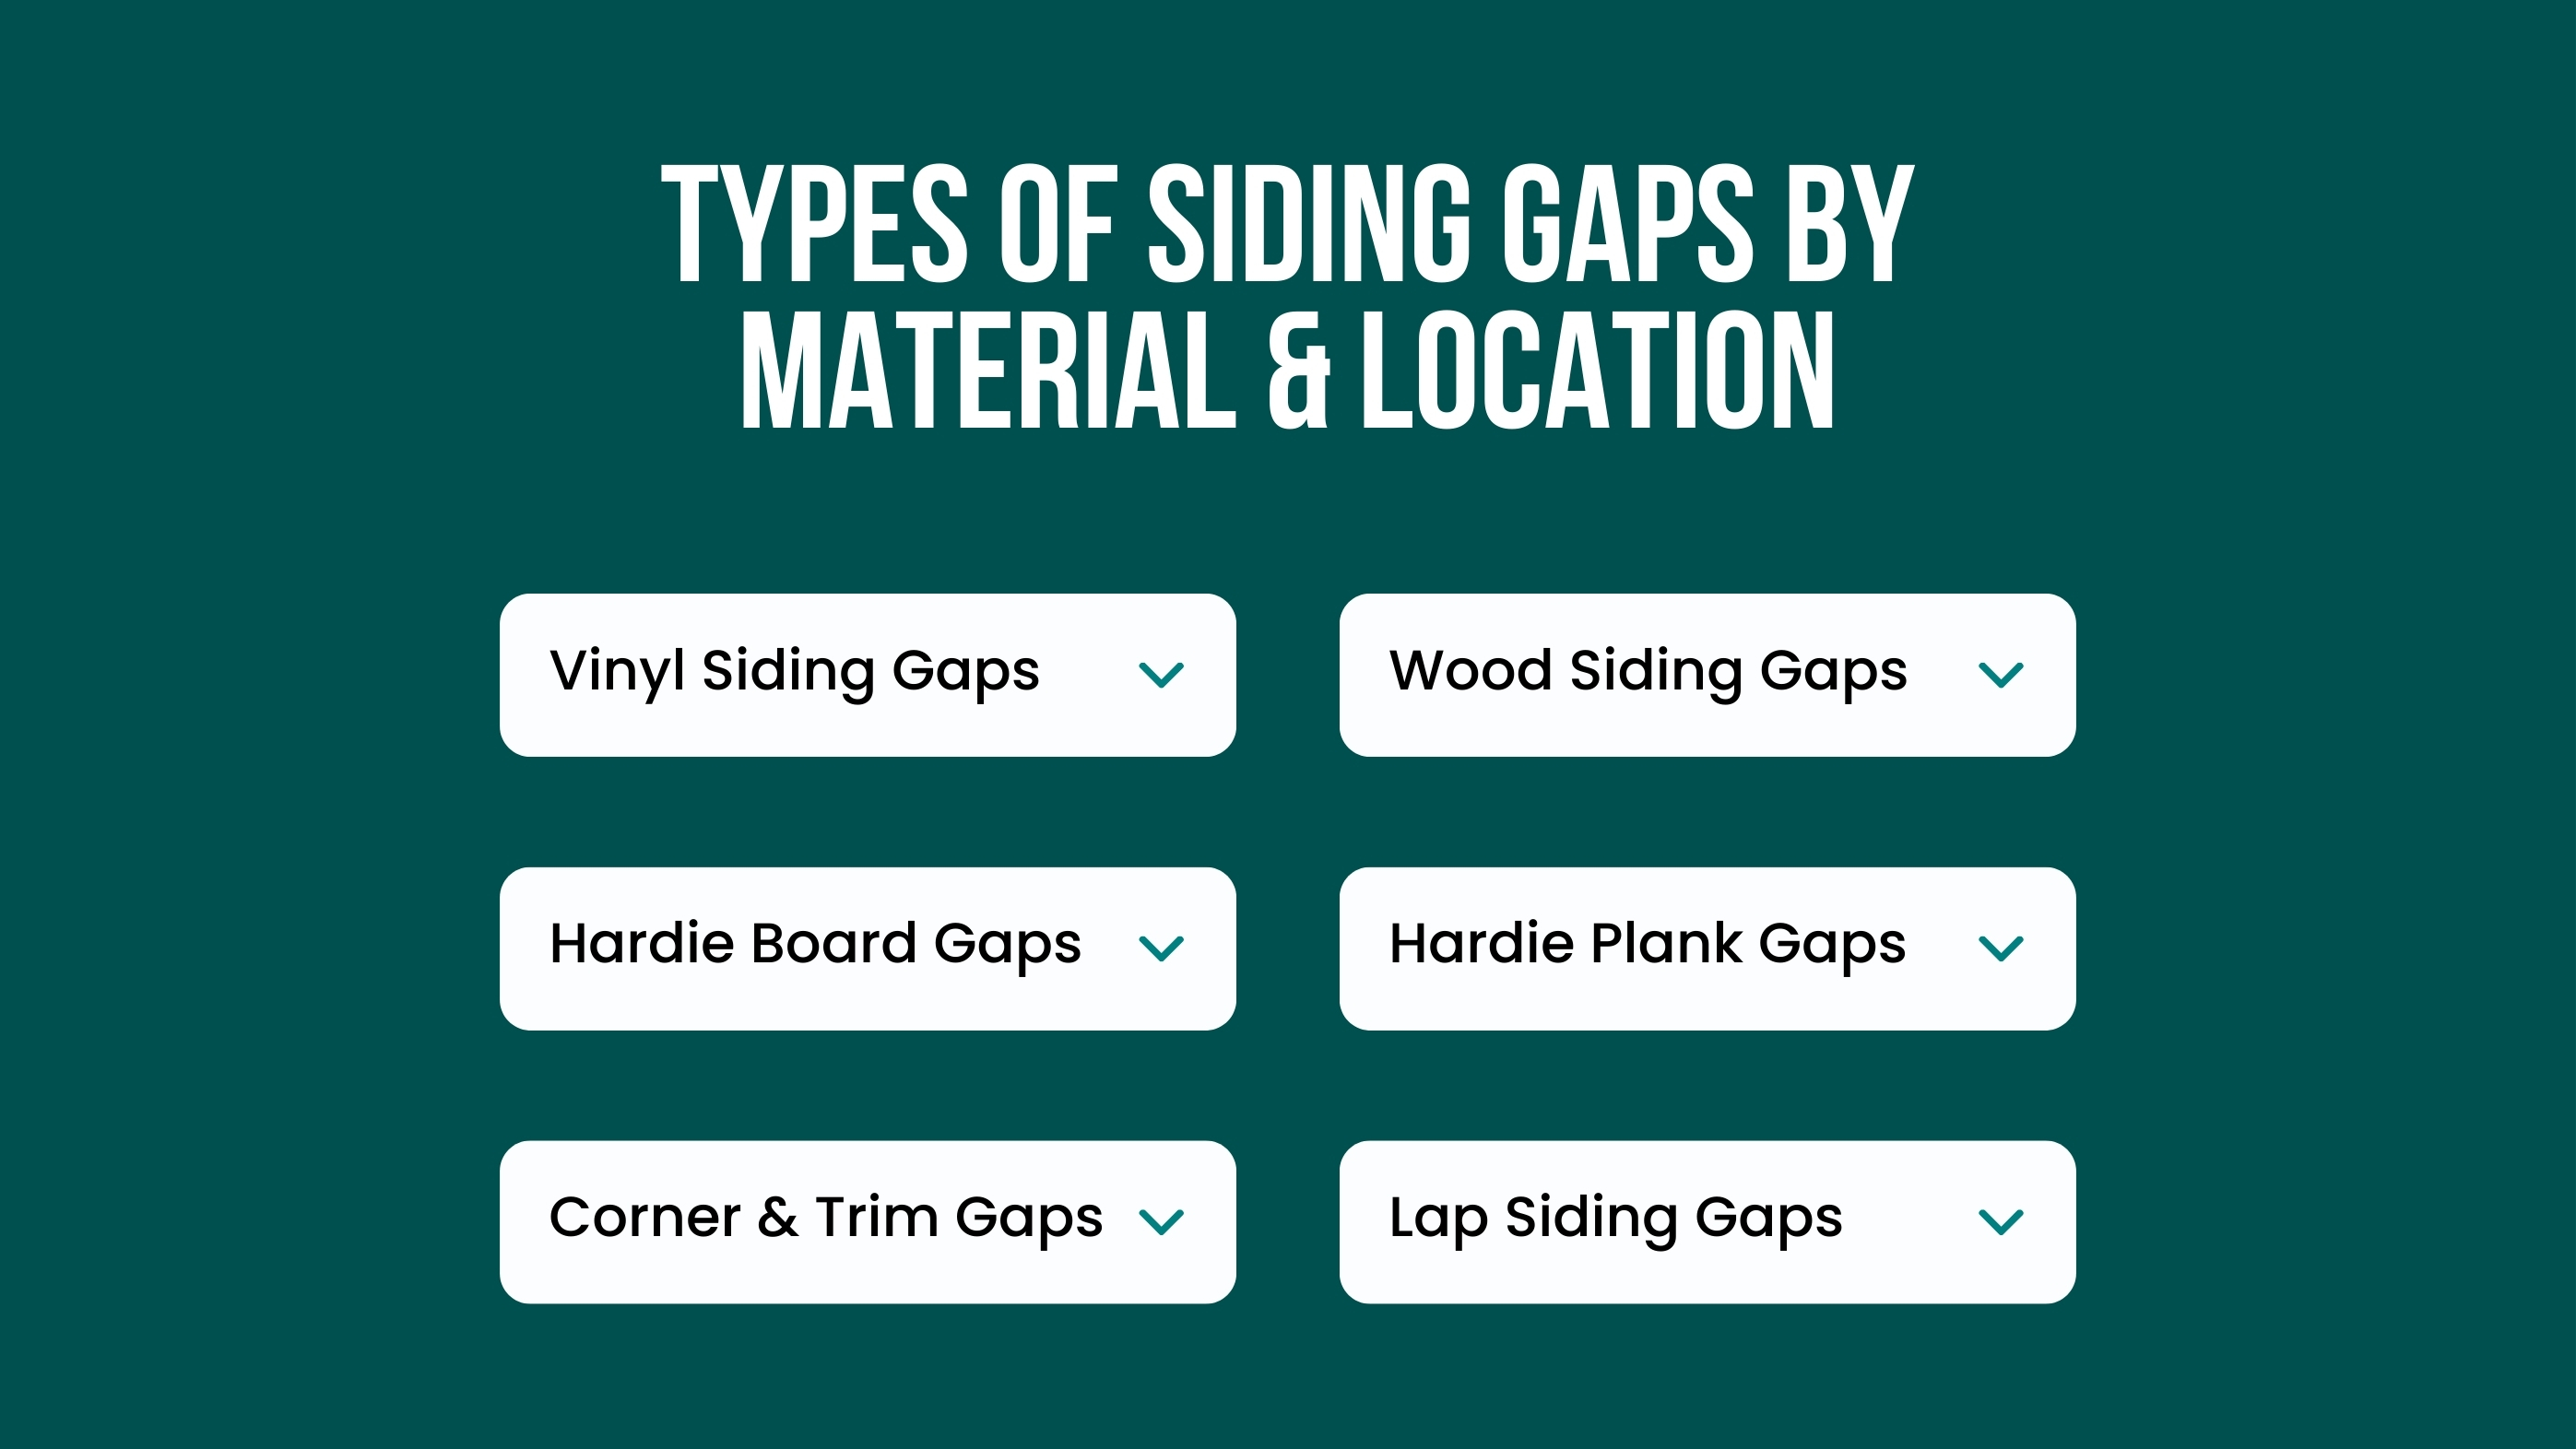
Vinyl siding expands in heat and contracts in cold. When panels are nailed too tightly or installed without proper expansion space, they shift and pull apart at locking points. These gaps often appear along seams and joints and can increase air and water entry by 20–30% in that section. Repairs usually involve reseating, relocking, or refastening panels correctly rather than sealing them permanently.
Wood siding naturally shrinks as it loses moisture over time. Seasonal humidity changes can cause boards to pull apart, creating visible gaps between rows or at edges. These gaps commonly appear after paint or sealant breaks down. Because wood continues to move, rigid fillers can crack again, so flexible sealants or fitted replacement pieces are often needed to maintain protection.
Fiber cement siding is durable but rigid. Gaps in Hardie board siding usually form at vertical joints where boards meet end to end. Poor installation, caulk failure, or repeated freeze–thaw cycles can cause seams to open slightly. Even gaps smaller than ¼ inch can allow moisture to wick into cement fibers, so proper resealing and joint reinforcement are essential.
Hardie plank siding overlaps horizontally, creating lap joints. If fasteners loosen or movement wasn’t properly accounted for, gaps can form at these overlaps. Water entering these laps often leads to paint peeling or edge swelling. Refastening and resealing the affected planks helps restore tight overlap and prevents surface deterioration.
Gaps around windows, doors, and corner trim are among the highest-risk leak areas on a home. Temperature changes, settling, and aging caulk cause siding edges to pull back from trim. Because these areas channel large amounts of water during rain, even small gaps can lead to leaks. Repairs often require fresh flashing and flexible sealant to restore a watertight seal.
Lap siding designs include both horizontal overlaps and vertical butt joints. Over time, boards can dry out, shift, or lose alignment, widening these seams. Once gaps form, water can travel behind the siding rather than shedding outward. Repairs typically involve resealing joints or replacing uneven boards to tighten alignment and restore proper drainage.
Not all siding gaps should be fixed the same way. The correct repair method depends on gap width, depth, and surface condition. Using the wrong solution can cause sealant failure, trapped moisture, or repeat gaps. The methods below help homeowners choose the right fix so repairs last longer and maintain proper weather protection.
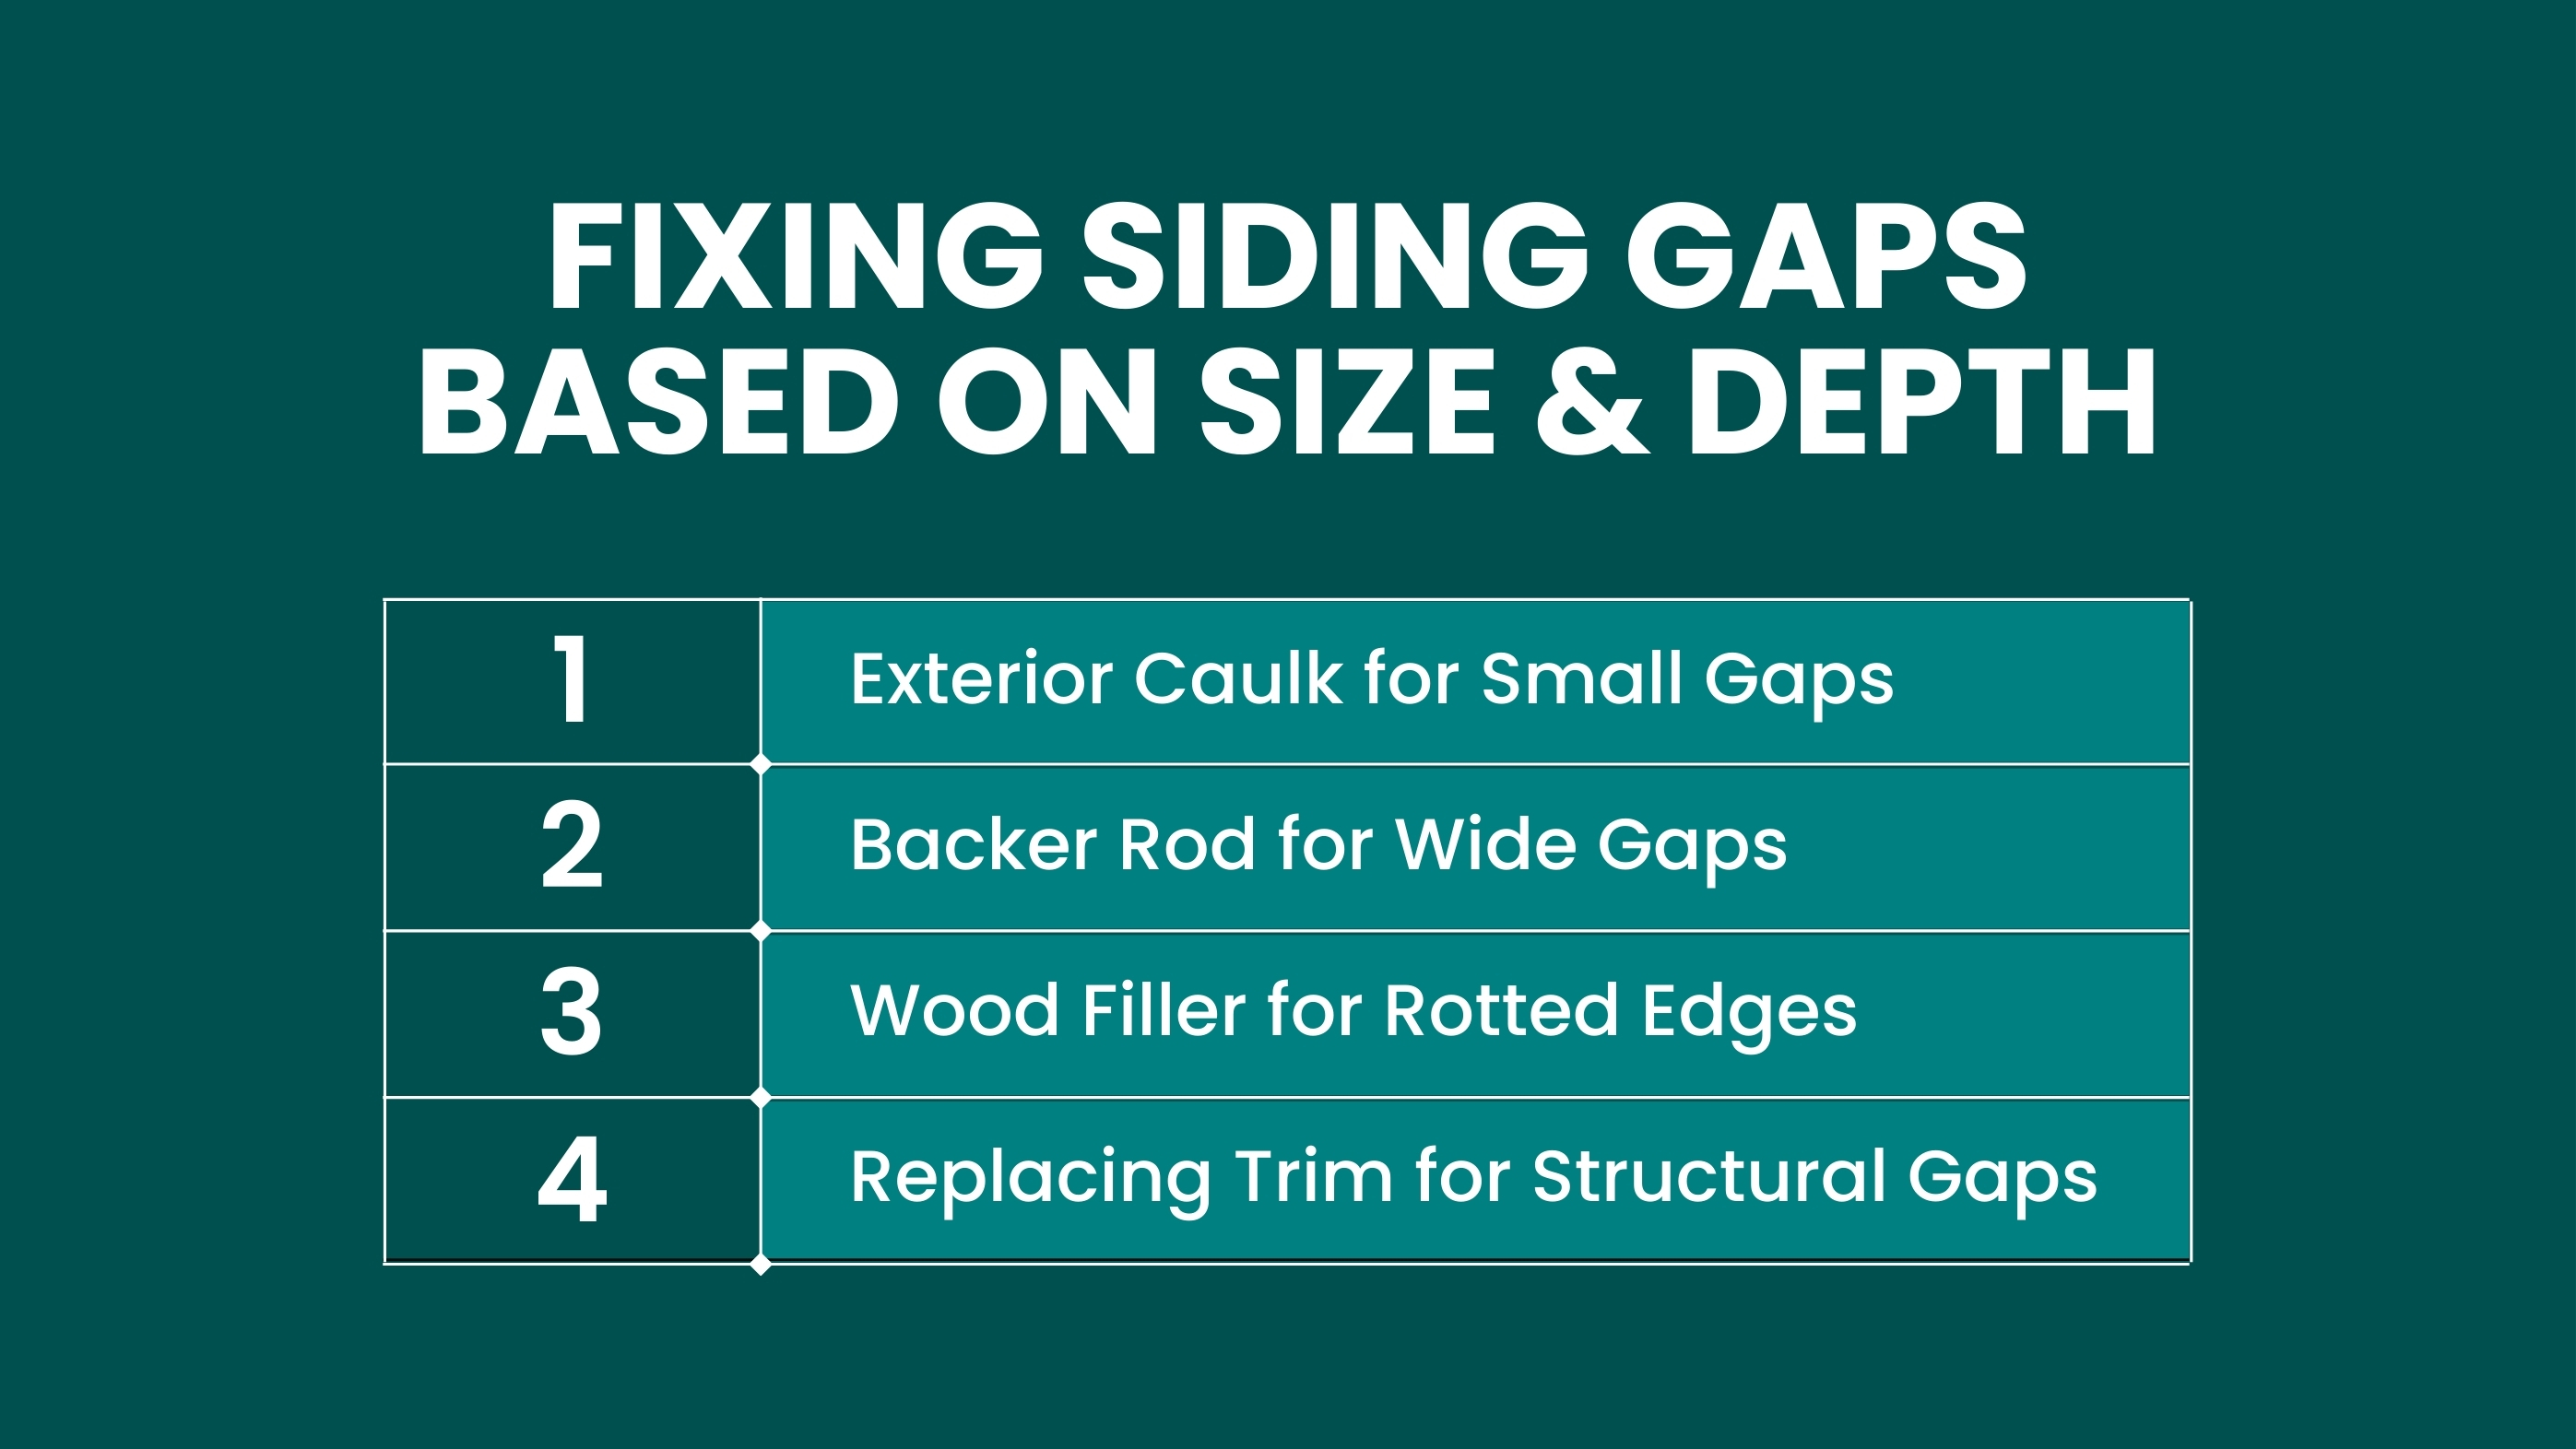
Exterior-grade caulk is best for small to medium gaps where siding meets trim or panels have slightly separated. These gaps are usually shallow and stable, meaning the siding still moves normally without structural weakness.
Caulk works well because it remains flexible and can handle small movements without cracking. When applied correctly, it seals out water and air while blending visually with the siding.
Caulk works by expanding and contracting with the siding, making it a common choice for everyday gaps and ensuring the seal holds up over time.
For larger gaps or those deeper than ¼ inch, a backer rod can be used behind the caulk to provide support and prevent the caulk from sinking too deep. This foam insert helps create a more watertight seal, ensuring the repair is stable and durable.
Backer rods help reduce the amount of caulk used, improve adhesion, and maintain flexibility as the siding expands and contracts.
When wood siding or trim shows minor surface softening or shallow decay, exterior wood filler can rebuild the damaged area. This method restores shape and strength before repainting, but it only works when damage is localized. Wood filler hardens after curing and can be sanded smooth to blend with surrounding surfaces.
This method is best for minor, localized decay. If the wood is severely rotted or the damage is extensive, replacing the affected sections may be a safer option.
Some gaps are symptoms of failing trim, not sealant failure. Warped, split, or rotted trim must be replaced before any gap filling can succeed. Sealing over bad trim traps moisture and often leads to repeat leaks.
Before sealing, installers also check flashing and housewrap behind the trim. Even a small break in these layers can increase moisture entry by 30% or more at that location.
This approach ensures that the structural integrity of the home is maintained before cosmetic repairs are made.
By using these methods, homeowners can effectively address different types of siding gaps based on their size and depth, extending the lifespan of their siding and preventing long-term damage. Regular maintenance and timely repairs are essential to keeping your home protected from the elements.
Different siding materials respond to sealing in different ways. Treating every gap the same often leads to cracked sealant, trapped moisture, or panel failure. The sections below explain how each material behaves and what approach works best—without repeating the same format.

Wood siding moves constantly as moisture levels change. When gaps form, the goal is not to lock the boards in place but to seal them without restricting natural movement. Rigid fillers usually fail because the wood continues to expand and contract around the repair.
A flexible exterior sealant designed for wood is the safest option. For wider or deeper gaps, placing a compressible backing inside the joint reduces stress and prevents the filler from splitting as the boards shift. Once sealed, the surface should always be primed and painted so moisture cannot re-enter through exposed grain.
Vinyl siding behaves very differently from wood. It is designed to slide, overlap, and float, which means sealing the wrong area can create bigger problems than the gap itself. Many vinyl gaps are caused by panels unlocking rather than failing.
Before using any sealant, panels should be checked for proper engagement. Often, gaps disappear once the siding course is reseated. Sealant should only be used at fixed points like trim edges—not between overlapping panels. If a vinyl panel has stretched or warped, replacement is the only reliable fix.
Fiber cement siding is rigid and durable, but it relies heavily on proper joint sealing. Gaps usually form at vertical seams or where caulk has failed, not because the boards move significantly.
Before resealing, joints must be completely cleaned so new sealant bonds correctly. Deep joints benefit from internal support to prevent caulk from collapsing inward. Only high-performance, paintable sealants designed for exterior cement-based products should be used. Finishing with paint is critical to protect the joint from moisture absorption.
Engineered siding resists rot but is vulnerable at seams and cut edges. Moisture intrusion at these points can cause swelling, edge breakdown, or surface separation if not sealed correctly.
Unlike other materials, engineered siding repairs should always follow manufacturer guidance. Sealing focuses on joints and transitions rather than the field of the panel. Once sealed, the repair should be coated with a UV-resistant finish to slow surface degradation and color fading.
Caulking and sealing are among the most effective ways to stop drafts, block rainwater, and strengthen your siding system. When done correctly, they restore the weather-tight envelope of the home, prevent long-term moisture damage, and help improve energy efficiency. The key is choosing the right sealant for the job and applying it in a way that supports movement, durability, and a neat finish.

Exterior-grade caulk is ideal for everyday siding gaps around trim, joints, nail holes, and narrow separation lines. Best practice includes cleaning the area first, removing peeling paint or old caulk, and applying a smooth, continuous bead with firm pressure. The bead should be tooled or finger-shaped to push sealant deep into the gap rather than sitting on the surface. This ensures a tighter seal that resists shrinking, cracking, and peeling over time.
Some siding systems contain expansion joints on purpose. These seams allow panels to expand and contract with temperature changes. The sealant used here must flex without tearing. For these joints, installers apply elastomeric caulk or polyurethane sealant that stretches and rebounds. The goal is not to glue panels together but to bridge the gap while still allowing movement. This keeps siding flat and prevents buckling or cracking during seasonal shifts.
Many siding repairs require sealing and then painting to match the surface. For wood, composite, and trim repairs, paintable exterior-grade caulk works best. These sealants bond well, stay flexible, and can be primed and painted without showing through or peeling. This step protects cut edges and prevents moisture from soaking into porous siding surfaces, which is especially important for wood, engineered siding, or fiber cement products.
Filling siding gaps is usually a low-cost repair compared to replacing siding, but prices vary based on material type, gap size, access, and whether moisture damage is found behind the siding. Knowing these cost ranges helps homeowners plan realistically and avoid unexpected add-ons during the repair.
Labor is the largest part of the total cost and depends on both siding material and how extensive the gaps are.
Small, isolated gaps may take 30–60 minutes, while long or deep gaps can require 2–3 hours, increasing labor cost accordingly.
Material costs are usually modest but increase when multiple gaps or surfaces need sealing.
For most homes, material costs fall between $20–$75 total, unless extensive wood repair or specialty sealants are required.
Gaps around windows, doors, and corners often cost more to repair because they require careful sealing and flashing work.
If gaps have allowed water behind the siding, sealing alone may not be enough. Additional repairs may include:
These repairs typically add $300–$1,500+, depending on how widespread the moisture damage is. At this stage, the project becomes a partial siding repair, not just gap sealing.
Filling siding gaps is an essential task for maintaining your home's integrity, energy efficiency, and comfort. These small gaps, if left unaddressed, can lead to significant issues such as water damage, pest infestations, and higher energy bills. By promptly sealing gaps, homeowners can protect their home’s structure, improve insulation, and enhance curb appeal. Whether you’re handling the repair yourself or seeking.
No, caulk works for small to medium gaps. Larger or moving gaps usually need backer rod support or board repair before sealing to prevent failure.
Gaps wider than ¼ inch typically require a backer rod. Caulking alone in wide gaps often shrinks, cracks, or pulls loose over time.
If you feel airflow, see daylight, notice interior stains, or smell damp odors, moisture or drafts are already entering and sealing should be done right away.
Unsealed gaps allow water, air, and pests into the wall system, increasing the risk of rot, insulation damage, mold growth, and higher energy loss.
Mild temperatures are best. Sealants cure more evenly and maintain flexibility when applied outside extreme heat or cold.
Replacement is recommended if the board is cracked, soft, warped, or pulling away from fasteners. Sealing alone won’t restore strength.
Join our mailing list for exclusive updates, expert tips, and special offers tailored to your needs. Be the first to know about the latest in home services.

Renovize Home is a platform that supports homeowners from planning to renovation. Whether it’s Renovize AI for guidance or a one-on-one call with Pro Finder, we understand your project and match you with local contractors tailored to your needs.
Who We Are
About Renovize HomeGet in TouchHomeownwer Support:
Coming Soon!
General Inquiries:
support@renovizehome.com
Head Office:
24 Greenway Plaza, STE 1800M, Houston, TX 77046.