Explore All
BROWSE BY CATEGORY
Interior
Exterior
Home Essentials
Homeowner Tools
Blogs & Guides
Find a Pro
Book Your Appointment Now
Home Essentials
About Renovize Home
Explore All
BROWSE BY CATEGORY
Interior
Exterior
Home Essentials
Homeowner Tools
Blogs & Guides
Find a Pro
Book Your Appointment Now
Home Essentials
About Renovize Home
Last Updated 2025-10-28
Roof penetrations refer to any openings or structures that pass through your roof, such as vents, pipes, chimneys, skylights, and exhaust fans. These openings are necessary for various systems in your home, but they create potential weak spots where water can enter. If not properly sealed, roof penetrations can lead to leaks, water damage, mold, and even structural damage to your home. Sealing these penetrations helps protect your roof, maintain energy efficiency, and prevent costly repairs. Proper sealing ensures that your roof remains waterproof and secure for years to come.
Table of Contents
Why Is It Important to Seal Roof Penetrations?
Simple Process for Sealing Roof Penetrations
Types of Roof Penetrations and How to Seal Them
Common Materials and Techniques
Advantages of Sealing Roof Penetrations
Cost of Sealing Roof Penetrations
Final Thoughts
Roof penetrations are like tiny holes in your roof, and any hole can let water in. Water leaks can cause a lot of damage to your home. If water gets in through a penetration, it can damage your roof, ceiling, walls, and even cause mold to grow inside your house.
By sealing the penetrations correctly, you’re making sure that water stays outside where it belongs. This helps to keep your home dry, protect your furniture, and save money on repairs later.
Sealing roof penetrations correctly is a simple yet important task that can save you from water leaks and costly repairs. Whether you're a DIY homeowner or hiring a professional, here are the basic steps for sealing roof penetrations effectively:
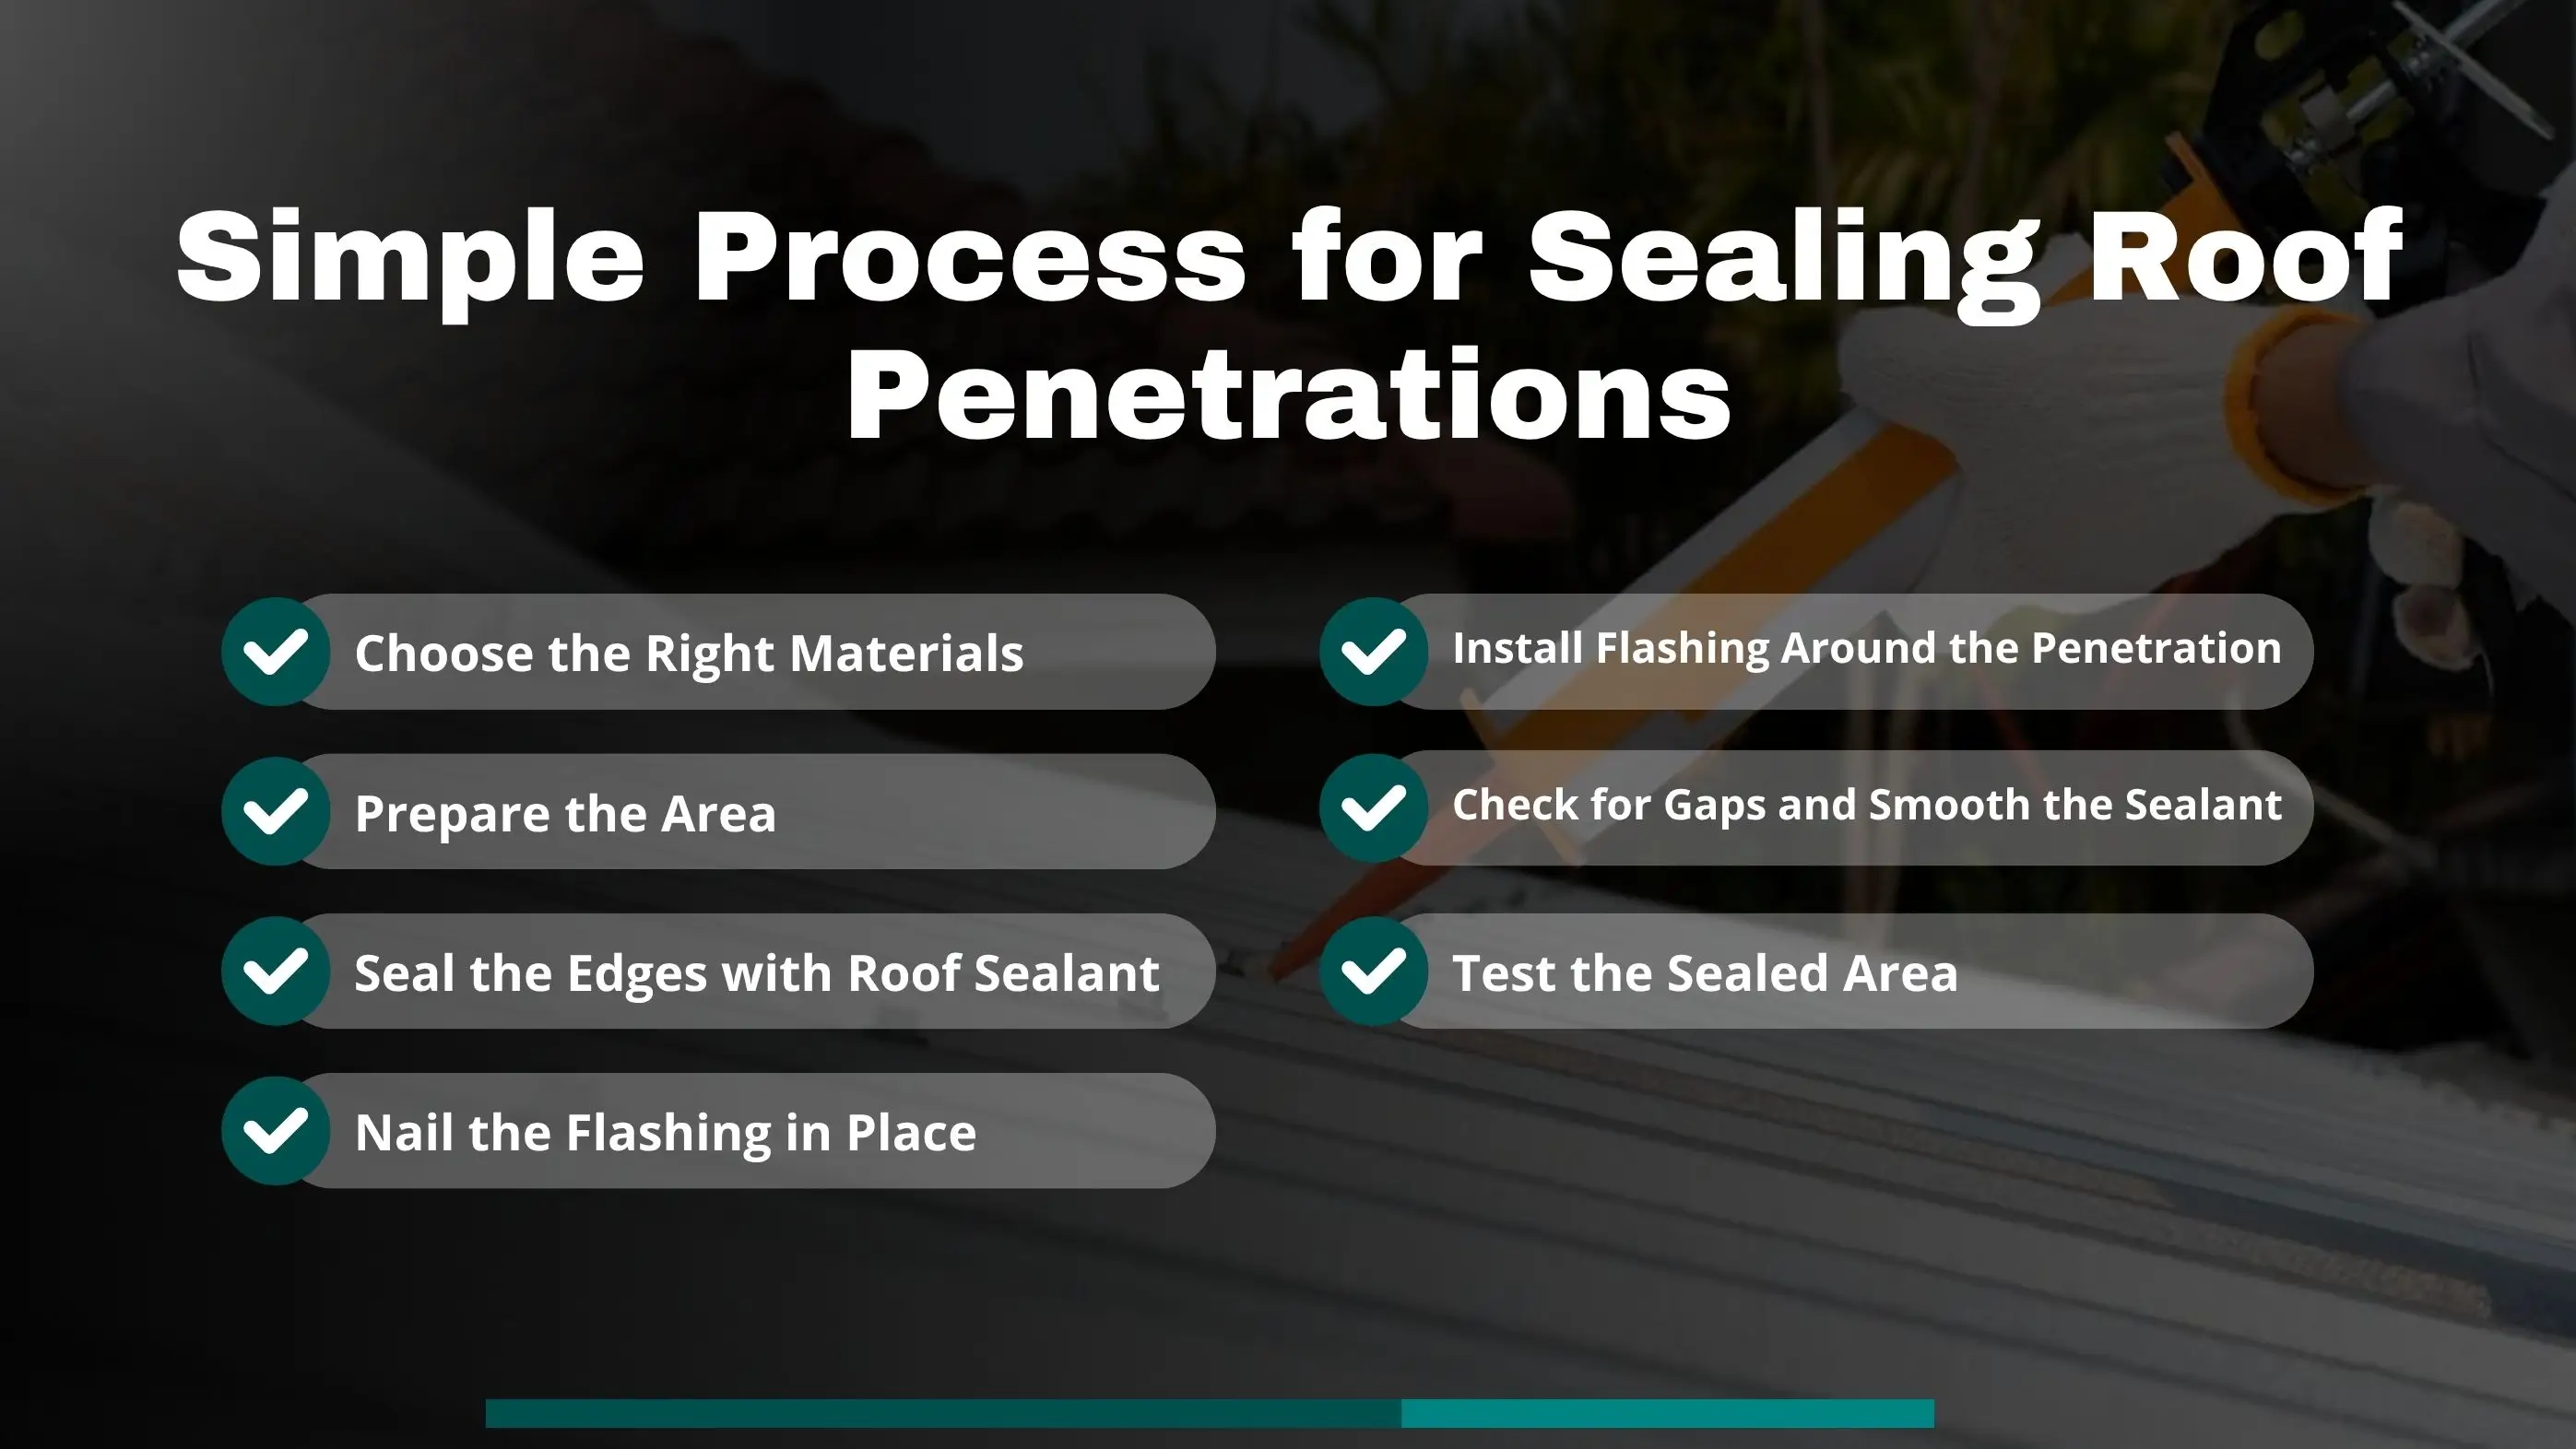
First, you’ll need to gather the right materials. Here are some common items you’ll need:
Before you start, you need to clean the area around the penetration. This is important because dirt, rust, or old sealant can prevent the new sealant from sticking properly. Use a wire brush or rag to remove debris and any old sealant or roofing materials.
Now, it's time to install the flashing. Flashing is used to create a waterproof barrier around the penetration.
Slide the pipe boot (a rubber or plastic sleeve) over the pipe. Ensure it fits snugly around the pipe and lies flat on the roof. If the pipe is large, you might need a larger flashing boot.
Use step flashing around the sides. This is a metal flashing that goes under the shingles above and on top of the shingles below to create a water-tight seal. Make sure the flashing overlaps with the shingles so water flows off and doesn’t seep underneath.
Once the flashing is securely in place, apply a generous bead of roofing sealant around the edges where the flashing meets the roof. This step ensures that water can’t sneak past the flashing.
Use roofing nails or screws to fasten the flashing to the roof. Be careful not to over-tighten the nails as this can damage the flashing or the roofing material. Nail the flashing in place along the edges, ensuring that the nails are covered by the shingles above.
After the flashing is secured, check for any small gaps around the edges of the flashing and apply more sealant as needed. Smooth the sealant with a putty knife or your finger to make sure it’s pressed in properly and has no air pockets.
Once the sealant has dried (usually 24 hours), you can test the area by spraying it with a garden hose or checking it during the next rainstorm. If you see any leaks, go back and apply more sealant or check if the flashing needs to be adjusted.
Roof penetrations are very important functions for your home, but they create openings in the roof that can let water in if not properly sealed. Each type of penetration needs specific attention to ensure it’s adequately sealed. Here's a deeper look into the most common types of roof penetrations and how they should be sealed:
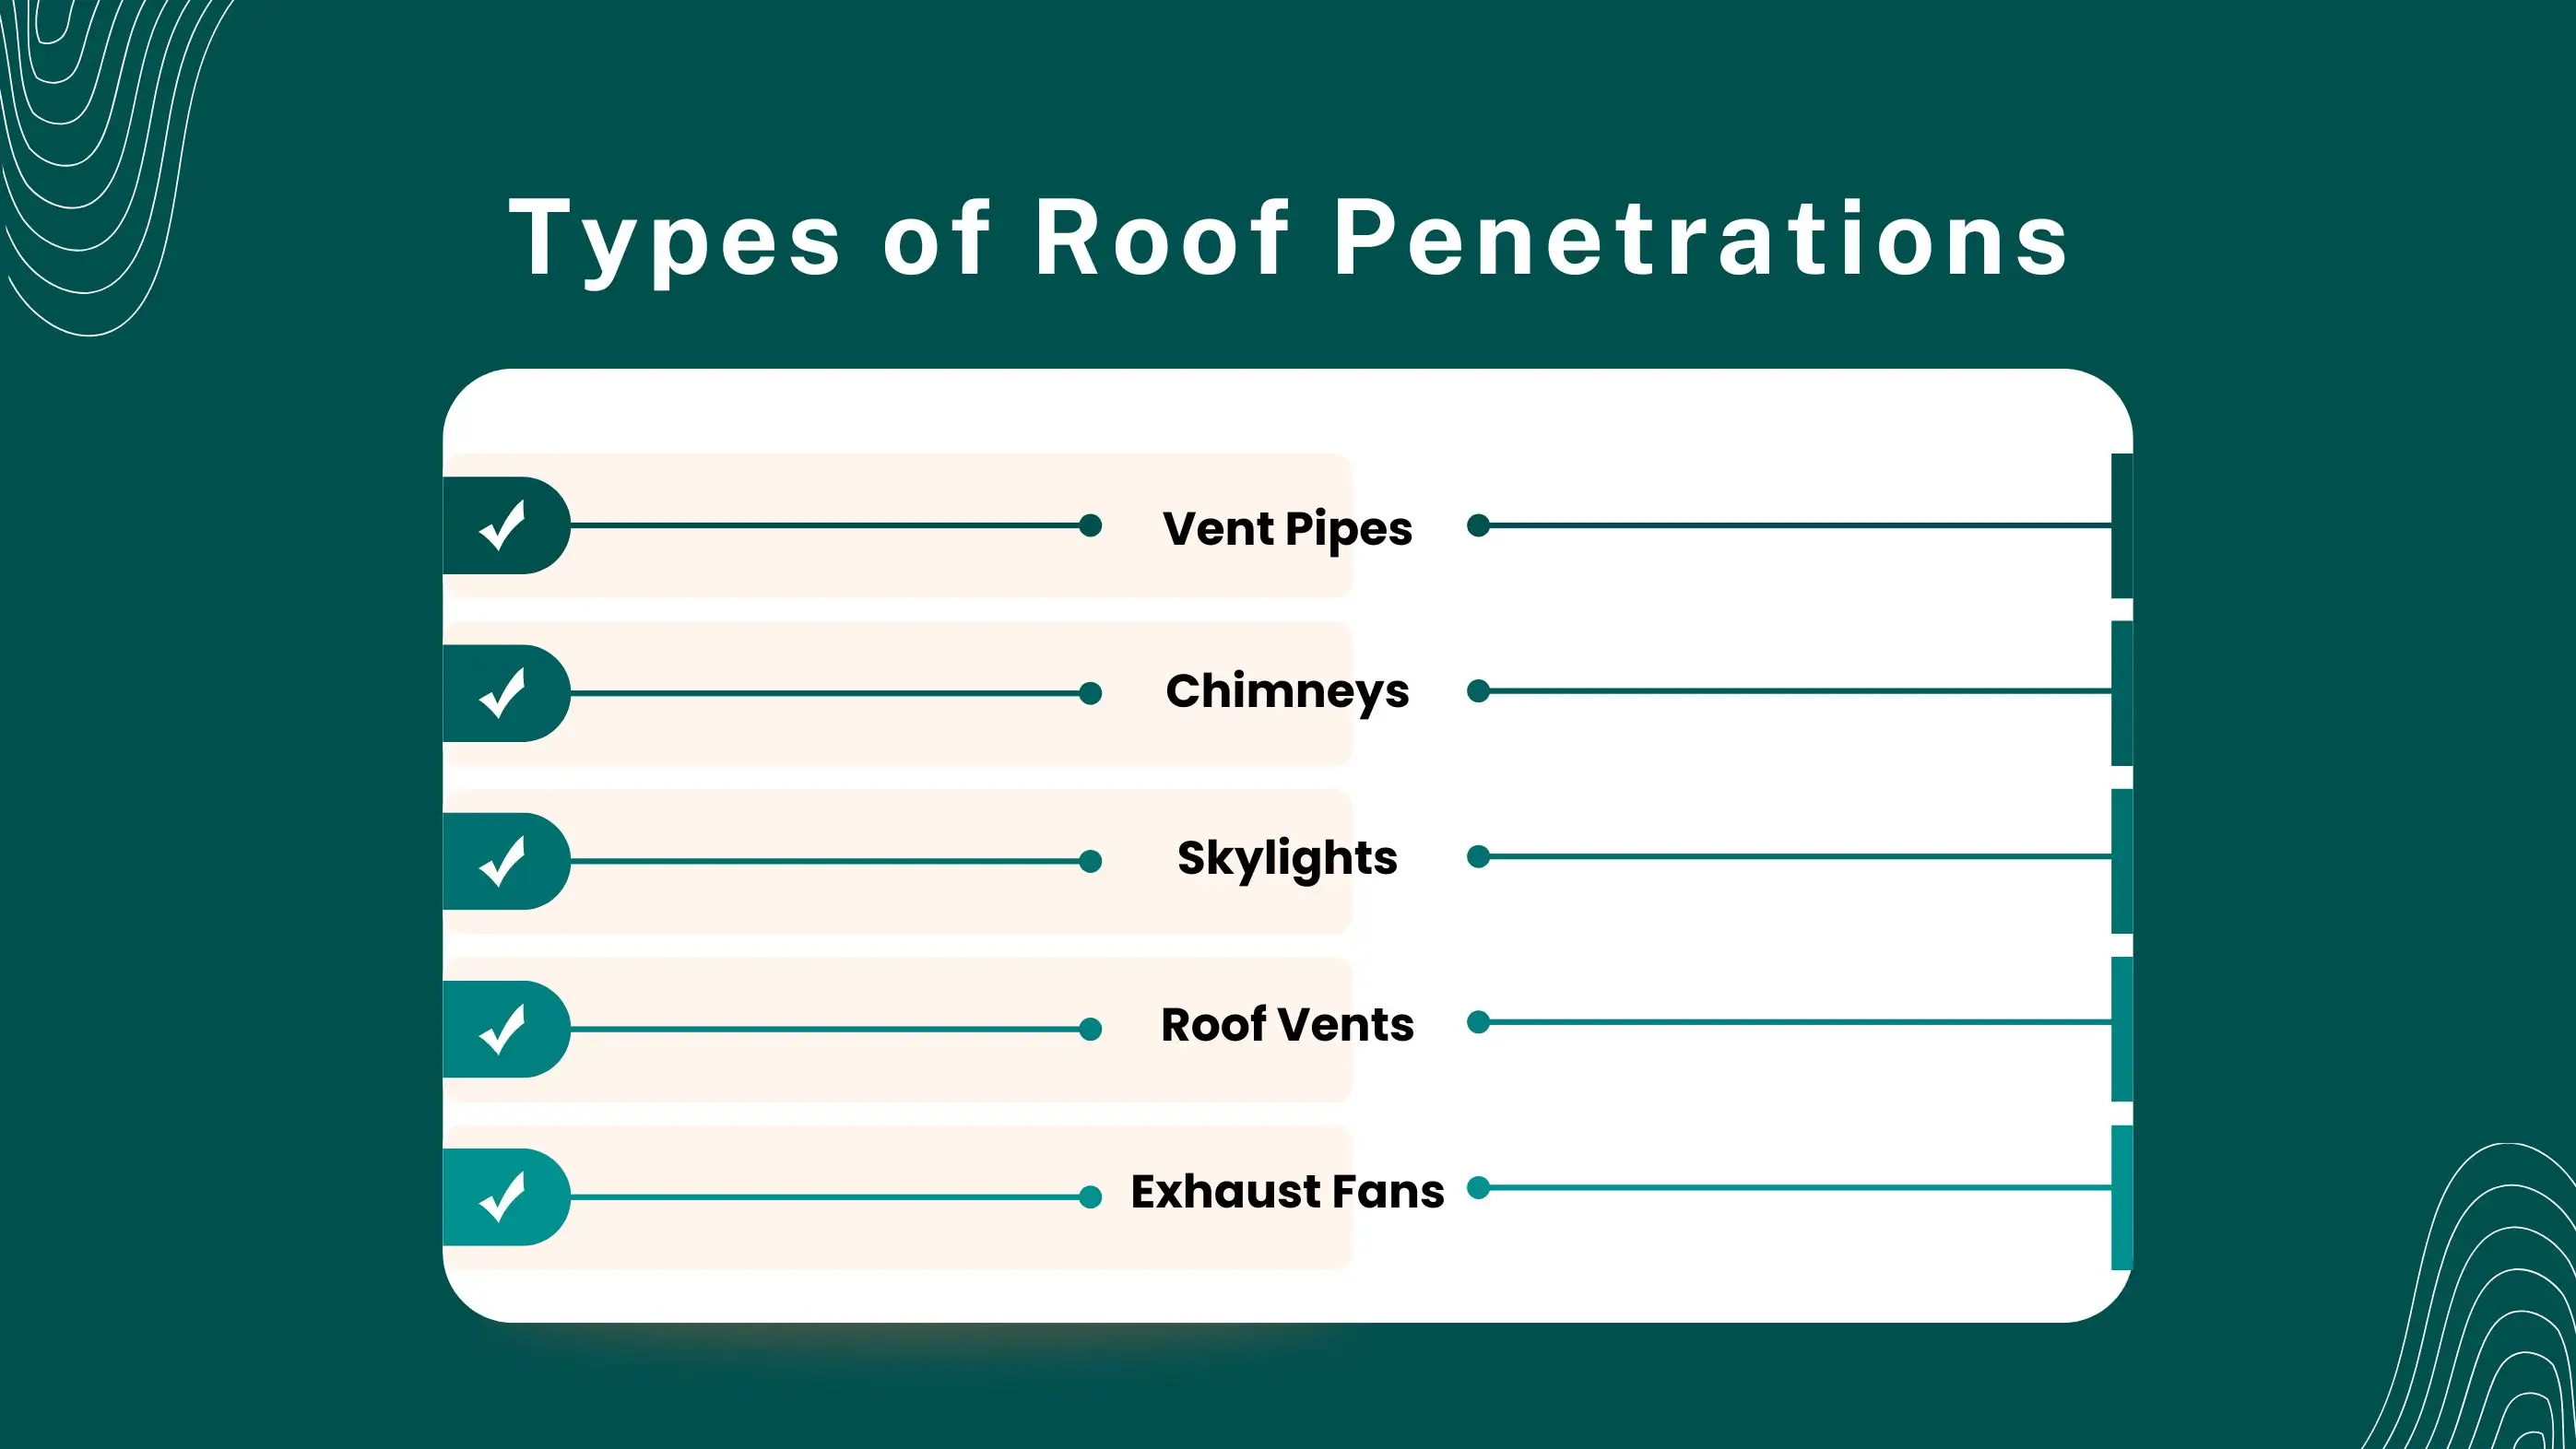
Vent pipes are common roof penetrations used to vent gases from your plumbing system, such as from toilets, sinks, and drains. These pipes usually stick up through the roof and are capped with a rubber boot or pipe boot flashing. The main issue with vent pipes is that water can easily leak in around them if the flashing isn’t properly installed. Over time, the rubber around the pipe may crack, especially from sun exposure, causing the seal to fail.
Chimneys, which vent smoke and gases from your fireplace or heating system, are larger penetrations that can be a major source of leaks if not sealed correctly. Because they’re exposed to a lot of moisture and weather, they need special flashing to redirect water away from the base where it meets the roof. Without proper sealing, water can enter the chimney area, leading to mold, rust, and structural damage in the attic or walls.
Skylights are windows installed in the roof to bring natural light into the house. While they provide many benefits, they can also be tricky to seal. If the flashing around the skylight isn’t installed properly, water can leak around the edges, especially during heavy rain or snow. Old skylights may also have degraded flashing that lets water seep in over time.
Roof vents allow air to flow through the attic, keeping it cool and preventing moisture buildup. However, if these vents are not sealed correctly, rainwater can seep through the vent cover or gaps around the edges, leading to moisture buildup in the attic. Over time, this can cause roof decay and mold growth.
Exhaust fans in kitchens or bathrooms expel hot air and moisture from inside the house to the outside. These fans often require a vent that goes through the roof to release the air. If the flashing around these vents is not properly sealed, water can leak into the attic, potentially causing water damage or mold. This is especially true for bathroom fans, where moisture can easily get trapped in the attic if the seal fails.
Materials used to seal roof penetrations include flashing, sealants, pipe boots, and rubber gaskets, etc. These materials work together to create a waterproof barrier, preventing leaks around vents, chimneys, skylights, and other roof openings. Here are some materials & techniques:
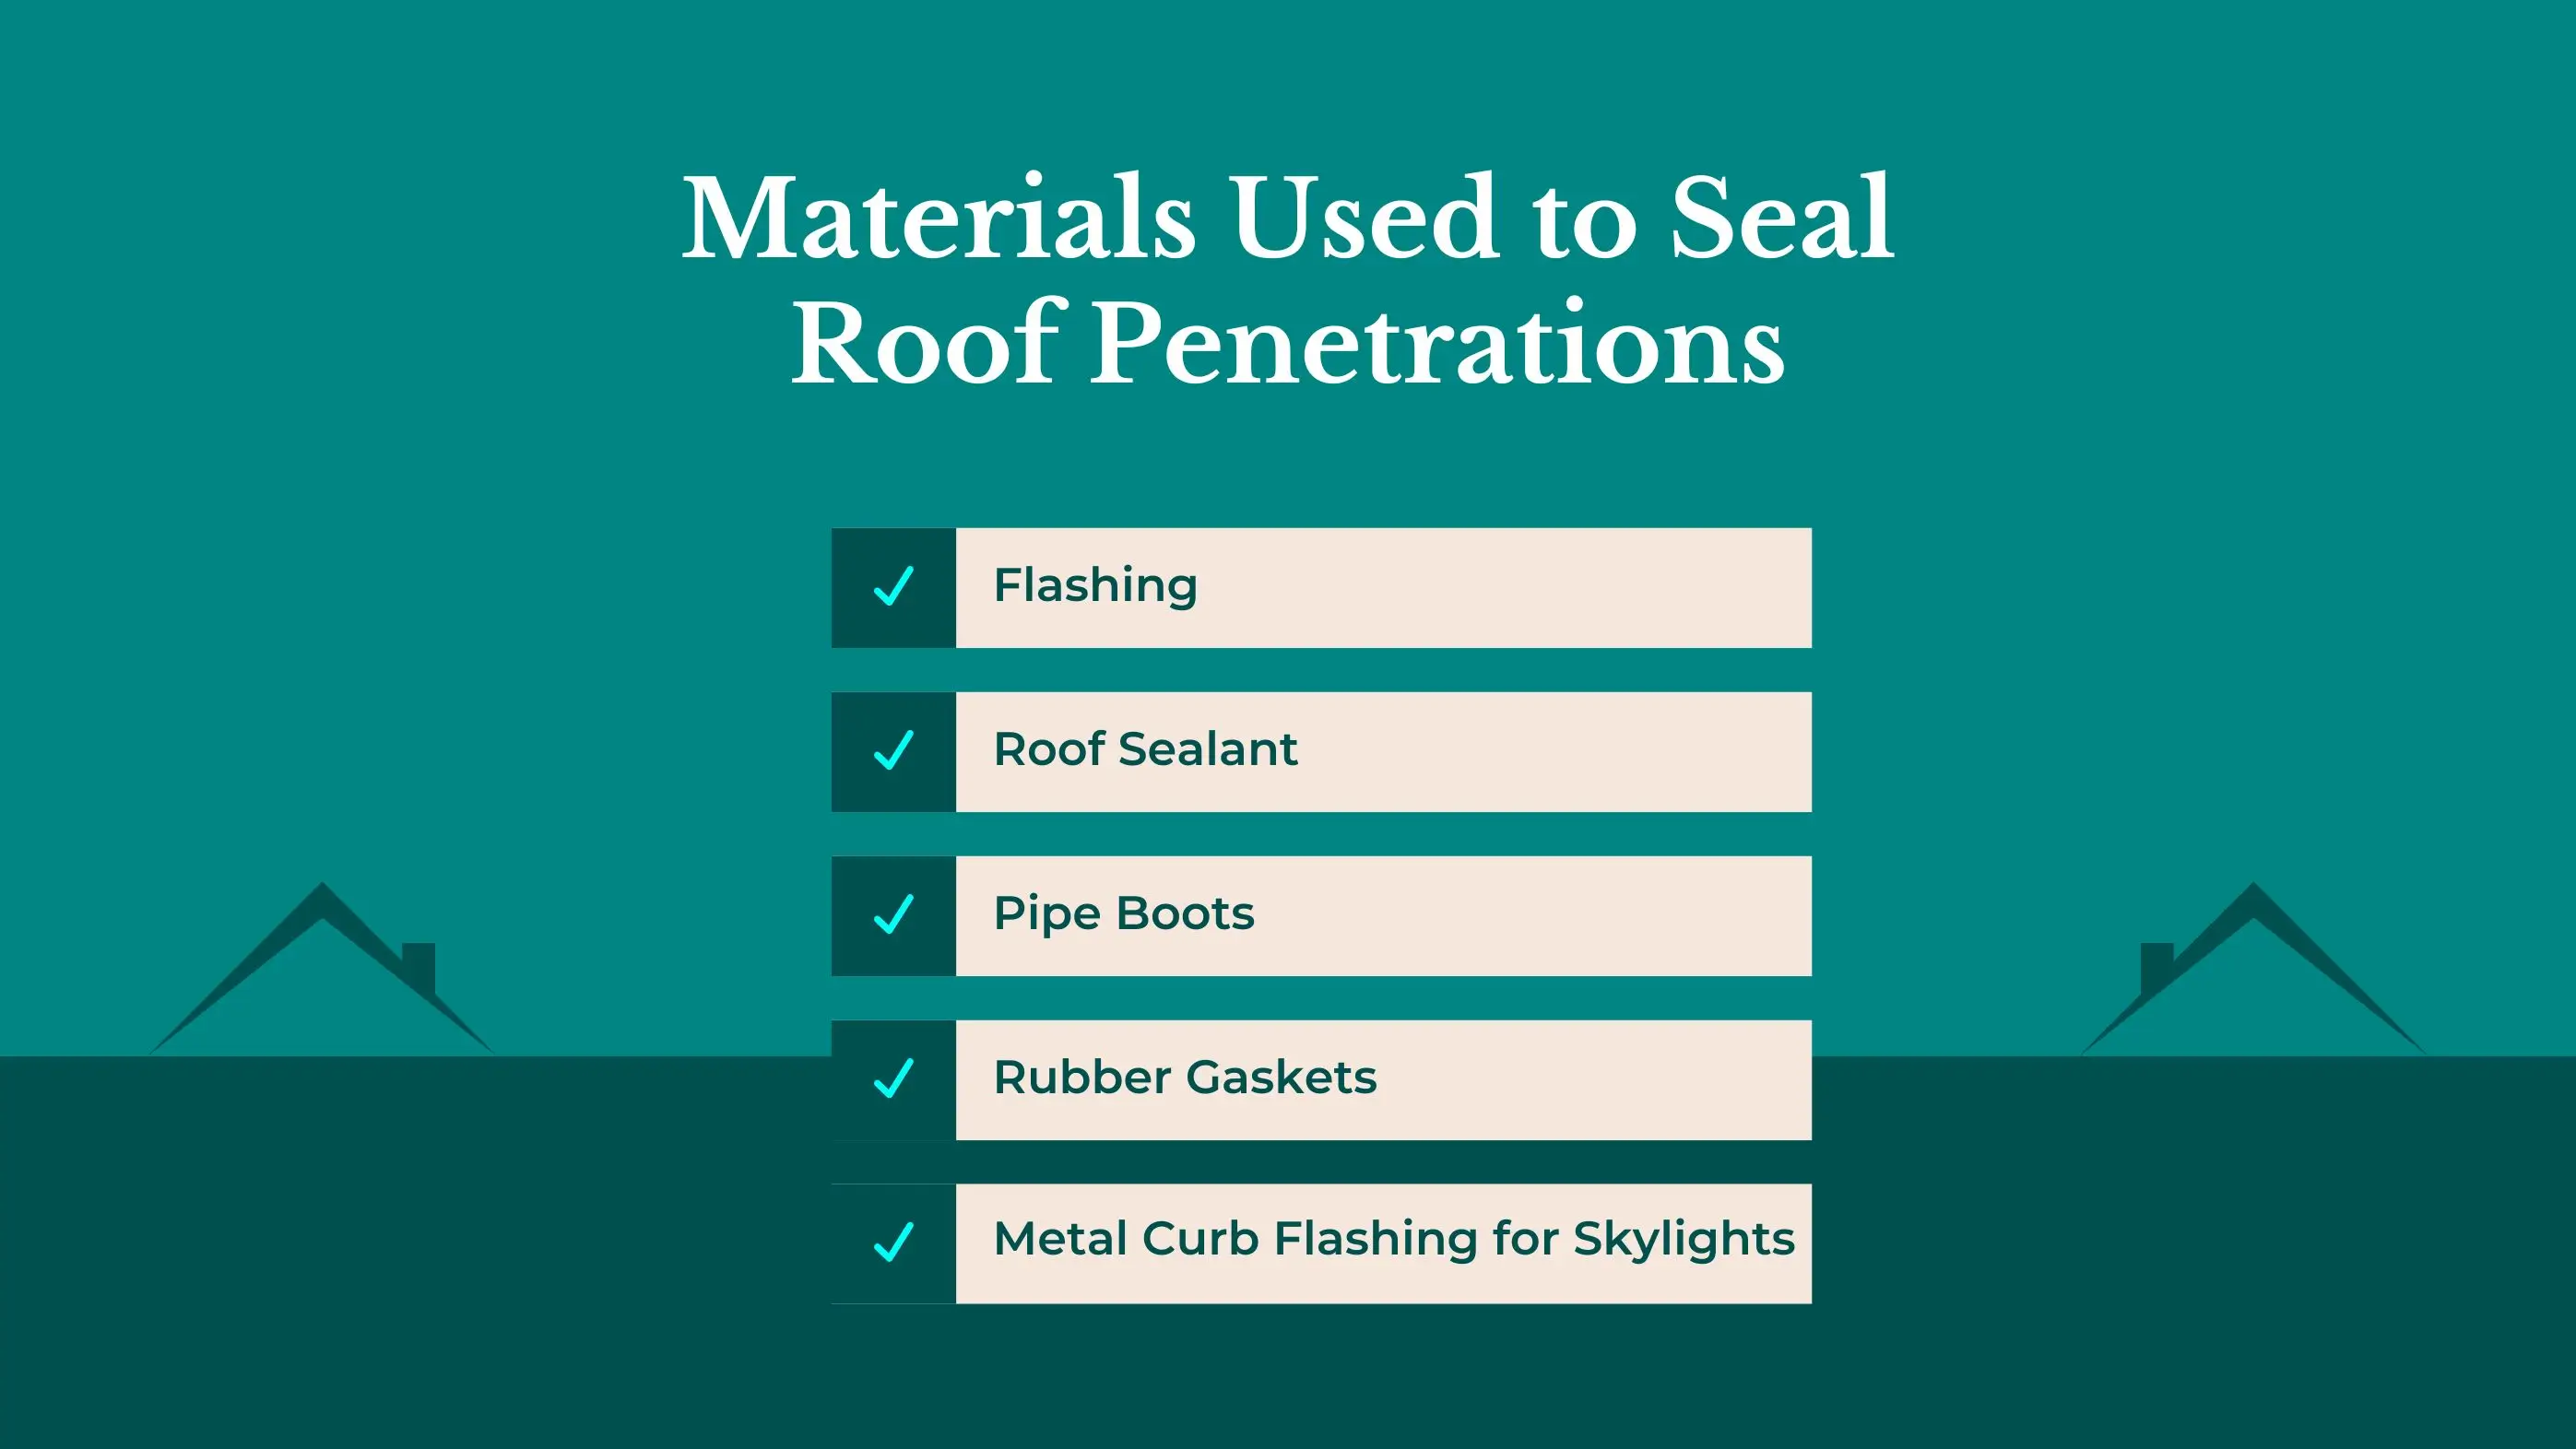
Flashing is a material (usually metal or rubber) that is used around the edges of the penetration to redirect water away from the area. It can be installed around pipes, chimneys, and skylights to form a waterproof barrier.
Sealant is a type of caulk or glue used to fill in gaps around penetrations. It’s like a sticky paste that dries and hardens, forming a protective seal around the penetration.
A pipe boot is a rubber or plastic sleeve that fits around the pipe to create a waterproof seal. It's usually secured with nails or screws and can be covered with flashing for extra protection.
Rubber gaskets are sometimes used around penetrations to provide an extra waterproof layer. They are placed at the base of a vent pipe or other penetrations and help create a strong, long-lasting seal.
Skylights are sealed with special metal flashing that fits around the edges of the skylight. This flashing is attached to the roof and helps guide water away from the skylight. It also helps the skylight sit securely in place.
Benefits of Sealing Roof Penetrations include preventing water leaks, which can cause costly damage to your roof and home. Proper sealing also helps improve energy efficiency and protect against mold growth, ensuring a dry and safe living space. There are many benefits to sealing roof penetrations properly:
The cost to seal roof penetrations can vary depending on the type of penetration and whether you do it yourself or hire a professional. Here's a general breakdown:
| Job | Estimated Cost (DIY) | Estimated Cost (Professional) |
|---|---|---|
| Resealing a small vent (pipe) | $10 – $30 | $100 – $200 |
| Resealing a chimney flashing | $15 – $40 | $200 – $500 |
| Replacing a vent pipe boot | $10 – $30 | $100 – $250 |
| Sealing a skylight | $20 – $50 | $150 – $400 |
| Fixing a roof vent or exhaust fan leak | $10 – $20 | $75 – $200 |
Sealing roof penetrations is an important step in maintaining your roof and keeping your home safe from water damage. Whether you’re building a new house or maintaining an existing roof, sealing around penetrations like vents, chimneys, and skylights will prevent leaks, protect your roof structure, and save you money in the long run.
Yes, upgrading to high-grade metal flashing, UV-resistant boots, and premium roof sealants (like polyurethane or silicone) can provide 15–25 years of protection with minimal maintenance.
Reusing is risky, old flashing may have micro-cracks or warped edges that compromise the seal. For best protection, replace with new flashing whenever resealing roof penetrations.
Step flashing is layered between each shingle and is ideal for chimneys and skylights. Continuous flashing is a single piece, better for low-slope transitions. Step flashing provides better water shedding for most vertical roof penetrations.
Yes, poorly sealed penetrations can allow warm, moist indoor air into the attic, leading to condensation, mold, and even roof deck rot. Proper sealing and ventilation work together to prevent this.
No, spray foam is not recommended for roof penetrations. It can trap moisture and doesn’t offer a waterproof seal. Use flashing and roofing sealant specifically designed for outdoor, waterproof applications.
Join our mailing list for exclusive updates, expert tips, and special offers tailored to your needs. Be the first to know about the latest in home services.

Renovize Home is a platform that supports homeowners from planning to renovation. Whether it’s Renovize AI for guidance or a one-on-one call with Pro Finder, we understand your project and match you with local contractors tailored to your needs.
Who We Are
About Renovize HomeGet in TouchHomeownwer Support:
Coming Soon!
General Inquiries:
support@renovizehome.com
Head Office:
24 Greenway Plaza, STE 1800M, Houston, TX 77046.