Explore All
BROWSE BY CATEGORY
Interior
Exterior
Home Essentials
Homeowner Tools
Blogs & Guides
Find a Pro
Book Your Appointment Now
Home Essentials
About Renovize Home
Explore All
BROWSE BY CATEGORY
Interior
Exterior
Home Essentials
Homeowner Tools
Blogs & Guides
Find a Pro
Book Your Appointment Now
Home Essentials
About Renovize Home
Last Updated 2025-11-06
Attic and roof insulation, along with proper ventilation, work together to create a stable, energy-efficient home. Insulation keeps indoor heat where it belongs, inside during winter and outside during summer, while ventilation allows trapped air and moisture to escape safely. This balance prevents mold, rot, and heat buildup that can shorten the life of shingles and structural materials.
A well-insulated and ventilated roof keeps your home comfortable year-round while preventing costly moisture and heat-related problems. Whether you live in a cold or hot climate, balancing roof insulation and roof ventilation ensures that heat, air, and moisture move safely through the system, protecting your attic, shingles, and structure for decades.
Table of Contents
Why Insulation and Ventilation Must Work Together
Assessment and Prep (Seal Air Leaks Before You Insulate)
Insulation Options by Roof Condition and Slope
Rigid, Foam and Board Systems (Above/Below Deck)
Ventilation That Matches the Insulation
Roof Installation Sequence (Do It Once, Do It Right)
Common Problems and How to Avoid Them
DIY vs Professional Service
Costs, Savings and Payback
Materials Overview
Maintenance and Monitoring
Key Takeaway
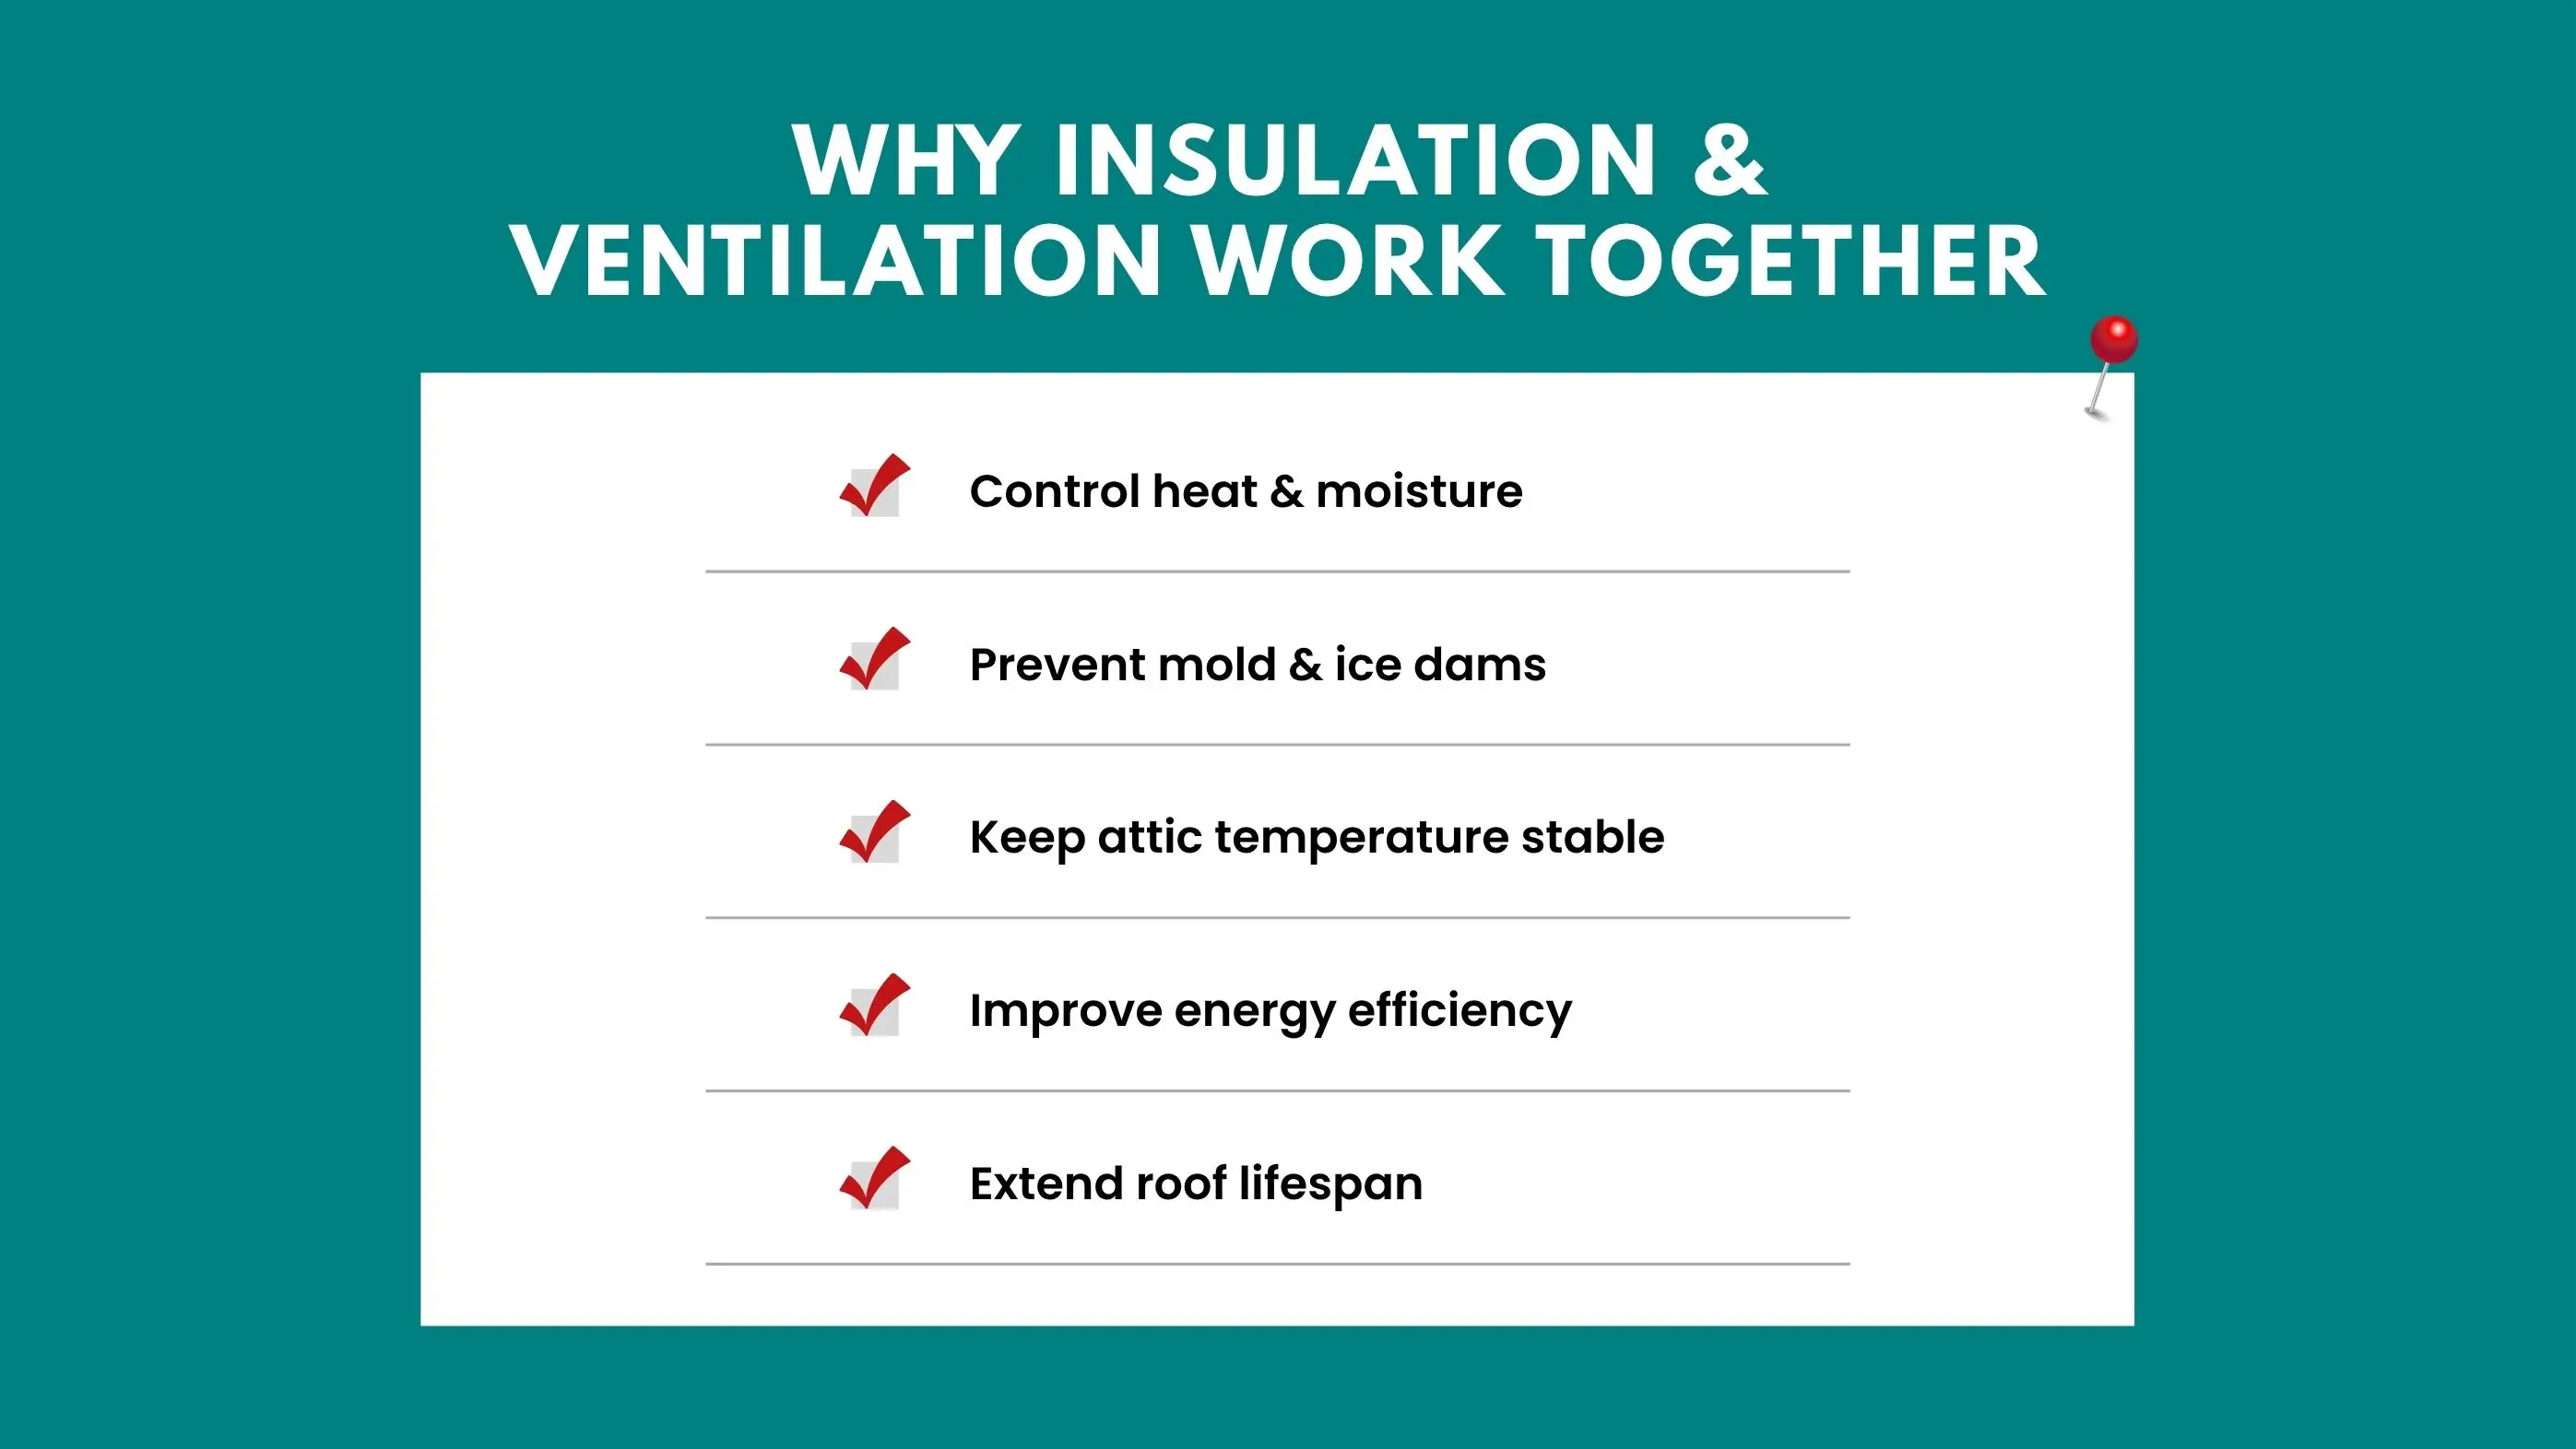
Insulation slows heat transfer, while ventilation allows trapped air and moisture to escape. When they work together, your roof assembly stays dry and energy-efficient. Warm air rises through a process called the stack effect. If insulation is weak, it escapes into the attic, causing snowmelt or excessive summer heat.
Proper roof ventilation removes that trapped heat and moisture, preventing mold, condensation, and ice dams. Balanced intake and exhaust create steady airflow. Cool air enters through soffit vents and exits through ridge vents. This cycle keeps your roof deck at a stable temperature and preserves material life.
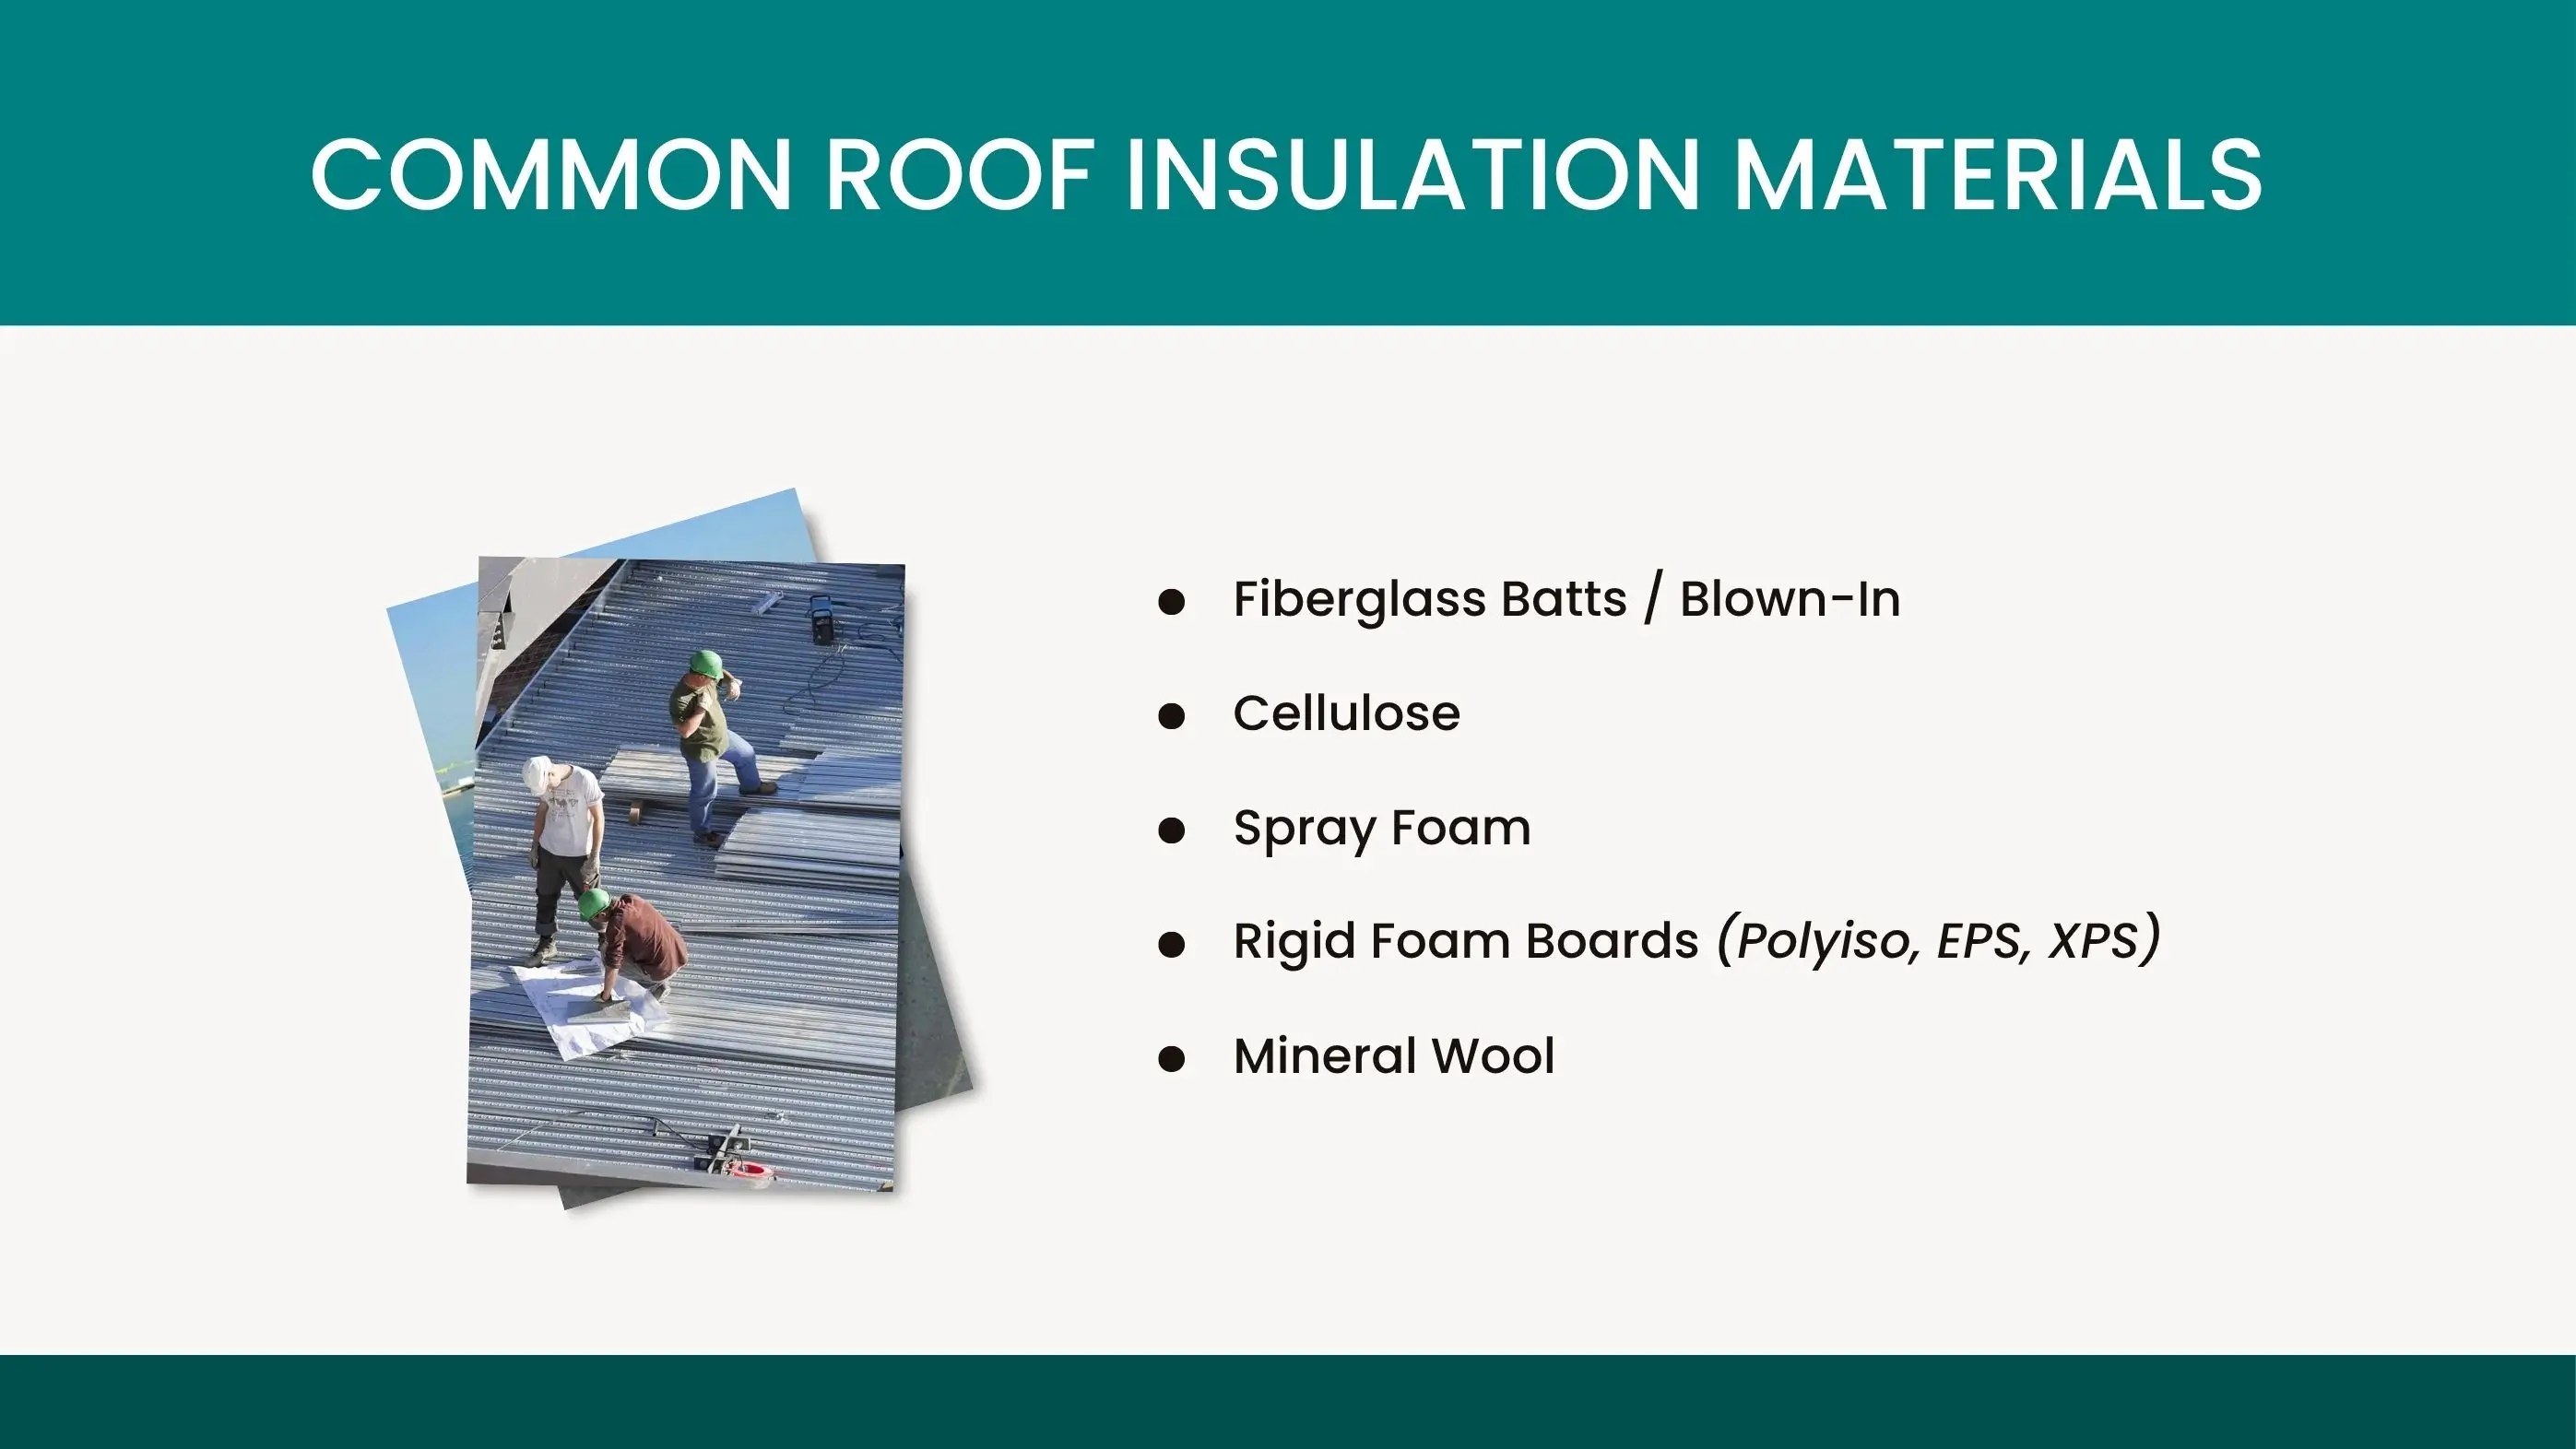
Typical residential roofs should meet code-aligned R-values depending on the climate zone. Common roof insulation types include fiberglass batts, cellulose, spray foam, and rigid foam boards. Always maintain airflow channels (baffles) to separate insulation from ventilation paths.
Before adding new insulation, seal every gap that lets indoor air escape. Even a small crack can leak warm, moist air into the attic.

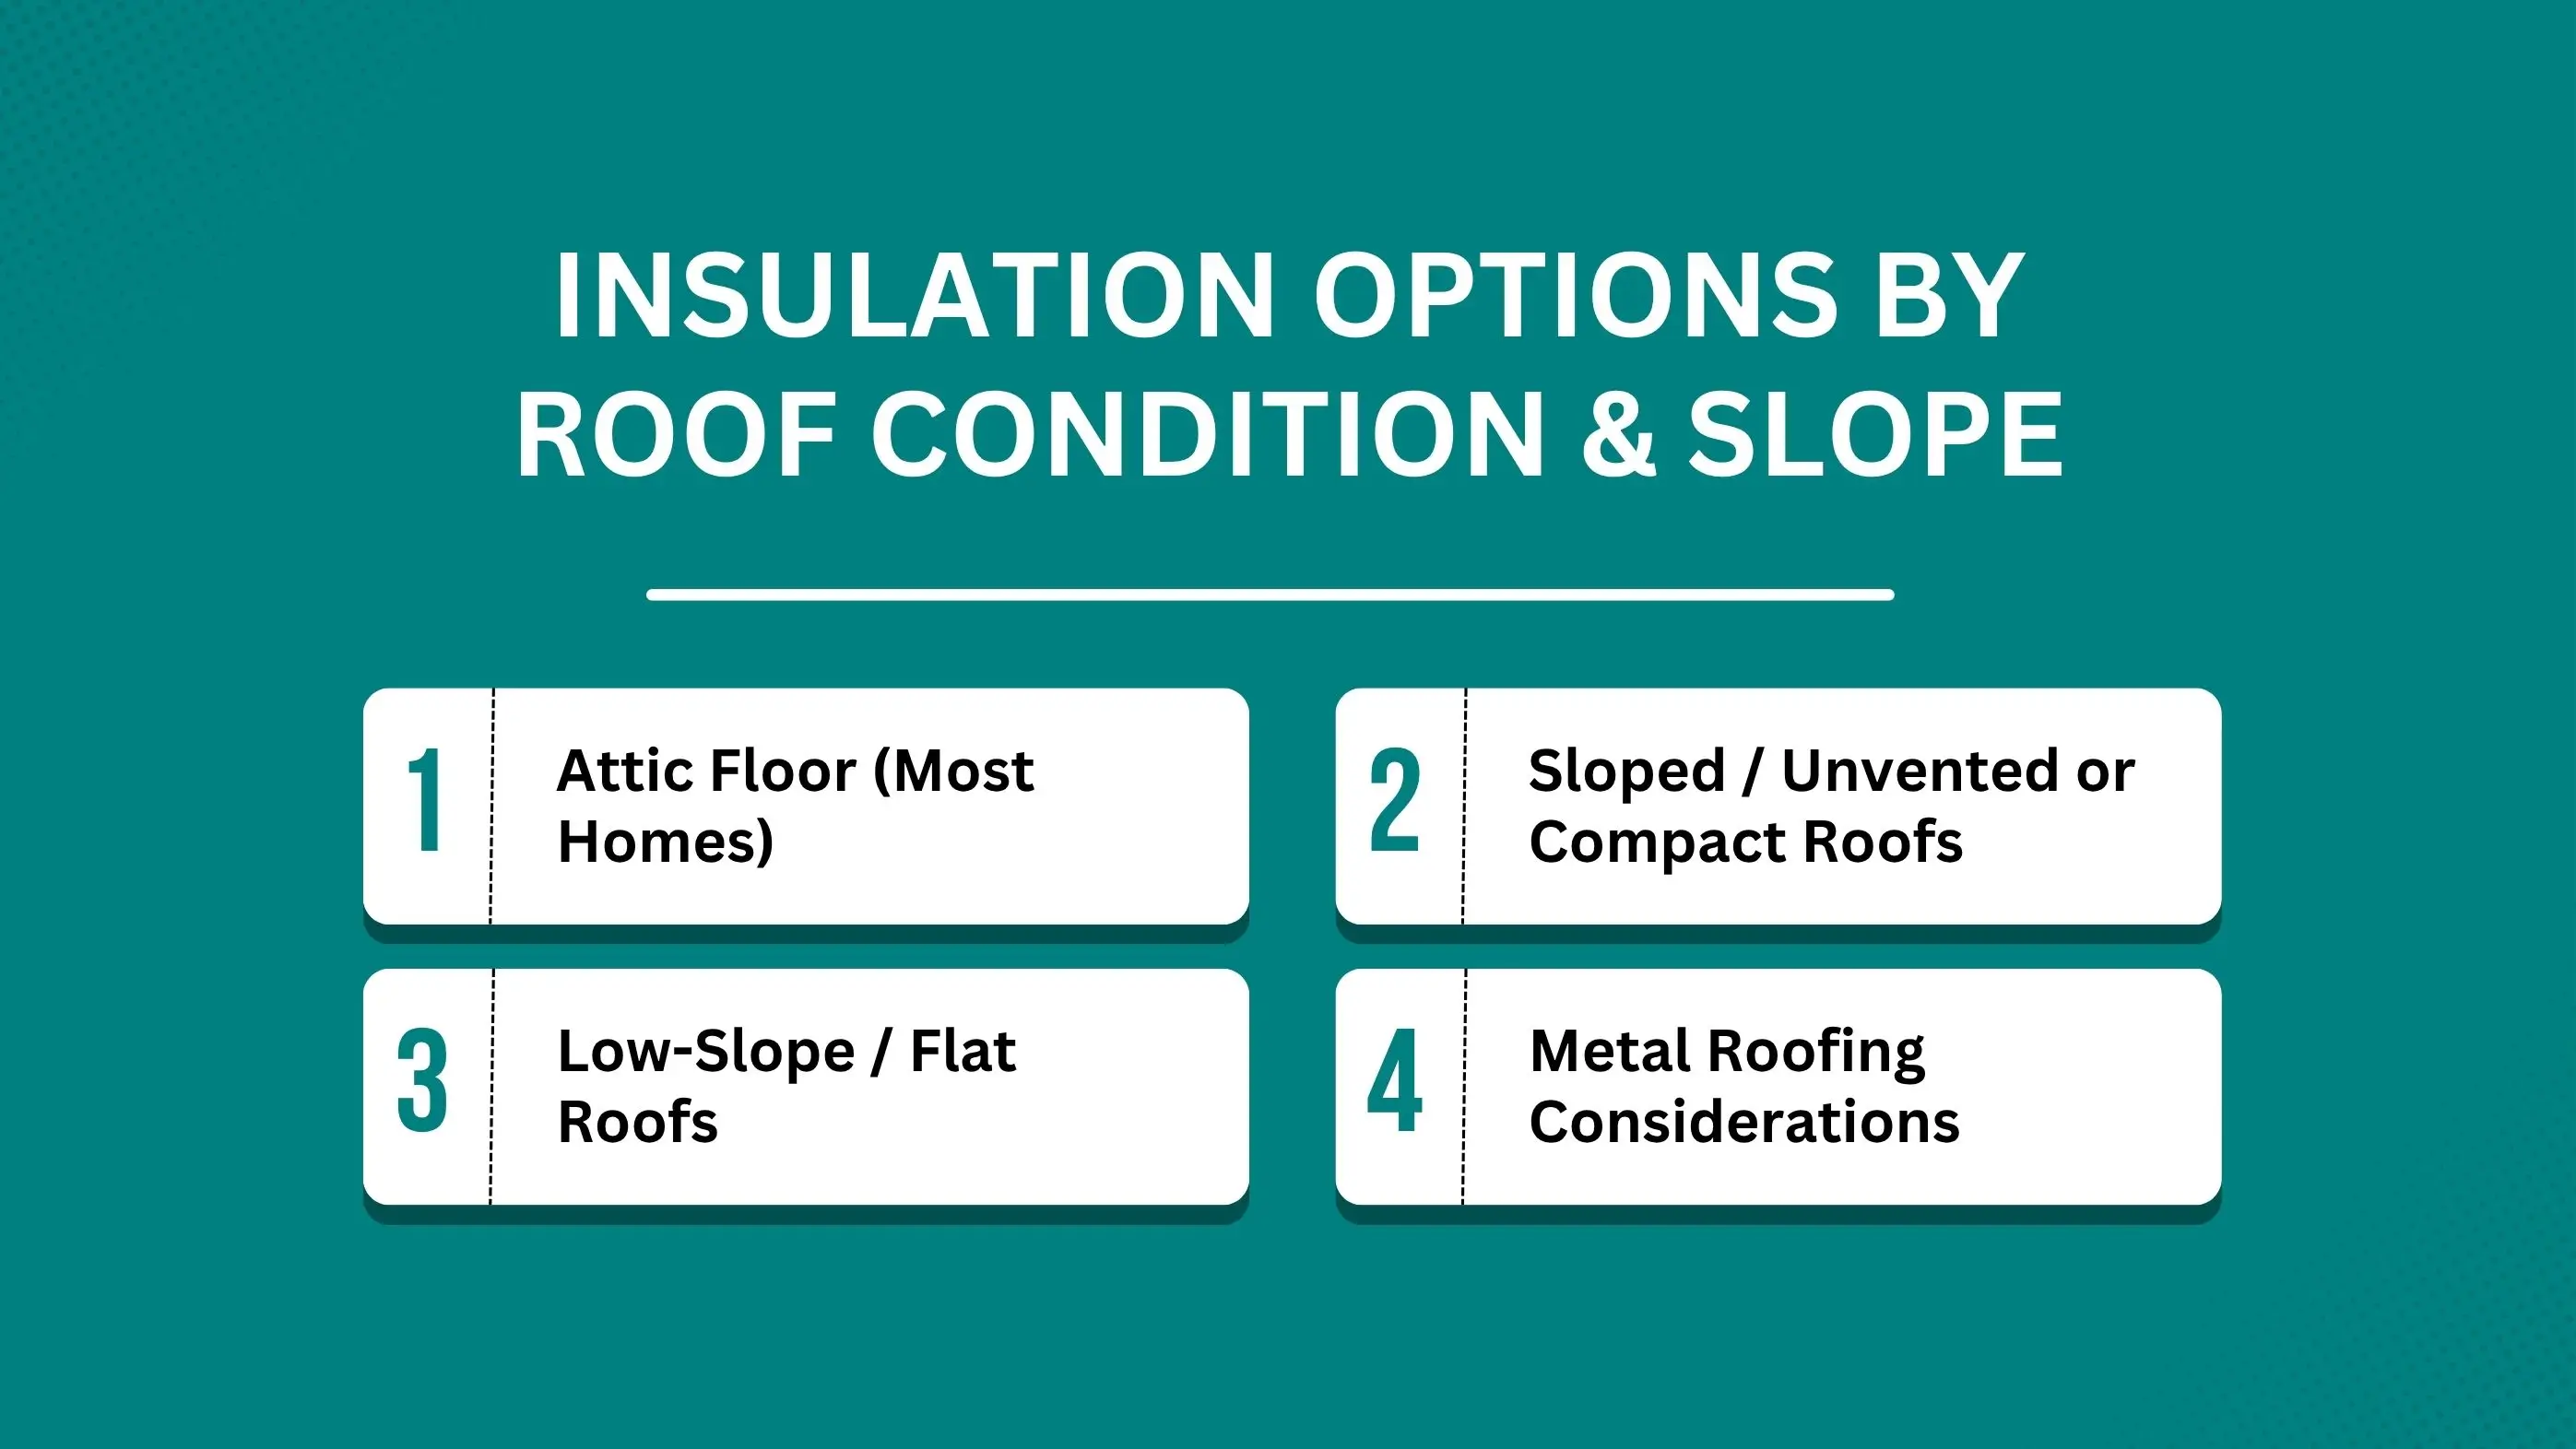
Different roof structures require different insulation strategies. These are some of the options:
The easiest and most common approach is insulating the attic floor with blown-in fiberglass or cellulose. Target the R-value required by your local code (R-38 to R-60 in most U.S. climates). Maintain airflow by installing baffles along the eaves to keep soffit vents clear.
Add depth markers to verify coverage and maintain safe clearances around recessed lights or chimneys. This approach works best for homes with open attic space, commonly referred to as attic roof insulation or insulation for roof with attic.
When ceilings follow the roofline, you can’t ventilate the attic separately. These assemblies rely on spray foam roof insulation, either open-cell or closed-cell, to fill the rafter cavities.
Closed-cell foam acts as both insulation and air barrier, providing dew-point control to prevent. This method is sometimes called an unvented roof insulation or hot roof insulation design. Whether it removes the need for roof ventilation depends on the design—consult a professional to confirm code compliance and moisture safety.
Flat roofs need a layered rigid system with a slight taper to promote drainage. Install tapered roof insulation boards over the deck to prevent ponding water. Ensure tight seams and proper vapor control layers beneath. This type of flat roof insulation often includes multiple rigid layers staggered for stability.
Metal roofs can reach high surface temperatures and are prone to condensation on cool nights. Use high-temperature rated insulation for metal roof systems such as mineral wool or foil-faced foam boards. Maintain an air gap or vented substrate for proper metal roofing insulation performance and longer panel life.
Rigid foam and board insulation systems are used to boost energy performance and prevent heat loss through the roof deck. These materials, installed either above or below the decking, provide excellent moisture resistance, structural strength, and high R-values in thin layers. They’re ideal for modern roofs, flat roofs, or energy-efficient upgrades where space and precision matter.
Polyiso roof insulation offers the highest R-value per inch (around R-6.5). Combine it with other rigid foam roof insulation like EPS or XPS for cost efficiency. Each roof insulation board layer should be offset (staggered seams) and fastened securely to prevent thermal bridging.
Insulated roofing panels, also called structural insulated roof panels (SIPs), integrate insulation between plywood or metal skins. They install quickly, reduce air leaks, and are ideal for new builds. Insulated metal roof panels are common in metal buildings, combining strength, energy efficiency, and weather resistance.
Adding insulation above the deck prevents heat loss through rafters and maintains the attic temperature close to outdoor levels. Options include exterior roof insulation, roof deck insulation, and tapered roofing insulation systems. These are ideal when reroofing since they keep interior finishes undisturbed.
Proper ventilation is just as important as good insulation. It allows fresh air to enter and hot, moist air to escape, keeping your attic dry and your roof materials protected. When insulation and ventilation are balanced, your home stays energy-efficient year-round, preventing mold growth, ice dams, and premature roof wear. Proper ventilation prevents heat and moisture from building up under the roof covering.
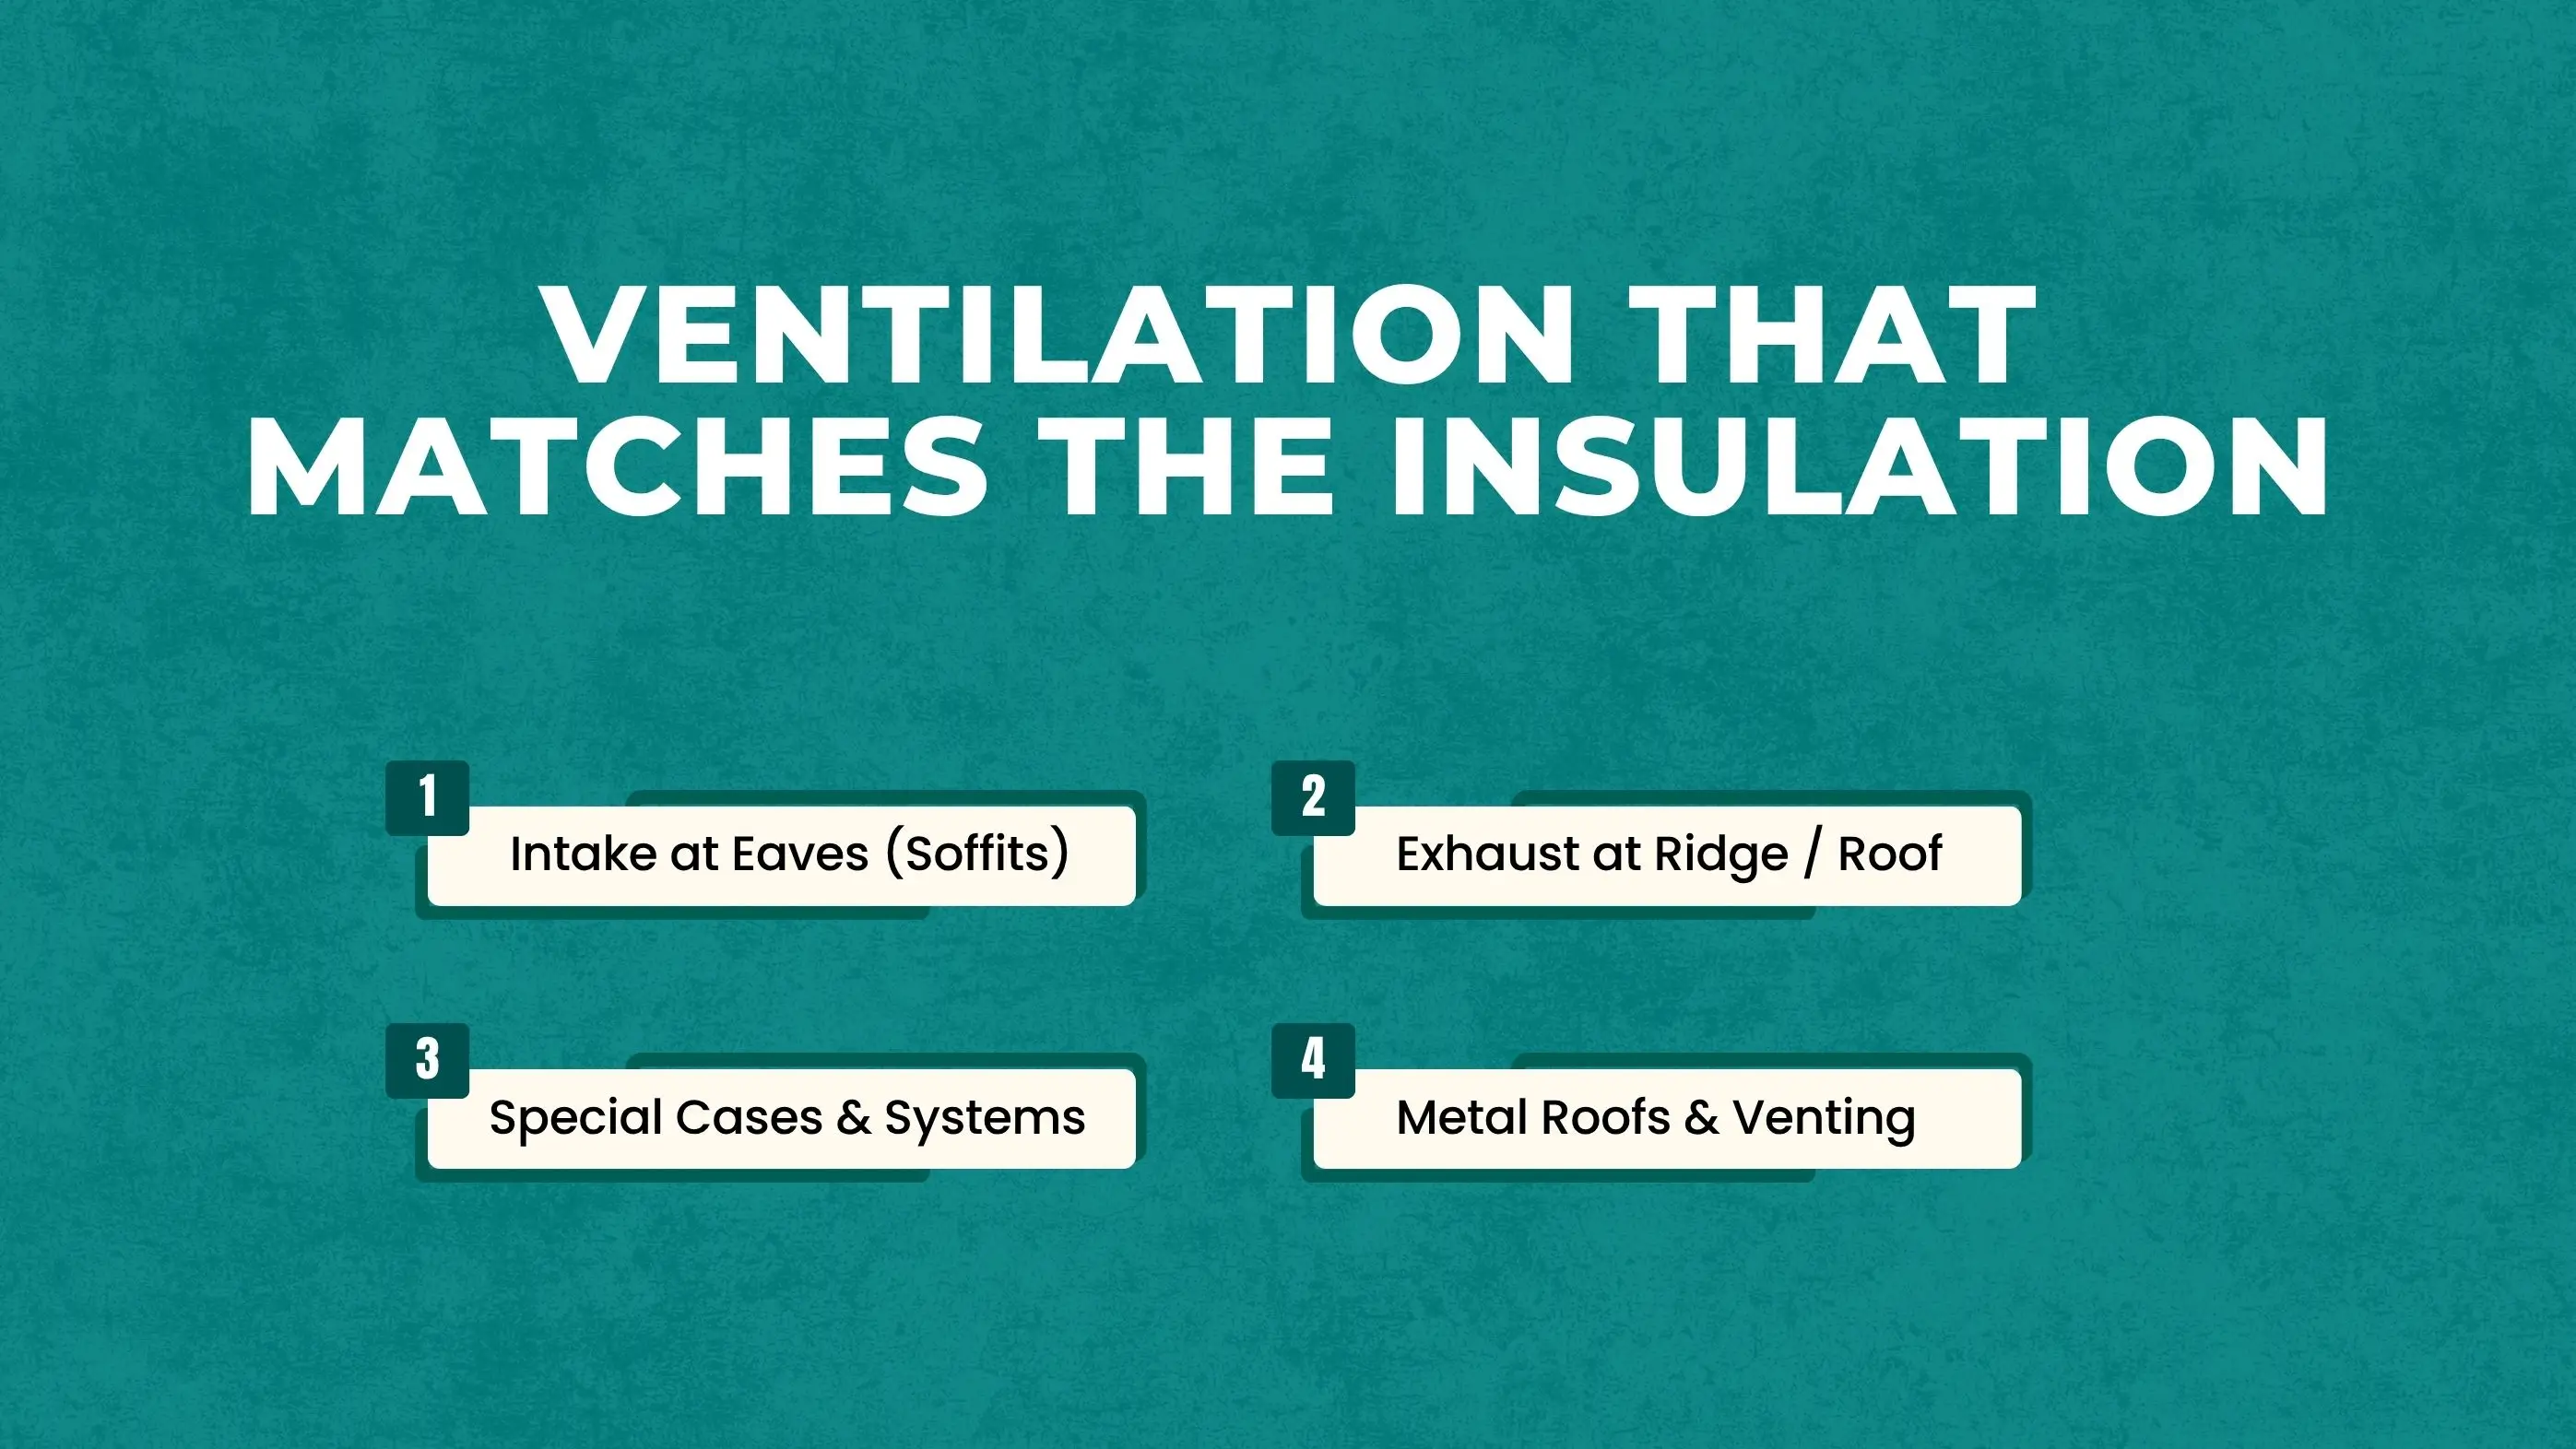
Air enters through soffit vents located under the eaves. The amount of roof eaves ventilation needed is calculated using Net Free Area (NFA) ratios, typically 1 square foot of vent for every 150 square feet of attic space.
Warm air exits at the top through ridge roof ventilation systems or other roof exhaust ventilation points. Continuous ridge vents provide even airflow; avoid mixing different exhaust types (like ridge + box fans) that compete with each other.
Complex roofs with multiple slopes or dormers need balanced roof ventilation types tailored to the shape. Garages or sheds may use gable or low-profile vents. A professional can design balanced roofing ventilation systems for proper roof attic ventilation across all areas.
Yes, metal roofs need ventilation too. Proper airflow beneath panels prevents condensation. Install metal roof ridge ventilation or under-panel vent mats to maintain dry conditions and extend lifespan.
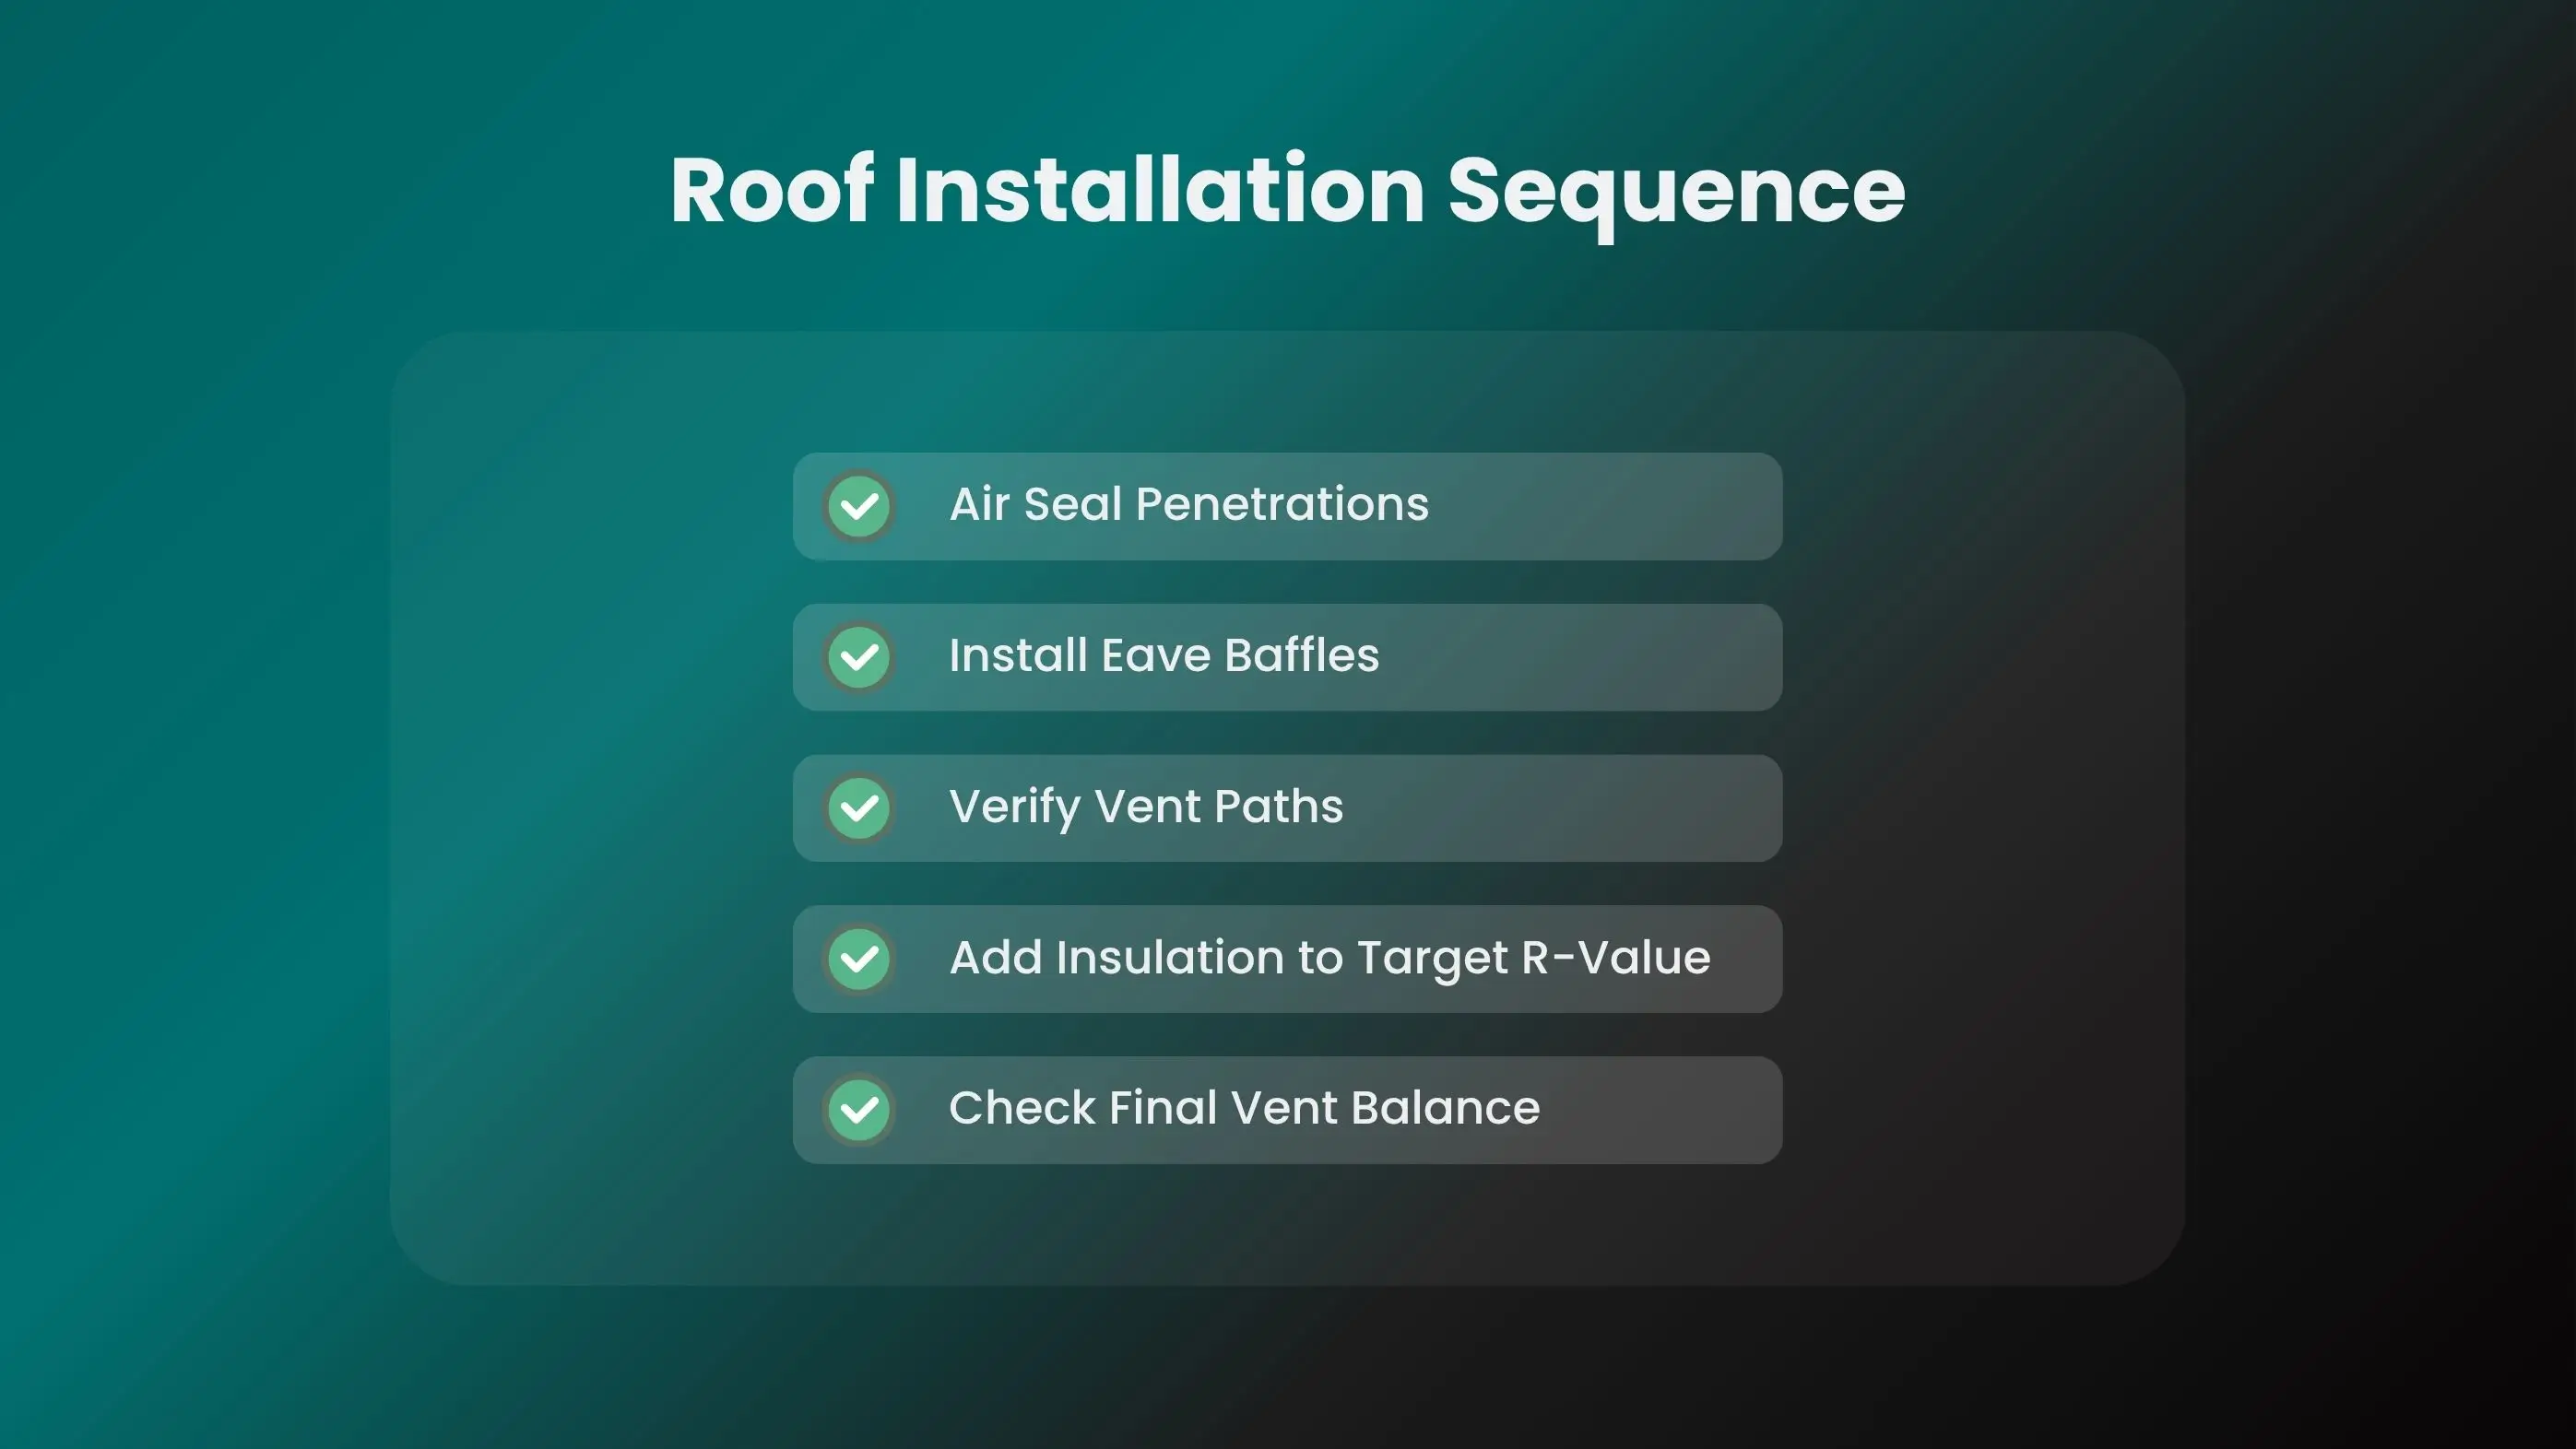
A good roof system follows a clear, step-by-step order that ensures lasting performance and energy efficiency. Each stage matters skipping one can lead to air leaks, trapped moisture, or uneven temperatures in your home. Follow this sequence to get the best results from your insulation and ventilation work.
Even small mistakes during attic insulation or roof ventilation can lead to major issues later. Poor airflow, trapped moisture, or uneven coverage can damage both your insulation and roof structure. Below are the most frequent problems homeowners face and the right ways to prevent them.
Here are some effective ways to help you avoid these problems.
When it comes to attic and roof insulation with proper ventilation, some projects are simple enough for homeowners, while others require professional skill and tools. Knowing which is which helps you stay safe, save money, and get the best long-term results.
Certain insulation and ventilation tasks are easy to handle with basic tools and safety gear.
Some projects demand the expertise of trained installers to ensure safety, efficiency, and code compliance.
Understanding the cost of roof insulation and ventilation helps you plan your project smartly. While upfront prices vary by material and roof type, quality insulation can cut heating and cooling bills by up to 25%. Proper ventilation further extends roof life and prevents moisture damage, delivering long-term savings that often pay back the initial investment within a few years.
Insulation prices depend on material type and roof design. On average, homeowners spend $1.50 – $5.00 per sq. ft., with higher R-value materials like spray foam or rigid boards costing more but delivering better energy savings.
| Material Type | R-Value per Inch | Cost per Sq. Ft. | Typical Lifespan | Notes |
|---|---|---|---|---|
| Fiberglass (Blown-In) | 2.7–3.5 | $1.20 – $2.00 | 20–30 yrs | Low cost, easy install |
| Cellulose | 3.2–3.8 | $1.50 – $2.50 | 20–25 yrs | Eco-friendly, dense |
| Spray Foam (Open/Closed) | 3.5–6.5 | $3.50 – $6.00 | 30–50 yrs | High R, air-sealing |
| Rigid Foam / Boards | 5.0–6.5 | $2.50 – $4.50 | 40+ yrs | Durable, moisture-resistant |
Roof ventilation is affordable yet crucial for long-term performance. Most homeowners spend $300 – $900 total for soffit, ridge, or roof vents, depending on roof size and the number of vents required.
| Vent Type | Cost per Unit | Coverage Area | Notes |
|---|---|---|---|
| Soffit Vent (Intake) | $5 – $8 each | 40–50 sq ft | Install continuously for the best balance |
| Ridge Vent (Exhaust) | $6 – $10 per ft | 20–30 sq ft / ft | Excellent airflow, low profile |
| Box Vent / Roof Vent | $50 – $120 each | 150–200 sq ft | Use when a ridge vent is not possible |
Proper insulation and ventilation reduce heating and cooling bills by 10–25%. They also prevent ice dams, extend shingle life, and keep indoor humidity stable.
| Assembly Type | Target R-Value | Vent Type | Typical Cost Range | Key Benefit |
|---|---|---|---|---|
| Attic Floor (Blown-In) | R-49 | Ridge + Soffit | $2 – $3 / sq ft | Affordable, easy install |
| Compact Roof (Spray Foam) | R-38 | Unvented | $4 – $6 / sq ft | Air-tight, modern homes |
| Flat Roof (Rigid Foam) | R-30 | Box Vents | $3 – $5 / sq ft | Drainage + energy saving |
Choosing the right materials for insulation and ventilation is essential to create a durable, energy-efficient roof system. Each component serves a specific purpose: insulation keeps heat where it belongs, while ventilation maintains airflow to prevent moisture buildup.
Regular maintenance ensures your roof insulation and ventilation system keeps performing efficiently year after year. Inspect your attic at least twice a year, ideally in spring and fall, to spot early signs of airflow or moisture issues. Check that soffit and ridge vents are clear of dust, insulation, or debris. Look for signs of dampness, mold, or insulation settling, which could indicate blocked ventilation or leaks. Keep attic humidity below 50% to prevent condensation, and ensure all fan backdraft dampers close properly. A quick roof ventilation inspection helps you maintain consistent airflow, extend roof life, and keep your home comfortable through every season.
Balanced insulation and ventilation form a single protective system. Seal first, ventilate properly, insulate to code R-values, and inspect regularly. Doing so improves comfort, lowers bills, and extends your roof’s lifespan, making your home safer and more energy-efficient through every season.
Without good airflow, hot and moist air gets trapped. This can lead to mold, roof rot, peeling paint, or ice dams in winter. Proper ventilation keeps your attic dry and your roof lasting longer.
Yes, as long as the old insulation is dry and not moldy. Just make sure you seal air leaks and keep soffit vents open so air can still flow through.
Yes, metal roofs heat up fast during the day and cool quickly at night. Good insulation keeps indoor temperatures stable, and ventilation helps stop moisture from forming under the panels.
Most U.S. homes need insulation rated between R-38 and R-60. That’s usually around 12 to 20 inches of blown-in material, depending on the product
Start by checking that soffit vents aren’t blocked with insulation. Add ridge vents or roof vents at the top so air can move freely from bottom to top.
Join our mailing list for exclusive updates, expert tips, and special offers tailored to your needs. Be the first to know about the latest in home services.

Renovize Home is a platform that supports homeowners from planning to renovation. Whether it’s Renovize AI for guidance or a one-on-one call with Pro Finder, we understand your project and match you with local contractors tailored to your needs.
Who We Are
About Renovize HomeGet in TouchHomeownwer Support:
Coming Soon!
General Inquiries:
support@renovizehome.com
Head Office:
24 Greenway Plaza, STE 1800M, Houston, TX 77046.