Explore All
BROWSE BY CATEGORY
Interior
Exterior
Home Essentials
Homeowner Tools
Blogs & Guides
Find a Pro
Book Your Appointment Now
Home Essentials
About Renovize Home
Explore All
BROWSE BY CATEGORY
Interior
Exterior
Home Essentials
Homeowner Tools
Blogs & Guides
Find a Pro
Book Your Appointment Now
Home Essentials
About Renovize Home
Last Updated 2025-10-23
Roof flashing repair is one of the most important parts of keeping your home dry and structurally sound. Flashing acts as a waterproof shield, protecting the areas of your roof that are most vulnerable to leaks, like chimneys, vents, skylights, and valleys. When flashing becomes damaged or worn, it can allow rainwater to enter your home, leading to rot, mold growth, and insulation damage.
In this detailed guide, we’ll explain everything homeowners need to know about roof flashing, its purpose, causes of damage, how to repair it, costs, and when to call a professional.
Table of Contents
What is Roof Flashing and Why is it Important?
How to Repair Roof Flashing
The Role of Flashing in Protecting Your Roof
Common Causes of Roof Flashing Damage
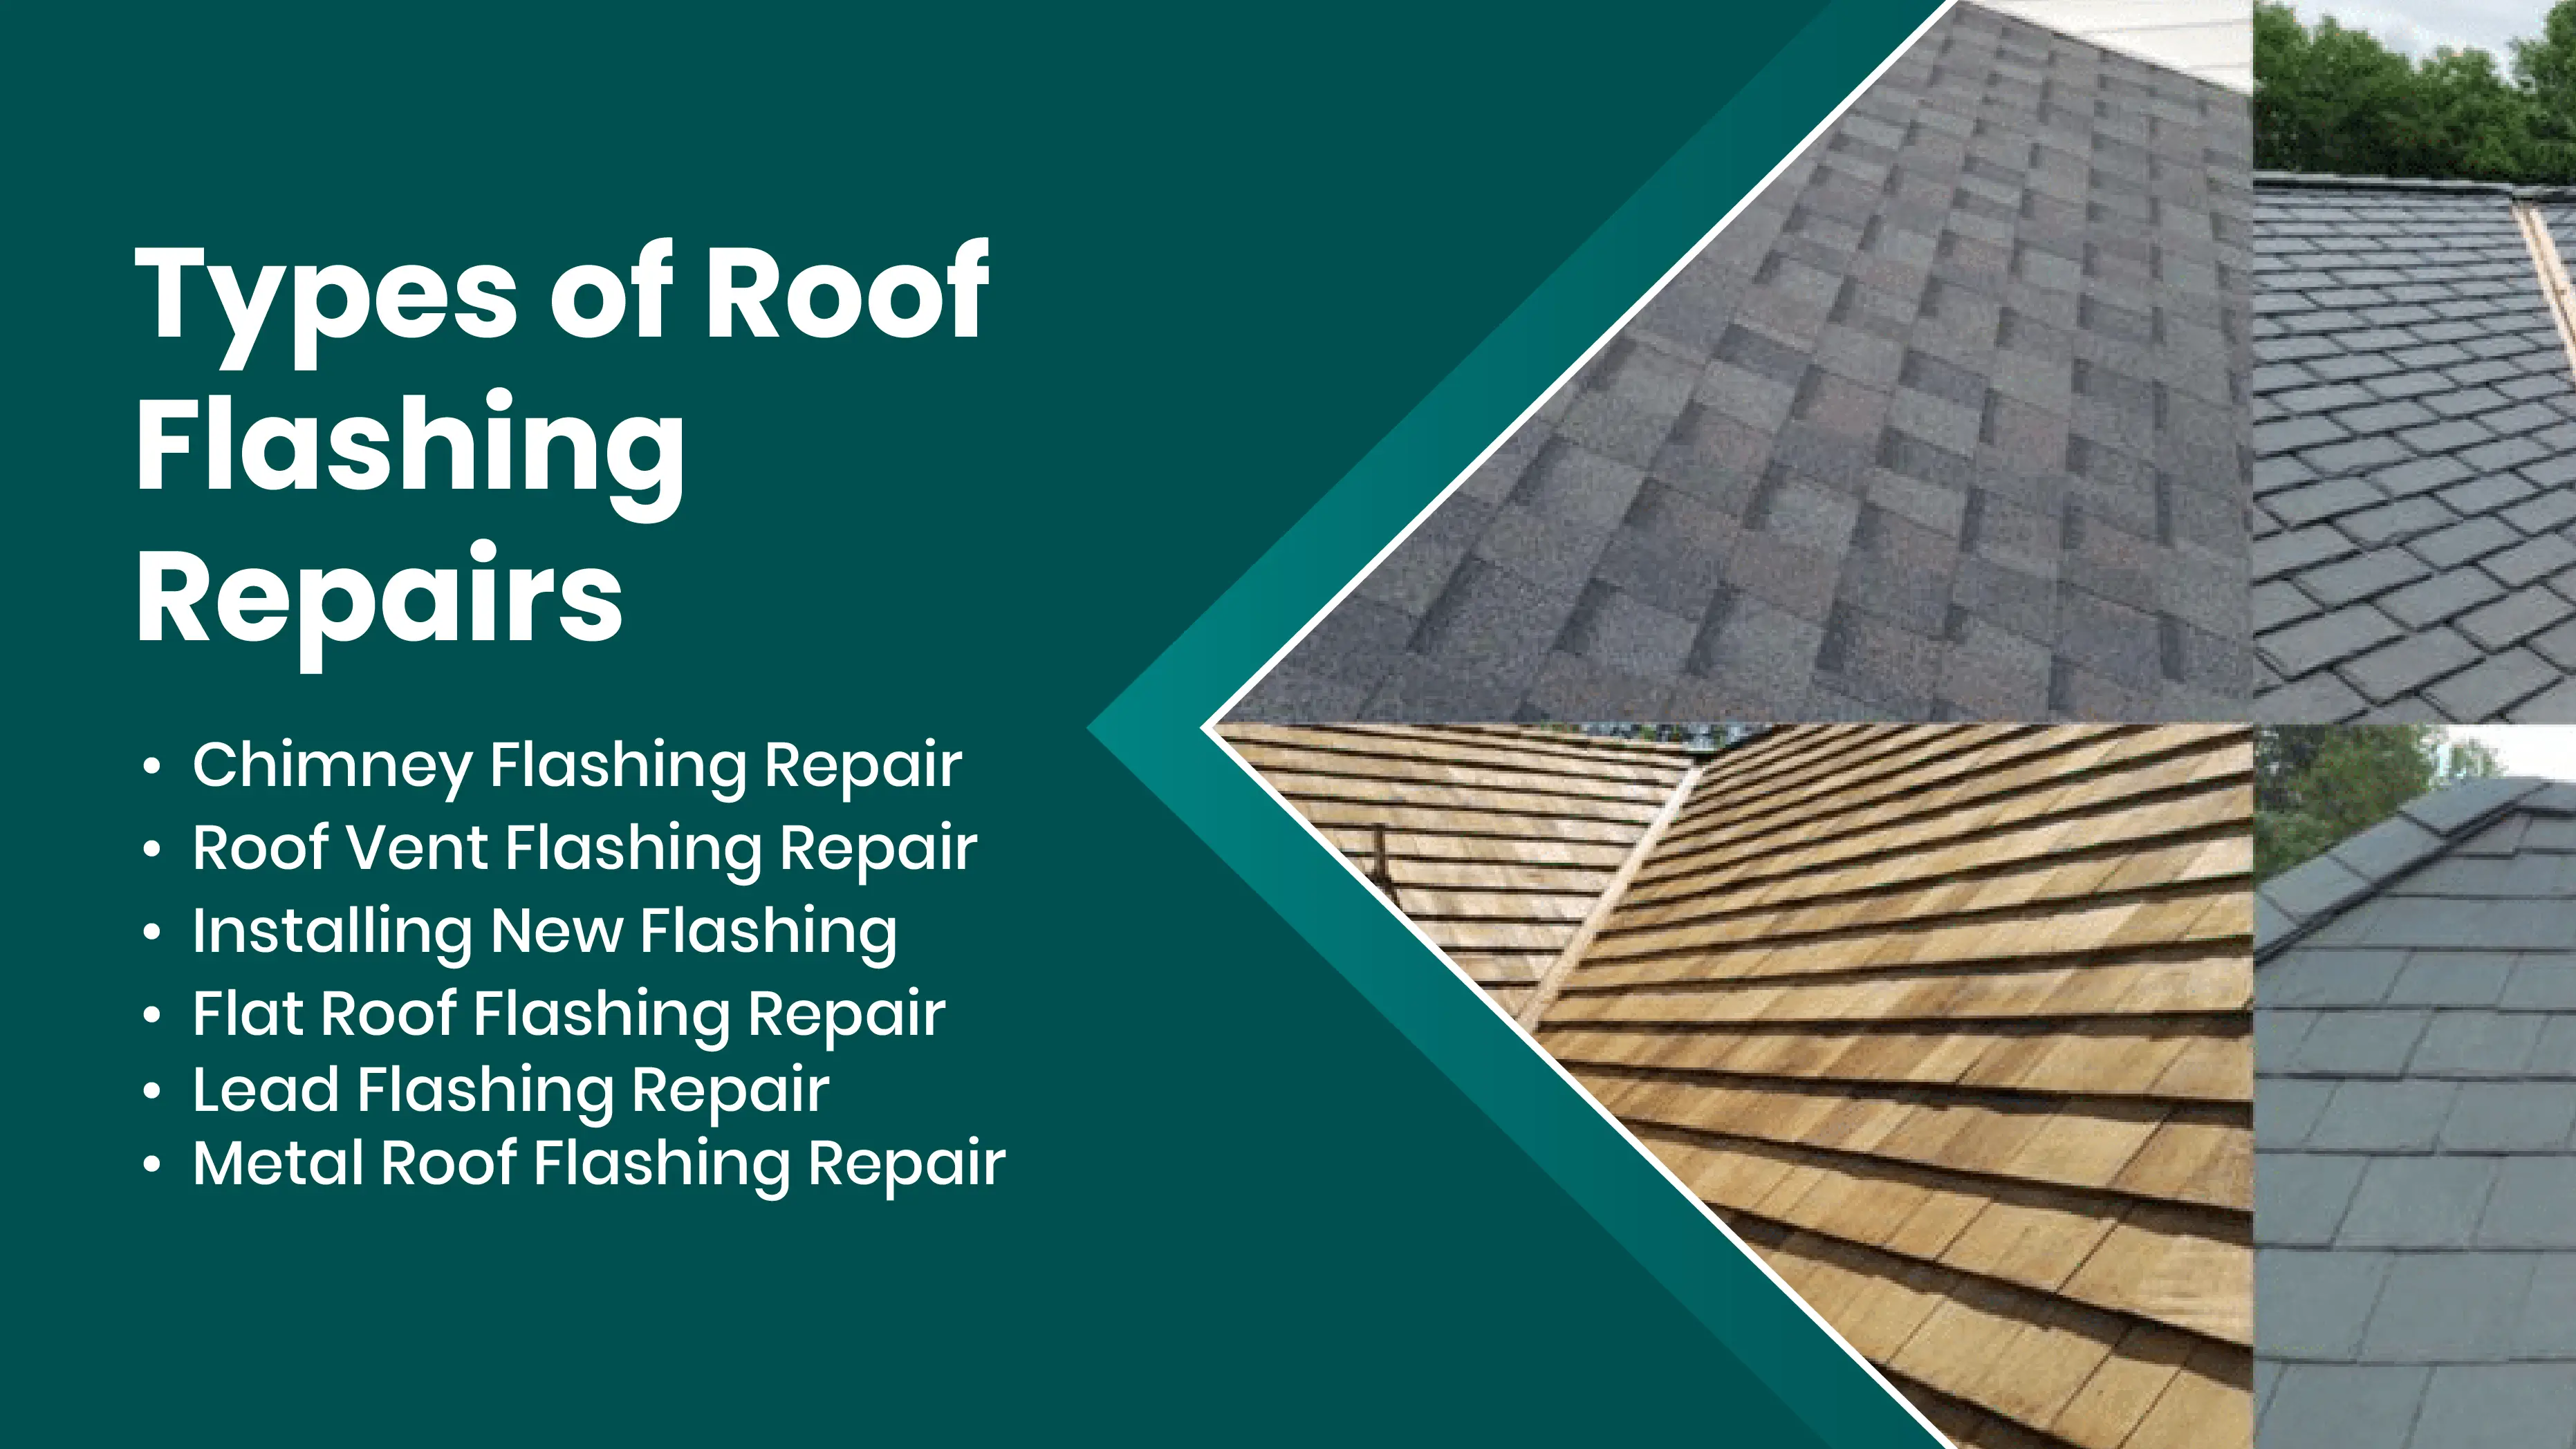
Types of Roof Flashing Repairs
Common Flashing Materials
DIY vs Professional Roof Flashing Repair
Cost of Roof Flashing Repair
Emergency Roof Flashing Repair
Ending Words
Roof flashing is a thin piece of metal or waterproof material that directs water away from critical joints and intersections on your roof. Without flashing, even small cracks or seams could allow water to infiltrate your attic or walls during heavy rainfall.
According to roofing industry studies, around 90% of roof leaks occur near flashing or roof penetrations, making proper installation and maintenance absolutely vital. Good flashing not only prevents leaks but can also extend your roof’s life by decades.
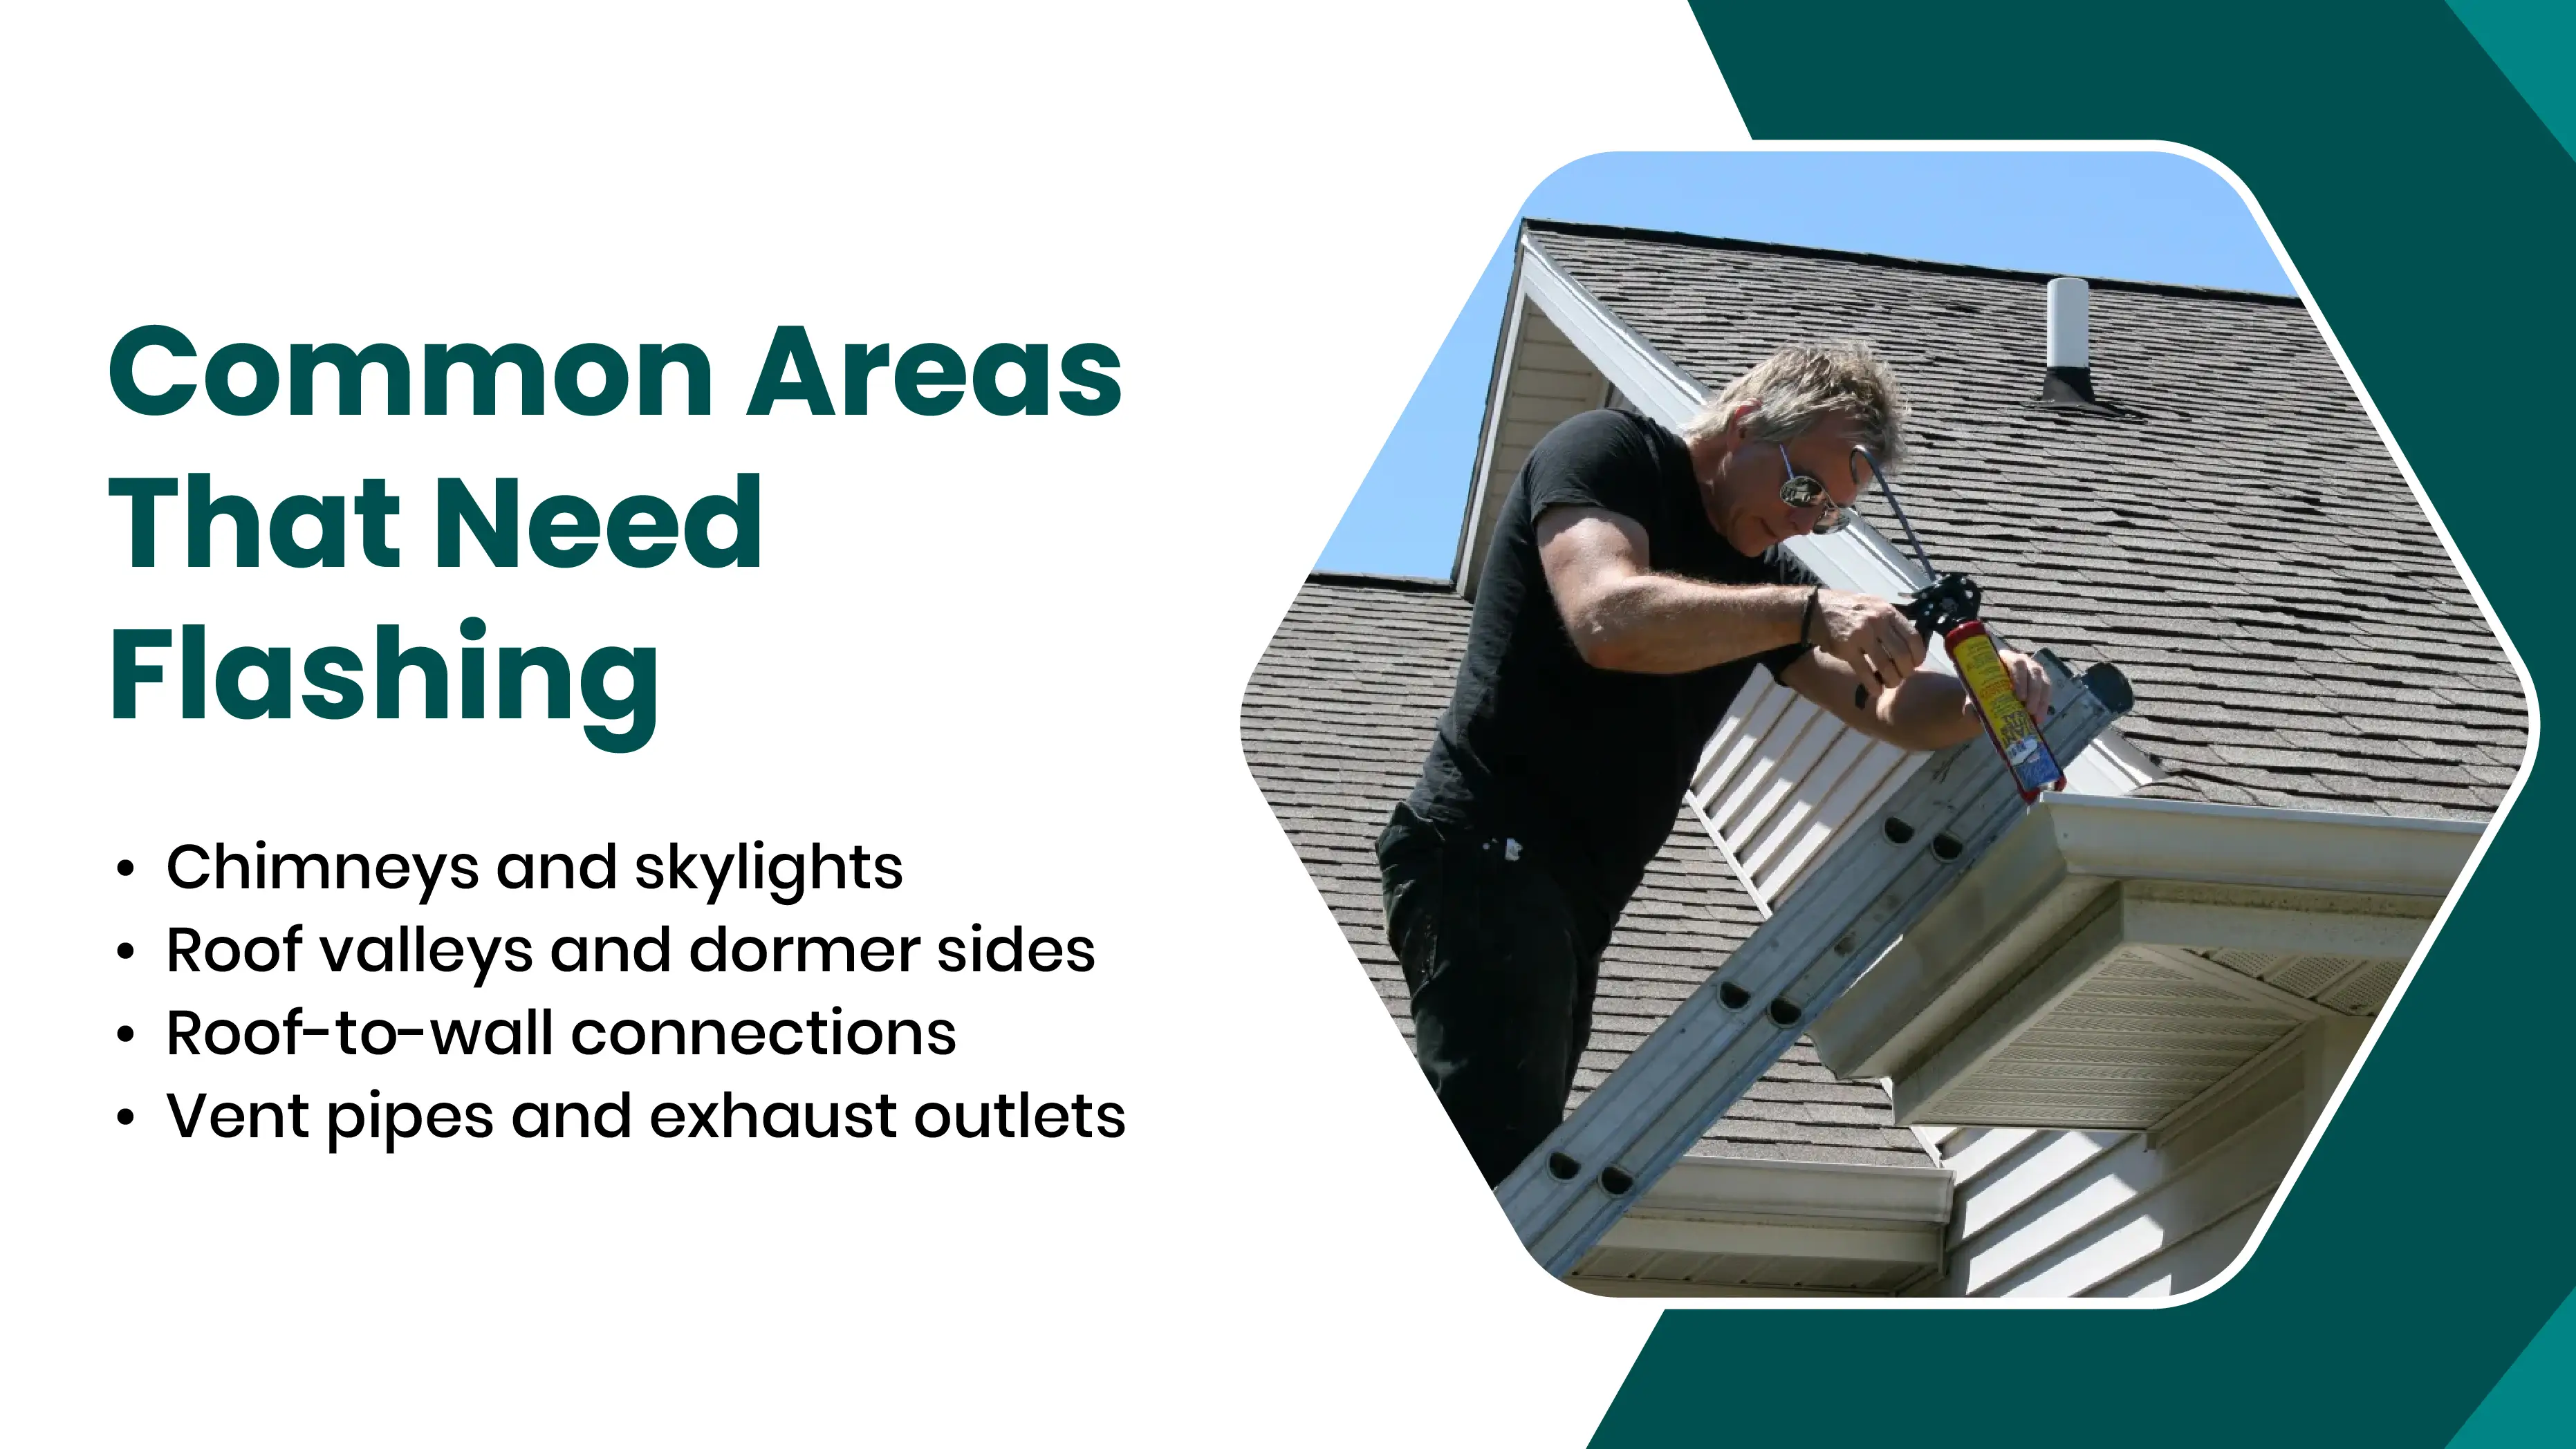
Flashing is installed around roof penetrations such as chimneys, skylights, vents, dormers, and valleys areas that cannot be completely sealed by shingles alone. The flashing’s job is to guide rainwater safely toward the gutters instead of letting it seep beneath your roofing materials. While copper flashing can last up to 50 years, aluminum and steel versions usually last 20–30 years, depending on the climate and upkeep.
Repairing flashing correctly ensures your roof stays watertight and resilient for years. Here’s the process to repair roof flashing.
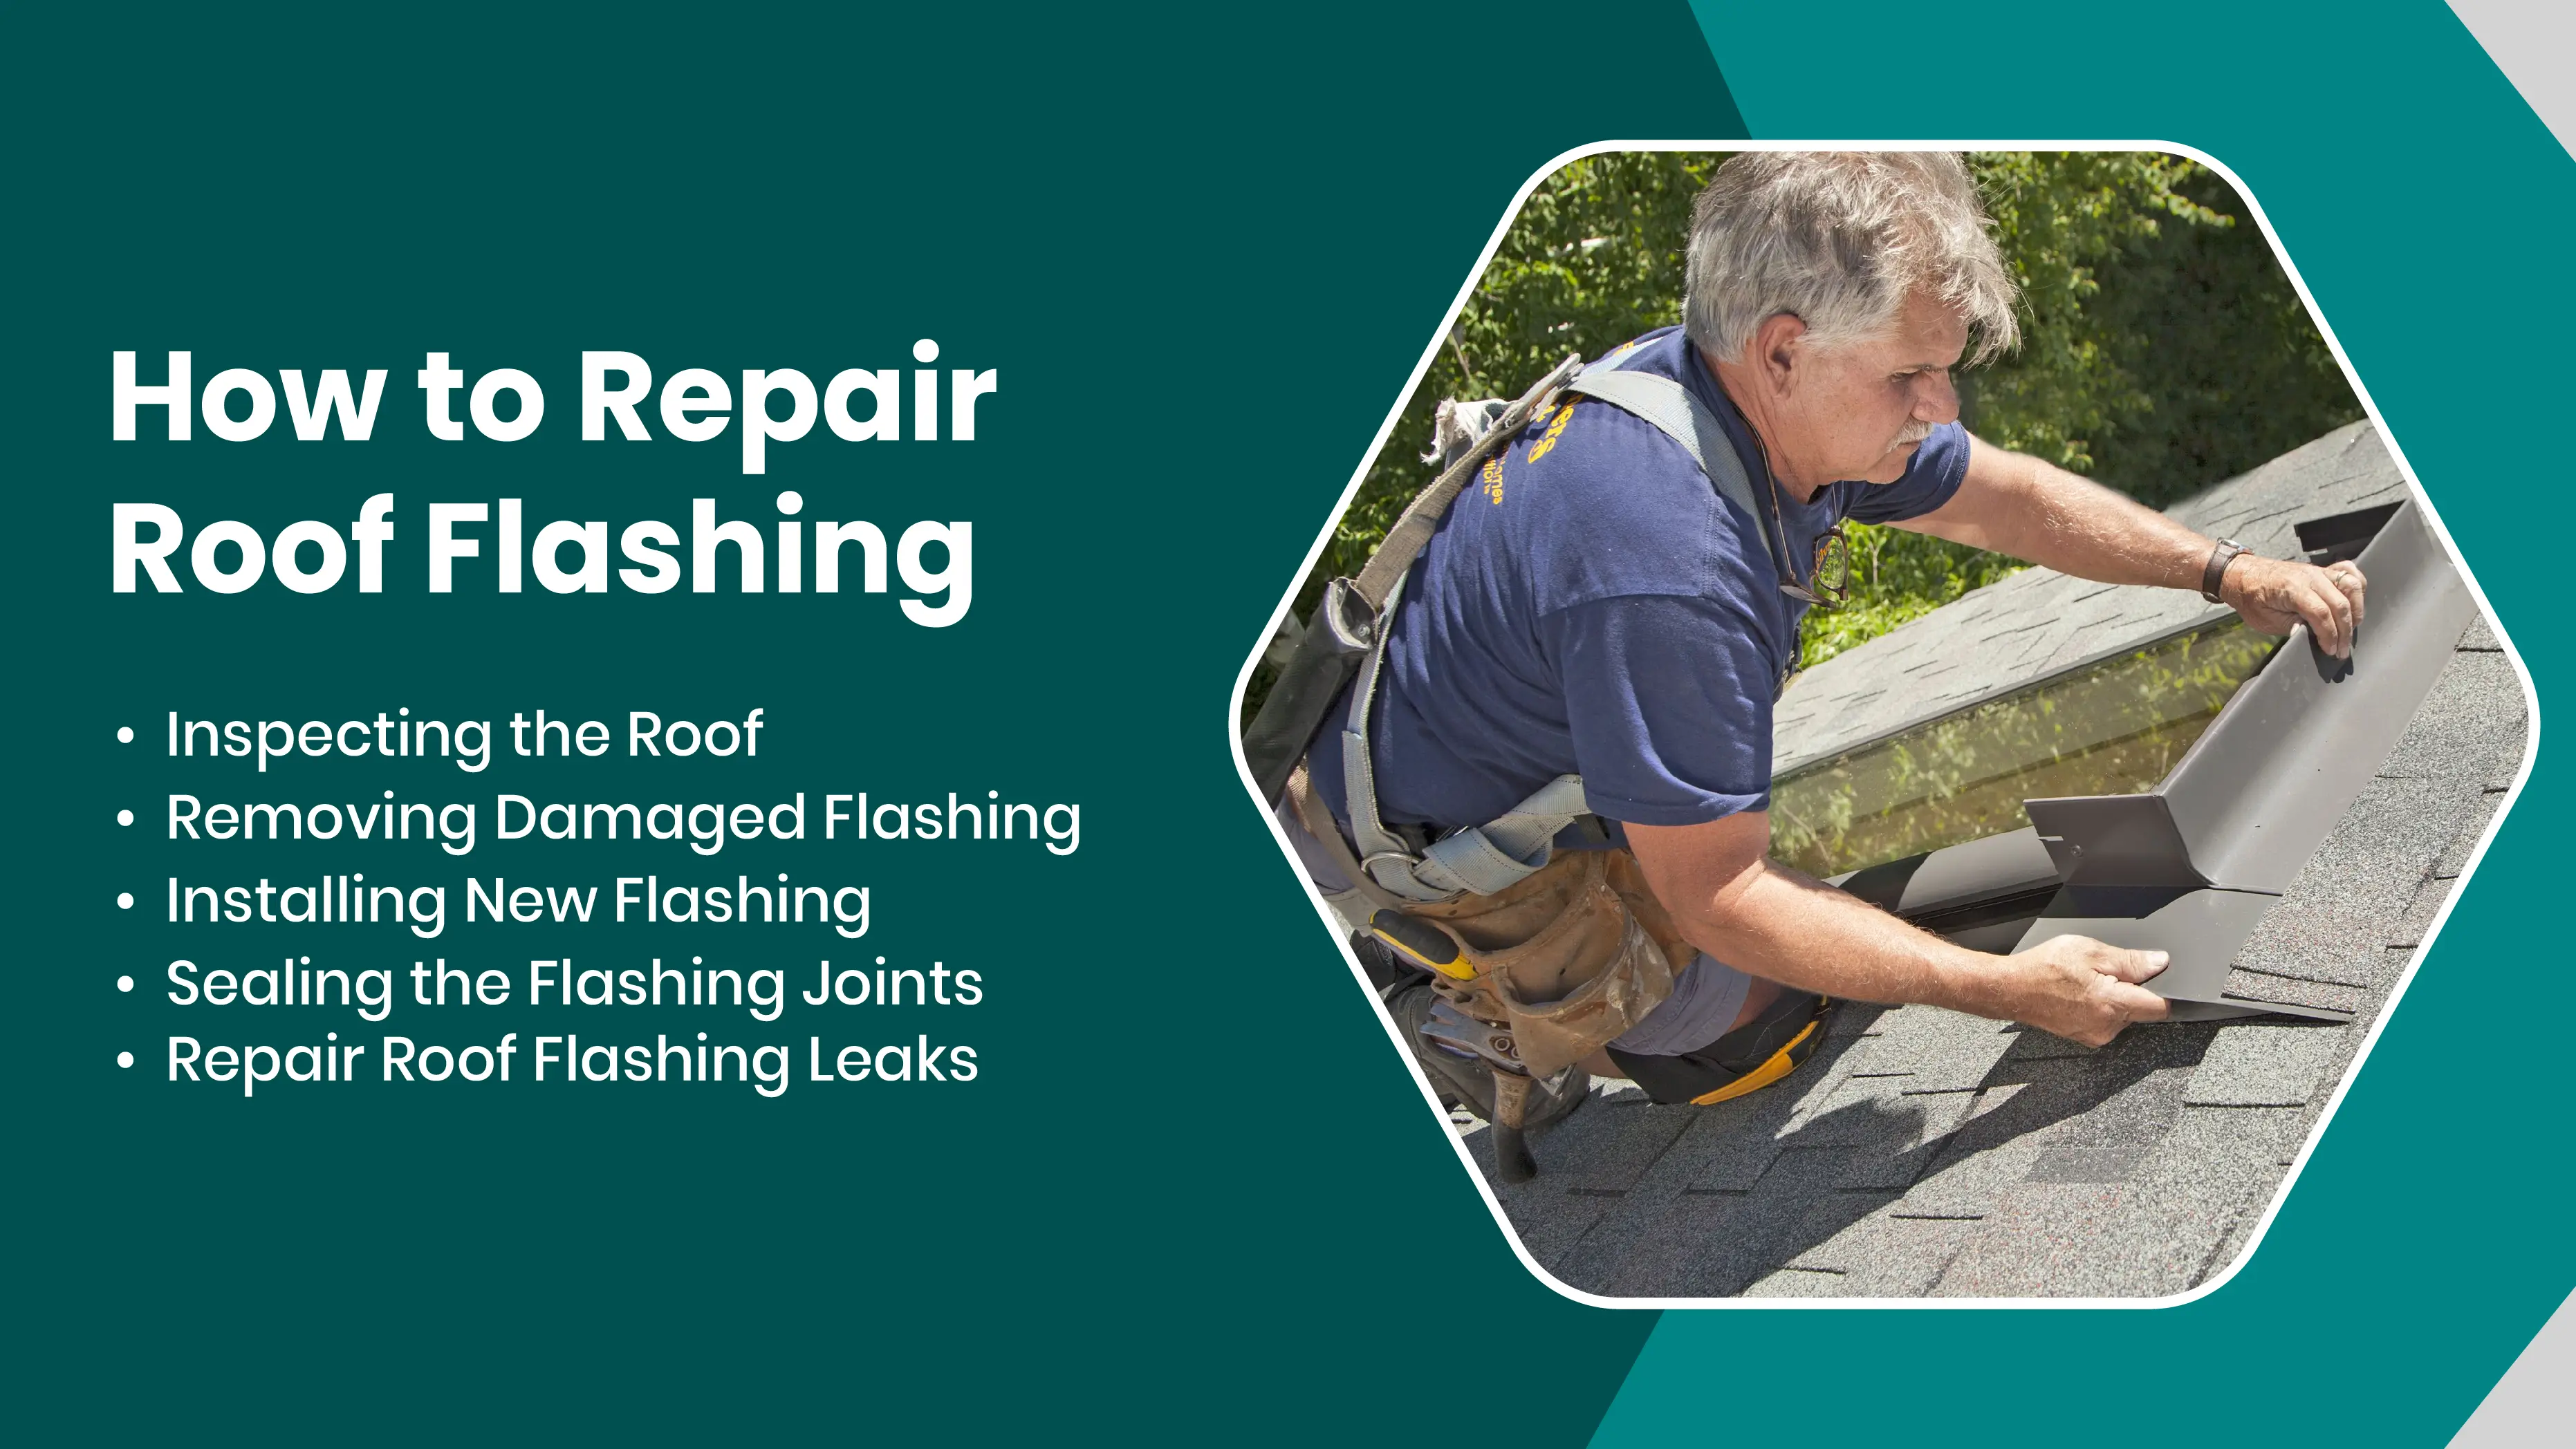
Look for rust, lifted edges, and cracks near chimneys and valleys. Inspect the attic for water stains or damp spots that indicate a hidden leak.
Gently lift shingles with a pry bar and remove nails or screws holding the damaged flashing. Clean the area with a wire brush to remove debris and old sealant.
Cut new metal to size, overlap joints by at least 2 inches, and nail securely. Ensure the metal sits flush with no gaps or wrinkles.
Apply roofing cement along every seam and edge. Press firmly to ensure a watertight seal that can withstand strong winds and heavy rain.
Roof flashing leaks can lead to serious water damage if left untreated. Identifying and sealing these leaks early helps protect your home’s structure and prevents costly repairs down the line.
Apply aluminum flashing tape or roof patch sealant over small cracks as a short-term fix. This keeps water out until professional repairs are possible.
Replace corroded metal with new flashing, apply a corrosion-resistant primer, and use high-grade sealant. This ensures durability for 20+ years.
Flashing might seem small, but it performs multiple functions that protect your home’s integrity. It safeguards vulnerable joints from water damage, improves your roof’s longevity, and even helps regulate temperature by keeping insulation dry.
Flashing acts as a channel that carries water away from gaps, preventing leaks that can damage ceilings, drywall, and the underlying roof deck. Without it, moisture can enter small openings and cause long-term structural issues.
Proper flashing seals roof transitions, such as where shingles meet chimneys or walls. During storms, this prevents high winds from driving rainwater under shingles and causing hidden damage.
Even the best flashing can deteriorate over time. Weather exposure, improper installation, or natural aging all contribute to its decline. Recognizing the early signs of damage can help prevent costly repairs.
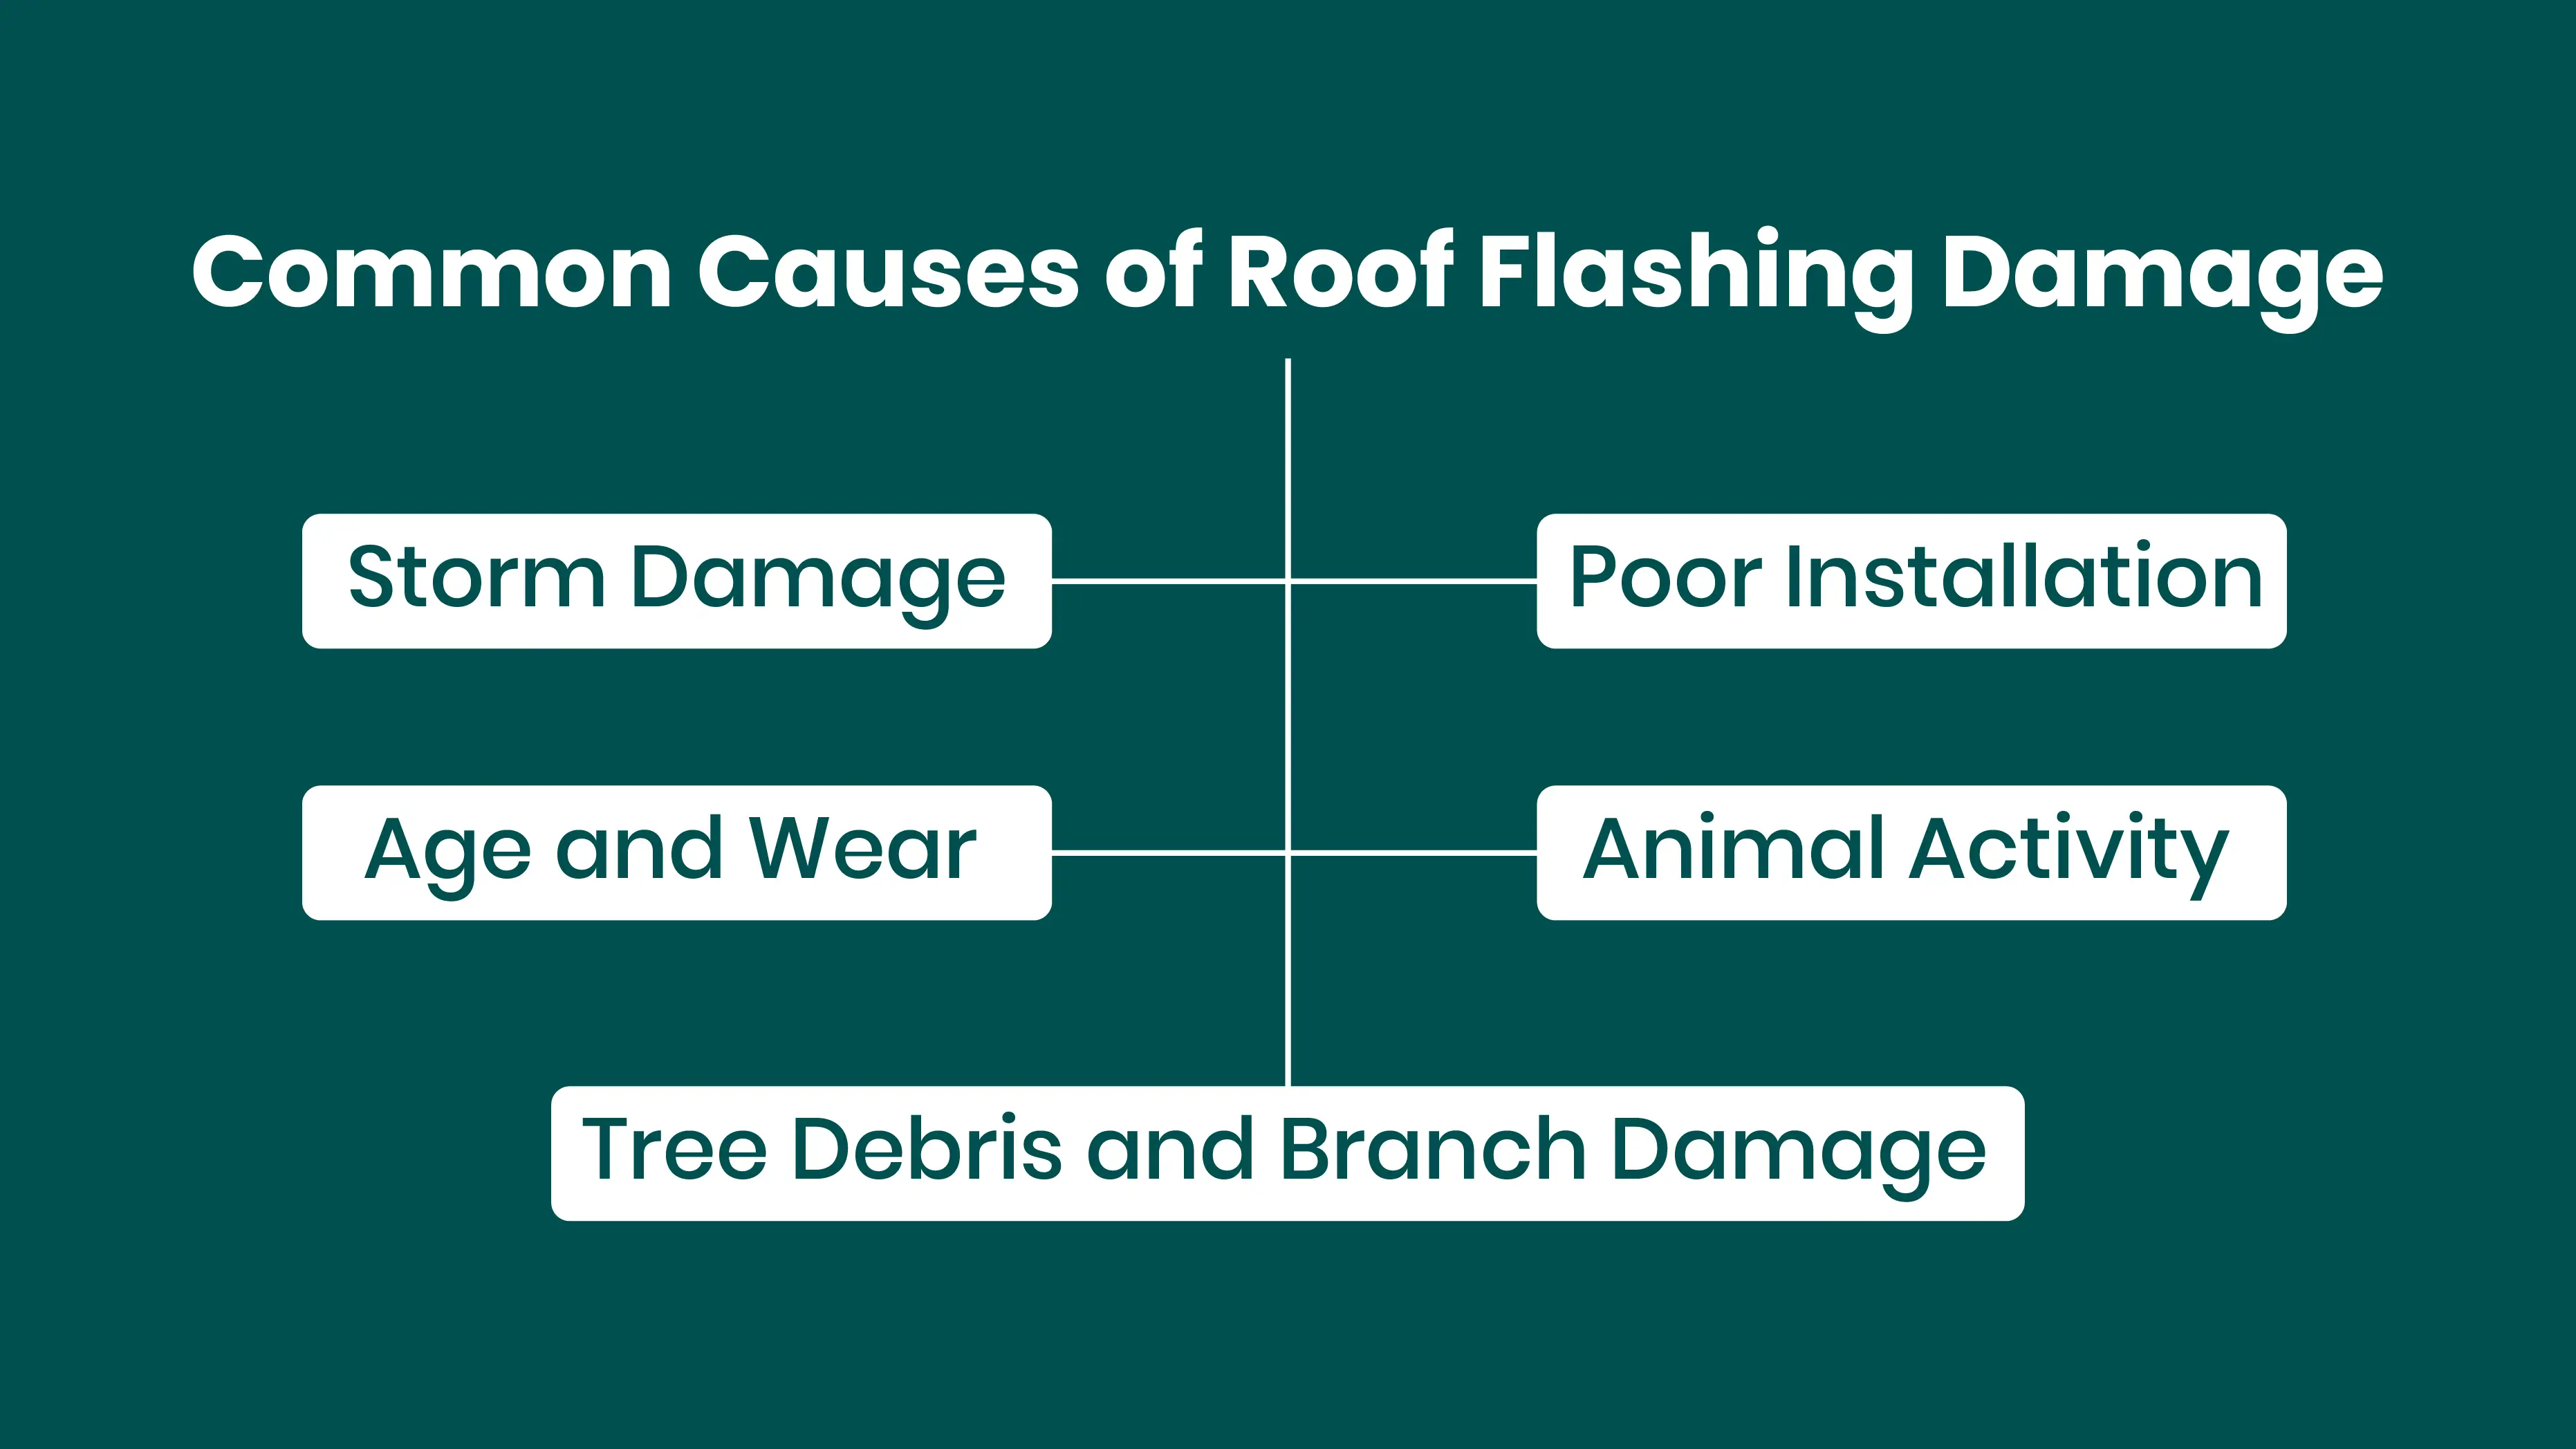
Severe weather is one of the most common causes of flashing failure. High winds can loosen flashing edges, while hail or flying debris can dent or puncture the metal, breaking its watertight seal. Below are some common weather-related reasons for flashing damage:
Winds above 60 mph can lift flashing at the edges, while hailstones can leave micro-dents that expand into leaks over time. After every major storm, inspect flashing around vents and chimneys for movement or cracking.
Heavy rainfall and snowmelt can force water underneath loosened flashing. Once lifted, flashing rarely reseats properly without professional repair, leaving long-term vulnerability to leaks.
Many leaks start not from wear but from mistakes during installation. Flashing needs precise alignment, sealing, and overlap to function correctly. Here are some common installation-related issues:
Each piece of flashing should overlap the next to guide water away. If reversed or improperly sealed, water can flow backward, finding its way beneath shingles and underlayment.
Combining dissimilar metals, such as aluminum and copper, can lead to galvanic corrosion. Choosing materials compatible with your roof type is essential to prevent premature deterioration.
Even with perfect installation, flashing naturally degrades over time. Expansion and contraction due to temperature changes cause materials to loosen and crack. Here are a few time-related factors that contribute to wear:
In humid or coastal environments, flashing can corrode faster due to salt and moisture exposure. Rust weakens the metal, causing leaks even before visible holes form.
Constant temperature fluctuations can loosen fasteners and warp edges. Over years, this repeated movement creates small gaps where water can penetrate.
Branches rubbing against your roof can cause significant flashing damage without you noticing. Over time, debris can scrape coatings off metal, exposing it to rust and corrosion. Here’s how debris and branches can affect roof flashing:
Strong winds or storms can break branches that strike, flashing, bending or puncturing it. Even small dents can redirect water flow and cause pooling around the area.
Animals and birds are surprisingly common causes of flashing problems. They chew through sealants or build nests in vulnerable areas. Here are some common ways animals can affect your flashing:
Squirrels often pull up flashing edges while looking for nesting material, and birds can damage sealant around roof vents. Routine inspection can prevent costly repairs caused by these small intrusions.
Repairing roof flashing requires different approaches depending on where the damage occurs. Each section of your roof, chimneys, vents, valleys, or skylights. It has unique structural characteristics, meaning one repair method doesn’t fit all. A successful repair not only restores waterproofing but also ensures long-term performance by preventing recurring leaks.
Chimneys are among the most common sources of roof leaks because they create several vulnerable intersections where water can easily find its way in. Unlike flat surfaces, chimneys require both vertical and horizontal sealing, which makes proper flashing design crucial. Water often pools at the base of the chimney or seeps into cracks between the brick and the roofline if the flashing is old, rusted, or improperly sealed. In fact, it’s estimated that over 60% of roof leaks occur near chimneys due to flashing failure.
There are typically two types of flashing used around chimneys:
Both must work together to create a watertight seal that moves water away efficiently, even during heavy rain or snow.
Over time, the flashing around chimneys deteriorates from exposure to extreme temperatures, wind, and moisture. Since the chimney expands and contracts at a different rate than the roof, it’s common for small gaps to form between materials, leading to leaks. The most frequent issues are:
Repairing chimney flashing requires careful work because both the brickwork and roofing materials must be handled precisely. A quick patch won’t last; proper repair involves removing the damaged sections and resealing everything correctly.
Roof vent flashing seals the base of vent pipes and exhaust outlets that pass through the roof. These areas are prone to leaks because rubber or plastic vent boots often crack or shrink under sunlight and temperature changes. When that happens, rainwater can drip into the attic, causing stains or mold growth. Checking vent flashing at least twice a year can help catch early signs of wear.
Start by lifting the shingles around the vent to access the flashing. Remove the damaged boot and clean away old sealant. Apply roofing cement to the base and install a new metal or silicone vent flashing, making sure shingles overlap correctly for proper water flow. Finish by sealing the edges and nail heads to prevent leaks.
Flat roofs are more vulnerable to leaks because water doesn’t drain quickly. The flashing on these roofs must handle constant exposure to moisture and temperature swings. When damaged, leaks can spread far from the actual source, making them tricky to locate.
Clean the area thoroughly and inspect for gaps or cracks. For minor leaks, apply elastomeric coating or bitumen sealant to reseal joints. If flashing is rusted or loose, replace the damaged section and reseal all edges. Regular maintenance especially after winter can extend flat roof flashing life and reduce long-term repair costs.
Lead flashing is highly durable but can crack under excessive pressure or age.
Smooth out dents using a lead roller, clean with a wire brush, and fill gaps using a lead sealant. For deep cracks, apply a lead patch for extra strength.
Metal roofs expand more than other types, which stresses the flashing around joints and fasteners.
Clean the area with a solvent, apply metal primer, and reseal with butyl rubber or silicone. If corrosion has spread, replace the entire strip with new flashing.
Choosing the right material impacts durability, maintenance, and cost. Here’s how common flashing types compare:
| Material | Cost per ft | Lifespan | Advantages |
|---|---|---|---|
| Lead | $4–$10 | 50+ years | Flexible, highly durable |
| Aluminum | $2–$6 | 20–25 years | Lightweight, rust-resistant |
| Copper | $8–$15 | 50+ years | Premium, aesthetic, corrosion-proof |
| Steel | $3–$8 | 25–40 years | Strong, affordable option |
Flashing is your roof’s leak-stopper at joints and edges. Small, surface issues can be a quick DIY, but hidden damage spreads fast and costs more later. Use the notes below to decide when a homeowner fix is fine and when a roofer is the safer call.
Small cracks or gaps can often be repaired by homeowners using simple tools and materials. DIY fixes are effective for temporary or minor issues.
Seal hairline cracks with roofing cement or apply flashing tape for a quick patch. Make sure the surface is clean and completely dry before application. Press firmly and smooth out bubbles. Recheck after the next rainfall.
Complex or recurring leaks should always be handled by experts. Professionals can diagnose the exact source of the leak and prevent future problems.
If water has penetrated insulation, walls, or ceilings, a professional roofer should assess the damage before it worsens.
Areas with multiple joints or slopes need expert sealing techniques. Improper DIY work can lead to recurring leaks.
Flashing repair costs depend on roof size, material, and labor. Here’s a breakdown:
| Type of Repair | Average Cost |
|---|---|
| Minor resealing | $150 – $300 |
| Chimney flashing repair | $300 – $800 |
| Full replacement | $700 – $1,500 |
| Emergency repair | $200 – $600 |
If you experience a flashing leak during a storm, immediate action can prevent interior damage before professional help arrives.
If a leak starts suddenly, you can use quick, temporary methods to stop water from entering your home. These fixes won’t last long, but they can protect your roof until a professional repair is made.
Press aluminum or butyl tape firmly over cracks or seams to seal small leaks. Make sure the surface is as clean and dry as possible, then smooth the tape to remove air bubbles. It bonds instantly and can hold up in light rain, providing a quick, reliable temporary fix until proper repairs are made.
Roofing tar provides a quick waterproof layer. Apply a thick coat over cracks and reinforce with plastic sheeting if rainfall continues.
During a heavy storm, it’s often unsafe to climb the roof. Instead, focus on controlling water inside and minimizing damage. Simple actions can reduce the impact until the weather clears and help arrives.
Use buckets and towels to collect dripping water and prevent floor damage. Move furniture and electronics away from the leak, and place a plastic sheet or tarp under the affected area. This helps contain moisture, protect belongings, and reduce the risk of mold or ceiling stains.
Cover the roof with a tarp secured with sandbags or wood boards. This minimizes further water entry until a roofer can inspect the site.
Roof flashing might seem like a small part of your roof system, but it plays a massive role in protecting your home. Damaged flashing is one of the most common causes of roof leaks, yet it’s also one of the easiest to prevent with regular maintenance. Inspect your flashing at least twice a year especially after storms and repair any damage immediately.
Whether you handle small fixes yourself or hire a professional, timely flashing repair ensures your home stays watertight, energy-efficient, and protected for decades to come.
Layering new flashing over old is a temporary shortcut that often fails. It traps moisture and hides corrosion underneath. The best approach is to remove old flashing, clean the area, and install new metal properly sealed and overlapped.
Roof-grade silicone or polyurethane sealants work best because they resist UV damage and stay flexible in temperature changes. Always clean and dry the surface before applying sealant for a lasting bond.
Yes, steep roofs require overlapping seams that let water run off easily, while flat roofs need tighter seals and waterproof membranes. Slope direction also determines how flashing should channel water away safely.
Absolutely, combining metals like copper and galvanized steel can trigger galvanic corrosion. To prevent this, use the same metal type or separate materials with a protective coating or barrier strip.
Inspect flashing at least once a year, especially after storms. Clean out debris, reseal any cracks, and tighten loose edges. Keeping gutters clear and preventing moisture buildup will extend its lifespan significantly.
Join our mailing list for exclusive updates, expert tips, and special offers tailored to your needs. Be the first to know about the latest in home services.

Renovize Home is a platform that supports homeowners from planning to renovation. Whether it’s Renovize AI for guidance or a one-on-one call with Pro Finder, we understand your project and match you with local contractors tailored to your needs.
Who We Are
About Renovize HomeGet in TouchHomeownwer Support:
Coming Soon!
General Inquiries:
support@renovizehome.com
Head Office:
24 Greenway Plaza, STE 1800M, Houston, TX 77046.