Explore All
BROWSE BY CATEGORY
Interior
Exterior
Home Essentials
Homeowner Tools
Blogs & Guides
Find a Pro
Book Your Appointment Now
Home Essentials
About Renovize Home
Explore All
BROWSE BY CATEGORY
Interior
Exterior
Home Essentials
Homeowner Tools
Blogs & Guides
Find a Pro
Book Your Appointment Now
Home Essentials
About Renovize Home
Last Updated 2025-11-10
Adding or replacing a roof section is one of the most effective ways to upgrade or expand your home. Whether you’re enclosing a patio, adding a dormer, or extending your garage, roof add-on replacements ensure that the new structure blends perfectly with the existing one. The main goal is to make your entire roof look seamless, prevent leaks, improve comfort, and increase your home’s overall efficiency.
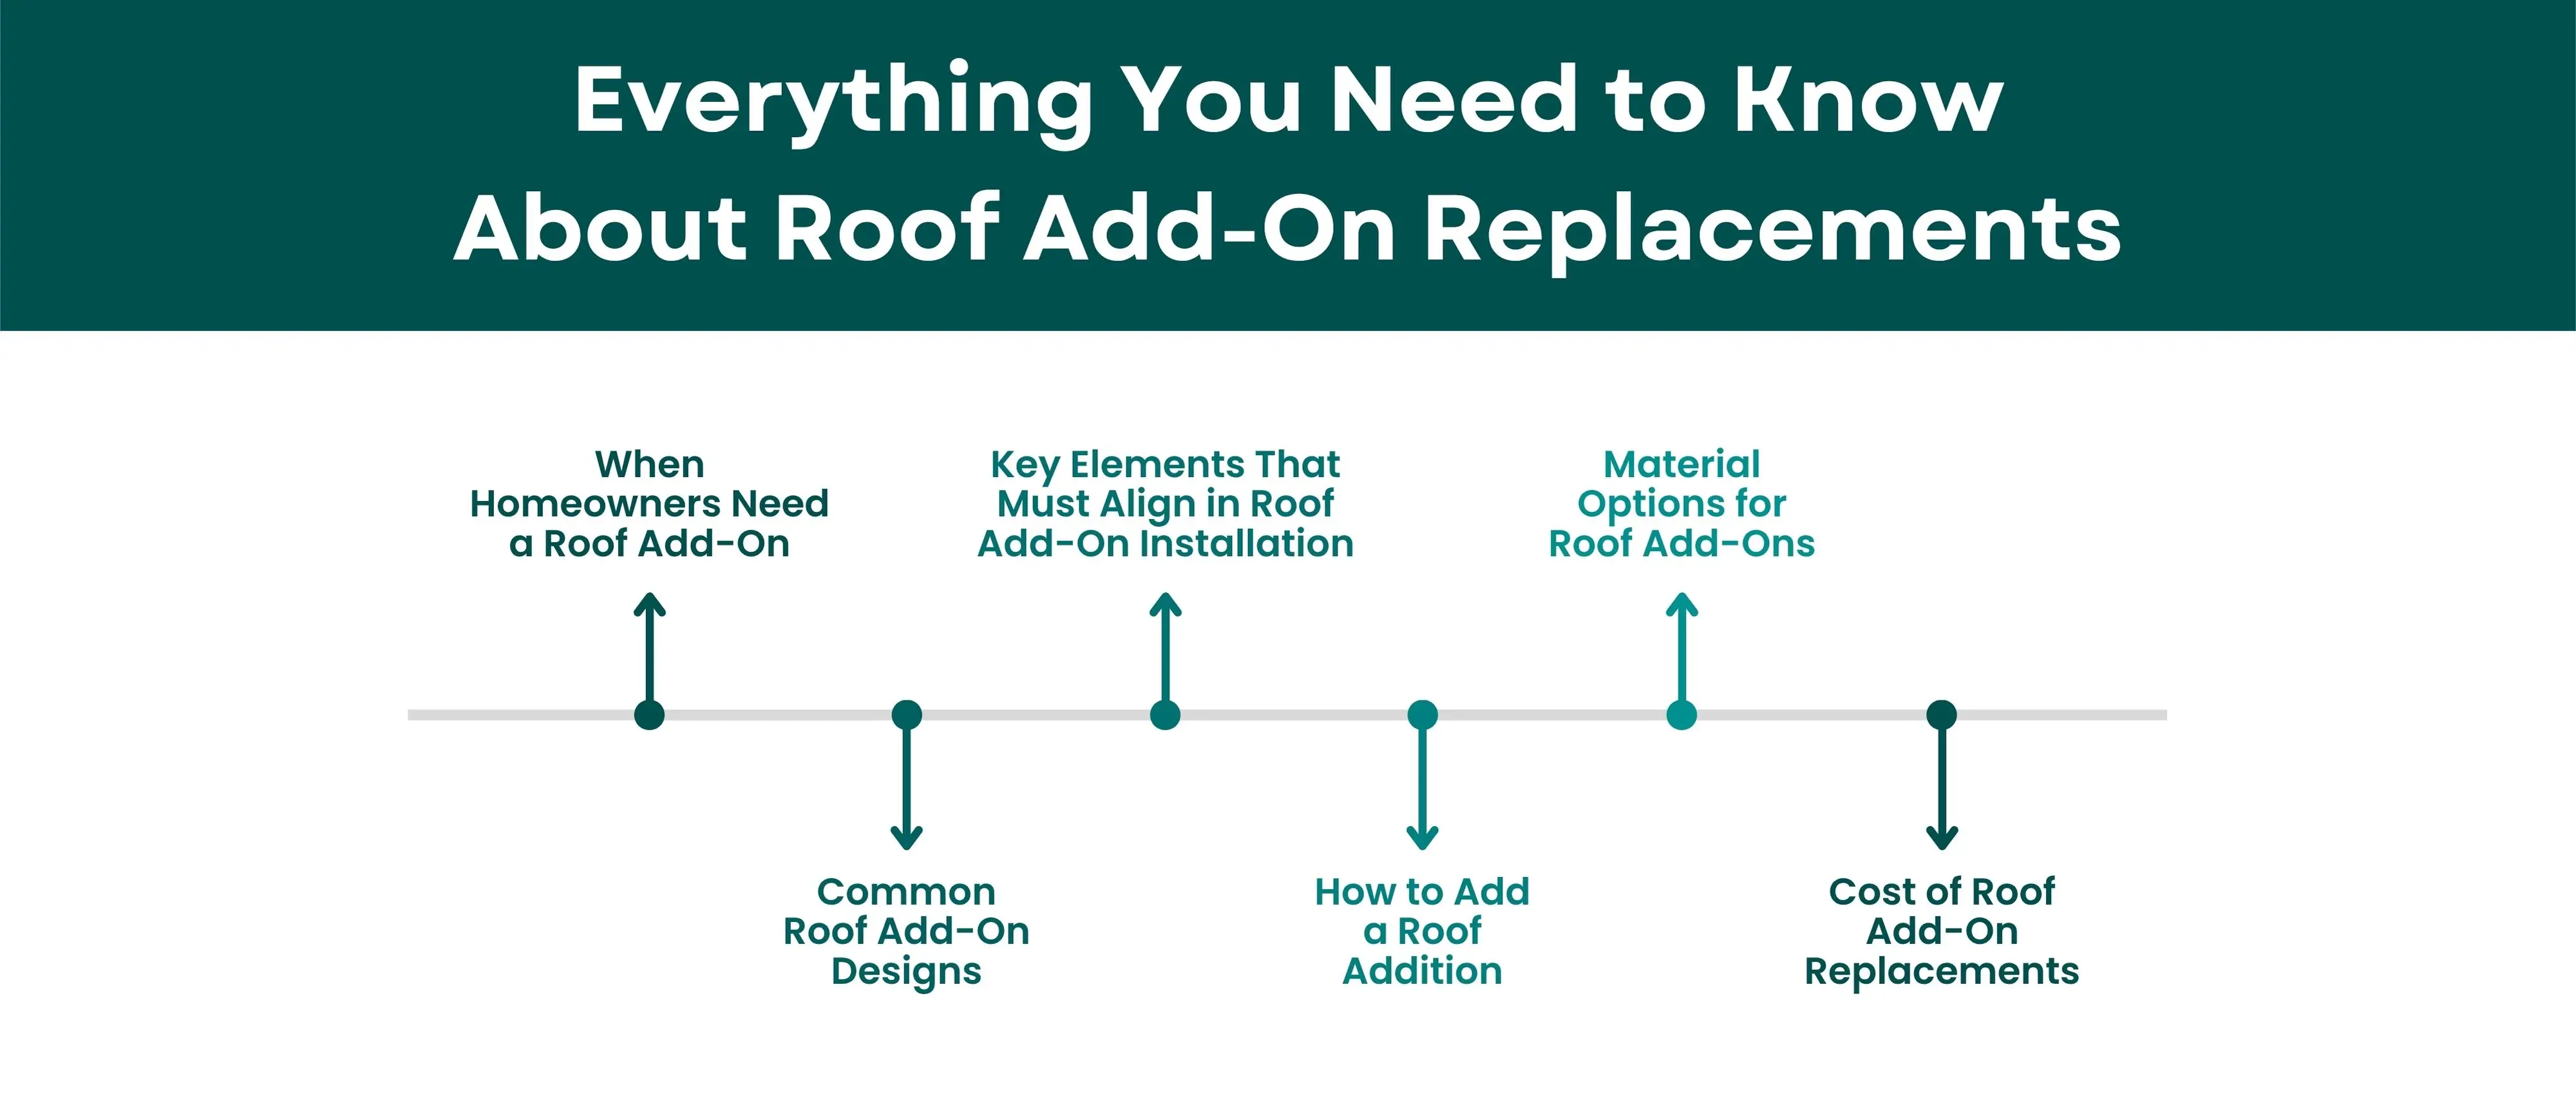
Table of Contents
What Is a Roof Add-On Replacement
When Homeowners Typically Need a Roof Add-On
Understanding Roof Section Drawings
Common Roof Add-On Designs
Key Elements That Must Align in Roof Add-On Installation
How to Add Roof Section
Material Options for Roof Add-Ons
Cost of Roof Add-On Replacements
Permits and Building Code Requirements
Maintenance for Roof Add-Ons
Matching Roof Add-Ons with Home Design
Final Quality Checks Before Completion
Final Views
A roof add-on replacement is the process of adding a new roof area or replacing an existing one so that it connects smoothly to the main structure. It’s common for projects like porch covers, dormers, garage links, or room extensions. The most critical point is where the new roof joins the old one, known as the roof junction. This area must be perfectly aligned and properly sealed to prevent water infiltration.
When properly planned, a roof add-on replacement improves the home’s appearance, strengthens its structure, and provides consistent insulation, ventilation, and drainage across all roof sections.
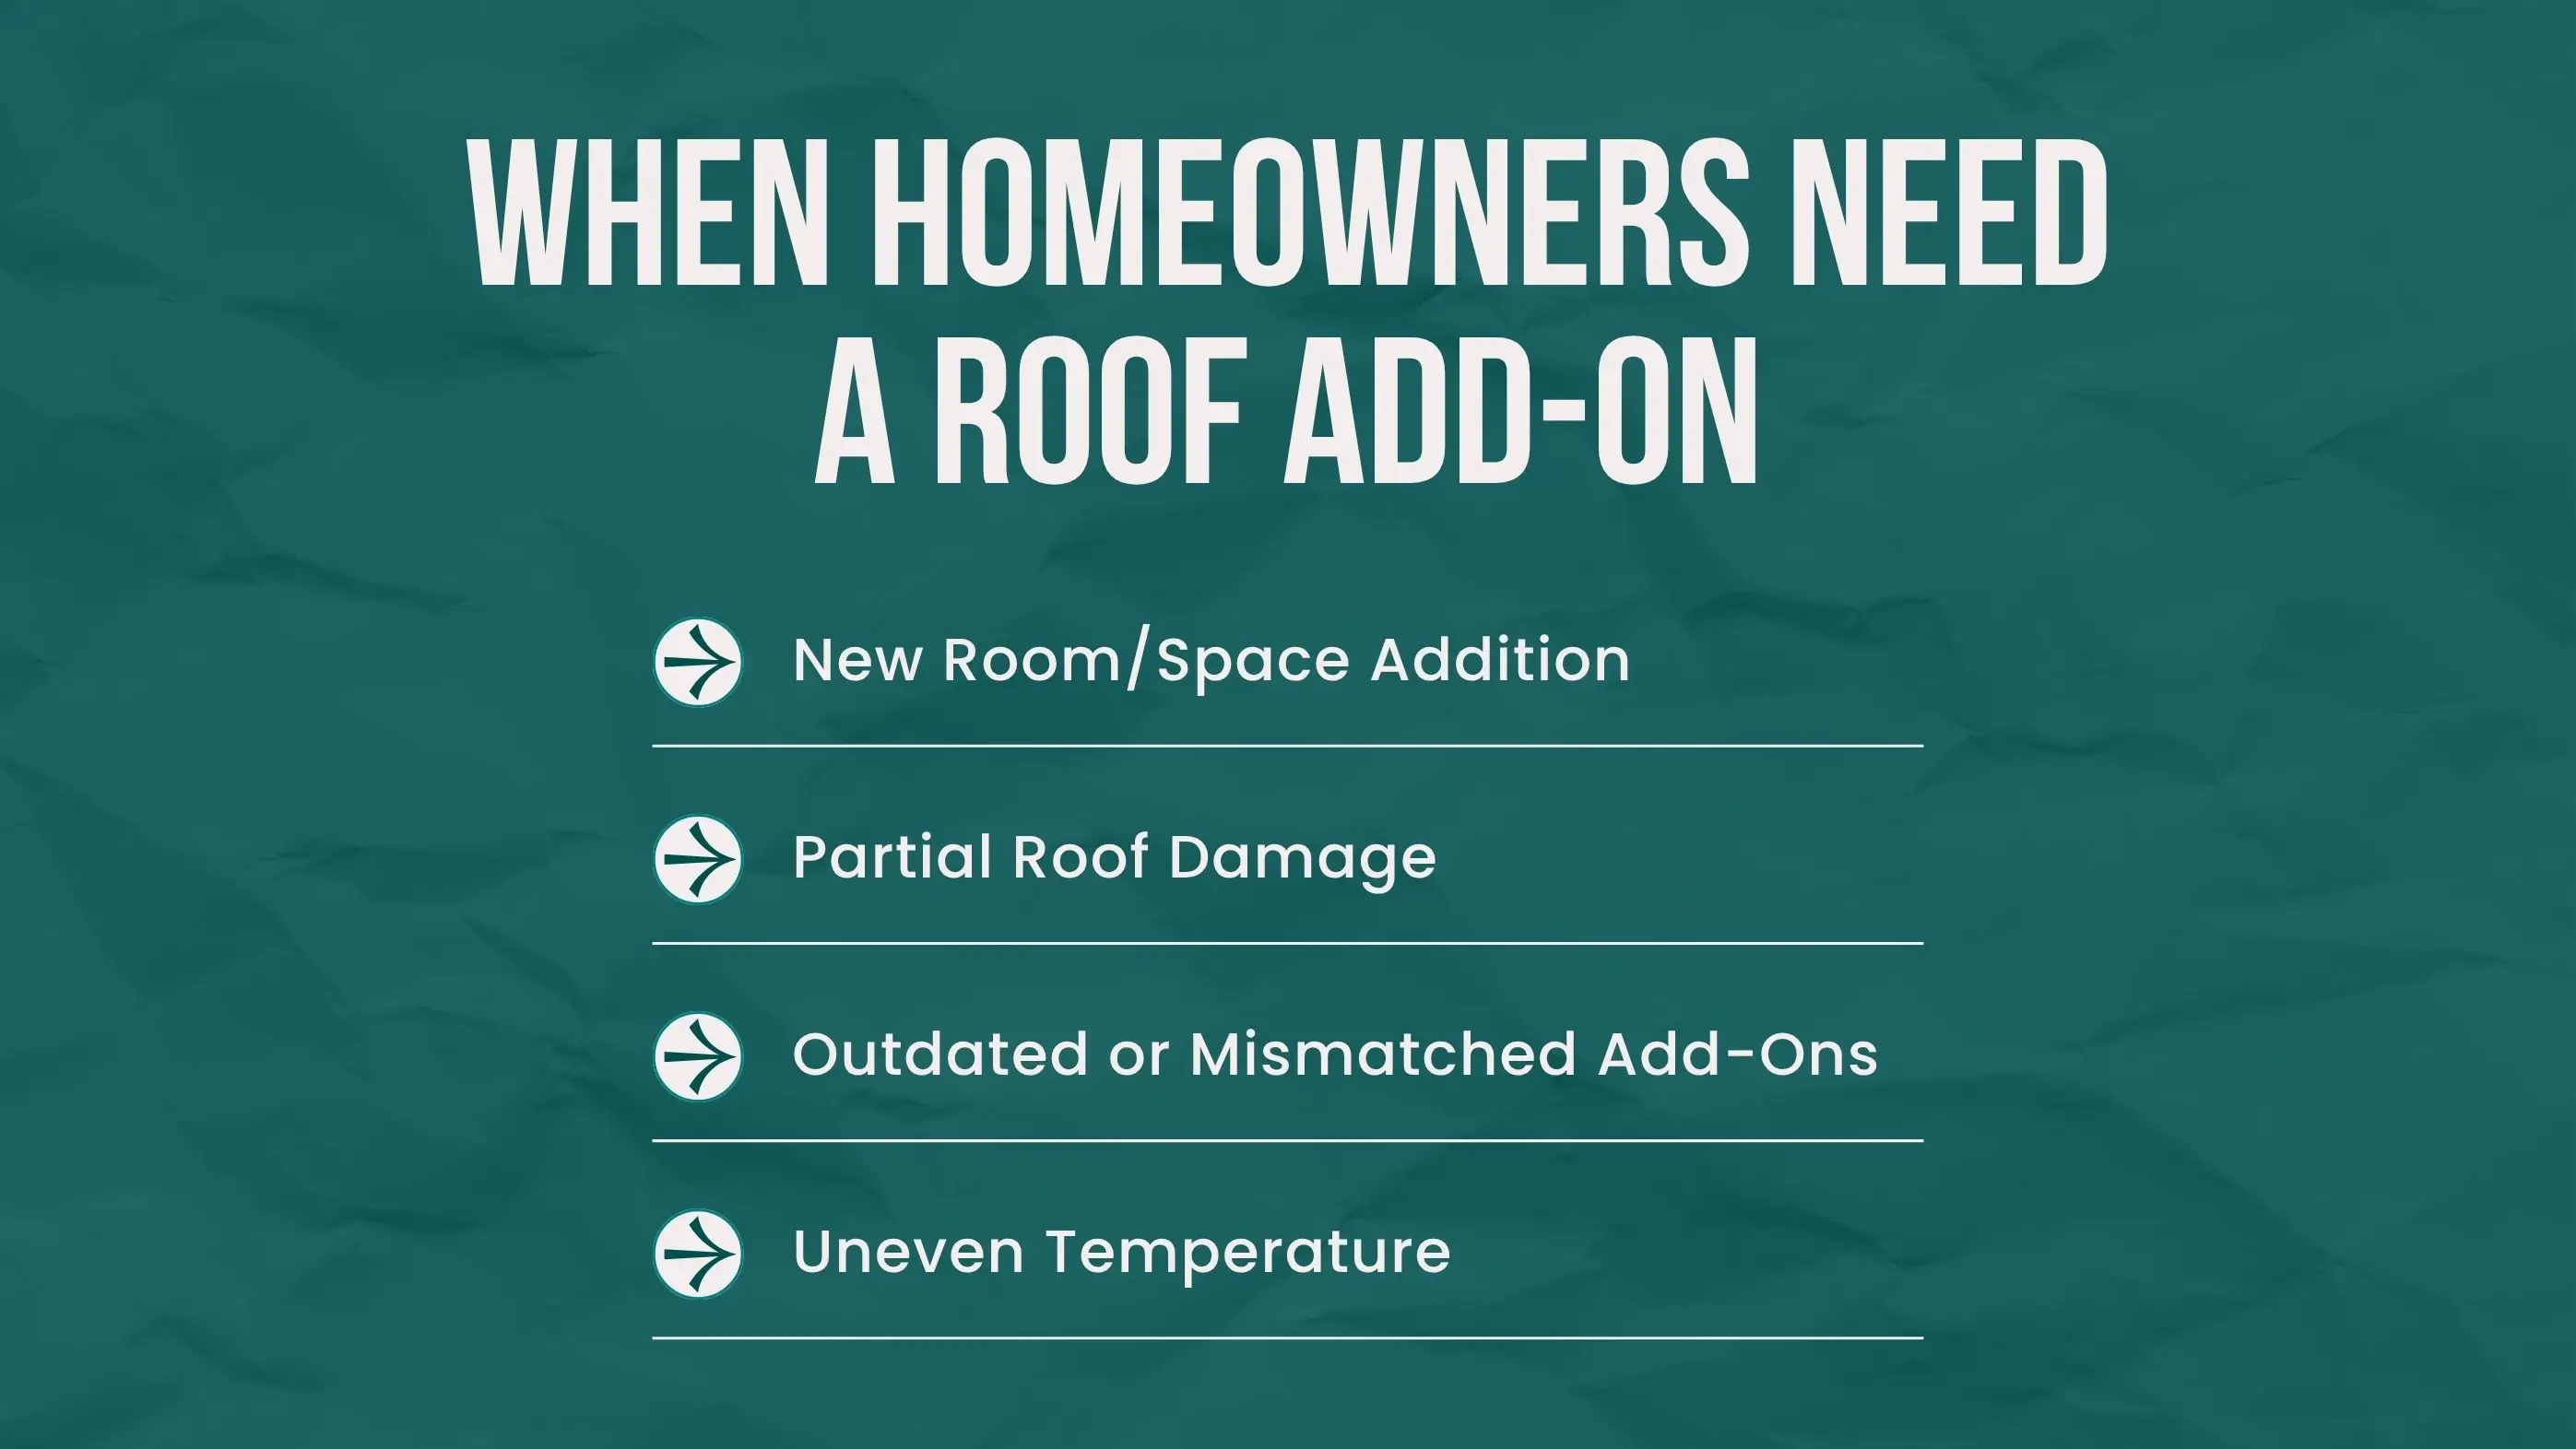
Homeowners usually consider a roof add-on when expanding living space or repairing an isolated section of the roof. It’s also common when older additions no longer align with the main structure or when comfort issues arise due to poor insulation. In most cases, roof add-ons help restore balance, improve ventilation, and create a unified, long-lasting roofing system.
Roof section drawings help homeowners and contractors understand how the new roof will connect to the existing one. These drawings provide clarity on structure, slope, drainage, and insulation.
Different designs work for different architectural needs. Choosing the right design affects durability, weather performance, and aesthetics.
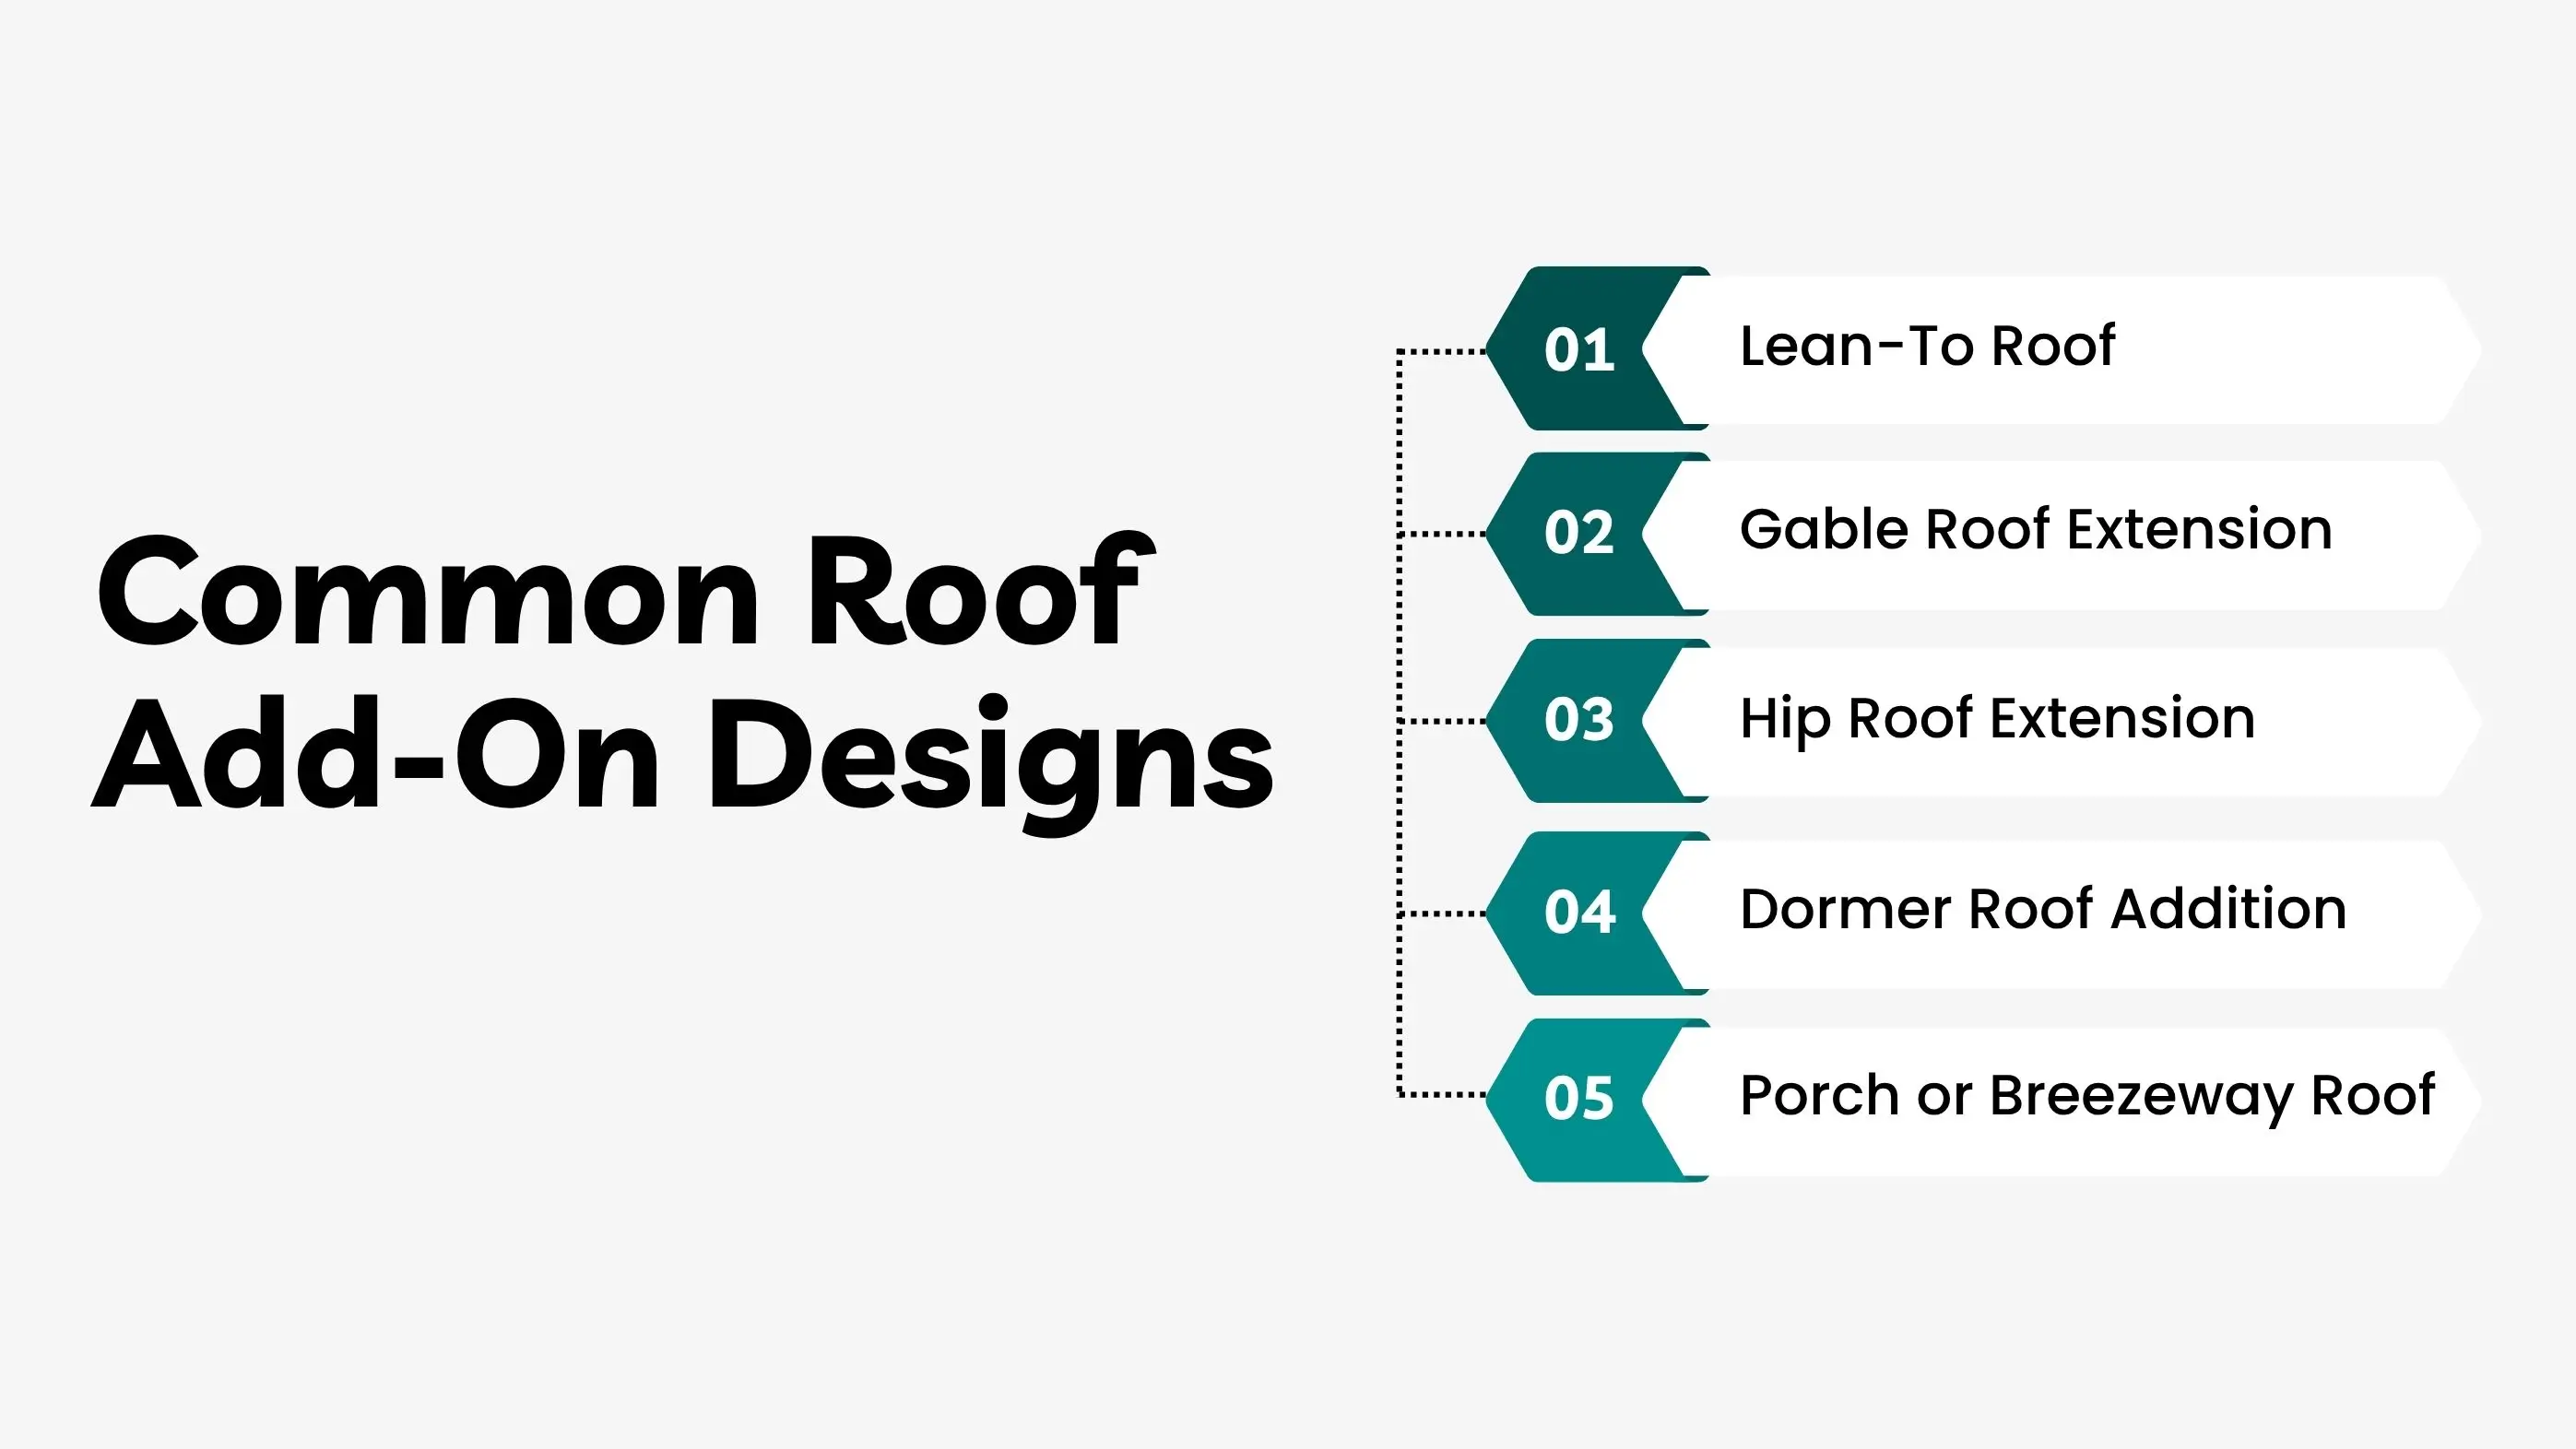
A single-slope roof that leans against an existing wall. Common for patio and porch extensions, this design is easy to build but needs precise wall flashing to prevent leaks.
This design adds a new pitched roof that ties into the main one. It improves ventilation, sheds water efficiently, and creates a balanced, symmetrical look.
A hip extension wraps around corners and provides superior wind resistance. It gives a soft, finished look and distributes loads evenly across the structure.
Dormers increase headroom and natural light, particularly in attic spaces. Proper flashing and waterproofing around valleys and sides are essential to prevent leaks.
These roofs connect spaces or provide covered walkways. Matching slope and shingle color with the main roof ensures visual and structural consistency.
Each roof add-on must connect flawlessly with the main structure. Several components must align to ensure safety and performance.
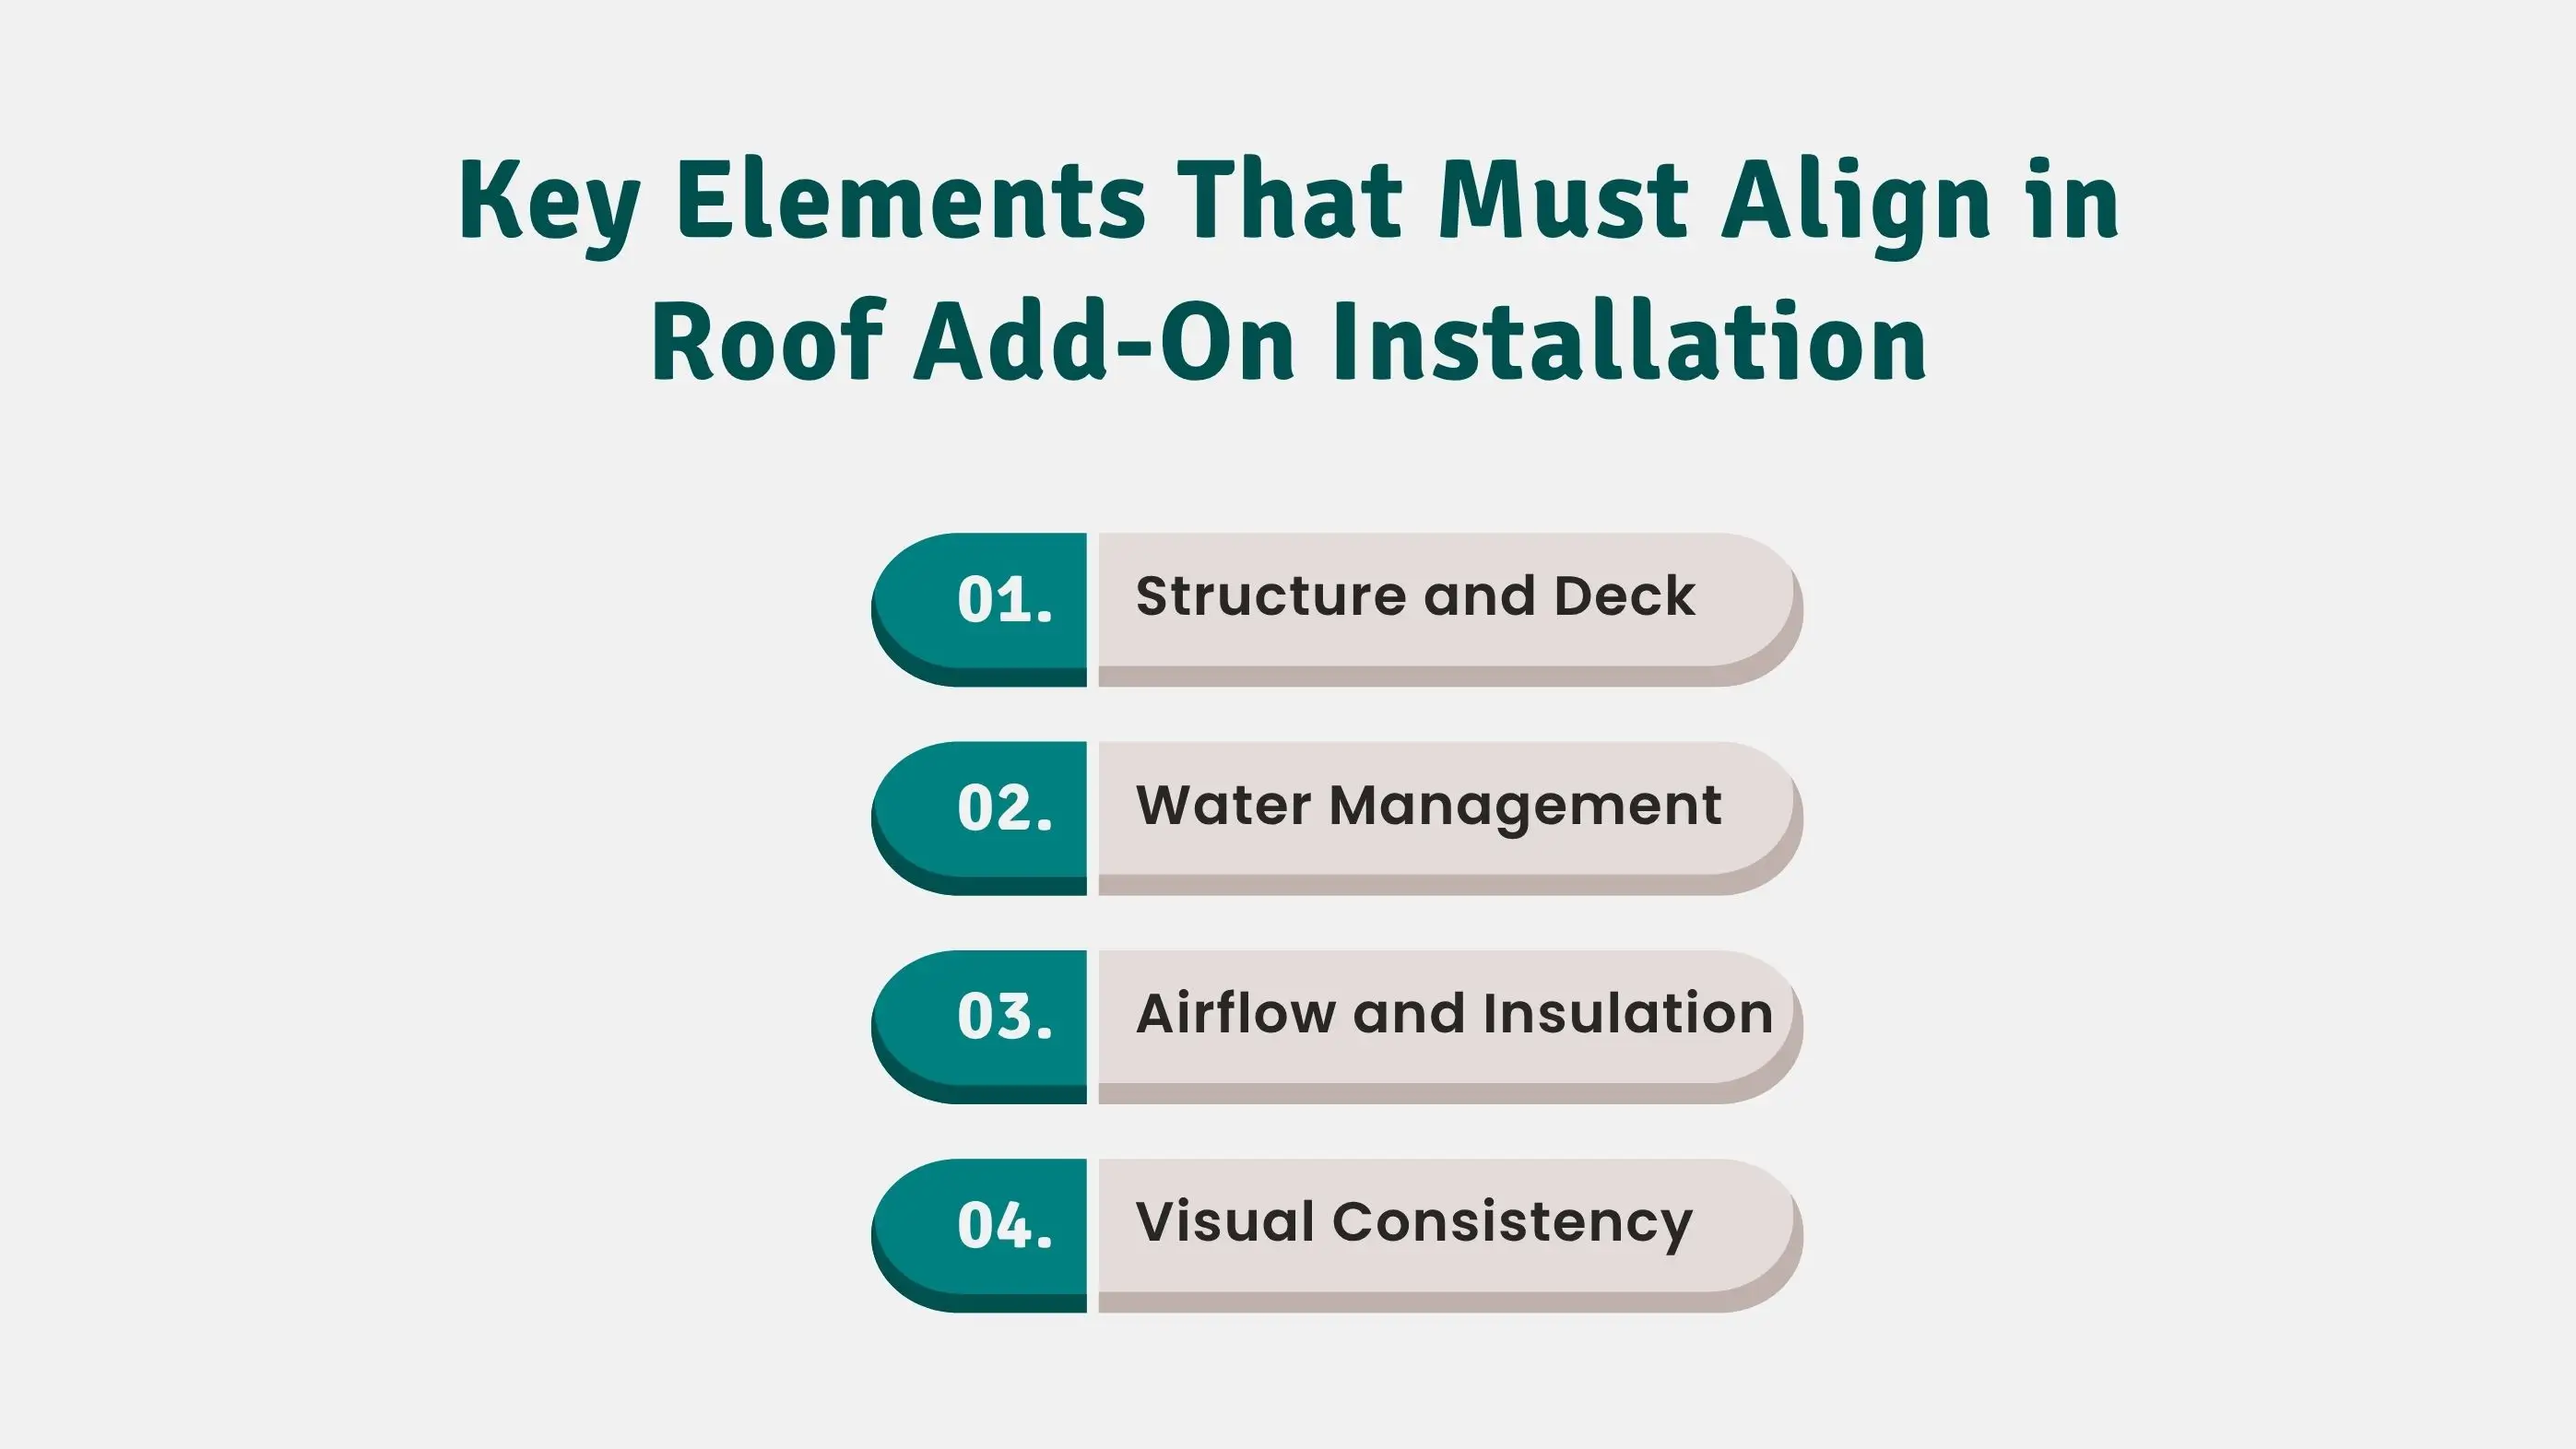
New rafters and trusses must match the angle, spacing, and strength of the existing framing. The decking, usually made of plywood or OSB, should be flat and even to create a uniform surface.
Proper flashing and sealing prevent water infiltration. Step flashing is used at walls, counter-flashing covers it, and valley metal directs rainwater safely off the roof. Crickets are added behind chimneys or joints to redirect pooling water.
Continuous airflow and insulation are critical. Clear soffit vents allow air intake, ridge vents provide exhaust, and baffles help maintain open channels between insulation layers.
Matching materials, colors, fascia depth, and gutter alignment ensures that the new section blends seamlessly with the original roof.
Adding a roof section to an existing building can be difficult, but it can also be done safely and effectively. If you’re extending your roof or adding a new part, it is important to follow the right process.

The first step in adding a roof to an existing structure is accurate measurement. Start by measuring the slopes, heights, and junctions where the new roof will meet the old one. Properly marking these areas ensures that the new roof aligns perfectly with the existing one, allowing for seamless integration.
This step also makes sure that drainage is properly maintained, preventing water from pooling or flowing in unwanted directions. Accurate measurements are key to a strong and well-functioning roof addition.
Before adding any new roofing materials, it’s essential to reinforce the existing structure. This includes replacing weak or damaged rafters, reinforcing joints, and using headers or truss connectors for added strength. The decking should also be checked for stability, ensuring that it is level and securely fastened.
Once the structure is reinforced, it’s time to install the underlayment. Apply ice and water shields along the valleys and areas where the new roof will connect to the old one. This protective layer helps prevent water infiltration, especially in areas where water tends to collect, such as valleys or roof joints.
Next, cover the main surface with synthetic underlayment, which acts as a barrier to leaks and enhances the roof's overall durability. Proper underlayment is essential for weatherproofing the roof and ensuring long-lasting protection.
Flashing is critical in preventing leaks at the roof's seams and junctions. Start by installing step flashing at wall joints, then follow up with counter-flashing to seal the edges.
In roof valleys, use metal flashing to ensure water flows properly off the roof and doesn't penetrate the structure. Make sure to seal the edges of the flashing to prevent moisture from seeping in, keeping your roof and home dry.
Proper ventilation is key to the roof's health and the home’s energy efficiency. Ensure that soffit vents are kept clear to allow air intake and that ridge vents are open to allow exhaust. Balanced ventilation helps maintain airflow, preventing moisture buildup that can lead to mold growth and deteriorating roof materials. It also helps regulate temperature, which can prolong the lifespan of your roof and reduce energy costs.
To improve energy efficiency, add insulation continuously across the junction between the old and new roof. Proper insulation helps prevent temperature loss and keeps your home comfortable year-round.
Seal any gaps with foam or vapor barriers to further enhance energy efficiency. Good insulation also helps reduce the risk of ice dams in colder climates and prevents air leaks that can affect your home’s overall performance.
Finally, it’s time to match the finishing materials to ensure a seamless look. Install shingles or metal panels that match the existing roof materials, making sure the alignment is perfect for a uniform appearance. Ensure that fascia, soffit, and gutters are aligned and properly installed, as these elements complete the roof's structure and help with water drainage. A uniform finish not only improves the roof’s aesthetic but also ensures its functionality.
Choosing the right materials for your roof add-on is crucial for durability, weather resistance, and aesthetic consistency. The materials should not only match the main roof’s appearance but also complement its structural and thermal performance. Factors like local climate, roof pitch, and maintenance preferences play an important role in selection. Below are the most common and effective materials used for roof add-ons in U.S. homes.
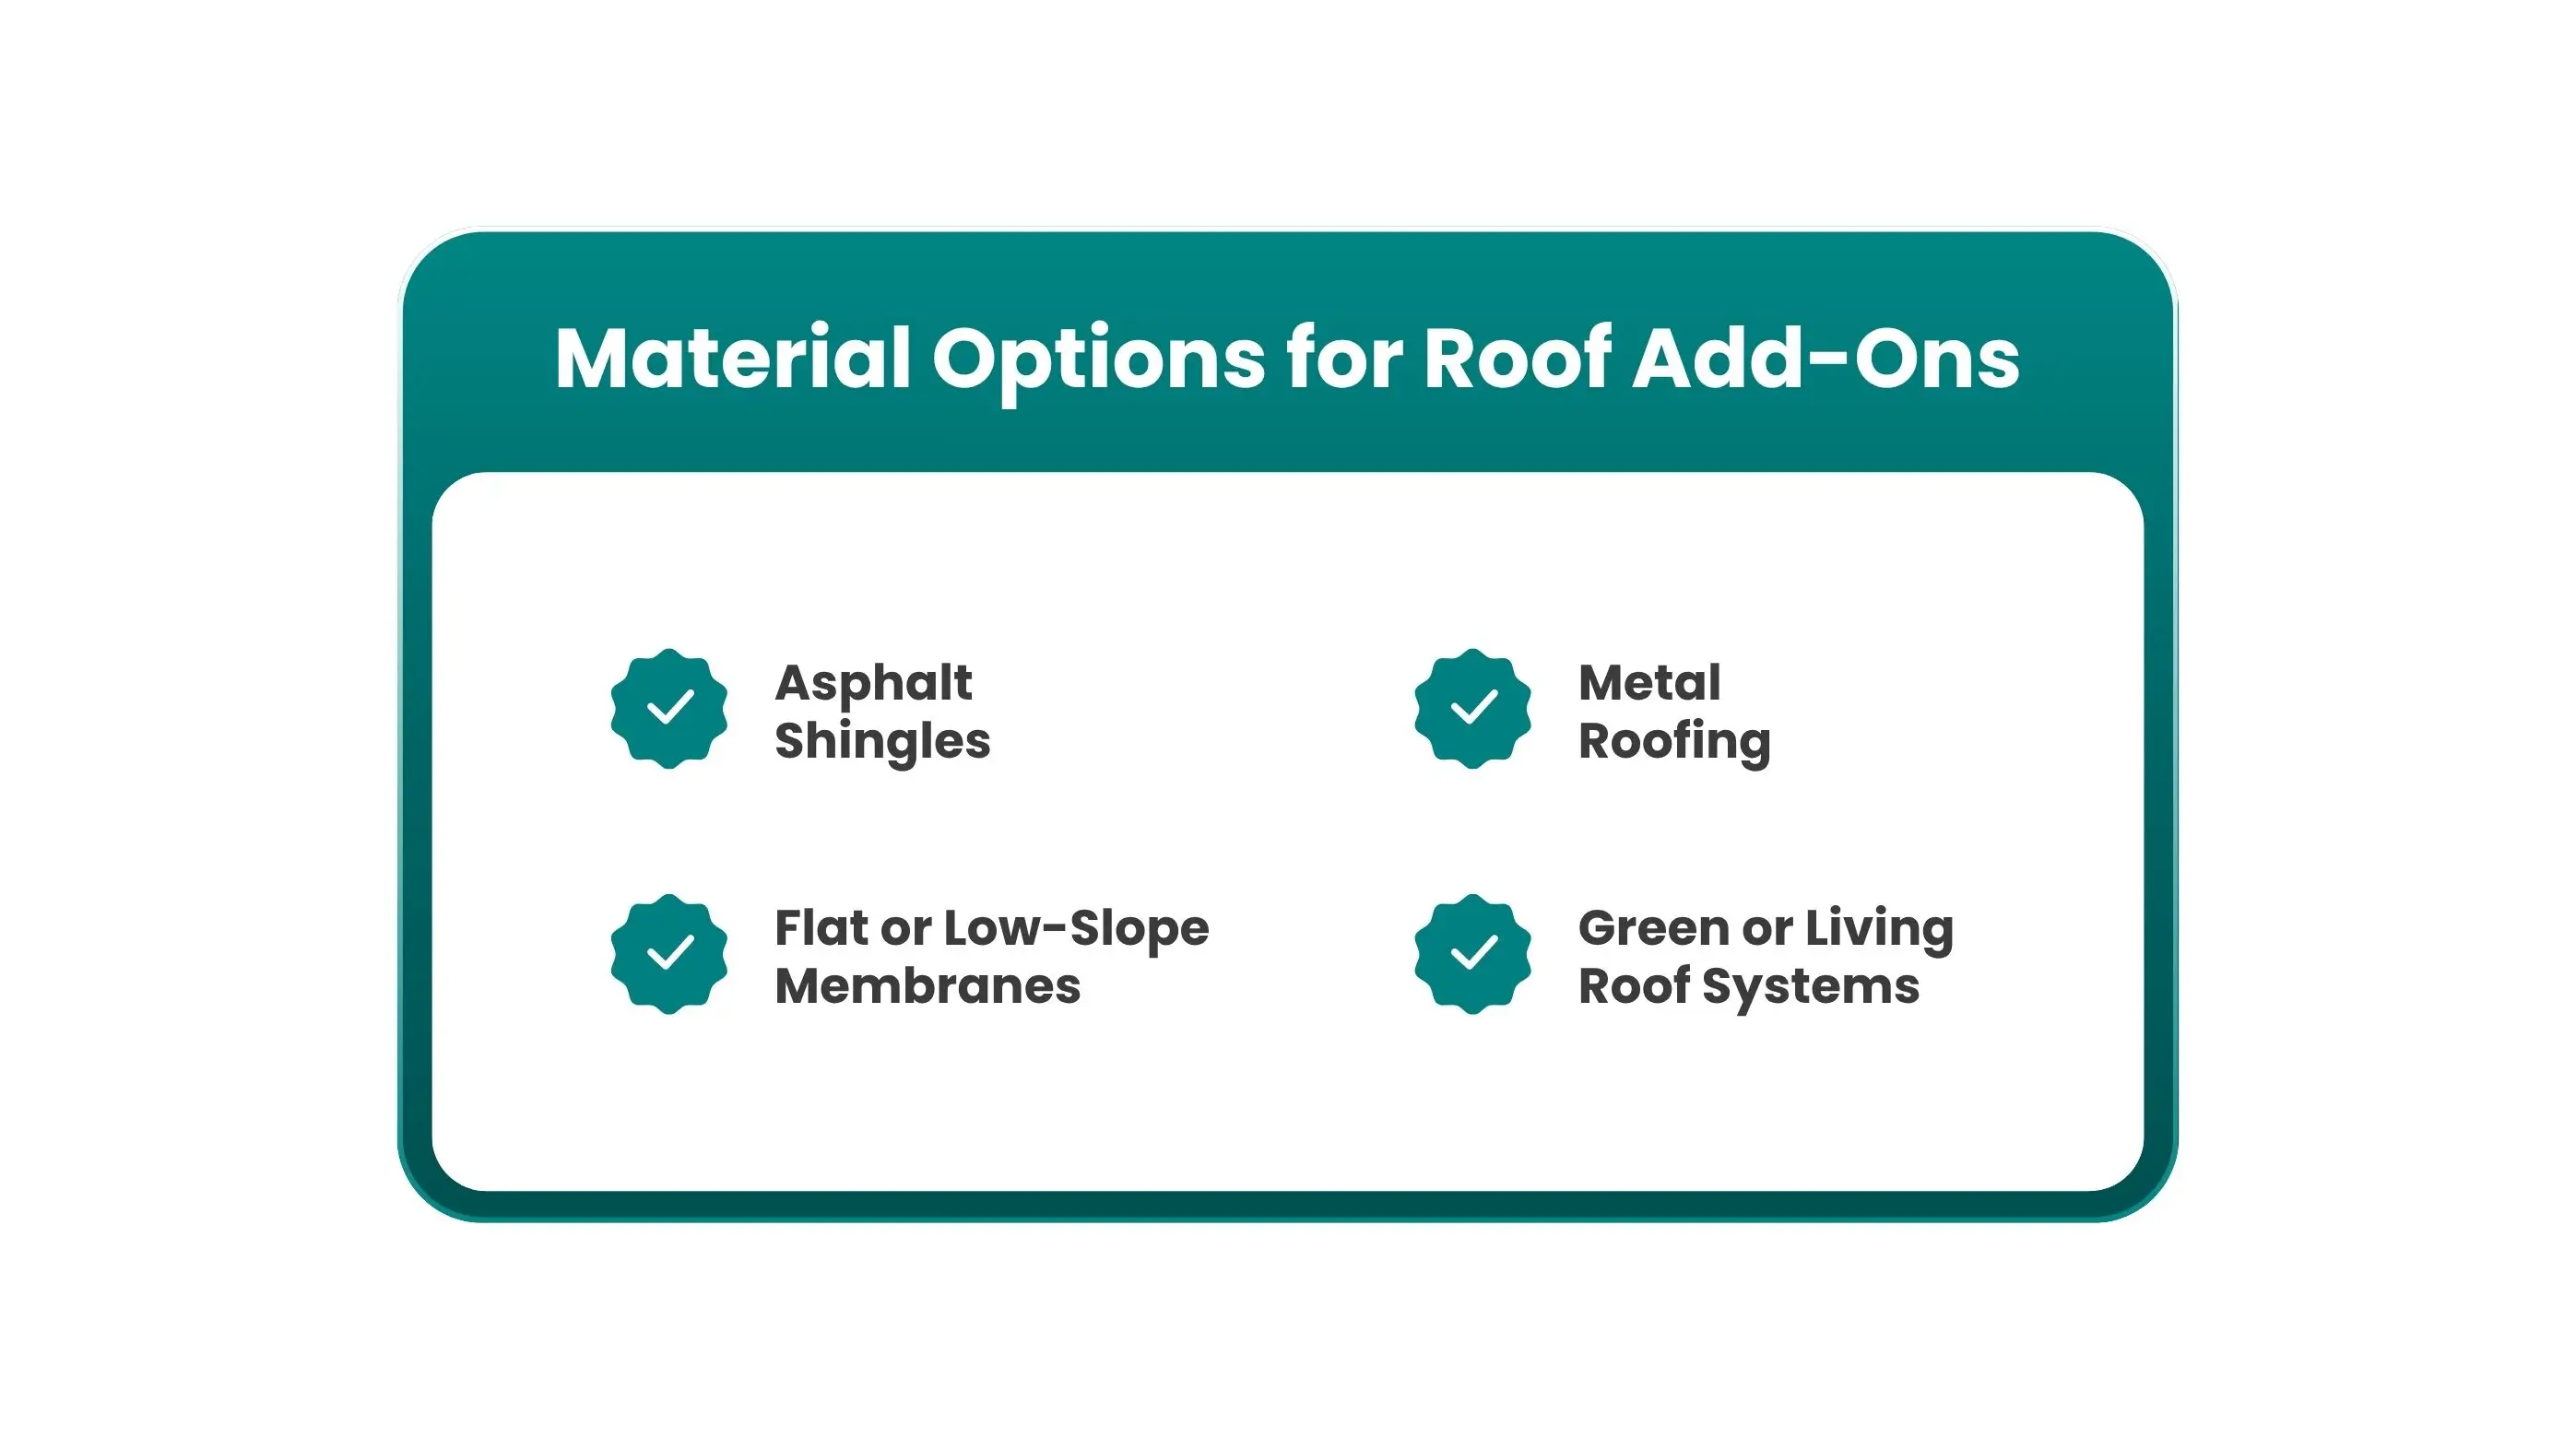
Affordable, versatile, and easy to match with existing roofs. They offer reliable waterproofing and come in various colors and textures.
Durable and energy-efficient, metal roofing (like standing seam panels) is ideal for porches and garages. It requires high-temperature underlayment and proper fastening systems.
Materials like TPO, PVC, or EPDM are ideal for flat roofs. They are fully adhered or heat-welded, preventing standing water and leaks.
Include a waterproof membrane, drainage layer, and soil layer for vegetation. Green roofs regulate temperature and improve stormwater management.
Costs vary based on design complexity, materials, and local labor rates. On average, homeowners spend between $3,000 and $15,000 for a roof add-on replacement.
| Roof Add-On Type | Average Cost (USD) | Description |
|---|---|---|
| Small Porch or Patio | $3,000 – $6,000 | Decking, underlayment, shingles, and flashing |
| Dormer Add-On | $5,000 – $10,000 | Framing, insulation, and structural tie-in |
| Hip or Gable Extension | $8,000 – $12,000 | Larger slope areas and multiple connections |
| Full Room or Garage Add-On | $10,000 – $15,000+ | Reinforcement, insulation, and finishing materials |
Main Cost Factors:
All roof add-ons require permits to ensure structural and safety compliance. Building codes vary by region but generally cover load capacity, ventilation, slope, and fire safety.
Important Code Areas:
Regular maintenance ensures that the new and old roof sections perform together without issues. Since different materials expand and age differently, consistent inspection is important.
Maintenance Tips:
Blending the new roof seamlessly into your existing structure enhances both appearance and value.
Here are some design tips:
Before signing off on the project, confirm that every detail has been carefully checked and meets the highest standards. This ensures that the roof is not only visually appealing but also fully functional and built to last. Each of the following areas plays a crucial role in the performance and longevity of your roof:
A roof add-on replacement is more than just connecting two structures; it's about creating one complete, durable system. When properly aligned and sealed, it improves insulation, airflow, and energy efficiency while enhancing your home’s appearance. Whether you’re extending a porch, adding a dormer, or upgrading a garage roof, investing in a well-planned roof add-on ensures long-term protection, beauty, and value for your home.
When adding a roof section, it’s crucial to consider the alignment with the existing structure, ensuring that the new section integrates seamlessly with the old one. You’ll also need to assess the structural integrity of the current framework, check for proper drainage to avoid water pooling, and plan for effective insulation and ventilation. Proper sealing and flashing around joints are essential to prevent leaks.
Yes, it’s possible to add a roof section over an existing addition, but it requires careful planning. You'll need to ensure that the addition's foundation and structure can handle the new roof's load. It's essential to align the new section with the old one in terms of slope and design, ensuring structural compatibility and preventing water infiltration at the junctions.
Ensuring that your roof add-on matches the existing roof involves selecting the right materials, such as shingles, metal roofing, or membrane systems that align with your current roof's style. The color, texture, and finish of the new roofing materials should complement the old section. Additionally, maintaining consistent fascia depth, gutter lines, and pitch is crucial for visual harmony.
The timeline for a roof add-on replacement can vary depending on the complexity of the design and weather conditions. On average, it can take anywhere from 2 to 6 weeks, including permit acquisition, structural reinforcement, and final installation. More extensive projects, such as adding a full room or garage, may take longer
Join our mailing list for exclusive updates, expert tips, and special offers tailored to your needs. Be the first to know about the latest in home services.

Renovize Home is a platform that supports homeowners from planning to renovation. Whether it’s Renovize AI for guidance or a one-on-one call with Pro Finder, we understand your project and match you with local contractors tailored to your needs.
Who We Are
About Renovize HomeGet in TouchHomeownwer Support:
Coming Soon!
General Inquiries:
support@renovizehome.com
Head Office:
24 Greenway Plaza, STE 1800M, Houston, TX 77046.