Explore All
BROWSE BY CATEGORY
Interior
Exterior
Home Essentials
Homeowner Tools
Blogs & Guides
Find a Pro
Book Your Appointment Now
Home Essentials
About Renovize Home
Explore All
BROWSE BY CATEGORY
Interior
Exterior
Home Essentials
Homeowner Tools
Blogs & Guides
Find a Pro
Book Your Appointment Now
Home Essentials
About Renovize Home
Last Updated 2025-10-29
Replacing loose roof tiles might seem simple, but doing it wrong can lead to leaks, water damage, and costly repairs. Whether your tiles came loose from wind, aging, or poor installation, timely replacement is key to keeping your roof strong and weatherproof.
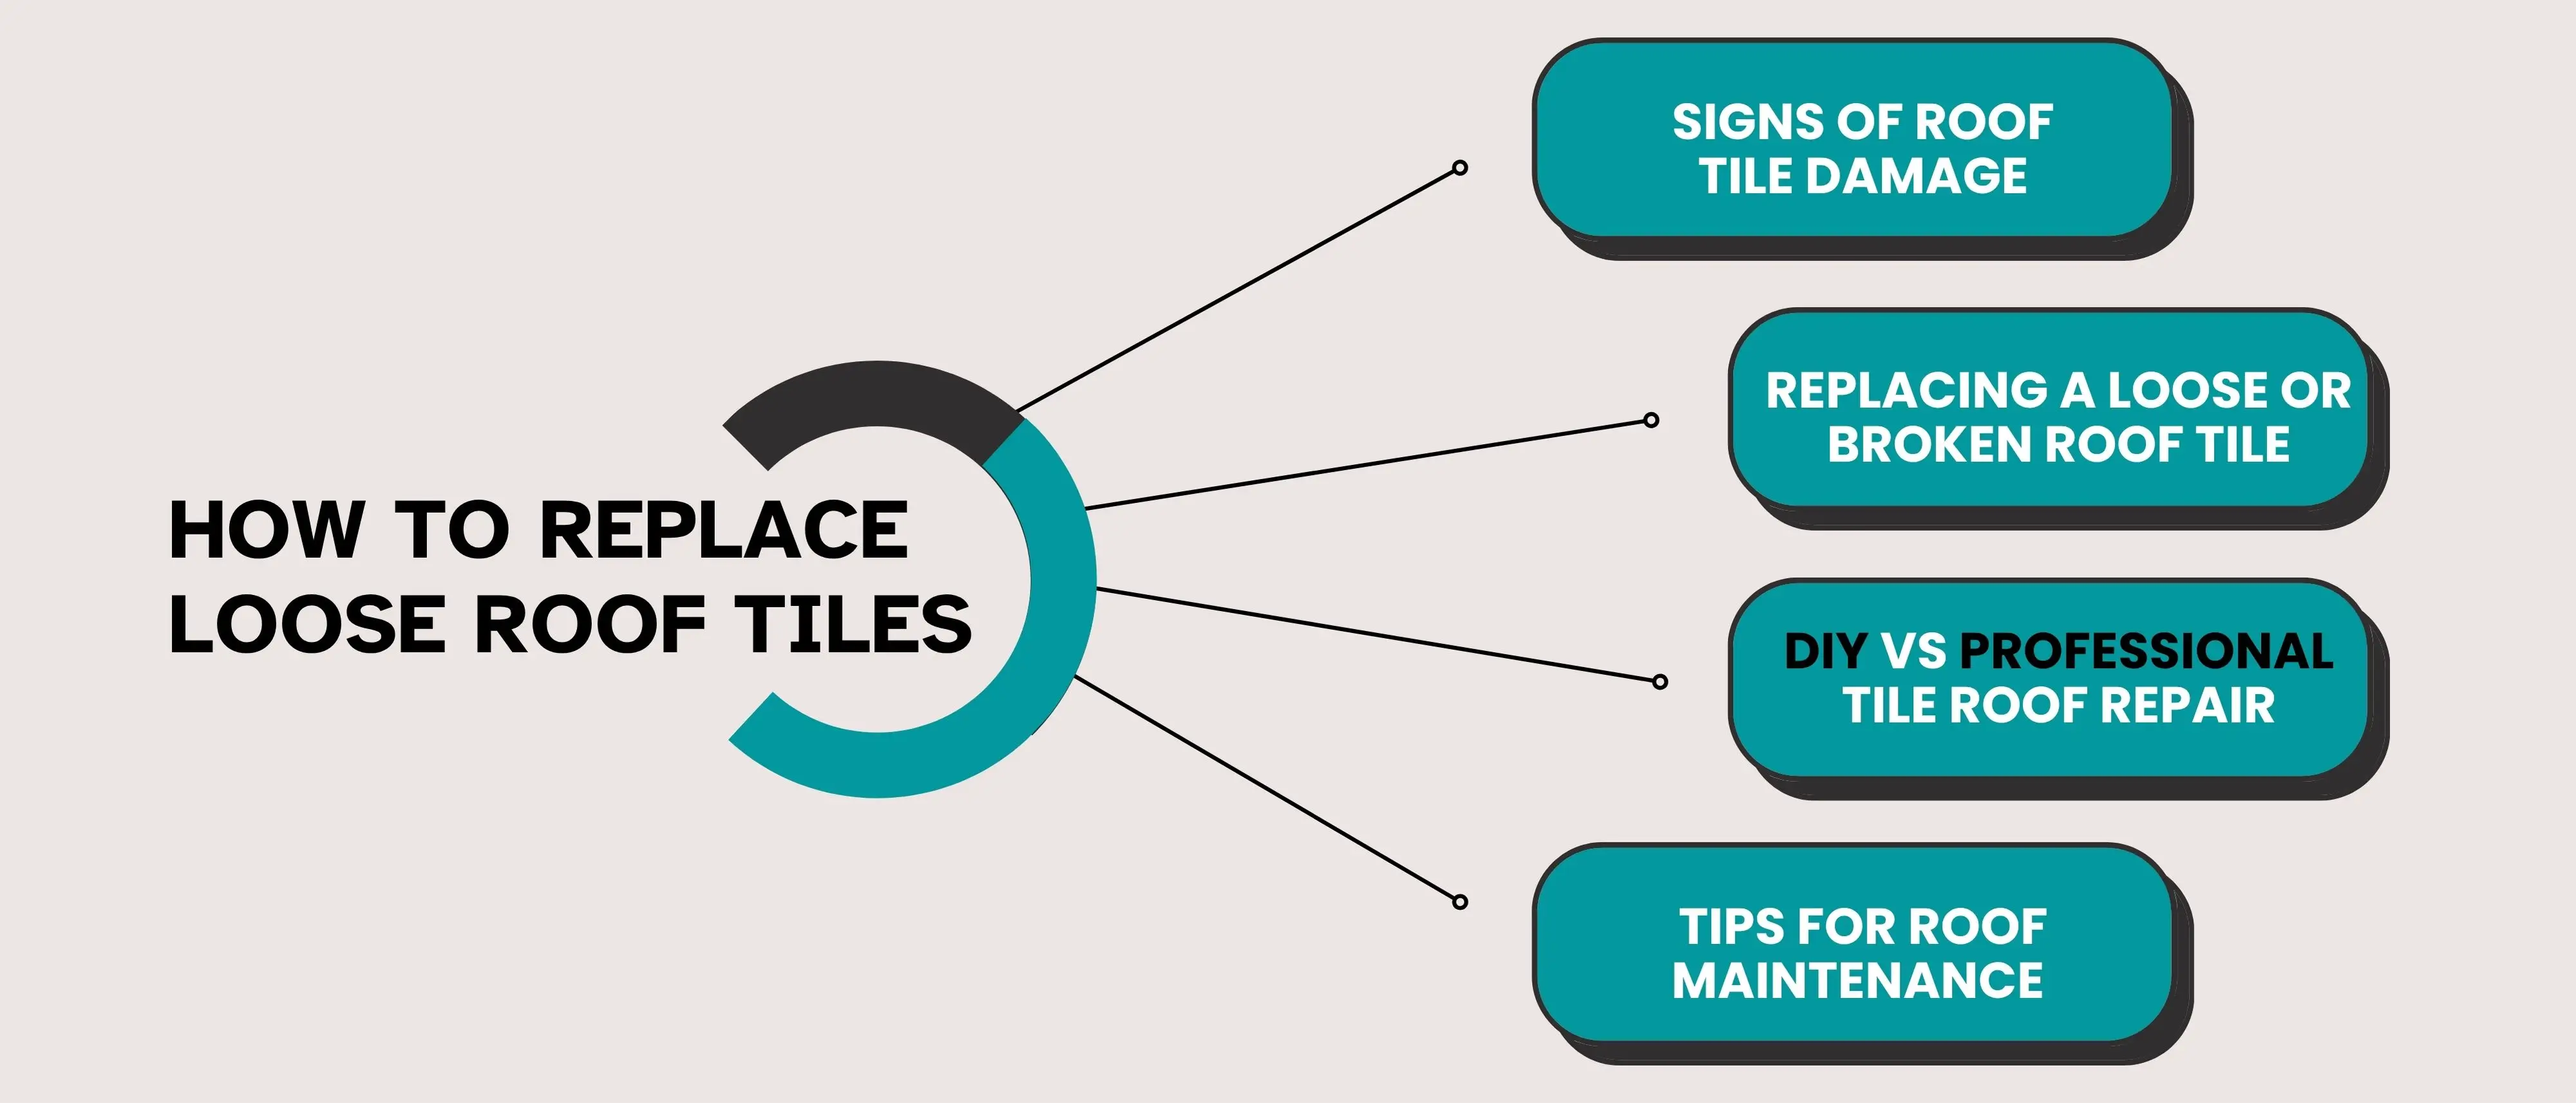
Table of Contents
Replacing a Loose or Broken Roof Tile
Signs of Roof Tile Damage
DIY Repair
Professional Help
Roof Maintenance Tips
Cost Breakdown
Additional Cost Factors
Ending Views
Replacing a loose or broken roof tile is a straightforward process if done carefully and with the right tools. Before you start, make sure the weather is dry and you can safely access your roof. Follow these step-by-step instructions to remove damaged tiles, install new ones, and ensure a watertight, long-lasting repair.
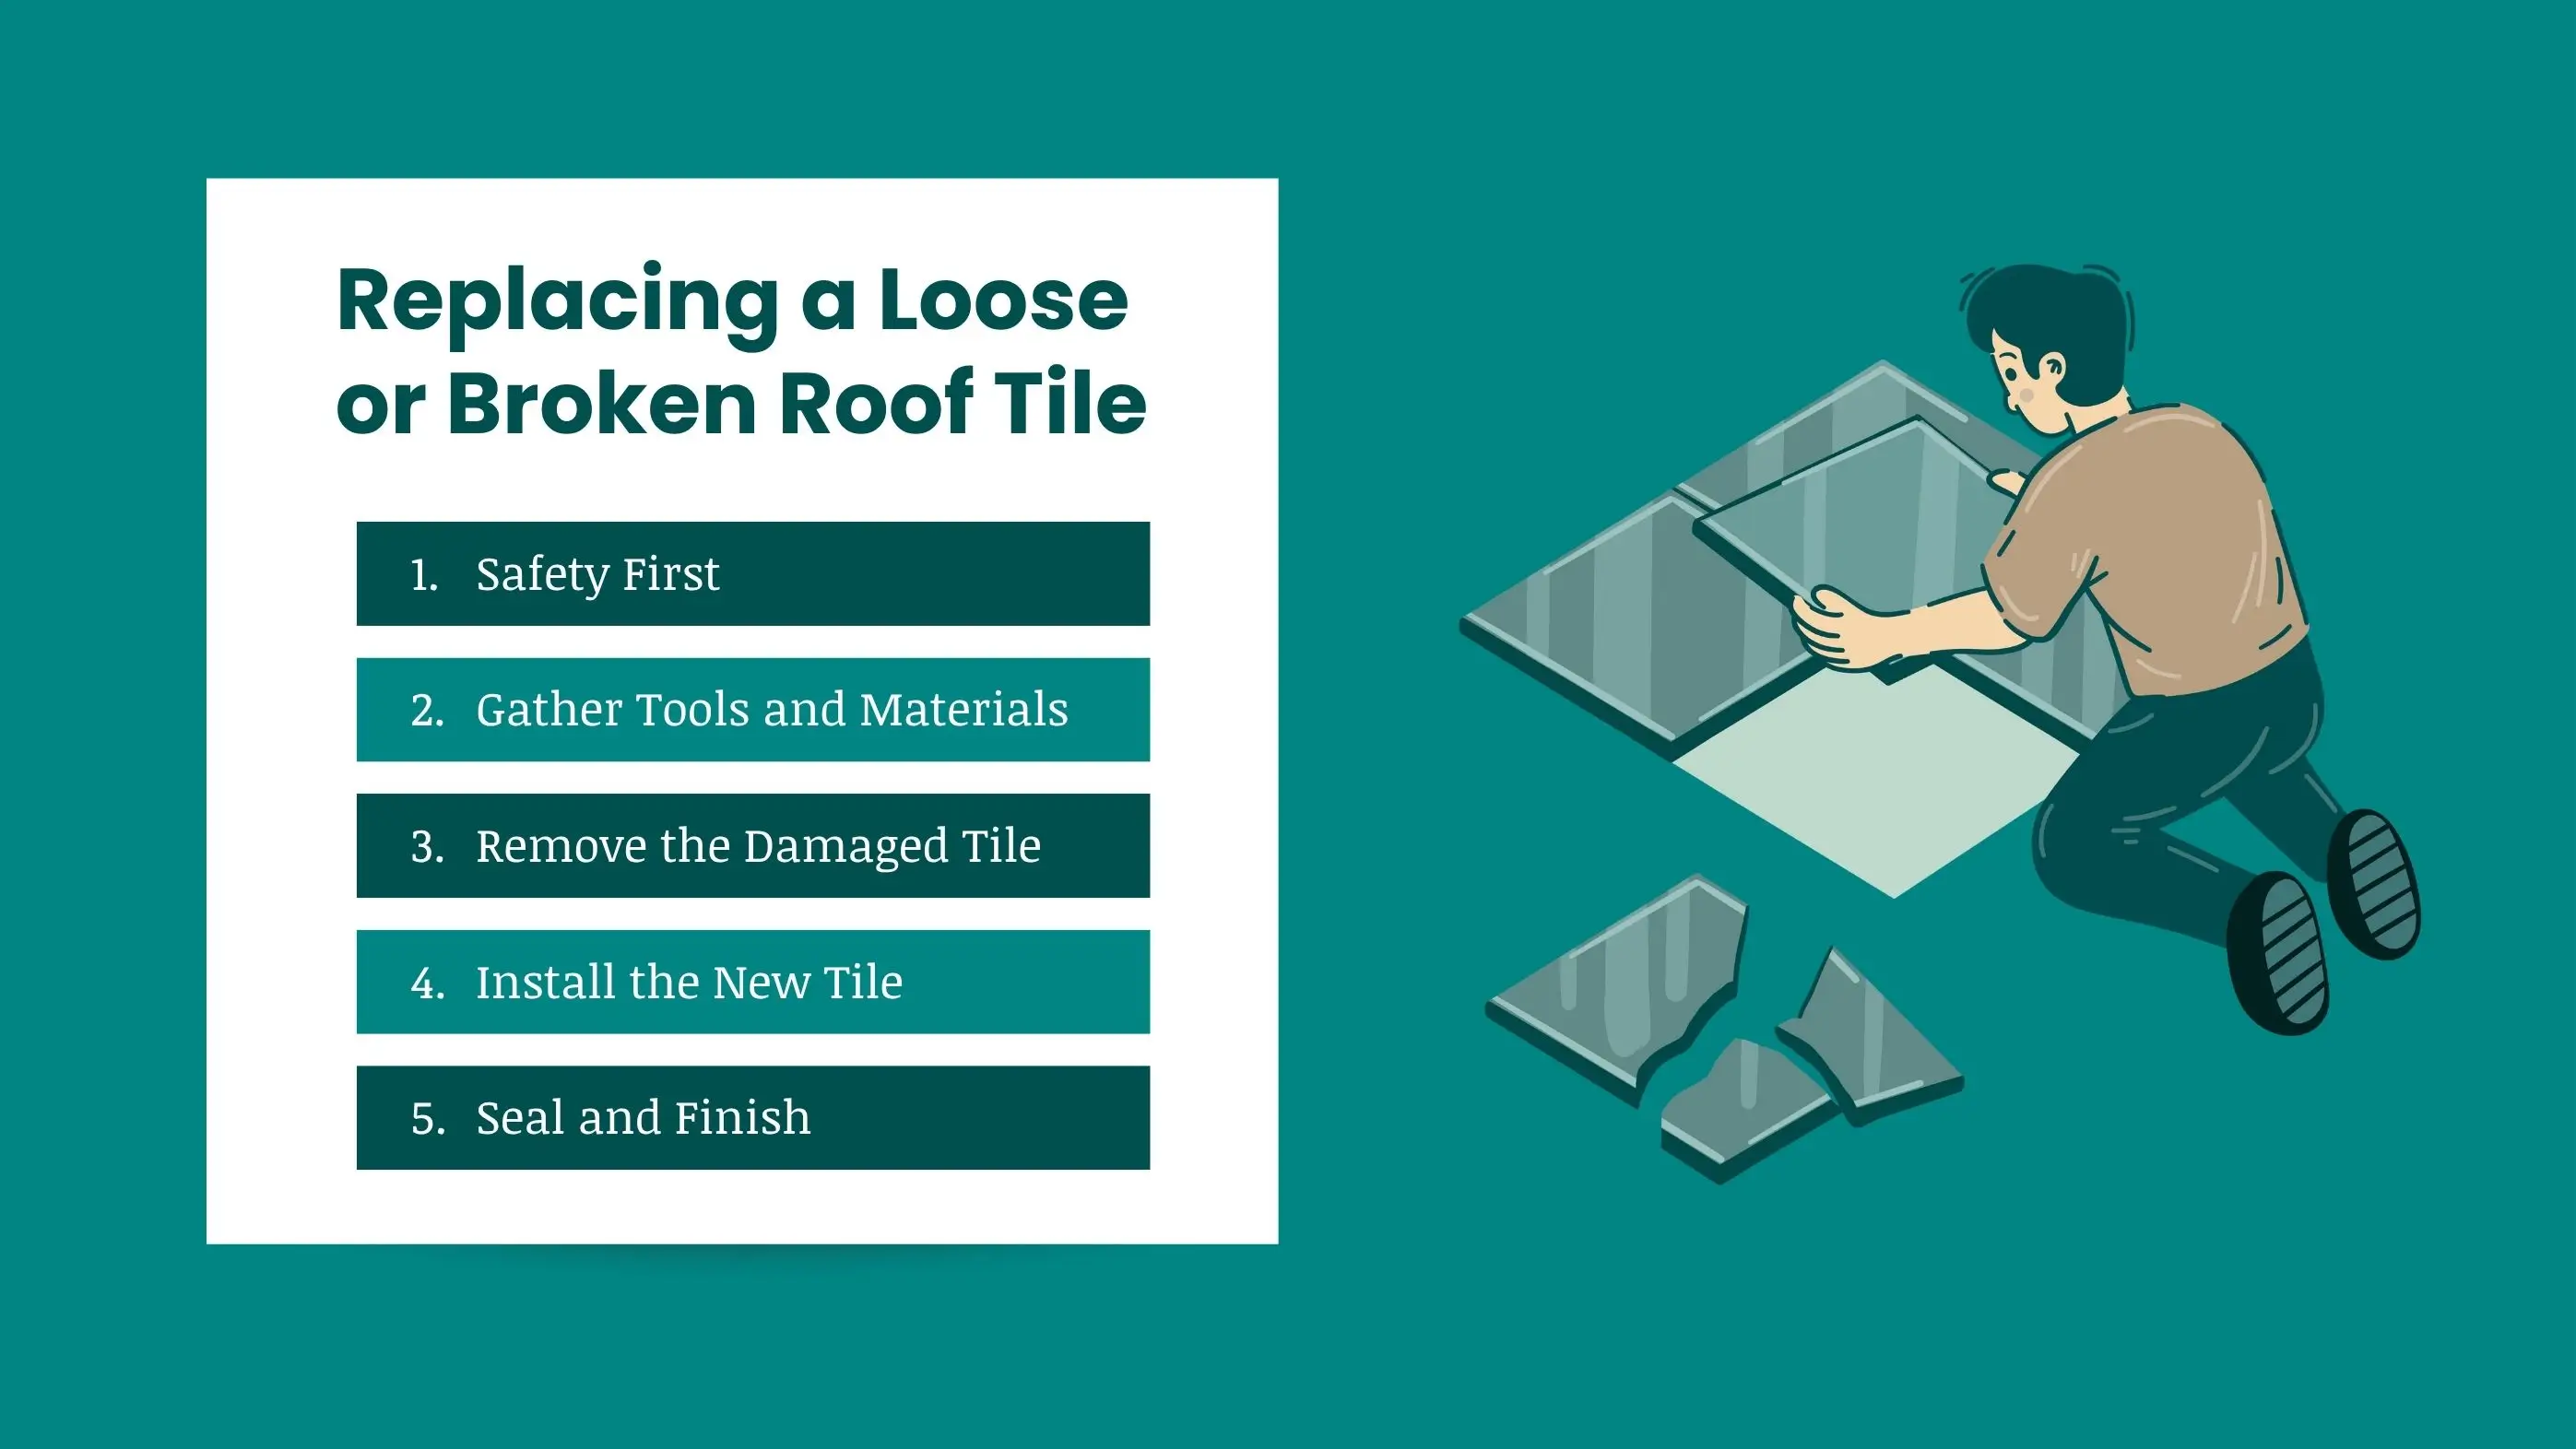
Always prioritize safety. Never work on a wet or icy roof. Wear rubber-soled, non-slip shoes (sneakers or work boots) for traction. Don a safety harness or roof ladder tied off to a secure anchor (chimney, strong ridge, or ground anchor) when working at height. Use a sturdy ladder on level ground, and keep three points of contact when climbing.
Don’t carry heavy materials up unsecured; use a tool belt or lift. Avoid loose clothing. Keep the roof area clear of debris and be extra cautious on steep slopes. If you feel unsafe at any point, stop and hire a professional. Roofs can be dangerous; even experienced DIYers hire roofers for steep or large jobs.
For a single tile repair, you’ll need some tools or materials, some are given below:
Roof tile repair kits (available at home centers) may include roofing cement, sealant tape, copper tabs, and flashing pieces. These kits simplify fixes but use matching tiles and nails.
Use a flat pry bar or trowel to gently lift the tiles surrounding the damaged one. Slide the broken tile out carefully to avoid cracking the adjacent pieces. If it’s nailed or clipped in place, loosen the fasteners before removal. Always work slowly to prevent additional damage to nearby tiles.
Slide the replacement tile into the same position, ensuring it aligns perfectly with the surrounding tiles. If your tiles are nailed or hooked, secure the new one in the same way. Make sure the overlap and spacing match the existing pattern to maintain proper water flow.
Apply roofing sealant or adhesive under the edges of the new tile to lock it securely in place. Press down gently to ensure a tight bond and smooth finish. Once the tile is installed, check for gaps and clean away any excess sealant to keep your roof neat and watertight.
If rain is expected and you can’t replace the tile immediately, use roofing tape, plastic sheeting, or waterproof adhesive as a temporary cover. Secure the area to prevent water from entering until a full replacement can be done. This quick fix helps protect your roof and interior from immediate damage.
Roof tile damage often starts small, a crack here, a loose edge there, but can quickly increase if ignored. Spotting the warning signs early helps you prevent leaks, mold, and structural damage. Here are the most common signs your roof tiles may need repair or replacement.
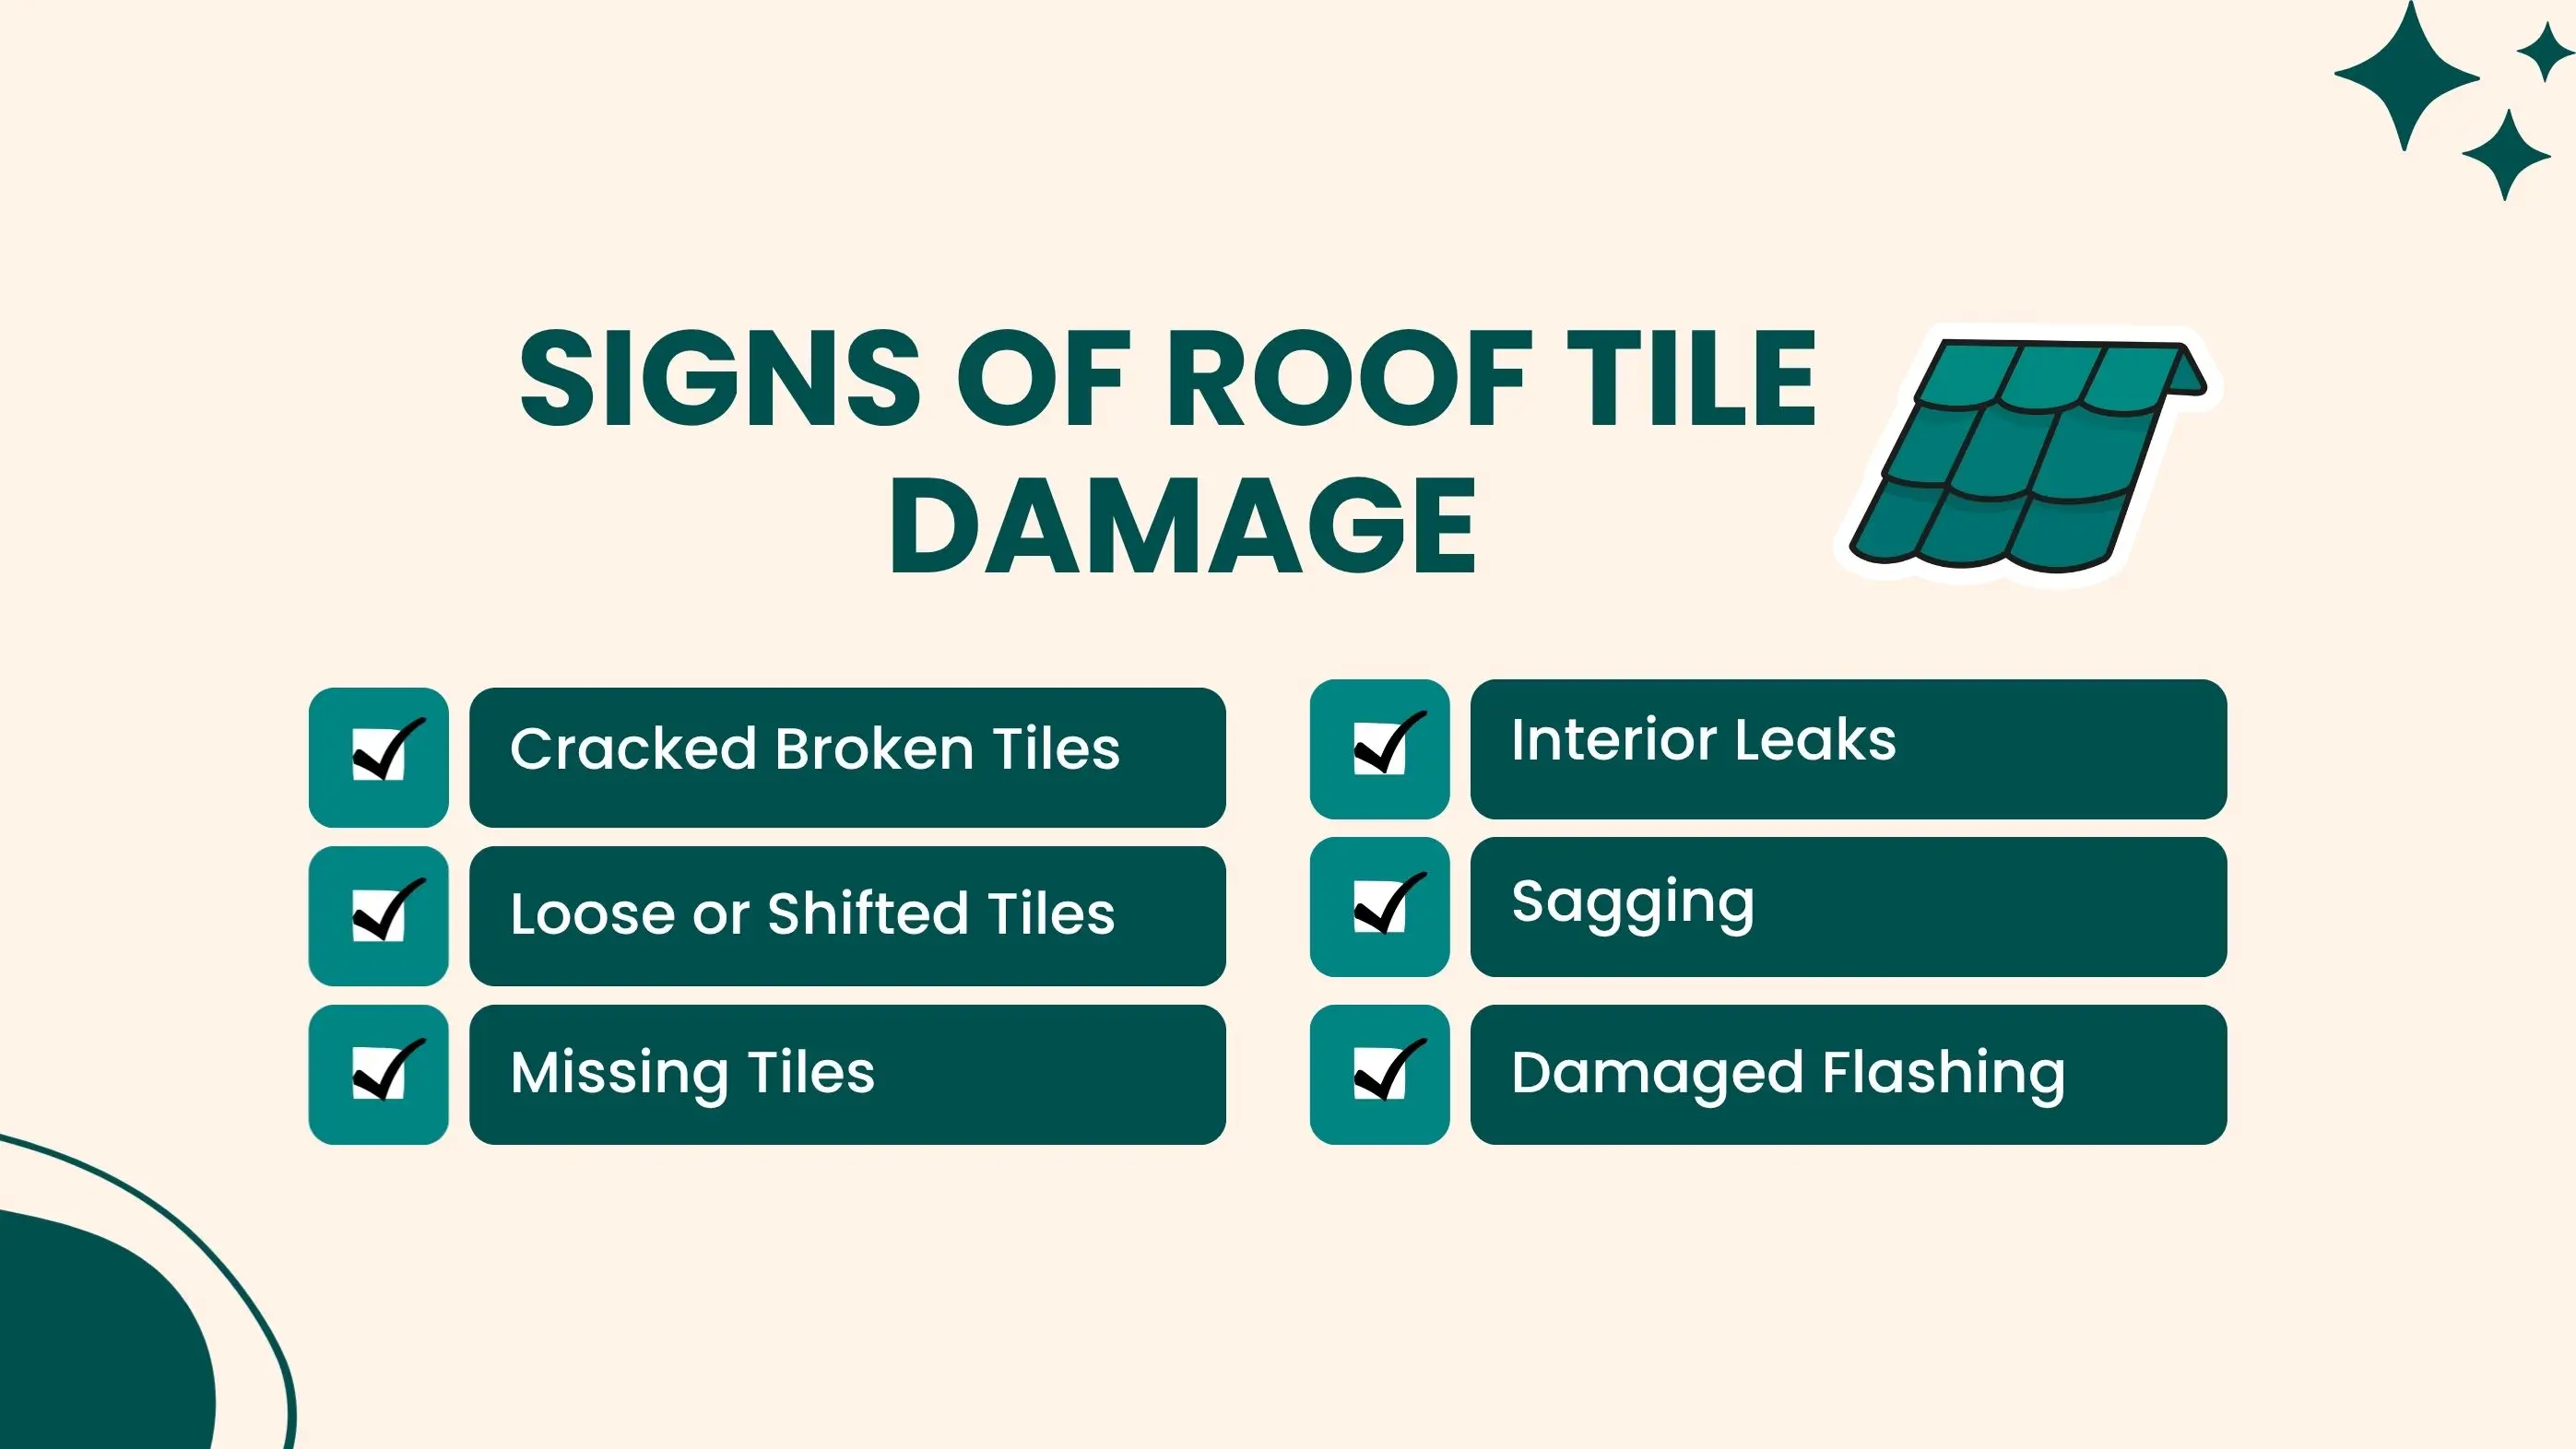
Even the smallest cracks in roof tiles can let water seep through, leading to hidden leaks and damage to the underlayment. Over time, these minor fractures expand with temperature changes, weakening nearby tiles and increasing repair costs.
If tiles move or rock underfoot, especially after heavy winds or storms, it’s a sign they’re no longer securely fastened. Loose tiles can slip out of place, leaving gaps that invite water, pests, and debris into your roof system.
Visible holes or missing tiles expose the protective underlayment beneath your roof, making it vulnerable to leaks and UV damage. If left unaddressed, this exposure can cause rapid deterioration and widespread moisture problems.
Water stains on your ceiling or damp attic insulation often mean roof tiles are compromised. These leaks can start small but quickly spread, damaging drywall, insulation, and even electrical systems if ignored.
A sagging section of your roof often signals structural issues or long-term water damage. This can result from rotted decking, weakened supports, or excessive moisture, all of which require immediate professional attention.
Cracked, corroded, or missing flashing around chimneys, vents, and skylights allows water to slip under the tiles. Since flashing seals the most vulnerable roof joints, damage here can lead to significant leaks if not repaired promptly.
For a small repair, DIY tile roof repair can save money. Minor tile replacements (one or two tiles) are within reach of a handy homeowner with the right tools and caution. Using a roof tile repair kit or buying roofing cement and nails from a home store, you can fix an isolated broken tile. However, keep in mind:
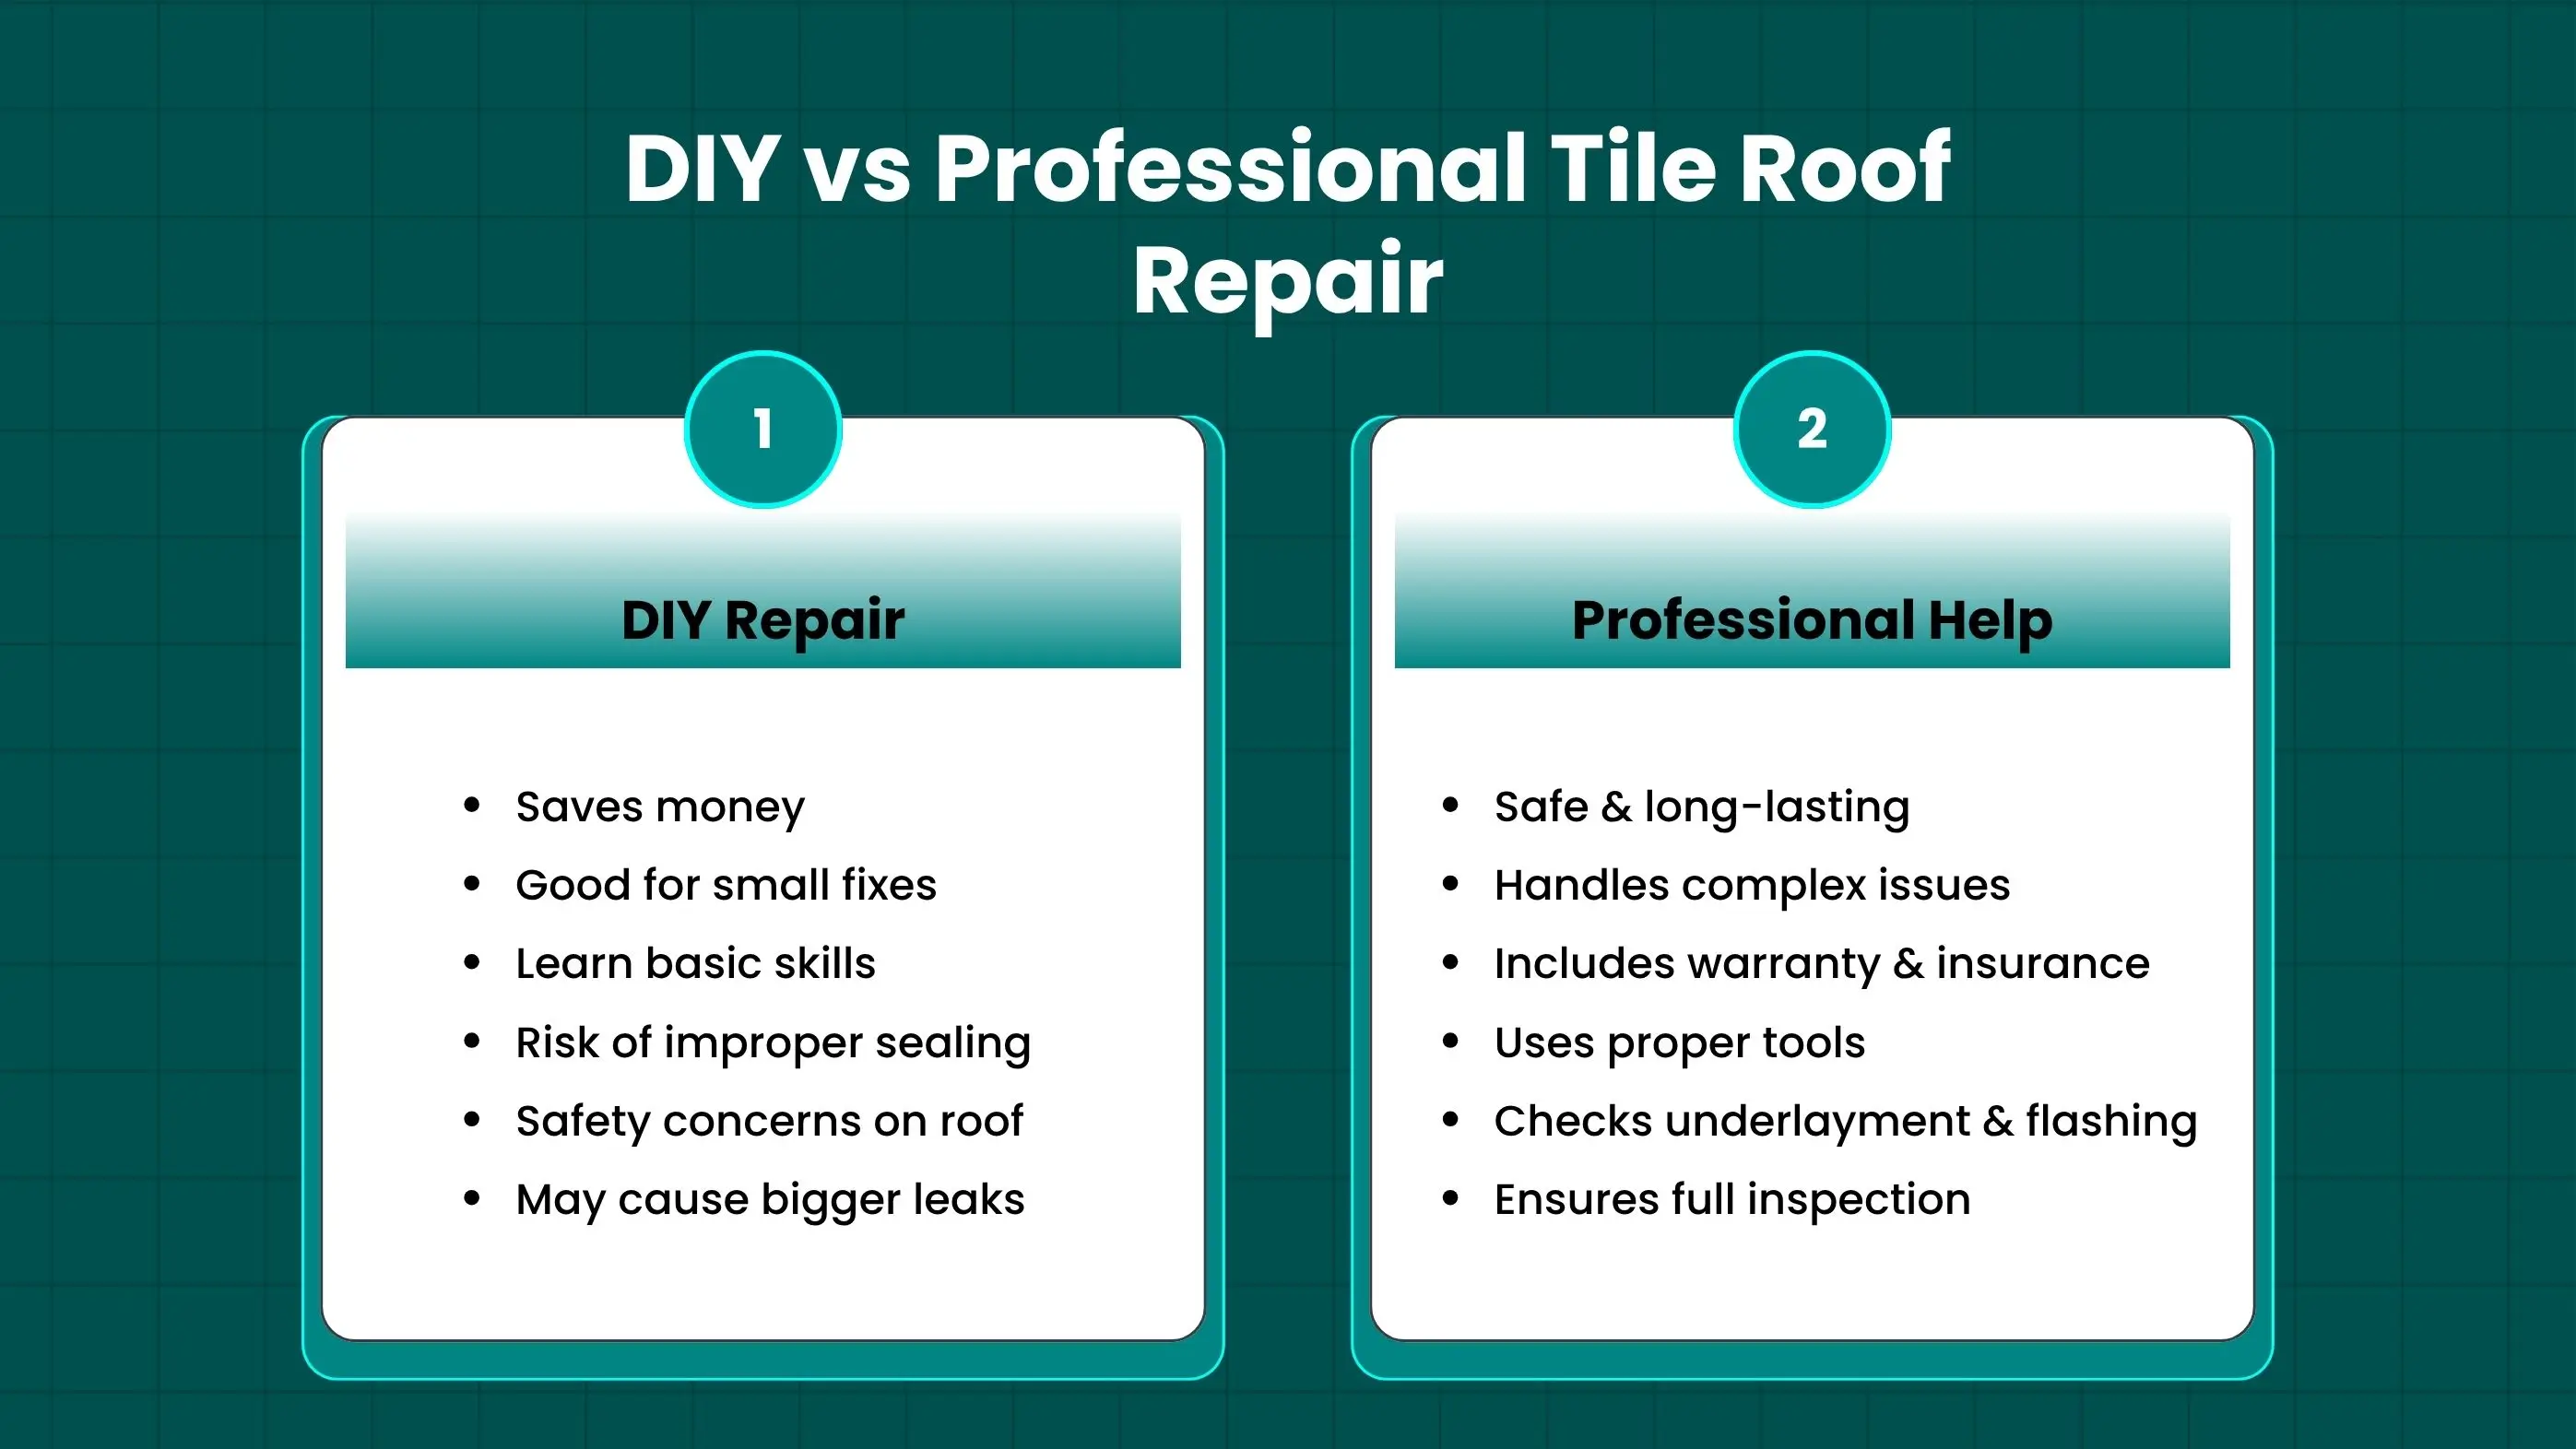
If your roof is very steep, has many broken tiles, or structural issues, hire a professional roofer. Roofing contractors have experience with all tile types and use specialized tools (e.g. copper nailers, slate rippers) to avoid damage. They also carry insurance and often warranties on work. A pro will also inspect underlayment and flashing, which are hard for a homeowner to assess
Ultimately, for extensive damage or if you doubt your skill, call a licensed roofer. When in doubt or dealing with multiple leaks, call a reputable roofing contractor. Professionals ensure a long-lasting fix and handle the job safely.
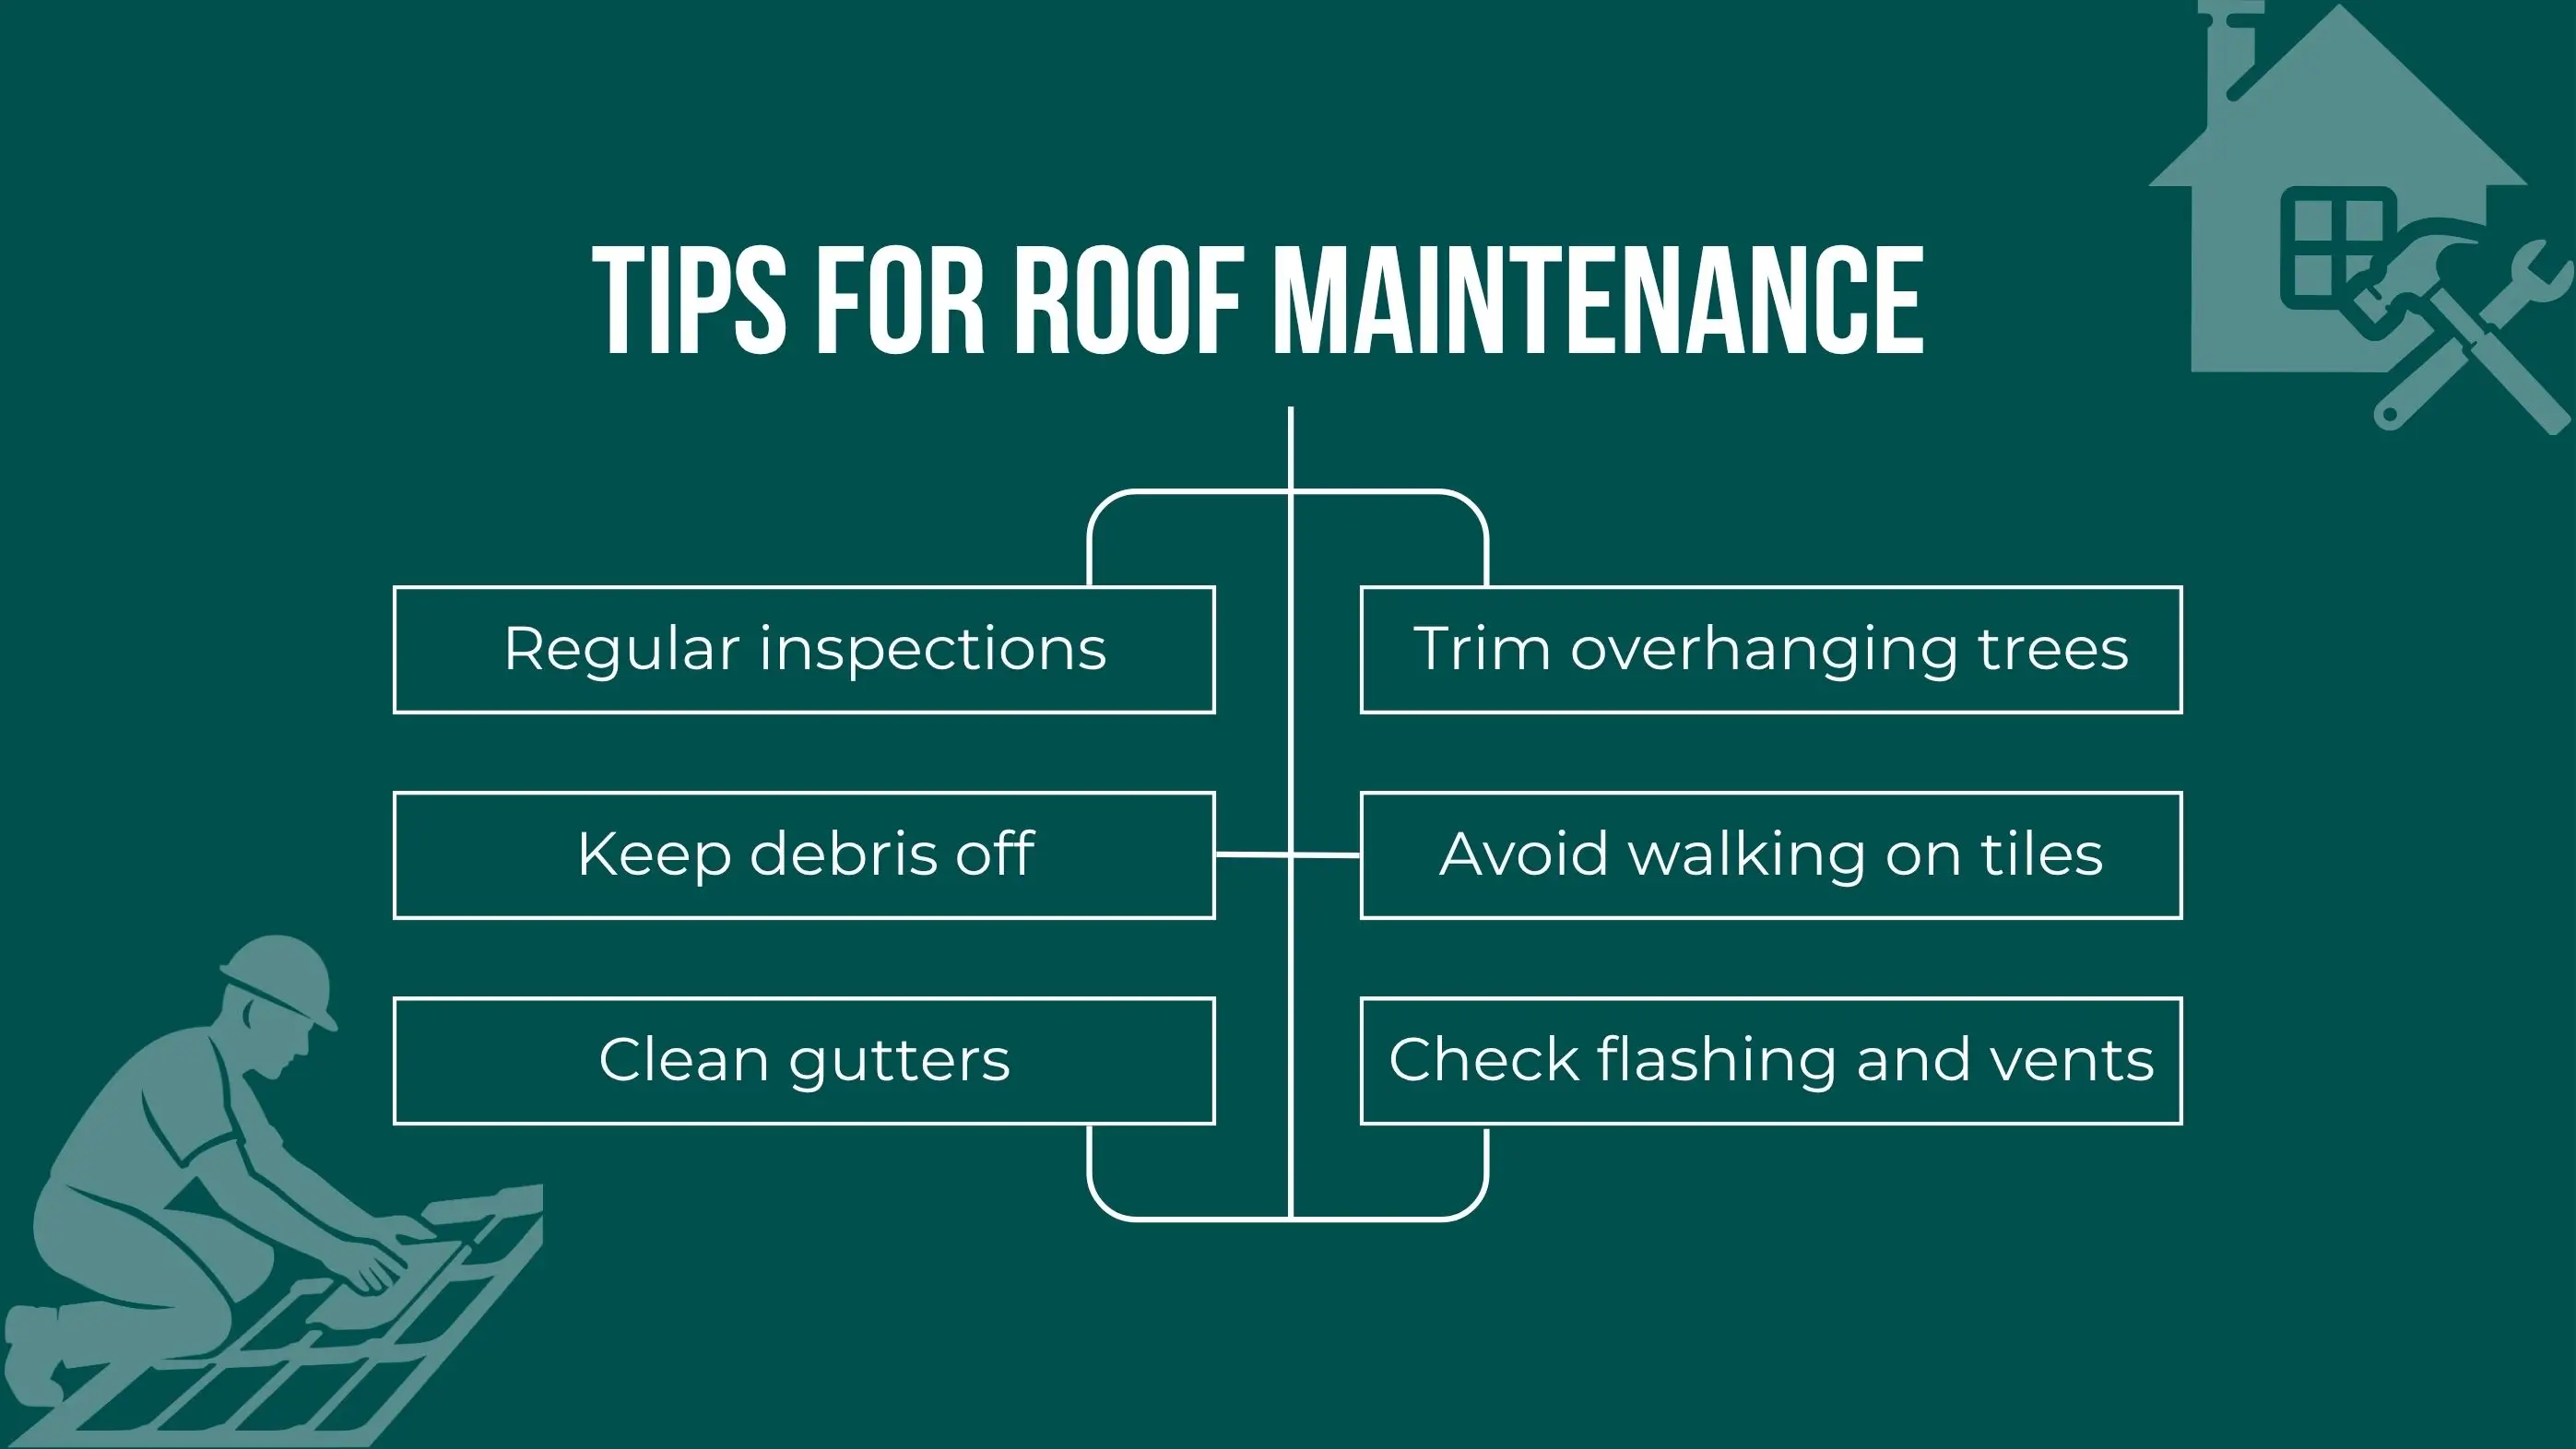
Preventing future tile issues is as important as fixing current ones. Follow these maintenance tips:
Roof tile repairs range from small DIY fixes to professional restorations — and costs vary depending on the damage, material, and labor rates in your area. A single cracked tile may only cost a few dollars to replace, but labor, accessibility, and matching materials can quickly raise the total. Here’s a simplified breakdown of what homeowners can expect when planning roof tile repairs or replacements:
| Repair / Replacement Type | Typical Cost Range (USD) | Includes | Best For |
|---|---|---|---|
| DIY Tile Replacement Kit | $20 – $50 | Replacement tile, clips/nails, roof cement | Small, accessible areas or minor damage |
| Single Tile Professional Repair | $150 – $300 | Tile, sealant, labor, inspection | Homeowners without safe roof access |
| Partial Tile Replacement (10–20 tiles) | $500 – $1,500 | Labor, materials, and cleanup | Localized storm or wind damage |
| Full Roof Replacement – Concrete Tile | $9 – $18 / ft² (installed) | Underlayment, tiles, labor | Durable and budget-friendly roofs |
| Full Roof Replacement – Clay Tile | $8 – $25 / ft² (installed) | Premium clay tiles, labor | Long-lasting and heat-resistant roofs |
| Full Roof Replacement – Terracotta Tile | $10 – $30 / ft² (installed) | Glazed clay, custom finishes | Premium appearance and heritage homes |
Repairing loose or broken roof tiles promptly is crucial for avoiding leaks and costly damage. For small repairs, follow the safety steps and the instructions above. Roof tile replacement kits and roofing cement from home improvement stores can be used for minor fixes. However, always respect your skill level and physical limits.
It’s best to match them. Even small differences in shape can let water leak through. If the color is a bit off, spread new tiles around the roof instead of keeping them all in one spot.
That happens when the nails, clips, or wooden strips underneath (called battens) get loose or rusty. You’ll need to re-secure or replace those parts to stop the tiles from moving again.
Look for dark spots, soft wood, or a wrinkled layer under the tile. If the material underneath tears easily or feels damp, that section of the roof needs repair before putting the tile back.
Only for a short time. Waterproof tape or plastic can protect your roof for a few days, but you should replace the tile as soon as possible.
Only if they were moved or damaged during the repair. Make sure they’re sealed well so water can’t get in along the roof edges.
Yes, you can lift nearby tiles, cut the damaged part, and overlap a new piece of underlayment. Just make sure it faces the right direction so water runs off correctly.
Yes, rain can slip through and make the underlayer wet. Over time, this increases humidity and may lead to mold or wood rot.
Ask roofing suppliers for reclaimed or similar tiles. If not available, a roofer can fit a flashing piece under the replacement to guide water correctly.
Join our mailing list for exclusive updates, expert tips, and special offers tailored to your needs. Be the first to know about the latest in home services.

Renovize Home is a platform that supports homeowners from planning to renovation. Whether it’s Renovize AI for guidance or a one-on-one call with Pro Finder, we understand your project and match you with local contractors tailored to your needs.
Who We Are
About Renovize HomeGet in TouchHomeownwer Support:
Coming Soon!
General Inquiries:
support@renovizehome.com
Head Office:
24 Greenway Plaza, STE 1800M, Houston, TX 77046.