Explore All
BROWSE BY CATEGORY
Interior
Exterior
Home Essentials
Homeowner Tools
Blogs & Guides
Find a Pro
Book Your Appointment Now
Home Essentials
About Renovize Home
Explore All
BROWSE BY CATEGORY
Interior
Exterior
Home Essentials
Homeowner Tools
Blogs & Guides
Find a Pro
Book Your Appointment Now
Home Essentials
About Renovize Home
Last Updated 2025-11-07
A strong roof depends on two hidden but crucial layers: roof decking and roof underlayment. Together, they form the foundation and protection that determine how well your home resists leaks, moisture, and wind. The roof decking, often made from plywood or OSB panels, is the solid base supporting the outer roofing materials. Above that lies the roof underlayment, a moisture barrier that prevents water from seeping through.
Understanding what is roof decking and what is roof underlayment helps homeowners make smarter repair and replacement decisions. A durable deck paired with the right underlayment roofing not only improves performance but can also add decades to your roof’s lifespan.
Table of Contents
What Are Roof Decking and Roofing Underlayment?
How Roof Decking and Underlayment Work Together
Signs You Need Deck Work
Signs You Need Underlayment Work
Types of Roof Decking
Roof Decking Thickness
Roofing Underlayment Types & When to Use Them
Match the Underlayment to the Roof System
Installation Sequence (Deck First, Then Underlayment)
Common Issues and How to Avoid Them
Why Hire a Roofing Professional?
Costs and Value (Deck + Underlayment Together)
Benefits When Both Layers Are Done Right
Final Outcome
Roof decking is the structural sheet that covers the rafters, creating a flat surface for the roof. Common materials include OSB, plywood, or tongue-and-groove planks. It provides strength, rigidity, and load distribution for shingles or tiles above.
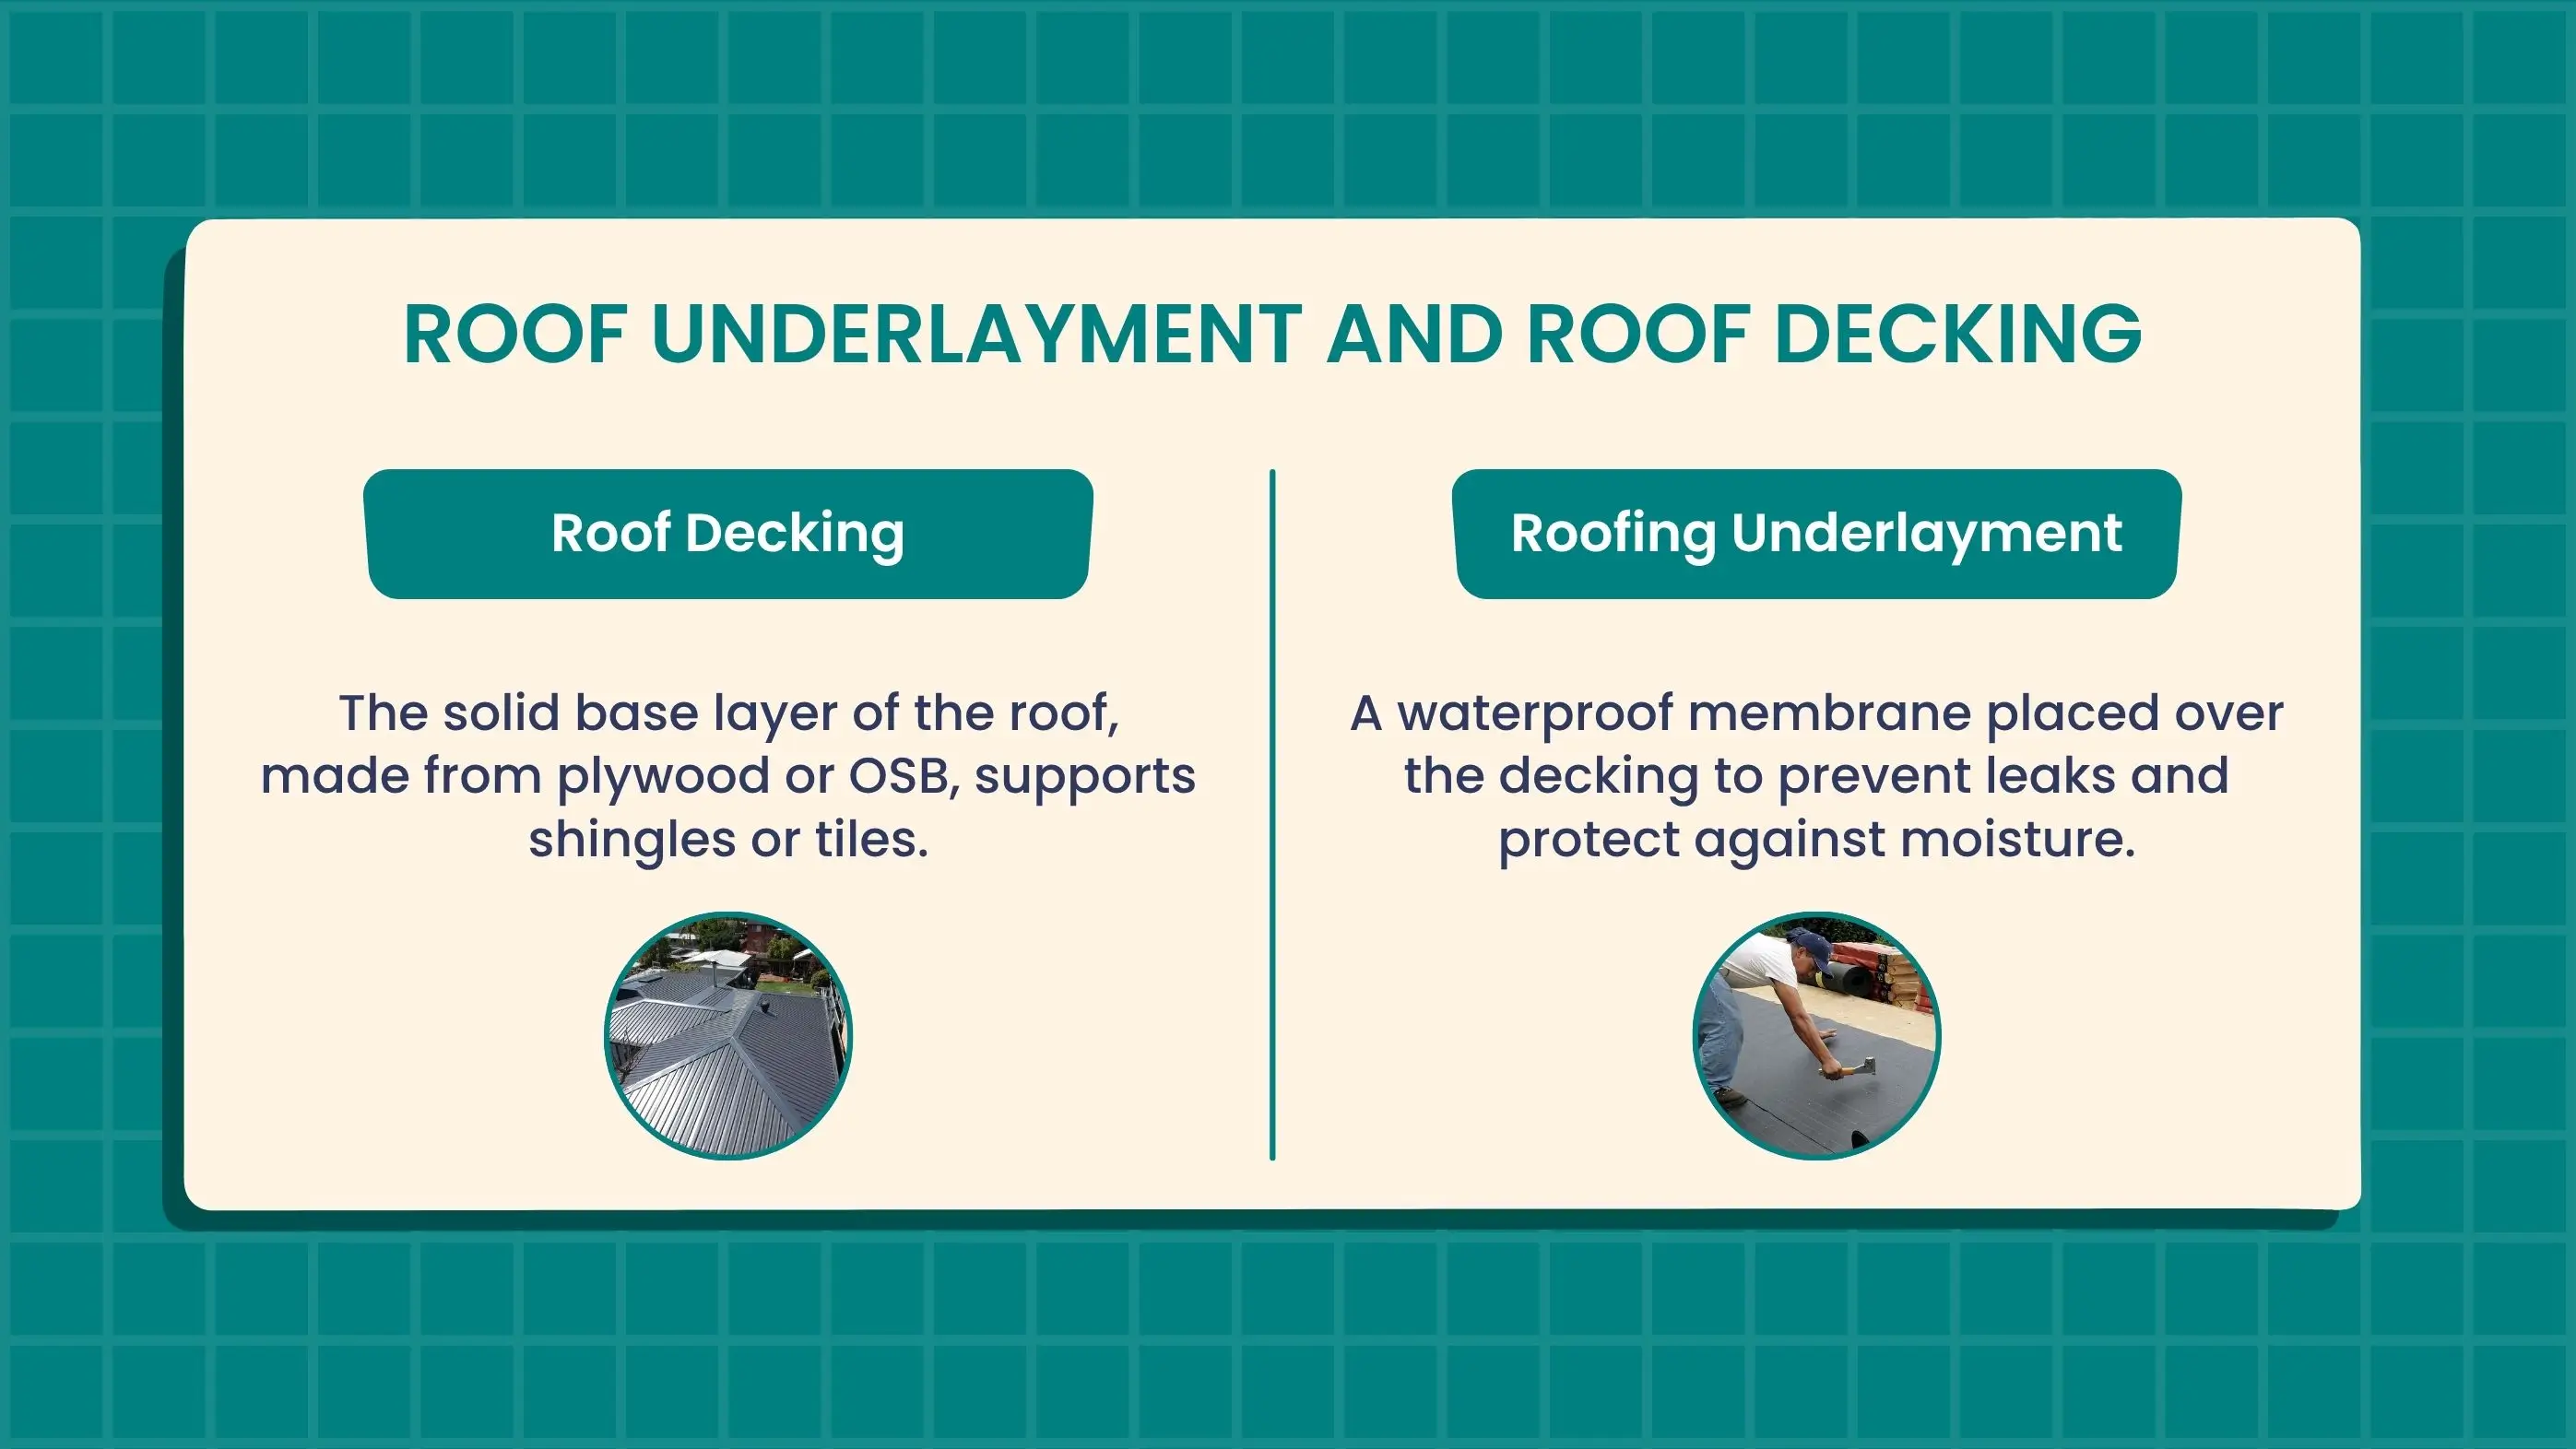
Roofing underlayment, on the other hand, is a thin membrane installed directly over the decking to keep water out. Acting as a secondary defense layer, it protects your home even if shingles are lifted or damaged by wind or rain.
Together, these two layers work in harmony with the deck supports, and the underlayment seals. With the right combination, you get improved durability, better temperature control, and fewer leaks over time.
Both roof decking and roof underlayment play crucial, complementary roles in keeping your home protected from the elements. Here's a breakdown of how they work together.
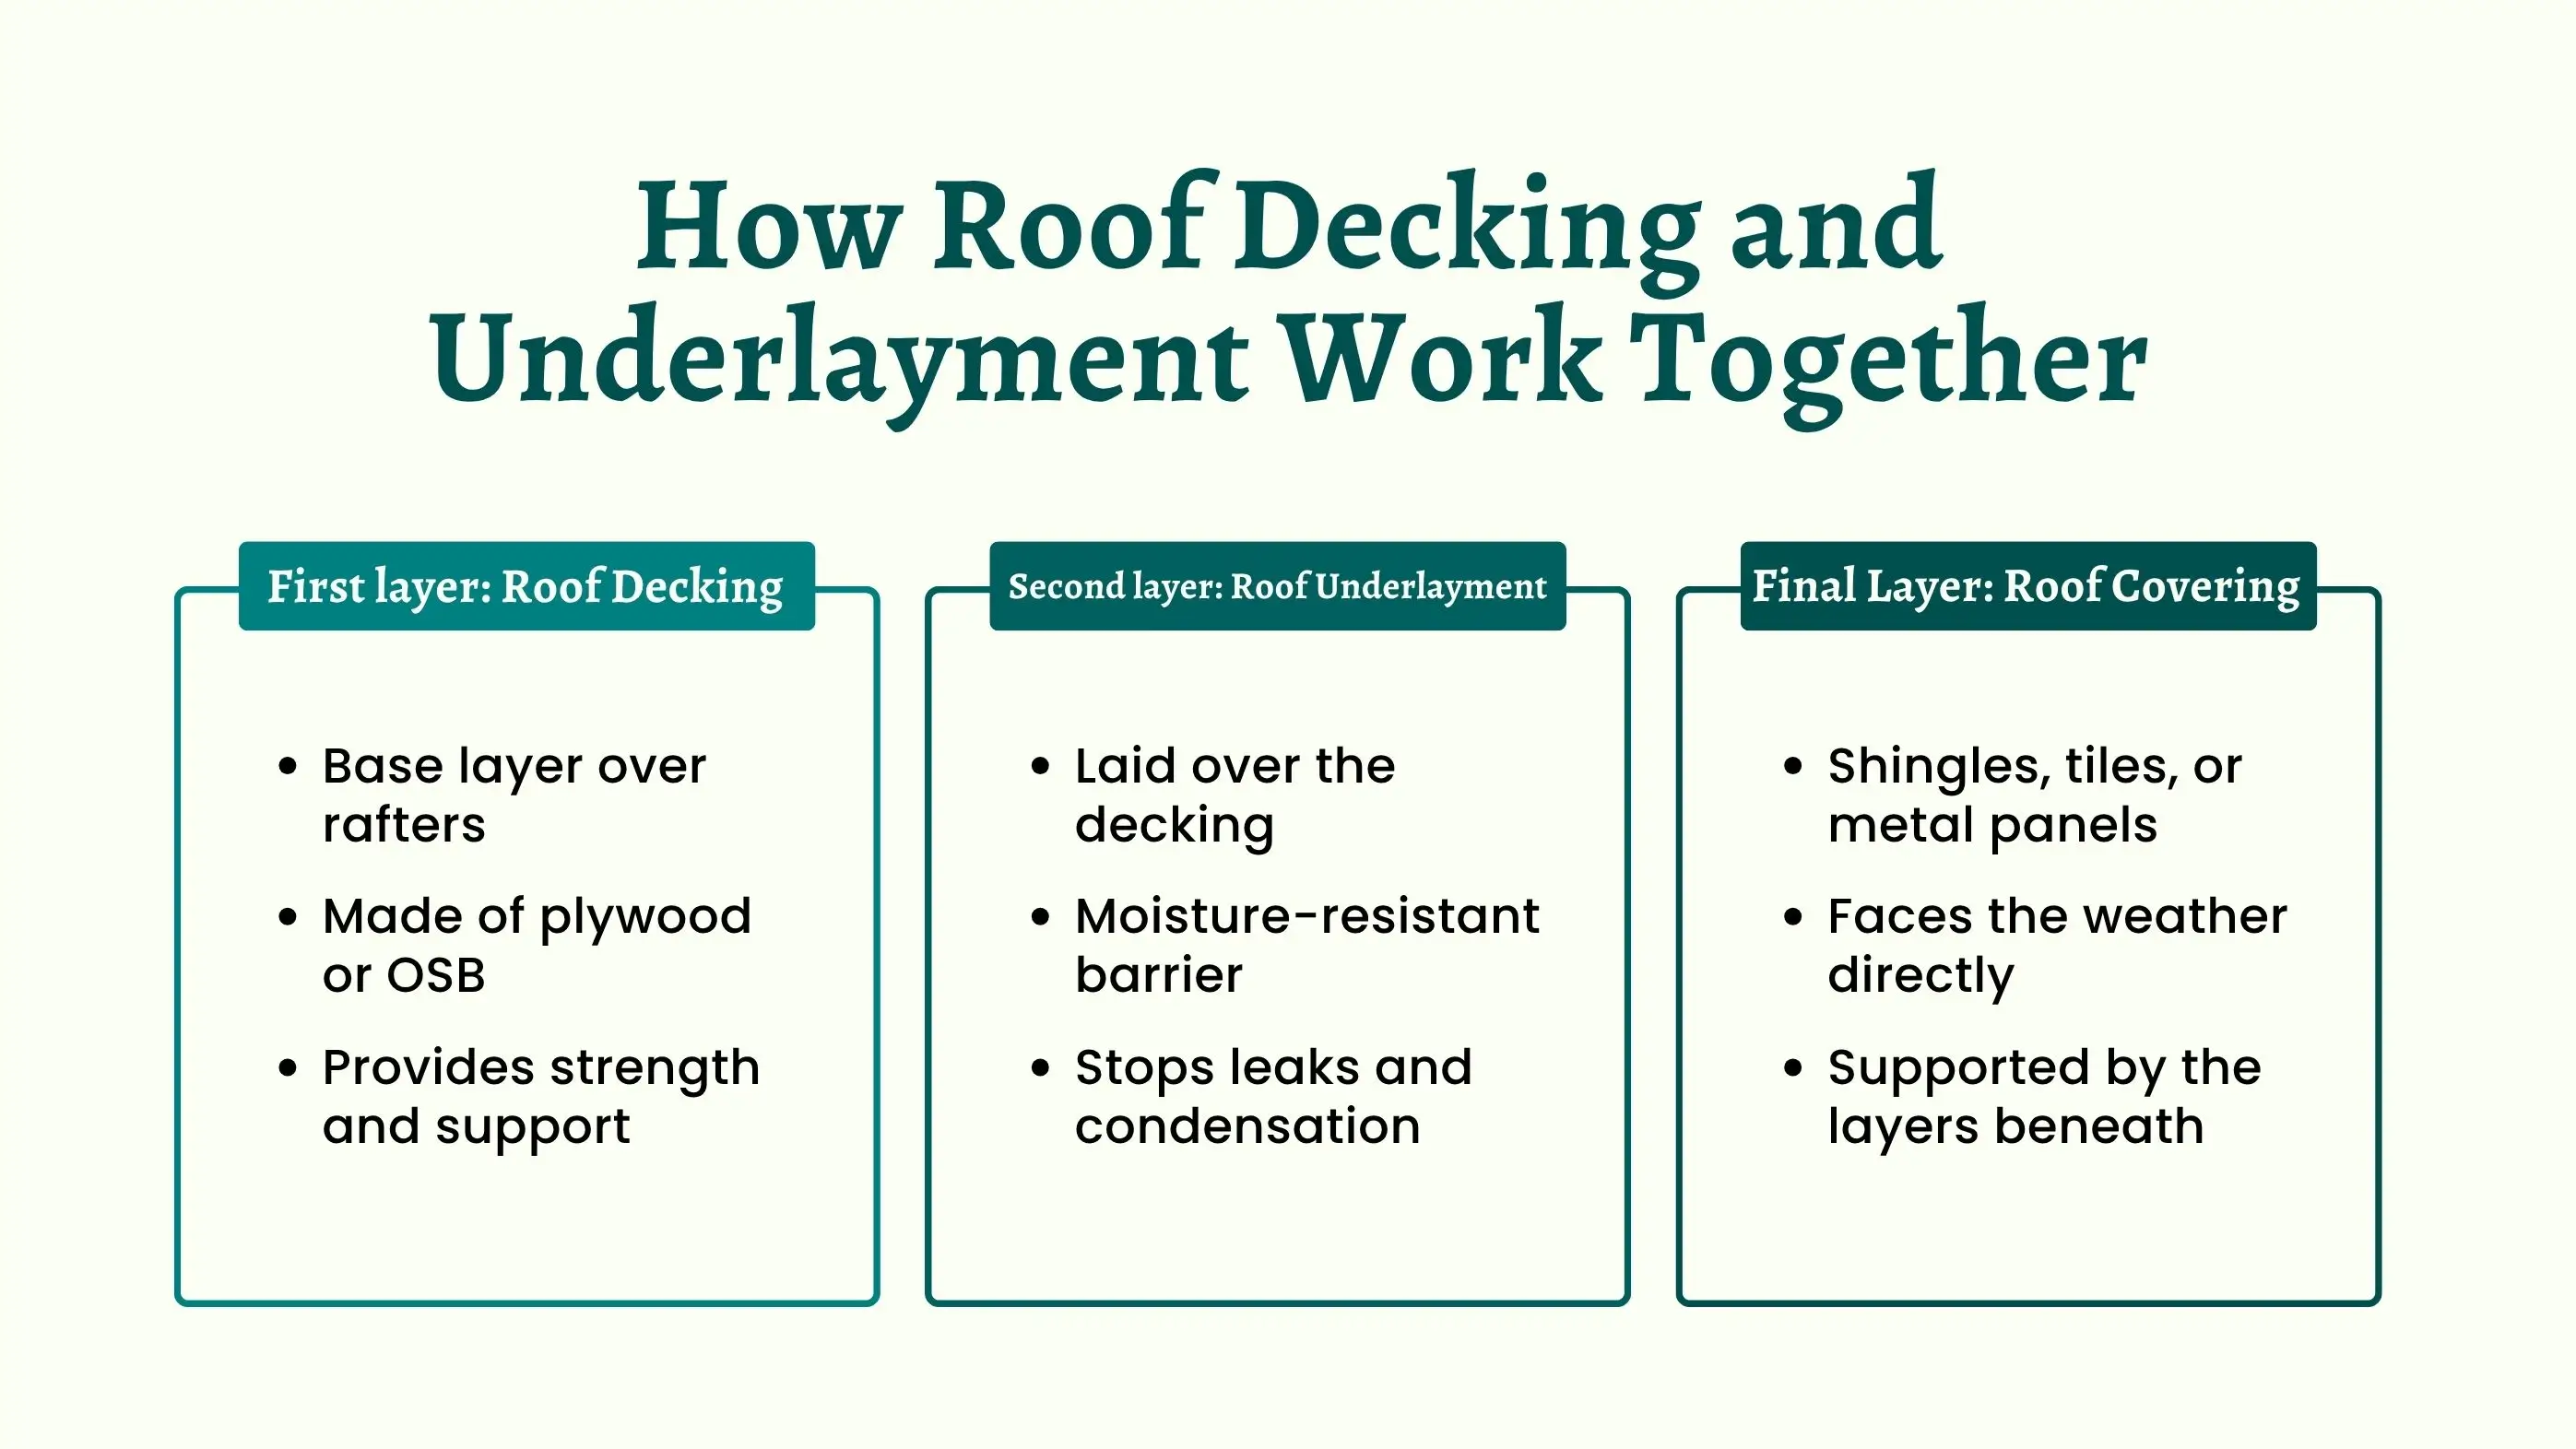
The decking is the base layer that sits directly on the rafters or trusses. It acts as the structural foundation that supports the entire roofing system. Materials such as plywood or OSB panels are fastened securely to create a strong, even surface for everything that comes next.
Once the decking is installed, the underlayment is rolled out on top of it. This moisture-resistant barrier protects the wood below from rain, condensation, or ice that might sneak past the shingles. It is the hidden waterproof layer that prevents leaks before they start.
On top of the underlayment go the shingles, tiles, or metal panels. These materials face the elements directly, while the underlayment and decking work together underneath to support them and block moisture.
When installed correctly, these layers form a complete roofing system. The decking provides strength, the underlayment offers protection, and the outer roofing delivers style and weather resistance. Together, they create a durable shield that helps your home stay dry, safe, and energy efficient roofing for years.
Your roof decking forms the structural base of the entire system, so even minor damage can threaten your roof’s integrity. When the decking weakens, it often causes visible dips, soft areas, or nail issues on the surface. Ignoring these early signs can lead to structural sagging, interior water damage, or even partial roof collapse in extreme cases. Regular inspections especially after storms or leaks help identify problems before they worsen.
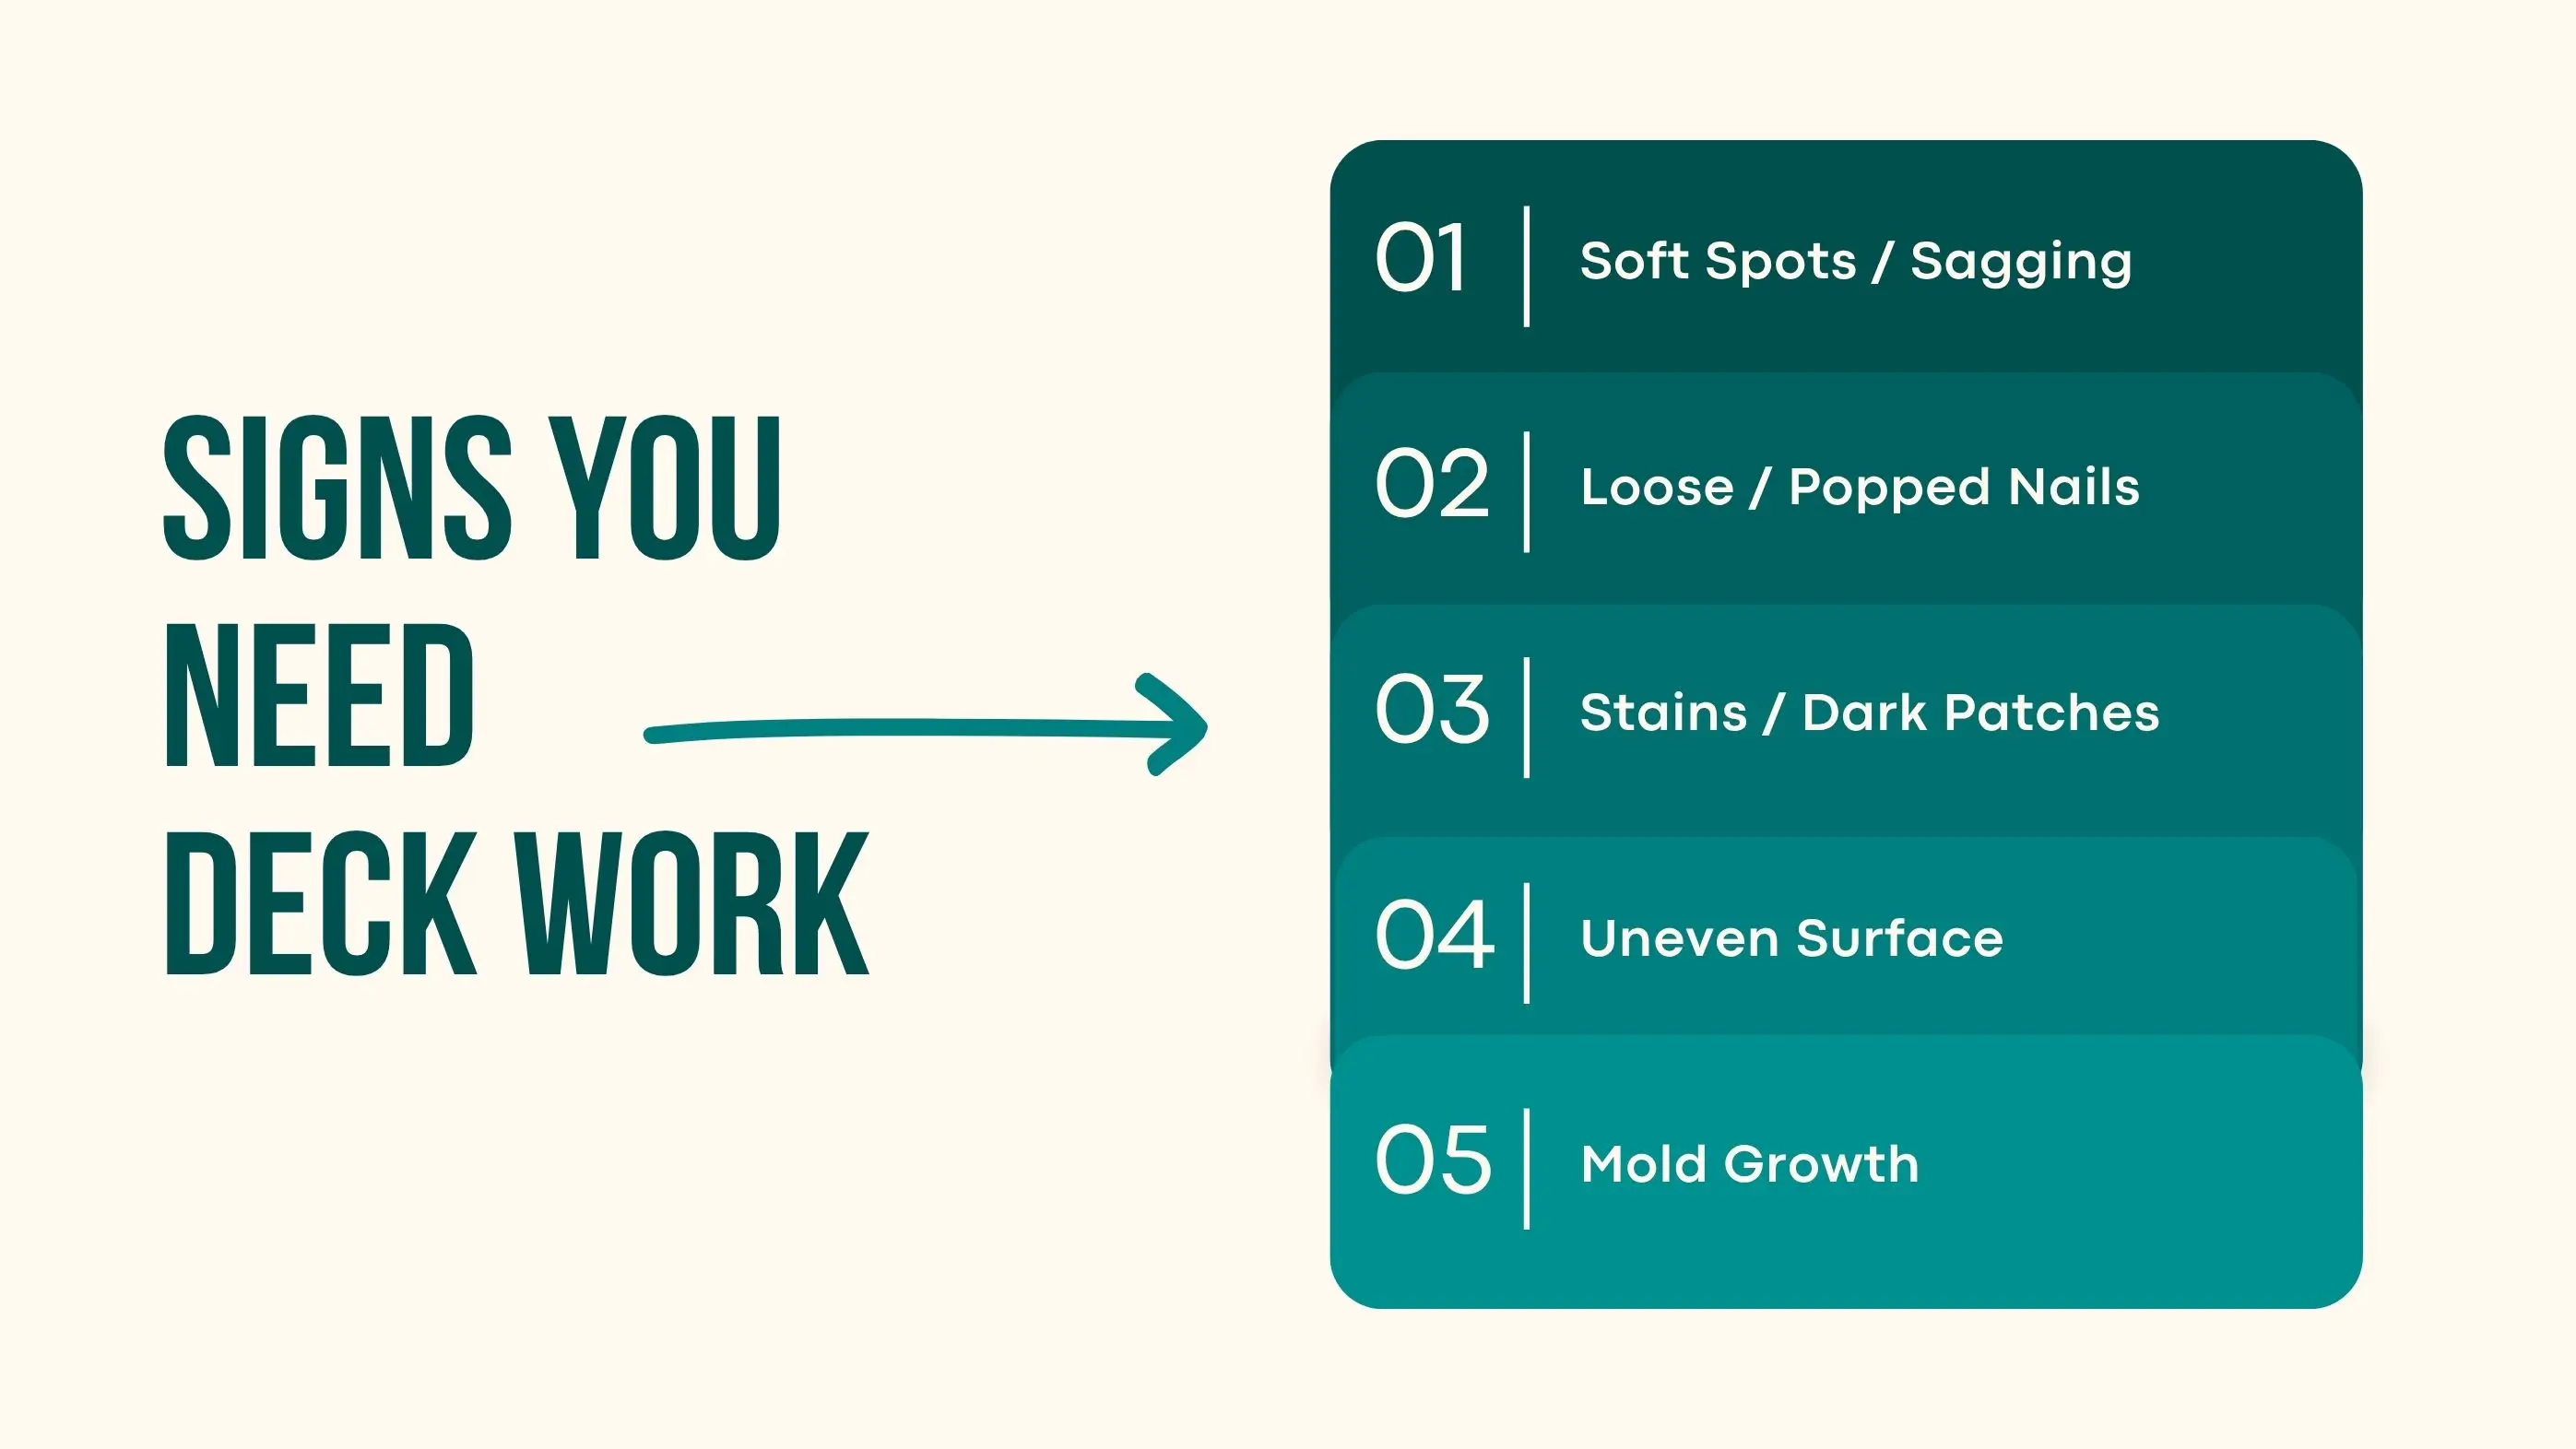
Common indicators you need roof decking repair or replacement include:
Roofing underlayment is your home’s hidden defense against water intrusion, but over time it can tear, wrinkle, or lose adhesion. When this protective layer fails, leaks and mold appear even if the shingles above look fine. Replacing damaged underlayment at the first sign of trouble prevents deeper water damage to the decking below and preserves your roof’s warranty coverage.
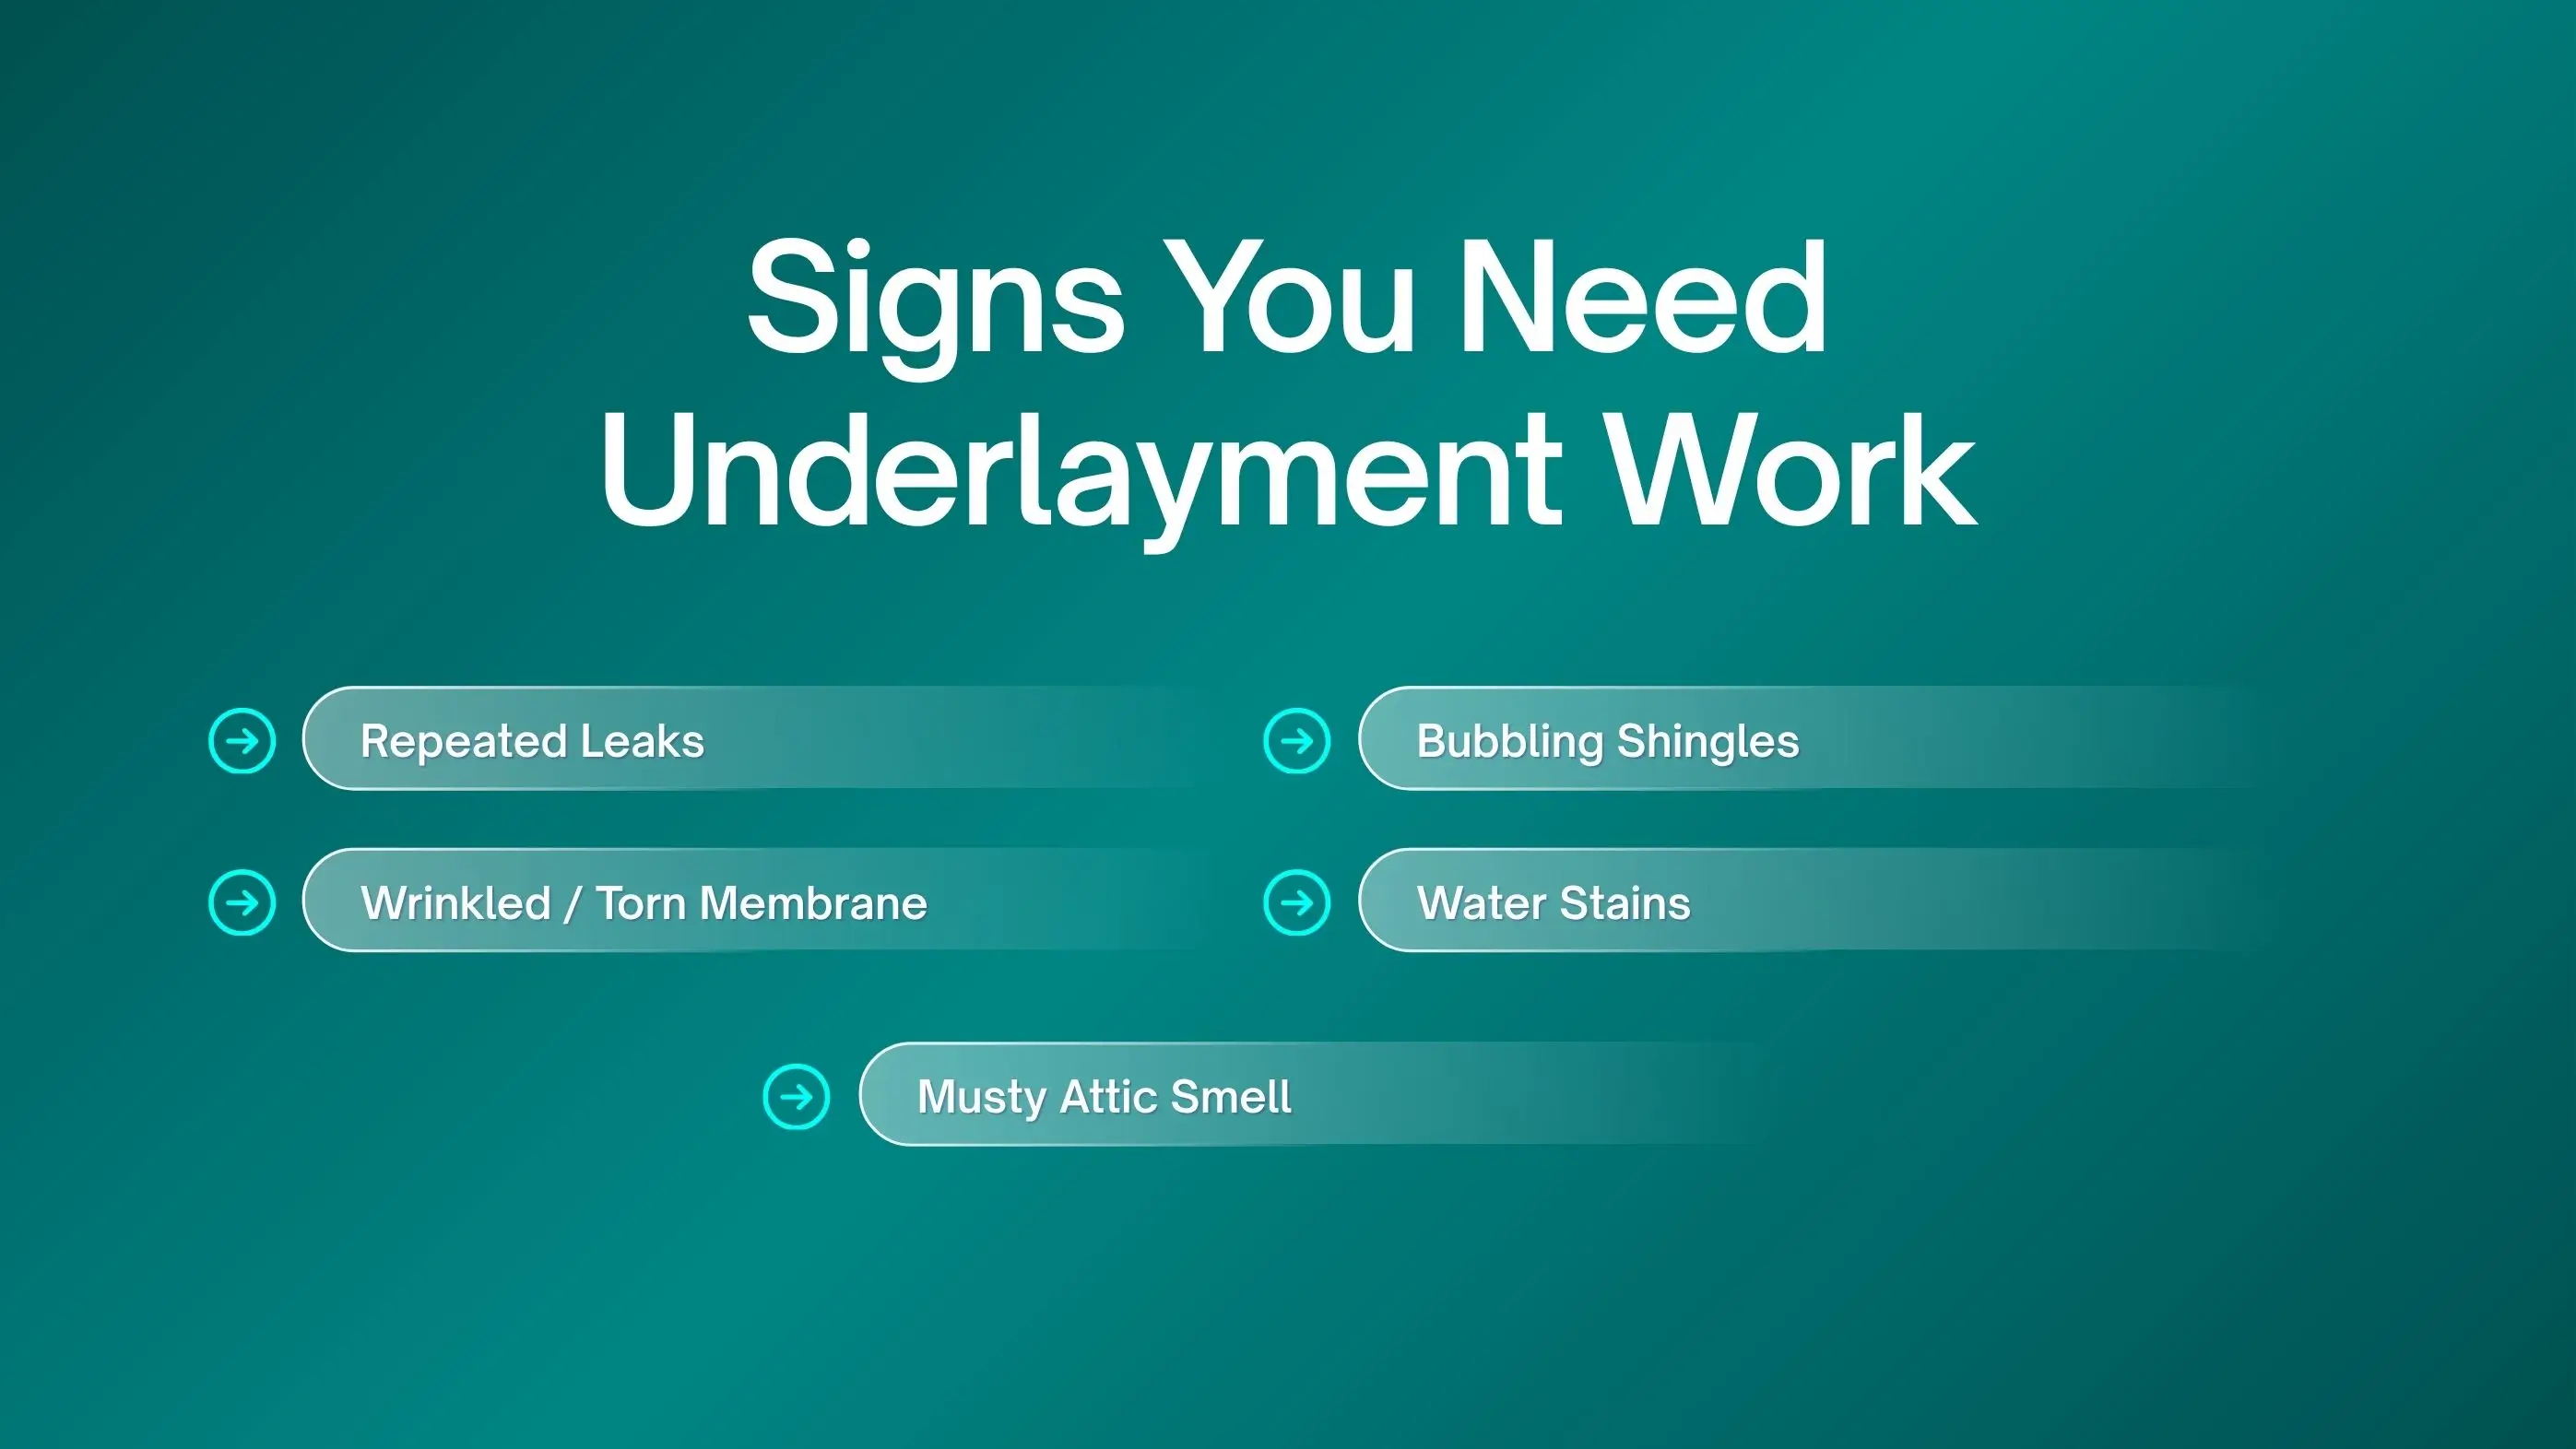
Warning signs that you need roof underlay repair include:
Catching these issues early prevents widespread damage and keeps your roofing system performing efficiently for years.
Roof decking, also called sheathing, is the base layer that supports all roofing materials. The type you choose directly impacts the roof’s durability, weight capacity, and moisture resistance. Different homes and climates benefit from specific decking materials.

A popular choice for residential homes, plywood offers strength, flexibility, and good moisture resistance. It’s easy to install and handles nail fasteners well without splitting.
Oriented Strand Board (OSB) is an affordable alternative to plywood. It’s dense, uniform, and suitable for most climates but can absorb water more easily if exposed for long periods.
Typically used in older or high-end homes, this interlocking wood design provides a seamless, tight fit and is visually appealing for exposed beam ceilings.
Common in older homes, planks offer traditional strength but require more maintenance and often need upgrading during modern reroofing projects.
Each roof decking board type has unique benefits, and the right choice depends on your home’s age, structure, and local weather conditions.
Roof decking thickness determines how well your roof can handle weight, wind, and snow loads. Too thin, and it may flex or sag; too thick, and it may add unnecessary weight. Most residential roofs use decking between 3/8 inch and 3/4 inch, depending on framing spacing and regional load requirements.
Typical roof decking thickness recommendations:
Suitable for lighter roofing materials and closely spaced rafters (up to 16 inches apart).
Standard for most homes; strong enough for asphalt shingles and mild snow conditions.
Preferred for roofs with rafters spaced up to 24 inches apart or in high-wind areas.
Used for heavy materials like clay tile, slate, or when additional rigidity is required.
Choosing the correct thickness improves stability, reduces deflection, and supports a more durable roof underlayment installation.
Roof decking code requirements exist to guarantee that every roofing system can withstand environmental stress and maintain structural safety. These codes specify not only minimum thicknesses but also fastening patterns, material grades, and moisture resistance standards.
Key considerations under roof decking code requirements include:
Before replacing or upgrading, homeowners should always check local roofing codes or consult a professional roofer to confirm compliance with safety and warranty requirements.
Choosing the right roof decking material affects strength, weather resistance, and long-term stability. Typical roof decking boards include plywood roof decking for homes, OSB roof decking for new construction, and tongue and groove roof decking for architectural finishes.
Building codes set minimum roof decking thickness based on rafter spacing and roof load. In most U.S. homes, ⅜ to ¾ inch panels meet roof decking code requirements.
A detailed roof decking inspection helps spot rot, cracks, or loose panels early. When rotted roof decking is left untreated, leaks can spread quickly.
Roofing underlayment is the silent defender against moisture, wind, and extreme temperatures. Depending on your roof’s slope, material, and location, different types of underlayment roofing offer specific benefits.
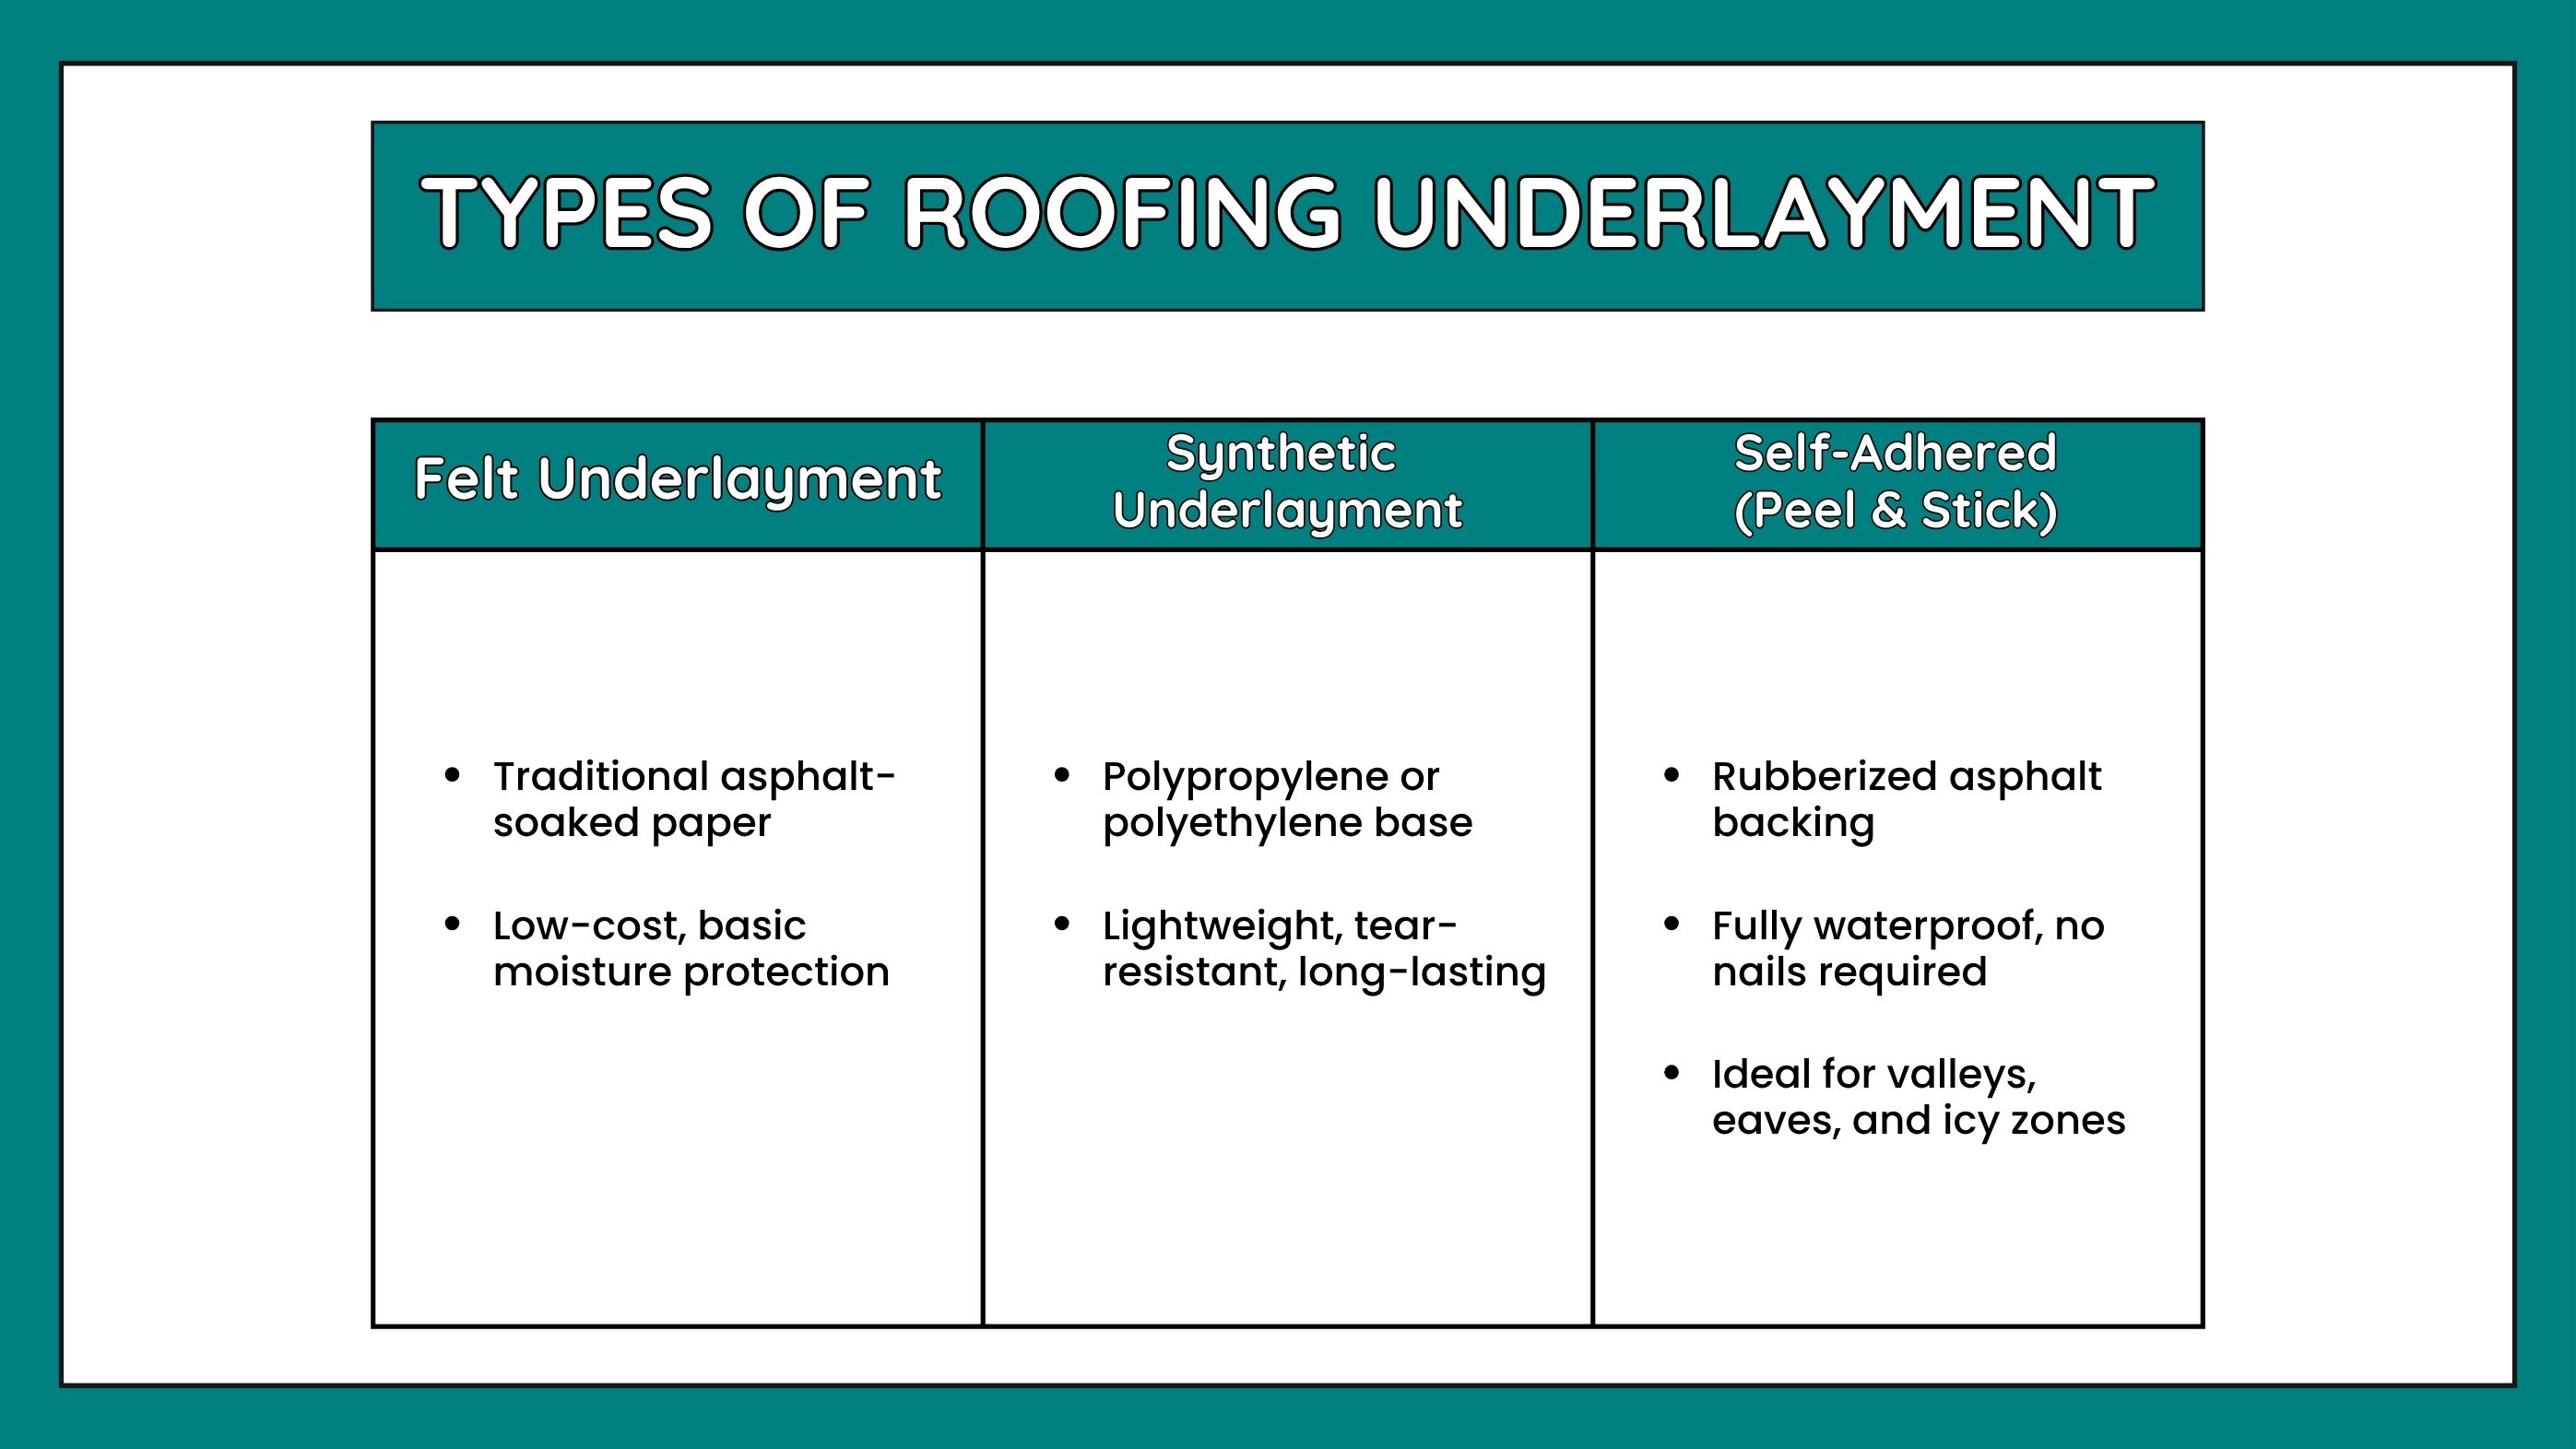
The choice between synthetic roof underlayment vs felt often depends on budget and climate.
Synthetic products dominate modern roofing because they resist stretching, dry faster, and last two to three times longer than felt.
Peel and stick roofing underlayment or self adhering roofing underlayment creates an adhesive waterproof seal without nails.
This self adhesive roof underlayment is ideal for valleys, eaves, and roof edges prone to water intrusion. It’s widely recommended for high-humidity or coastal zones since it forms an airtight barrier that outlasts conventional fastened membranes.
Advanced underlayments provide tailored performance for heat, water, and air management.
Every roofing system whether asphalt, metal, tile, or flat requires a compatible underlayment to function effectively. The right pairing helps prevent leaks, improves insulation, and ensures the entire structure meets building code and warranty standards. A mismatch between roofing material and underlayment can lead to early deterioration, trapped moisture, or poor ventilation.
Matching the underlayment to the roof system also enhances weather protection, especially in climates prone to heat, wind, or heavy rain. By selecting materials designed for your specific roof type and slope, you ensure long-term performance, energy efficiency, and lower maintenance costs.
For shingle systems, the roofing underlayment for shingles acts as a secondary weatherproof layer.The best roof underlayment for asphalt shingles is typically synthetic with self-adhered sheets around valleys. Proper underlayment for roof shingles prevents blow-offs and extends shingle life.
Every underlayment for metal roofs must handle heat and condensation. A metal roofing underlayment should resist slipping and moisture buildup. The most reliable options include standing seam metal roof underlayment and high temperature underlayment for metal roof applications.
When installing a metal roof over shingles underlayment, always use thermally stable materials.
For tile systems, heavy materials and hot weather demand strong membranes. The underlayment for the tile roof should resist cracking under weight. Popular tile roof underlayment material choices include modified bitumen or premium synthetics that remain stable under heat exposure.
Flat and low-slope systems require watertight membranes to prevent pooling. Using flat roof underlayment or low slope roof underlayment materials like TPO or PVC ensures full waterproofing and flexibility. Seam sealing is essential to prevent hidden moisture pockets.
The order of installation plays a major role in how well your roof resists leaks, temperature changes, and long-term wear. A strong, properly installed deck provides the structural foundation, while the underlayment acts as a secondary moisture barrier above it. If either step is done incorrectly, it can compromise the entire roofing system.
The process typically begins with inspecting and securing the roof decking, followed by applying the underlayment in overlapping layers for a watertight seal. Following the correct sequence helps balance ventilation, prevent trapped moisture, and extend the overall roof lifespan by ensuring that every layer functions as intended.
Before installation, inspect for rot or loose panels. Applying roof deck protection helps strengthen joints and resist future leaks. Adding roof deck insulation improves thermal comfort, while roof deck seam tape creates a tight seal across joints to reduce air infiltration.
Knowing how to install roof underlayment correctly minimizes water intrusion.
When installing underlayment on roof overlays, handle safety and alignment carefully. Learn how to lay roof underlayment with proper lapping direction and sealing. If you’re installing synthetic roof underlayment, maintain tension to avoid wrinkles that trap moisture.
Poor installation and material mismatch cause most underlayment and decking failures. Common problems with synthetic roof underlayment include trapped air pockets, reversed laps, or improper slope matching.
To prevent these issues:
While some homeowners may manage minor patches, large-scale projects require experience and safety equipment. Understanding properly installed underlayment is useful for inspection, but hiring certified professionals ensures proper fastening, ventilation, and waterproofing. Professionals also uphold manufacturer warranties and adhere to safety standards, especially on steep or multi-level roofs.
The cost of both roof decking and underlayment varies significantly based on factors such as the material chosen, the size of the roof, and labor rates. While these materials contribute to the overall roofing system, they each play crucial roles in maintaining the roof's integrity and longevity. Here's a more detailed breakdown of costs for each:
Underlayment acts as a barrier against moisture, offering additional protection to your roofing structure. The costs can vary depending on the type of material used:
The total cost to replace roof underlayment for a standard-sized home typically ranges from $1,200 to $3,000, with variations based on factors like roof slope and accessibility. Homes with steeper roofs or harder-to-reach areas might incur higher costs.
Roof decking provides the structural base for your roof and is vital for the long-term durability of the roofing system. Costs depend on the material and thickness of the wood, as well as the extent of any damage.
High-quality plywood is often preferred for decking because it helps maintain the roof's stability, ensuring that shingles remain aligned and the roof performs optimally for a longer period.
Tile roofs, known for their durability and aesthetic appeal, often require thicker and more heat-resistant underlayment materials. These materials are essential to support the weight of the tiles and provide adequate protection.
Replacing the underlayment on a tile roof can be more costly due to the additional materials required to withstand the weight of the tiles, as well as the time and expertise needed for proper installation. Costs may vary depending on roof slope and how accessible the roof is for workers.
| Roof System | Typical Underlayment Class | Deck Work Needed | Material Estimate per Sq. | Labor Range (USD) |
|---|---|---|---|---|
| Asphalt Shingles | Synthetic / Self-Adhered | Partial | $70–$120 | $2.50–$4.00 per sq. ft. |
| Metal Roofing | High-Temp / Self-Adhered | None to Partial | $100–$150 | $3.00–$5.00 per sq. ft. |
| Tile Roofing | High-Temp / Rubberized | Full Sheets | $150–$250 | $4.50–$7.00 per sq. ft. |
When the decking and underlayment are installed properly, the entire roof system becomes stronger and more efficient.
The best roof underlayment depends on slope, material, and climate. Each roof benefits from a custom approach rather than a one-size-fits-all solution.
Your roof’s strength begins beneath the surface. When roof decking and roof underlayment work together, they provide unmatched stability, moisture defense, and long-term protection. A properly installed system safeguards your home from leaks, boosts efficiency, and increases property value. For homeowners planning roof upgrades, investing in both layers is not just maintenance; it's a long-term solution for a safer, more durable home.
Not replacing your roof underlayment during a re-roofing can lead to moisture buildup, leaks, and mold growth, ultimately compromising the structural integrity of your roof and home.
If you notice large soft spots, sagging areas, or cracks in the decking that can’t be patched, it may be time for a full replacement. A roofing contractor can help determine whether the damage is repairable or if replacement is necessary.
Yes, certain types of underlayment, like radiant barrier underlayment, can help reflect heat away from your roof, improving your home’s energy efficiency and reducing cooling costs.
Regular inspections, keeping gutters clean, and ensuring proper attic ventilation can help maintain roof decking. Check for signs of water damage, and address any leaks immediately to prevent decking deterioration.
Roof underlayment typically lasts anywhere from 15 to 50 years, depending on the material. Synthetic underlayment tends to last longer than felt, but it's important to replace it when it begins to show signs of wear or damage.
Join our mailing list for exclusive updates, expert tips, and special offers tailored to your needs. Be the first to know about the latest in home services.

Renovize Home is a platform that supports homeowners from planning to renovation. Whether it’s Renovize AI for guidance or a one-on-one call with Pro Finder, we understand your project and match you with local contractors tailored to your needs.
Who We Are
About Renovize HomeGet in TouchHomeownwer Support:
Coming Soon!
General Inquiries:
support@renovizehome.com
Head Office:
24 Greenway Plaza, STE 1800M, Houston, TX 77046.