Explore All
BROWSE BY CATEGORY
Interior
Exterior
Home Essentials
Homeowner Tools
Blogs & Guides
Find a Pro
Book Your Appointment Now
Home Essentials
About Renovize Home
Explore All
BROWSE BY CATEGORY
Interior
Exterior
Home Essentials
Homeowner Tools
Blogs & Guides
Find a Pro
Book Your Appointment Now
Home Essentials
About Renovize Home
Last Updated 2025-11-07
Homeowners often face recurring leaks, drainage problems, or high maintenance costs with flat roofs. This roof conversion involves transforming a low-slope roof into a sloped design for better water drainage and enhanced durability. This upgrade not only improves the roof’s lifespan but also increases curb appeal and potential home value. The process includes structural reinforcement, new framing, and installing the chosen roofing materials for long-term protection and performance
Table of Contents
Why Convert a Flat Roof to a Pitched Roof?
Initial Assessment: Can Your Home Handle a New Roof?
Roof Design Options for Conversion
Installation Process
Material Options for Your New Roof
Cost Breakdown
Benefits of Conversion from Flat to Pitched Roof
Final Thought
Converting a flat roof to a pitched roof offers numerous benefits that can significantly improve your home's functionality and aesthetics. This transformation enhances water drainage, prevents leaks, and extends the roof’s lifespan. Additionally, a pitched roof provides better insulation, ventilation, and overall energy efficiency, making it a smart investment for homeowners looking to improve their home’s performance and value.
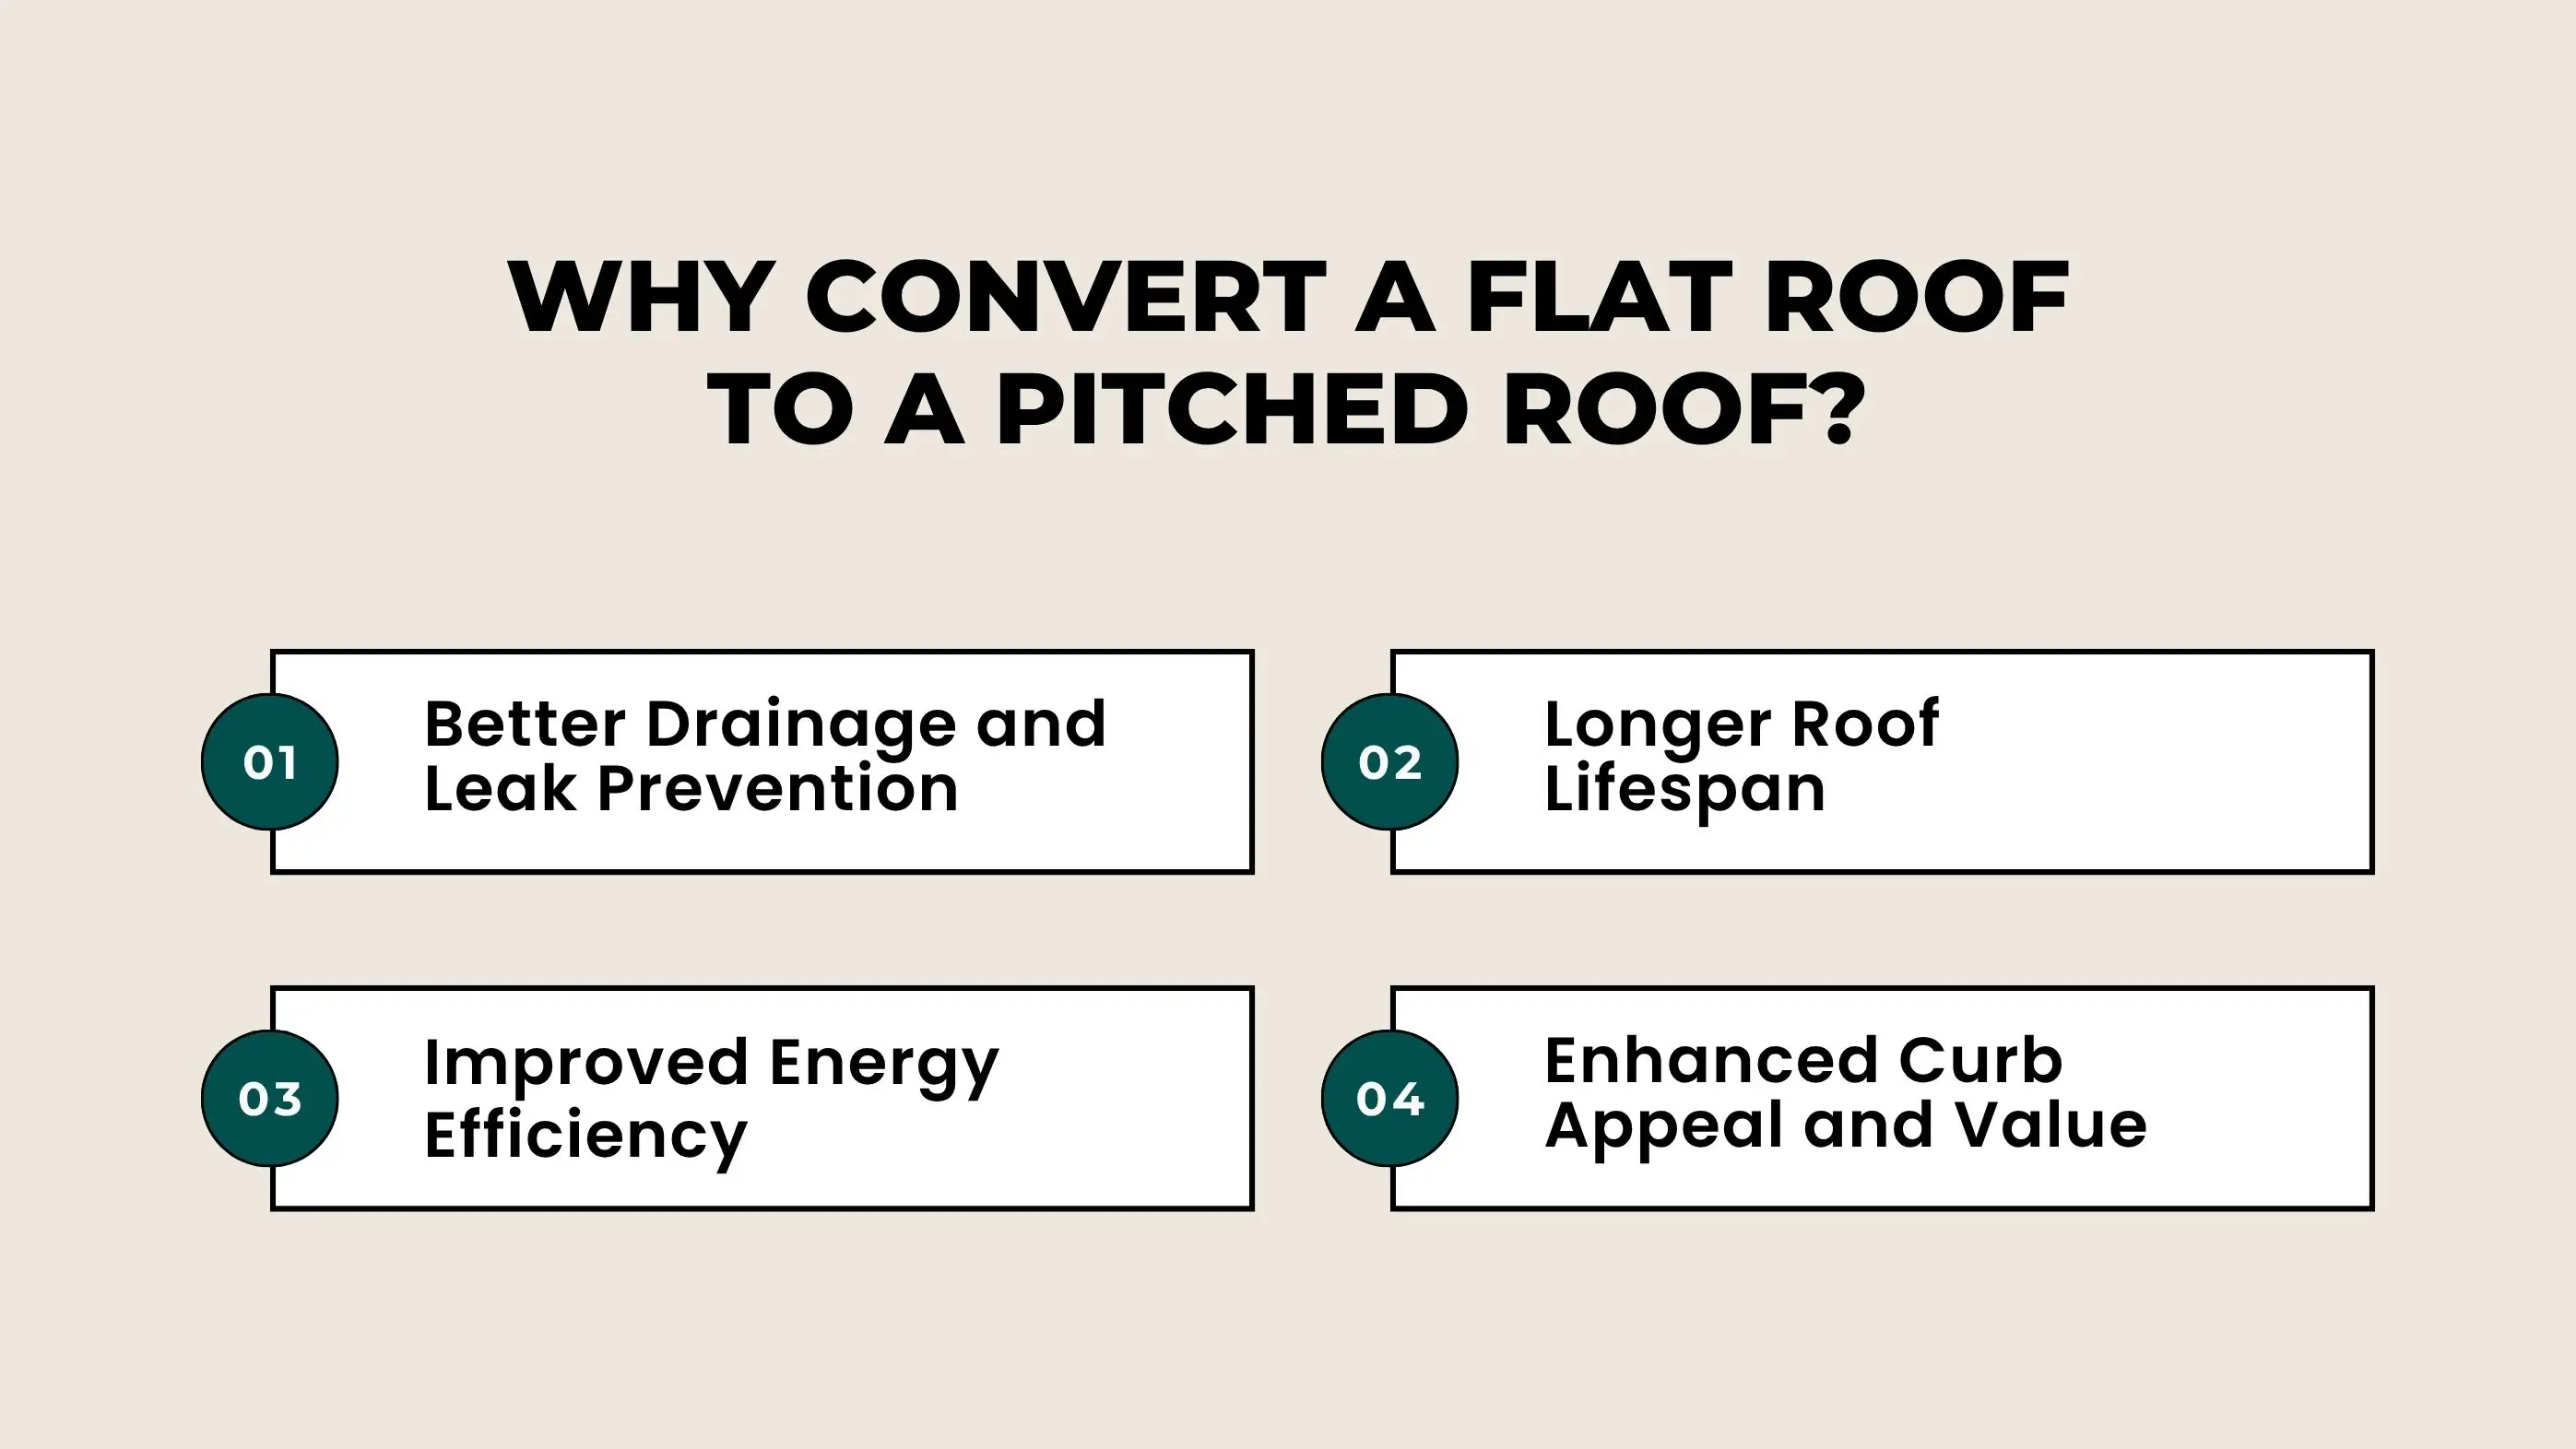
Flat roofs often allow water to pool, leading to leaks and moisture damage. A pitched roof, with slopes ranging from 3:12 to 6:12, directs rain and snow away efficiently—reducing standing water by up to 95%. This improved runoff minimizes roof deterioration and prevents costly water intrusion.
Pitched roofs generally last 40–60 years, compared to 15–25 years for flat roofs. The sloped design reduces UV exposure and material wear, helping homeowners save on frequent repairs and replacements over time.
Adding slope creates space for attic insulation and ventilation, which can cut energy bills by 10–20% annually. Proper airflow helps regulate indoor temperature, reducing heating and cooling strain year-round.
A pitched roof dramatically transforms a home’s exterior, boosting resale value by up to 7–10% in many markets. Beyond function, it provides architectural depth and a modern, finished appearance that appeals to potential buyers.
Before starting a roof conversion, it’s essential to evaluate whether your home’s structure can support the added weight and design of a pitched roof. A thorough assessment ensures safety, stability, and compliance with local building codes before construction begins.
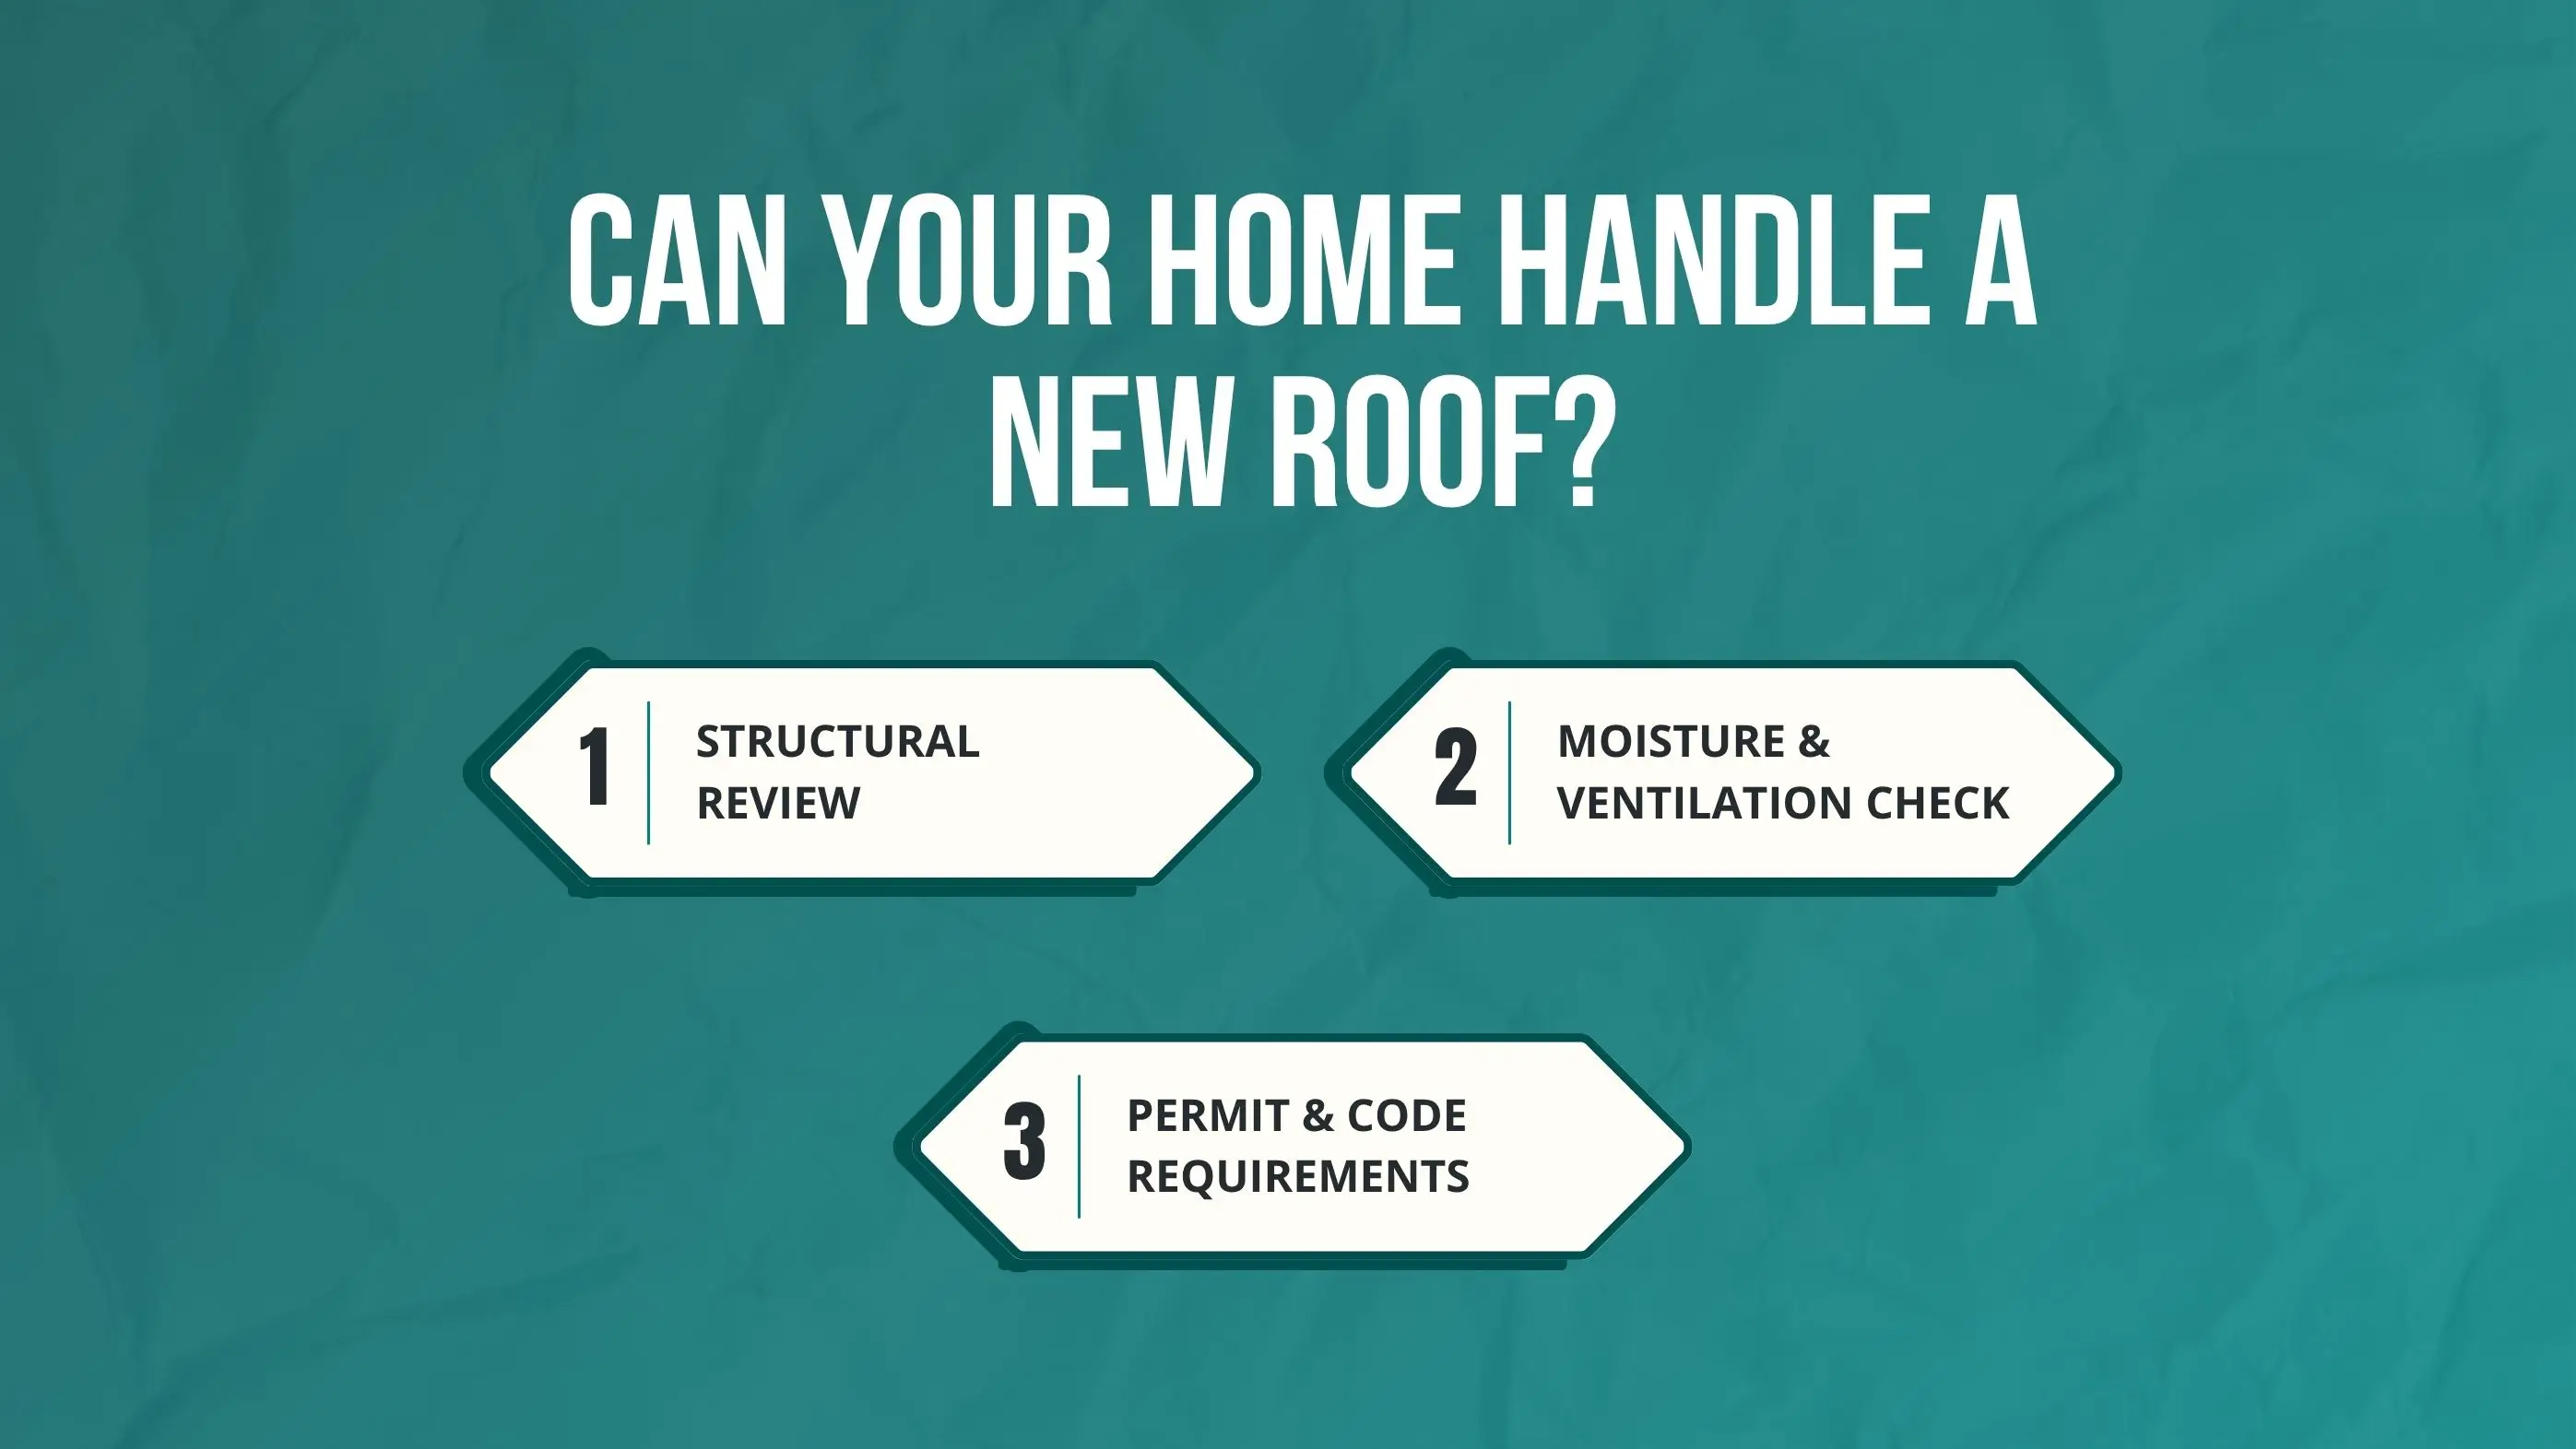
Before conversion, a structural engineer evaluates whether your home can handle the new load from a pitched roof.
The attic or ceiling cavity must maintain proper air sealing and continuous airflow. Roof ventilation baffles help ensure at least 1 square foot of vent area per 150 square feet of attic space, reducing condensation and extending insulation life.
Most cities require permits for roof conversions when altering the structure or height of a home. Expect 2–3 inspection stages, framing, sheathing, and final roofing, along with stamped engineering drawings and compliance.
Choosing the right roof design is crucial for both functionality and aesthetics when converting from a flat to a pitched roof. The design you select determines water flow, wind resistance, and how well the new roof integrates with your home’s existing structure.
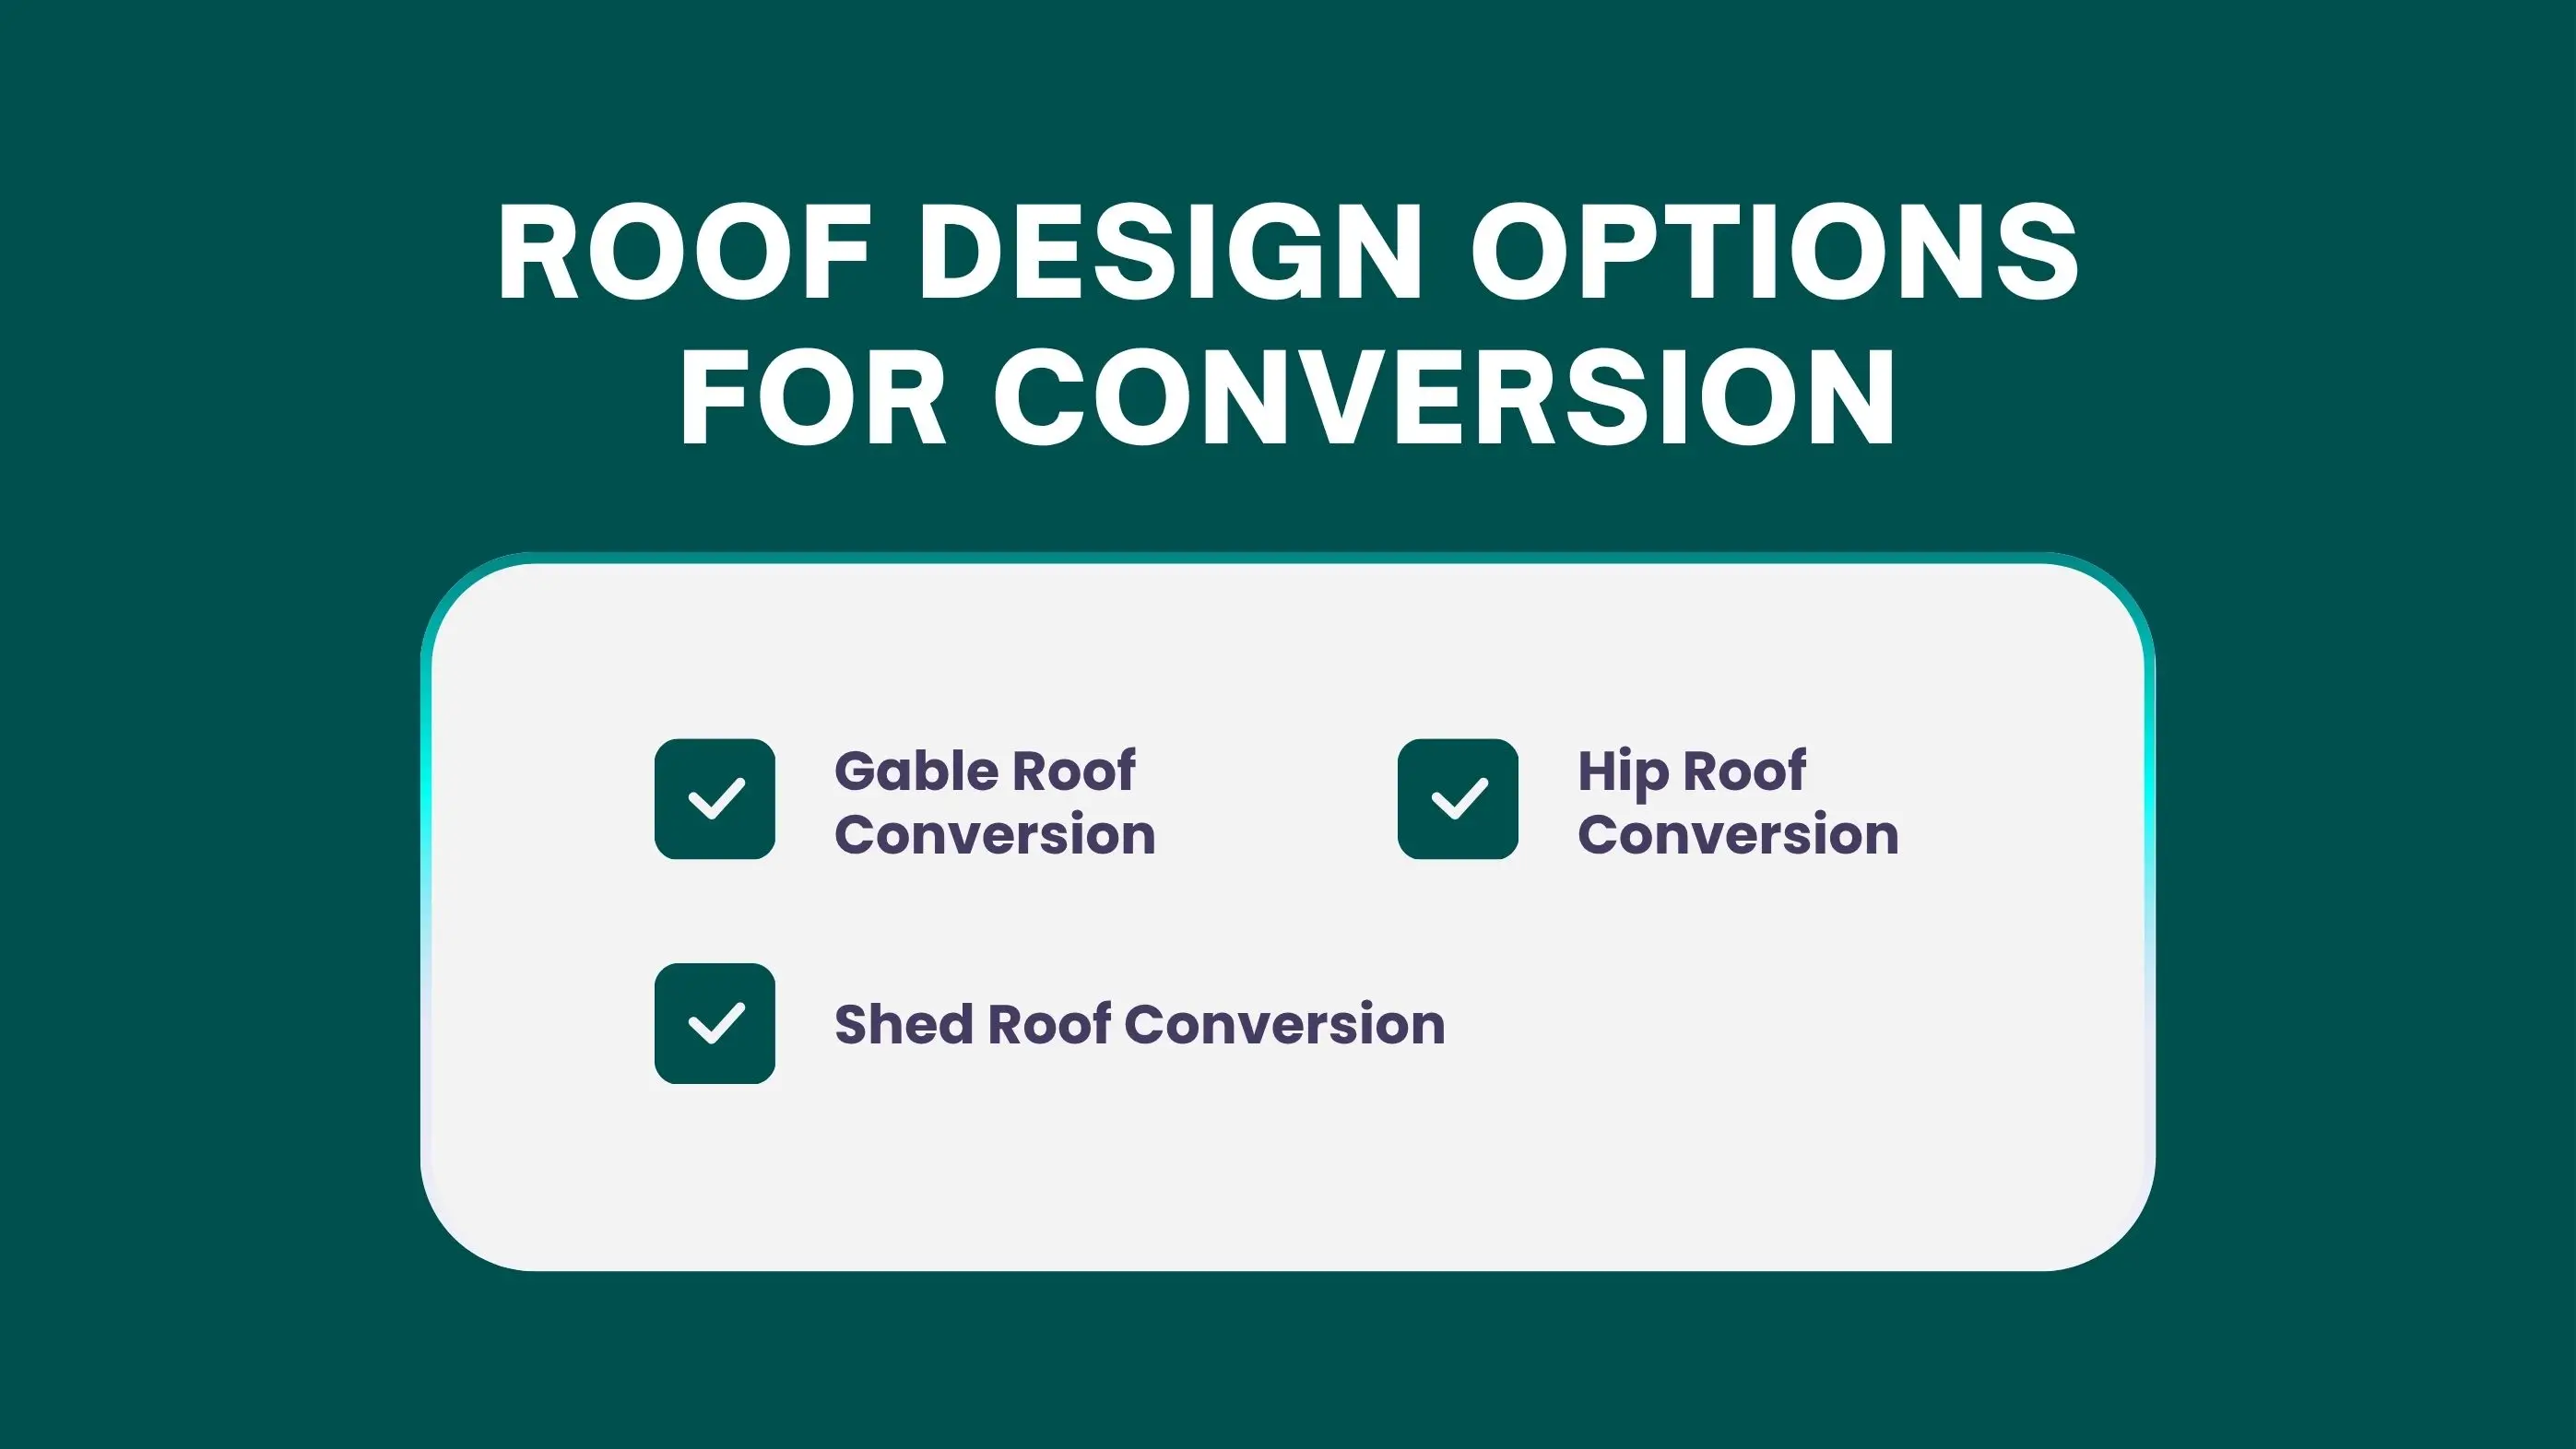
A gable roof features two sloping sides that meet at a central ridge, forming a triangular shape.
A hip roof conversion features four sloping sides that meet at the top, creating a sturdy and aerodynamic shape ideal for high-wind or storm-prone areas. This design evenly distributes structural loads, reducing uplift pressure and improving overall roof stability. Although hip roofs offer excellent durability and energy performance, their framing is slightly more complex, typically increasing installation costs by about 10–15% compared to gable roofs.
A shed roof conversion uses a single-plane slope, offering a clean, modern look that’s both simple and cost-effective. It’s ideal for smaller homes, additions, or areas where full roof height is limited. The design allows efficient water runoff with minimal structural modification, making it a practical choice for quick upgrades. Shed roofs also pair well with metal roofing and solar panel installations, enhancing both energy efficiency and contemporary curb appeal.
This installation process involves several precise stages that ensure long-term strength, safety, and performance. Before starting, contractors reinforce the existing structure, plan the framing layout, and prepare for weatherproofing to guarantee a smooth, code-compliant build.
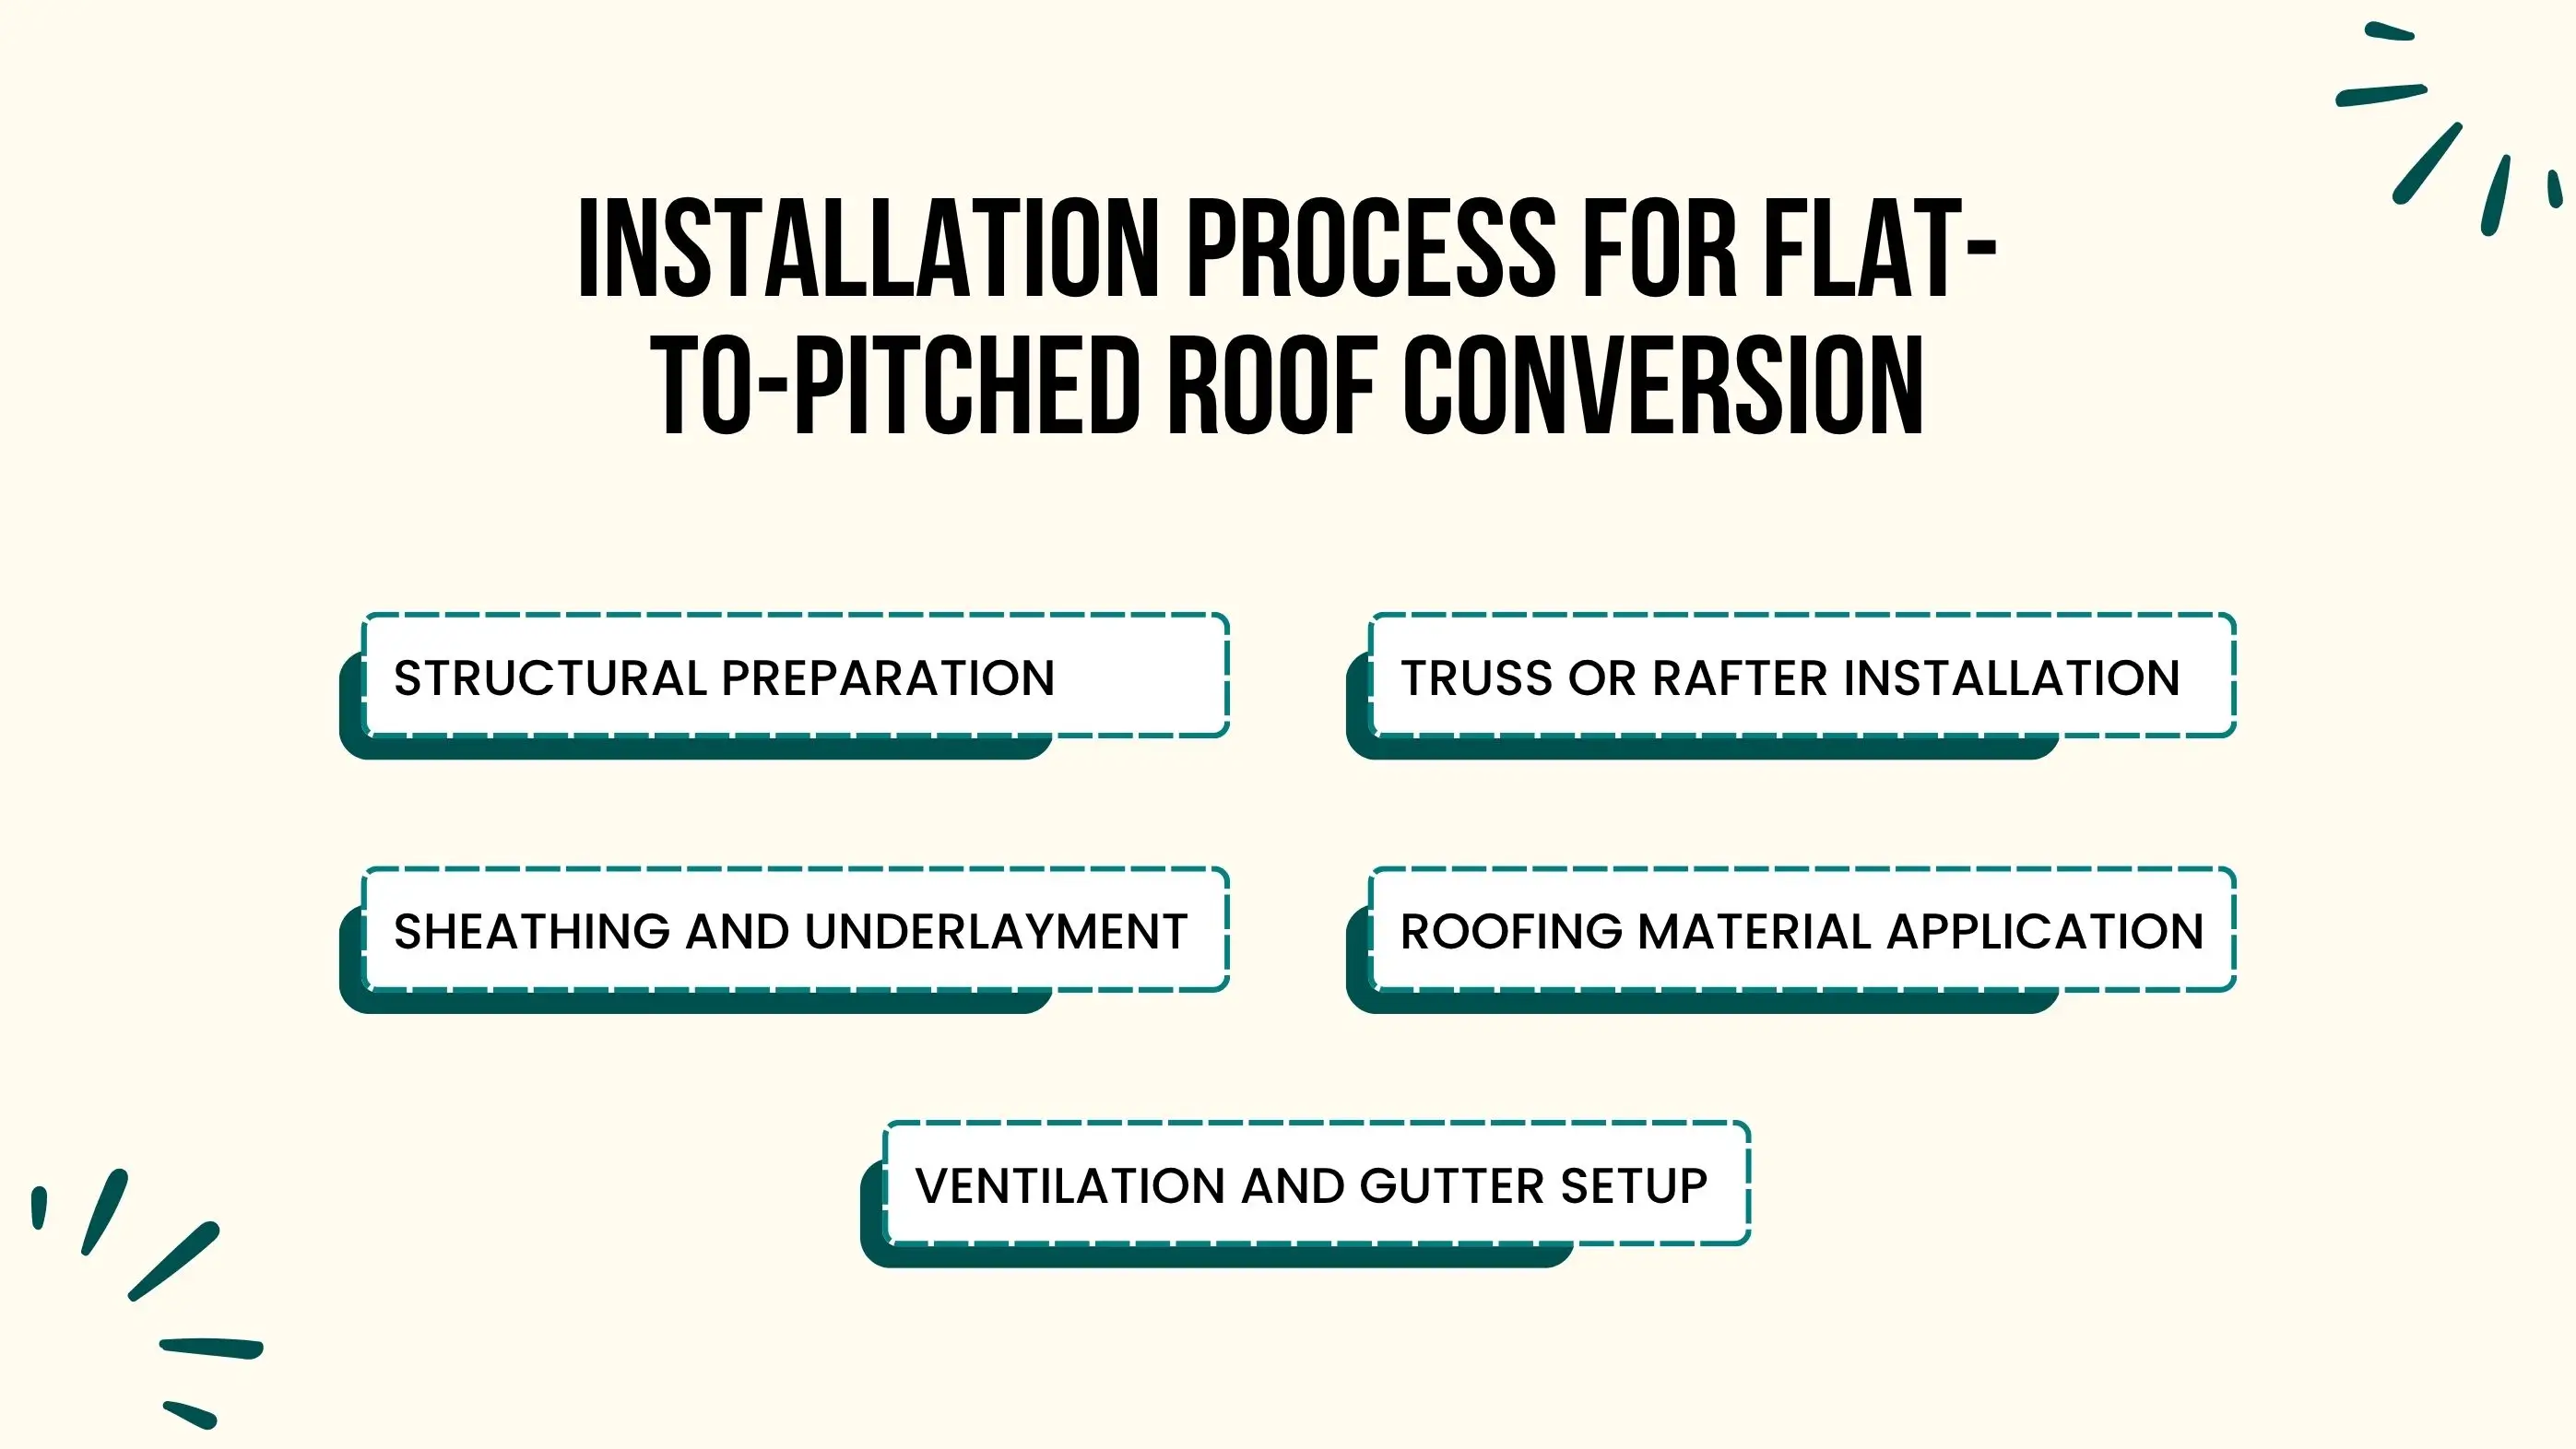
The process begins with removing the existing flat roofing materials, including membranes, flashing, and insulation layers. Once exposed, contractors inspect the roof deck for any signs of rot, sagging, or water damage. Weak areas are repaired or replaced to create a stable base. The joists and load-bearing walls are then reinforced to support the added weight of the pitched framework, typically 10–20 pounds per square foot more than a flat system. This step ensures the foundation is structurally sound for the new roof design.
After structural reinforcement, trusses or rafters are installed to define the new roof slope. Pre-engineered trusses are commonly used for faster installation and consistent accuracy, while custom-cut rafters are chosen when the roof shape or layout requires flexibility. The pitch is carefully calculated (usually between 3:12 and 6:12) to balance water drainage and curb appeal. Proper alignment and anchoring are crucial to maintaining load distribution and long-term stability.
Once the framing is complete, plywood or oriented strand board (OSB) sheathing is laid across the trusses or rafters to form the roof deck. Joints are staggered for strength, and fasteners are spaced per code for wind resistance. After sheathing, a waterproof underlayment such as ice and water shield or synthetic roofing felt is applied to create a continuous moisture barrier. This layer is vital for protecting against leaks, especially around valleys, ridges, and roof penetrations.
With the underlayment secured, the chosen roofing material is installed — options include asphalt shingles, standing-seam metal panels, or clay/concrete tiles. Each material requires specific fastening and overlap techniques to ensure weather-tight sealing. Ridge caps, flashing, drip edges, and sealants are added around chimneys, vents, and eaves to prevent moisture intrusion. This step defines the roof’s final appearance and protection level, with premium materials offering lifespans of 30–70 years.
The final step focuses on ventilation and drainage, two critical factors for roof performance and longevity. Ridge vents, soffit vents, or gable vents are installed to ensure balanced airflow, typically 1 sq. ft. of vent area per 150 sq. ft. of attic space. This helps prevent heat buildup and condensation under the roof deck. Finally, gutters and downspouts are added or reconfigured to handle increased water flow from the new slope, ensuring efficient rainwater management and protection for the home’s foundation.
Choosing the right roofing material is key to ensuring durability, energy efficiency, and long-term performance for your new pitched roof.
| Material | Average Cost per sq. ft. | Lifespan | Benefits |
|---|---|---|---|
| Asphalt Shingles | $3 – $5 | 20–30 years | Affordable, versatile, low maintenance |
| Metal Roofing | $6 – $12 | 40–70 years | Long-lasting, reflective, lightweight |
| Tile Roofing (Clay/Concrete) | $8 – $15 | 50+ years | Durable, stylish, fire-resistant |
| Wood Shake/Shingle | $7 – $10 | 30–40 years | Natural aesthetic, moderate insulation |
The given table provides an estimated breakdown to help you plan your budget more accurately.
| Component | Estimated Cost Range (USD) |
|---|---|
| Structural Engineering & Permits | $1,000 – $3,000 |
| Framing & Trusses | $8,000 – $20,000 |
| Sheathing & Underlayment | $3,000 – $6,000 |
| Roofing Material & Labor | $10,000 – $25,000 |
| Ventilation & Gutters | $2,000 – $4,000 |
| Total Project Estimate | $25,000 – $60,000+ |
Upgrading from a flat roof to a pitched roof isn’t just about appearance, it’s a smart investment in your home’s longevity, comfort, and value. This conversion enhances performance in every aspect, from weather protection to energy efficiency, delivering lasting benefits that pay off over time.
Converting a flat roof to a pitched one transforms how your home performs and looks. With better drainage, durability, and insulation, it offers both peace of mind and long-term savings. Whether you’re aiming for better protection or a fresh aesthetic, this upgrade delivers practical results that elevate your home for decades.
Not all homes are suitable. The walls and foundation must be structurally strong enough to support the extra load from framing and roofing materials.
Most conversions take 3–6 weeks. The timeline depends on the roof’s size, design complexity, and how quickly permits or inspections are approved.
Yes, the sloped design prevents standing water, leaks, and rot—cutting down on frequent patching and costly flat-roof repairs over time
In most cases, yes. The new slope changes water flow direction, requiring wider gutters and reconfigured downspouts for proper drainage.
Yes, the added height often creates usable attic or storage space, but proper insulation and ventilation must be installed to prevent moisture buildup.
Join our mailing list for exclusive updates, expert tips, and special offers tailored to your needs. Be the first to know about the latest in home services.

Renovize Home is a platform that supports homeowners from planning to renovation. Whether it’s Renovize AI for guidance or a one-on-one call with Pro Finder, we understand your project and match you with local contractors tailored to your needs.
Who We Are
About Renovize HomeGet in TouchHomeownwer Support:
Coming Soon!
General Inquiries:
support@renovizehome.com
Head Office:
24 Greenway Plaza, STE 1800M, Houston, TX 77046.