Explore All
BROWSE BY CATEGORY
Interior
Exterior
Home Essentials
Homeowner Tools
Blogs & Guides
Find a Pro
Book Your Appointment Now
Home Essentials
About Renovize Home
Explore All
BROWSE BY CATEGORY
Interior
Exterior
Home Essentials
Homeowner Tools
Blogs & Guides
Find a Pro
Book Your Appointment Now
Home Essentials
About Renovize Home
Last Updated 2026-02-17
Installing new kitchen cabinets is one of the most impactful upgrades a homeowner can make. Cabinets affect storage, daily workflow, and how long the kitchen stays functional without repairs. When cabinets are installed correctly, doors align smoothly, weight is evenly supported, and surfaces remain stable for years. Understanding the full cabinet installation process helps homeowners avoid costly mistakes, poor alignment, and long-term damage.
Table of Contents
1. Measure and Plan the Layout
2. Remove Old Cabinets (If Replacing)
3. Locate and Mark Wall Studs
4. Install Upper Cabinets First
5. Install Base Cabinets
6. Install Filler Strips and Panels
7. Secure Cabinets Together
8. Install Cabinet Doors and Hardware
9. Final Level and Stability Check
Tools Required for Kitchen Cabinet Installation
Kitchen Cabinet Installation Cost Breakdown
Final Takeaway
Accurate measurement is the most critical phase of cabinet installation. Even a small measuring error of ¼ inch can cause alignment issues, appliance fit problems, uneven reveals, or gaps that are difficult to correct later.

Begin by measuring the total wall length where the cabinets will be installed. Measure from corner to corner at three different heights:
Walls are rarely perfectly straight. If the measurements vary, use the smallest dimension to prevent cabinets from being forced into tight spaces.
Next, measure the ceiling height in multiple areas. Many homes have slight variations in ceiling level, especially in older construction. This matters if cabinets extend to the ceiling or if crown molding will be installed.
Now check for floor level variations. Place a long level on the floor along the cabinet line. If the floor slopes, identify the highest point, this is where base cabinet installation should begin.
Starting at the highest floor point prevents cabinets from being too low and avoids excessive shimming.
Before installation begins, carefully identify and mark all critical utilities and layout reference points. Accurate markings ensure cabinets align properly, appliances fit correctly, and no plumbing or electrical components interfere during installation. Also carefully measure and mark:
Using a level, draw a horizontal reference line for the bottom of the upper cabinets. Standard distance from floor to bottom of upper cabinets is typically 54 inches (based on 36-inch base cabinets plus 18-inch backsplash space). However, always confirm based on cabinet specifications.
Mark vertical reference lines at cabinet edges to maintain alignment. Proper planning ensures:
Skipping this detailed planning phase often leads to expensive corrections later.
Removing old cabinets requires careful planning and controlled demolition. Rushing this step can damage drywall, plumbing lines, electrical wiring, and even structural studs. Proper removal protects your workspace and creates a stable foundation for the new cabinet installation.
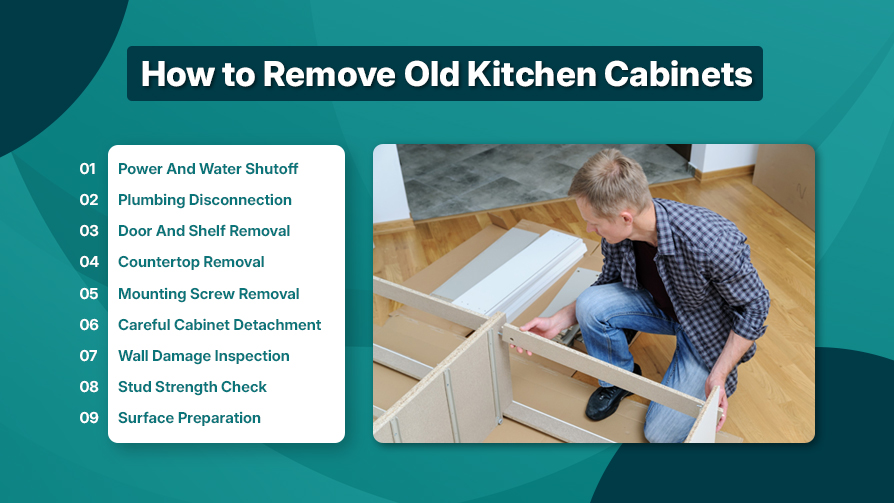
Before beginning removal, make sure all connected utilities are safely disconnected. Cabinets often surround electrical wiring and plumbing fixtures, and failing to shut off services can result in injury or costly repairs.
Start by removing cabinet doors, drawers, and adjustable shelves. This reduces weight and makes cabinets easier to handle.
If replacing countertops, remove them next. Stone countertops may require professional removal due to their weight and adhesive bonding. For laminate or wood tops, carefully detach screws or adhesive connections.
Reducing the load before detaching cabinets prevents sudden shifting and minimizes wall damage.
Locate the mounting screws inside the cabinets securing them to wall studs. Support the cabinet’s weight while unscrewing fasteners.
Work methodically from top cabinets downward. Removing upper cabinets first prevents hazards and improves safety.
Never pry or force cabinets off the wall. Excessive pressure can:
After removal, inspect the wall thoroughly. Any hidden issues should be addressed before new cabinets are installed.
Check for:
Repair torn drywall paper, patch holes, and confirm studs are securely anchored. If the wall is uneven, sand high spots or install backer strips to create a flat mounting surface. Proper wall preparation directly affects cabinet alignment, stability, and long-term durability.
Wall studs provide the structural support necessary to hold cabinet weight. A fully loaded upper cabinet can weigh over 200 pounds once dishes and contents are added. Drywall alone cannot support this load, so proper stud anchoring is critical for long-term stability.

Use a quality stud finder to locate studs along the cabinet installation line. Move the device slowly and mark both edges of each stud to determine its center.
If needed, confirm stud positions by driving a small test nail in an inconspicuous area. This ensures you are fastening into solid framing rather than hollow drywall. Accurate stud identification prevents weak mounting points and cabinet shifting over time.
In most modern homes, studs are spaced 16 inches on center, meaning the center of one stud is typically 16 inches from the next. However, spacing can vary in older homes or around windows and doors. Never assume spacing without verifying. Confirm each stud location before installation.
Once located, mark stud positions vertically from top to bottom using a pencil and level. Extend these lines above the cabinet installation line so they remain visible during mounting.
Clear stud markings allow you to align mounting screws quickly and accurately while supporting cabinet weight.
When installing cabinets:
Anchoring directly into studs ensures long-term structural stability and prevents sagging.
Upper cabinets are installed first because working above base cabinets is easier without obstruction. This approach reduces physical strain and prevents accidental damage to lower cabinets during installation. It also allows for easier adjustment and alignment before heavy base cabinets are secured.
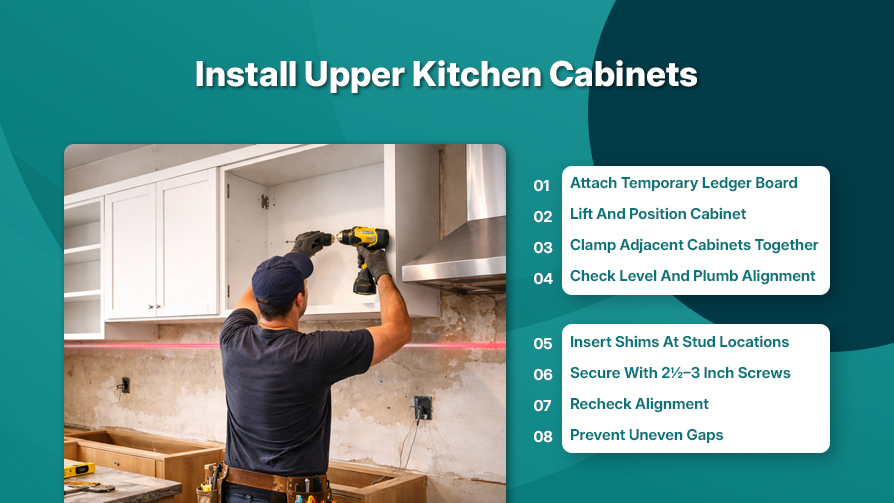
Before lifting cabinets into place, attach a temporary ledger board along the previously marked horizontal reference line. Secure it firmly into studs.
This ledger board:
The ledger acts as a temporary shelf, allowing precise alignment before final fastening.
Lift the first cabinet into place and rest it on the ledger board. If working alone, consider using a cabinet jack or temporary support braces.
Start with a corner cabinet if applicable. This establishes alignment for the rest of the cabinet run. Careful positioning at the beginning ensures smoother installation for subsequent cabinets.
Before fastening, clamp adjacent cabinets together to ensure flush front faces. Use a level to check:
If the wall is uneven, insert wood shims between the cabinet and wall at stud locations. Only tighten screws after confirming correct alignment.
Secure cabinets using 2½ to 3-inch mounting screws driven directly into wall studs. Do not overtighten screws before verifying level, as this can pull cabinets out of alignment.
After installing each cabinet, recheck level and plumb alignment. Minor misalignments can compound quickly across multiple cabinets, leading to visible gaps and uneven finishes.
Correct leveling at this stage prevents:
Taking time here ensures the entire upper cabinet run remains straight and structurally secure.
Base cabinets carry the weight of countertops, appliances, and daily use. Because they support significant structural load, precision during installation is critical. Even small leveling errors at this stage can affect countertop alignment, appliance fit, and drawer operation.
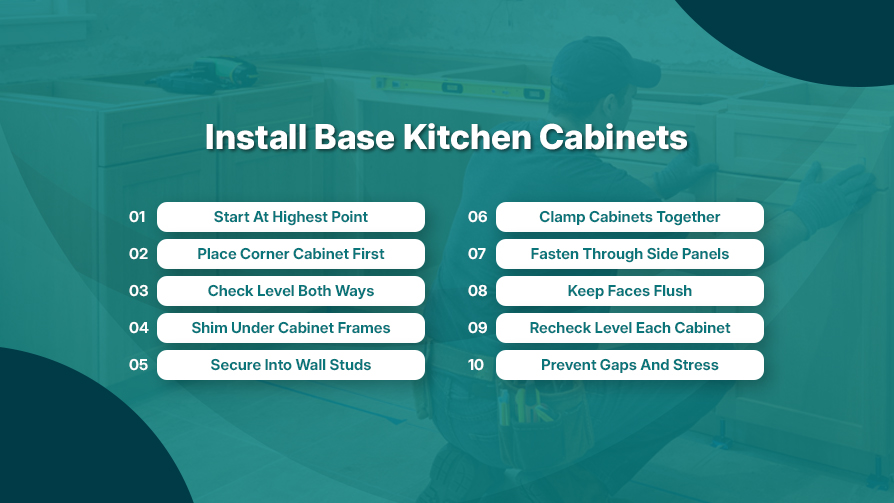
Begin installation at the highest point of the floor identified earlier. Starting at this point prevents cabinets from sitting too low in one area and reduces the need for excessive shimming across the run. Establishing a stable starting reference ensures the rest of the base cabinets align consistently.
Place the corner cabinet first (if applicable). The corner cabinet sets alignment for the entire cabinet run and determines how the remaining cabinets will sit.
Set the cabinet in position and carefully check:
If the floor is uneven, insert shims beneath the cabinet base where needed. Shims must be placed directly under the cabinet frame, not just under the toe kick, to provide proper structural support.
Once the cabinet is fully level and aligned, secure it into wall studs using appropriate mounting screws. Avoid fully tightening screws until alignment has been double-checked. Proper shimming prevents long-term stress on countertops and cabinet joints.
Continue installing adjacent base cabinets one at a time. Maintaining consistent alignment across the entire run is essential for seamless appearance and structural stability.
When installing adjacent cabinets:
Clamping before fastening prevents uneven seams and misaligned drawer fronts.
Minor misalignments compound quickly as cabinets are added. After installing each cabinet, recheck level and alignment before proceeding to the next one.
Small errors at this stage can cause:
Taking time to verify alignment after each cabinet ensures a stable base for countertops and upper cabinets.
Walls are rarely perfectly straight. Small gaps between cabinets and walls are common, especially near corners. Filler strips create a clean finish and allow for proper door clearance.
Measure the gap width at multiple points because walls may taper slightly. Cut filler strips carefully using a circular saw.
Attach filler strips to cabinet frames before final tightening. Secure with screws from inside the cabinet.
Proper filler installation ensures:
Fastening cabinets together improves structural integrity and visual alignment. Clamp adjacent cabinets so their front faces are perfectly flush. Drill pilot holes through the cabinet frame (face frame area) to prevent wood splitting.
Insert cabinet screws and tighten securely. This creates a unified cabinet system rather than separate units. Securing cabinets together reduces:
After all cabinets are fully secured, leveled, and aligned, reinstall cabinet doors and drawers. This stage focuses on precision adjustments that refine both appearance and functionality. Even if cabinets are installed correctly, minor hinge and hardware adjustments are often necessary for a polished finish.
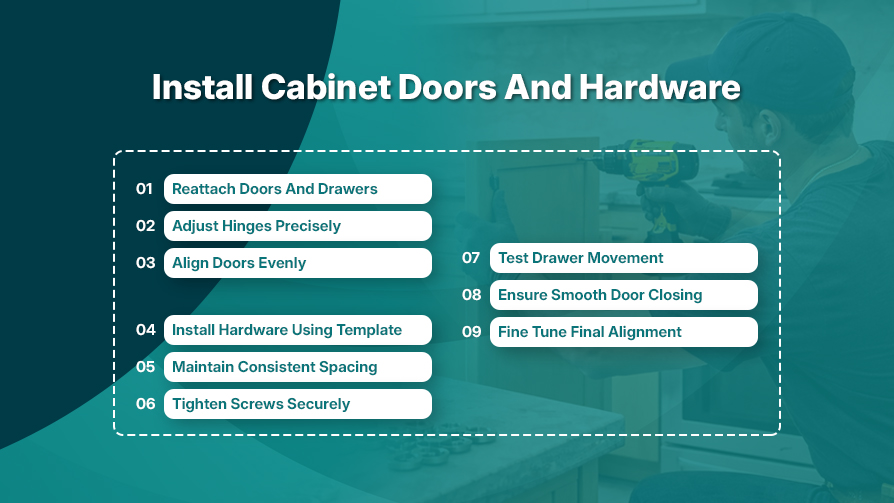
Start by reattaching cabinet doors using their original hinges. Install drawers back into their tracks and confirm they slide smoothly.
Ensure hinges are secured firmly but not overtightened. Doors should hang evenly before final adjustments begin. Proper installation at this stage sets the foundation for precise alignment.
Most modern concealed hinges include built-in adjustment screws that allow fine-tuning in multiple directions. These adjustments correct small alignment issues without removing the door.
Modern hinges typically allow:
Make small adjustments gradually and recheck alignment after each change. Over-adjusting can create new alignment problems. Correct hinge adjustment ensures consistent gaps and smooth door operation.
Use a hardware template or jig to mark drilling points. Consistent placement is critical for a professional appearance.
Measure carefully before drilling, especially for drawer pulls that require two mounting holes. Drill pilot holes to prevent wood splitting.
Secure hardware firmly but avoid overtightening, which can damage cabinet faces. Uniform hardware placement significantly enhances the overall visual finish.
Before installing countertops, perform a complete structural inspection of the entire cabinet system. This final review ensures that all components are properly aligned, securely anchored, and ready to support additional weight.
Skipping this step can lead to costly corrections once countertops, backsplashes, and appliances are installed.
Verify:
Run a long level across base cabinets to confirm countertop surface readiness. A properly installed cabinet system should feel solid and rigid with no shifting.
Using the right tools makes kitchen cabinet installation more accurate, safer, and less stressful. Proper tools help you measure precisely, keep cabinets level, and secure them firmly to wall studs. Without the correct tools, cabinets can shift, loosen, or install unevenly. Preparing tools in advance saves time and avoids installation errors.
These tools are required for almost every cabinet installation and should be available before starting.
| Tool | Purpose |
|---|---|
| Tape measure | Measures cabinet spacing, heights, and alignment |
| Stud finder | Locates wall studs for secure anchoring |
| 4-foot level | Ensures cabinets are level and straight |
| Drill and driver | Drills pilot holes and drives screws |
| Clamps | Holds cabinets together during alignment |
| Cabinet screws | Secures cabinets to studs and to each other |
Kitchen cabinet installation cost depends on several practical factors, not just the price of the cabinets themselves. Labor effort, kitchen layout, wall condition, and cabinet type all affect the final cost. Larger kitchens or complex layouts require more time and precision, which increases labor charges. Understanding these cost elements helps homeowners plan a realistic installation budget.
Most homeowners spend between $2,000 and $6,000 for professional kitchen cabinet installation in an average-sized kitchen. Smaller kitchens with basic layouts may fall closer to the lower end, while larger kitchens with many cabinets cost more. Custom cabinets, tall wall units, or heavy materials can also increase the total price. The final cost mainly reflects labor time and installation complexity rather than cabinet price alone.
| Installation Item | Typical Cost Range |
|---|---|
| Base installation labor | $70 – $150 per cabinet |
| Wall cabinet installation | $80 – $200 per cabinet |
| Pantry cabinet installation | $150 – $400 |
| Crown molding install | $5 – $15 per linear foot |
| Hardware installation | $2 – $6 per handle |
Installing new kitchen cabinets requires careful planning, accurate measuring, and step-by-step execution. From wall preparation and leveling to anchoring and finishing details, each step affects how well cabinets perform over time. While DIY installation is possible for simple kitchens, professional installation reduces alignment errors and protects long-term durability. When installed correctly, kitchen cabinets provide reliable storage, smooth operation, and a clean, professional finish that supports everyday use for many years.
It depends on the type of flooring being installed. If you are installing floating flooring such as laminate or engineered wood, cabinets should be installed first and the flooring should run up to the cabinet edges. Floating floors require expansion space and should not be pinned under heavy cabinets. However, with tile or glue-down flooring, it is common to install the flooring first because it creates a consistent and fully leveled base for cabinet installation.
When wall cabinets are properly secured into studs, they can typically support between 50 to 70 pounds per linear foot, depending on cabinet construction and fastening method. However, this capacity depends heavily on proper installation. Cabinets anchored only into drywall or improperly fastened can fail under load over time, especially when filled with dishes and cookware.
Even small leveling errors can create noticeable issues after installation. Cabinets that are slightly uneven may cause countertop stress, uneven door gaps, poor drawer operation, and appliance fitting problems. Minor misalignment at the beginning of the installation often compounds across the entire cabinet run, which is why precise leveling is critical from the first cabinet onward.
Cabinets should never rely solely on drywall for support. Drywall is not designed to carry heavy loads, especially once cabinets are filled with items. Proper installation requires screws to penetrate solid wall studs to ensure long-term stability. If stud placement does not align ideally with cabinet positioning, additional wall reinforcement may be necessary before installation.
The standard clearance between the countertop and the bottom of upper cabinets is typically 18 inches. This spacing provides enough room for comfortable workspace use and accommodates small appliances. However, this measurement can vary slightly depending on cabinet design, ceiling height, and homeowner preference.
Yes, cabinets should be secured both to the wall studs and to each other. Anchoring into studs provides structural support, while fastening adjacent cabinets together ensures proper alignment and stability across the entire run. Securing cabinets to one another also helps maintain even spacing and prevents shifting over time.
Countertops can be installed as soon as cabinets are fully secured, leveled, and inspected. It is important that all screws are tightened, shims are trimmed, and the cabinet system feels completely stable. Installing countertops on uneven or unstable cabinets can lead to cracking, shifting, or long-term structural issues.
Join our mailing list for exclusive updates, expert tips, and special offers tailored to your needs. Be the first to know about the latest in home services.

Renovize Home is a platform that supports homeowners from planning to renovation. Whether it’s Renovize AI for guidance or a one-on-one call with Pro Finder, we understand your project and match you with local contractors tailored to your needs.
Who We Are
About Renovize HomeGet in TouchHomeownwer Support:
Coming Soon!
General Inquiries:
support@renovizehome.com
Head Office:
24 Greenway Plaza, STE 1800M, Houston, TX 77046.