Explore All
BROWSE BY CATEGORY
Interior
Exterior
Home Essentials
Homeowner Tools
Blogs & Guides
Find a Pro
Book Your Appointment Now
Home Essentials
About Renovize Home
Explore All
BROWSE BY CATEGORY
Interior
Exterior
Home Essentials
Homeowner Tools
Blogs & Guides
Find a Pro
Book Your Appointment Now
Home Essentials
About Renovize Home
Last Updated 2026-01-07
When your radiator isn't heating, it can be incredibly frustrating, especially during colder months. A cold radiator means that the heating system isn’t doing its job, leaving your home uncomfortable. The problem can range from something simple, like air trapped inside the system, to more complex issues, such as a malfunctioning thermostat or a buildup of sludge in the pipes. Fortunately, many radiator issues are easy to fix and don’t always require a professional to get things back to normal.
Understanding the root cause of why a radiator isn’t heating is the first step toward solving the problem. Whether it’s a mechanical fault, blocked valve, or an issue with the heating system as a whole, identifying the cause will help you determine the best solution. Let’s break down the most common causes and fixes for radiator heating problems.
Table of Contents
Common Reasons for a Radiator Not Heating Up
How to Fix the Issues
2. Calculate the Correct Radiator Size
Cost Breakdown: DIY vs Professional Help
Final Words
There are several potential causes for a radiator not heating up, and many of them are issues that homeowners can fix themselves. Let’s break down the most common reasons.
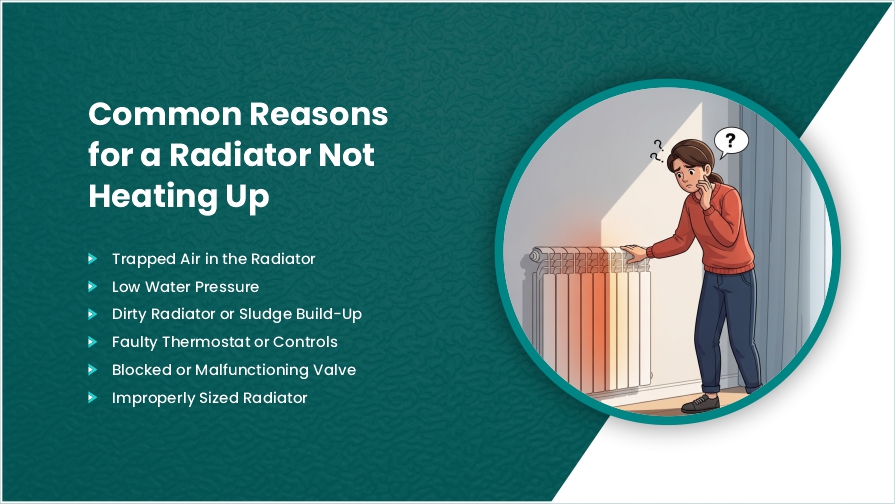
One of the most common causes of a radiator not heating properly is trapped air. This often happens after you turn your heating system back on after a period of inactivity (like after summer). The air gets trapped in the radiator and prevents hot water from circulating properly, leading to cold spots or the radiator not heating up at all.
Low water pressure in your heating system can reduce the flow of hot water to your radiators. This leads to the radiator not heating properly, or in some cases, not heating at all.
Over time, dirt and sludge (a combination of rust, debris, and lime scale) can build up inside your radiator or heating pipes. This buildup restricts the flow of water and prevents the radiator from heating up properly. This issue is common in older systems or systems that haven’t been cleaned regularly.
A faulty thermostat can prevent the radiator from receiving the right signals to heat up. If the thermostat is malfunctioning or is set incorrectly, it may not trigger the radiator to turn on or may cause it to turn off too early.
The valve is responsible for controlling the flow of water into the radiator. If the valve is blocked or malfunctioning, it can prevent hot water from entering the radiator, leading to a cold unit.
If the radiator is too small for the room, it simply may not be able to heat it effectively, especially in larger spaces or rooms with poor insulation. Similarly, if the radiator was recently installed and wasn’t properly sized for the room, this issue can lead to ineffective heating.
The fixing steps for each issue are outlined below. By following these simple troubleshooting steps, you can easily resolve many radiator problems yourself.
To fix trapped air in your radiator, follow these easy-to-understand steps. Trapped air is a common issue that can cause your radiator to heat unevenly or not heat at all. The process of bleeding the radiator is simple and can be done in a few easy steps.
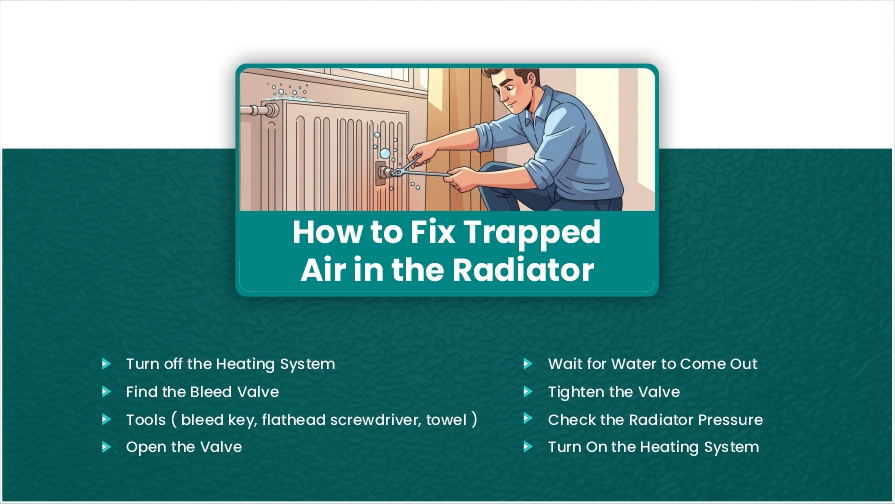
Before you begin, it’s important to turn off your heating system and let the radiator cool down. This is a safety measure to avoid burns or any accidents when handling the radiator. Once the system is off, allow time for the radiator to cool completely. This may take a few minutes, but it’s essential for your safety.
Next, locate the bleed valve on your radiator. It is usually positioned at the top of one side of the radiator. The valve might look like a small screw or a square protruding valve. You’ll need to open this valve to release the air trapped inside. If you’re not sure where to find it, look closely at the top of the radiator on both sides.
To bleed the radiator, you will need the correct tools. If the bleed valve is a square or round valve, you’ll need a bleed key, which is a small tool designed for this purpose. If the valve has a slotted screw, you can use a flathead screwdriver. Additionally, it’s a good idea to have a towel or small container nearby to catch any water that may spill out when you open the valve.
Once you have your tools ready, insert the bleed key or screwdriver into the valve and begin turning it slowly counterclockwise. You’ll likely hear a faint hissing sound as the trapped air begins to escape. This is normal and indicates that the air is leaving the system. Keep the valve open until you hear the sound stop and water begins to flow steadily from the valve.
As you keep the valve open, the air will slowly escape. Once you start hearing only water coming out (and no more hissing), it means that all the trapped air is out of the radiator. It’s important to allow all the air to escape so your radiator can function properly. Once the water flows steadily, you can proceed to the next step.
After the air has been released and the water is flowing smoothly, tighten the valve back up by turning the key or screwdriver clockwise. Make sure the valve is secure and there’s no water leaking from it. It’s essential to do this step carefully to avoid any water damage or leaks in your home.
After bleeding the radiator, check the pressure gauge on your boiler. Bleeding can sometimes reduce the system’s pressure, so you may need to top up the pressure. If the pressure is lower than 1 bar, refer to your boiler's manual to increase it to the recommended level. This will ensure the system operates properly.
Now that the radiator is free of trapped air, you can turn the heating system back on. Set your thermostat and allow the radiator to heat up. Check that it warms up evenly, and if you have multiple radiators in your home, you may need to repeat this process for each one.
If your home has several radiators, check them all to ensure there is no trapped air in others. It’s possible that some radiators may need bleeding as well, especially if they aren’t heating up properly. Simply repeat the process for each radiator that seems to be experiencing the same issue.
Low water pressure can reduce the flow of hot water to your radiator, preventing it from heating properly. Thankfully, you can easily fix it by topping up the pressure.
To fix low water pressure in your home’s heating system, follow these simple steps. This process will guide you through checking the pressure, adding water if necessary, and ensuring everything is working as it should.
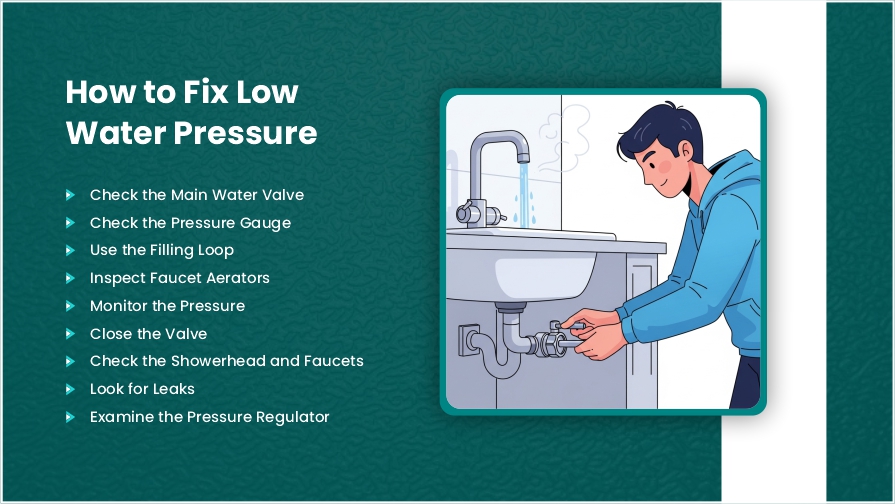
First, make sure the main water valve is fully open. If it’s partially closed, it can restrict the water flow into your home and lead to low pressure across all taps. The valve is typically located near the water meter, often in your basement or outside near the property line.
If you're dealing with low pressure in your heating system, locate the pressure gauge on your boiler. The pressure should be between 1 and 1.5 bar when the system is cold. If the pressure is below this range, it’s likely contributing to the low water pressure issue in your system.
If the pressure is low, you’ll need to add water to the system. This is done through the filling loop, a flexible hose connected to your boiler. Open the valve on the filling loop slowly to allow water to flow into the system and raise the pressure.
If the low pressure is confined to just one faucet, the aerator could be clogged with mineral deposits. These can restrict the water flow. Remove the aerator and soak it in vinegar for about 30 minutes to dissolve any buildup, then rinse and reinstall it.
As you open the valve on the filling loop, keep an eye on the pressure gauge. Once the pressure reaches the optimal range (between 1 and 1.5 bar), you can stop adding water. Make sure the pressure doesn’t rise too high.
After the pressure has reached the right level, close the valve on the filling loop tightly to prevent any water from leaking out. It’s essential to make sure the valve is fully closed after topping up the pressure.
For low pressure in specific fixtures, like the showerhead or faucets, mineral buildup may be to blame. Soak the showerhead in vinegar for a few hours, then scrub and rinse it. If the pressure still seems low, a new showerhead designed for higher pressure may be the solution.
If multiple faucets or fixtures are affected by low water pressure, check your plumbing for leaks. Leaks in pipes can divert water, lowering pressure throughout your system. Look for damp spots or puddles around your home. If you find a leak, you may need to repair the pipes to restore normal pressure.
A faulty or incorrectly set pressure regulator can also cause low water pressure in the system. This device controls the water pressure entering your home. If it’s damaged or set too low, it could be limiting the flow. In such cases, you might need a professional plumber to adjust or replace the regulator.
Once the pressure is corrected and the filling loop valve is closed, turn your heating system back on. Ensure that your radiators are heating properly and the pressure gauge remains within the correct range. If the problem persists or the pressure continues to drop, it might be time to call a professional for further inspection.
Sludge buildup in your radiator can block water flow and reduce heating efficiency. This is a bit more involved but can often be done with basic cleaning methods.
Sludge buildup in your radiator can significantly impact its ability to heat your space efficiently by blocking the flow of water. While this process requires a bit more effort than a simple air bleed, you can tackle it with basic cleaning methods.
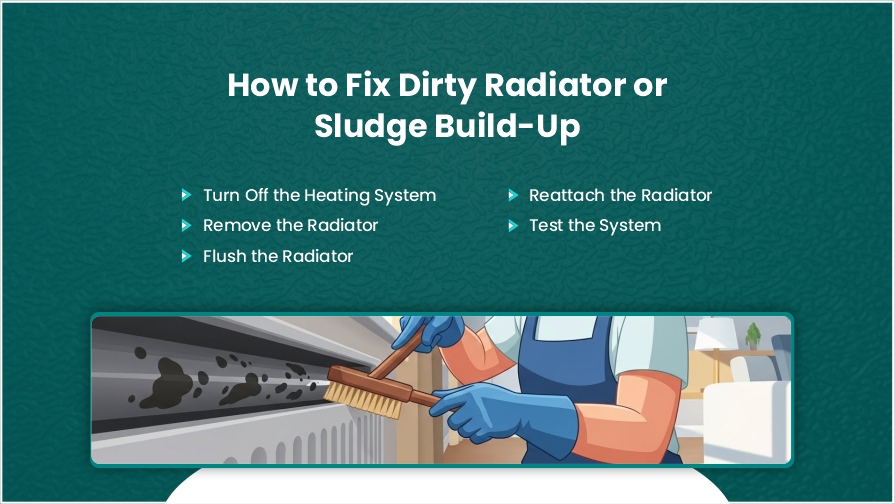
Before you begin, turn off the heating system and allow the radiator to cool down completely. This is essential for your safety, as handling a hot radiator could result in burns or other injuries.
Carefully detach the radiator from the wall. Depending on the setup, you may need to use a wrench to disconnect the radiator from the pipes. If possible, take the radiator outside to make the cleaning process easier and prevent any mess inside.
Once the radiator is removed, you can flush it out to clear any sludge, dirt, or mineral buildup. Use a garden hose or a special radiator cleaning solution to rinse the inside of the radiator thoroughly. Let the water flow through until it runs clear, ensuring that all the debris is removed.
After flushing and cleaning, reattach the radiator to the wall and reconnect it to the heating system. Make sure everything is secure before turning the heating system back on.
Turn the heating back on and check the radiator to ensure it’s heating properly. If you still notice uneven heating or cold spots, it could indicate a deeper issue that may require professional attention.
A faulty thermostat can prevent your radiator from turning on or staying on long enough to heat properly. Replacing or recalibrating the thermostat is usually an easy fix.
To fix a faulty thermostat or heating controls, start by understanding that the issue could be as simple as incorrect settings or require more in-depth troubleshooting. A malfunctioning thermostat can lead to inconsistent temperatures, higher energy consumption, or no heating at all. Here’s how to address and potentially fix the issue.
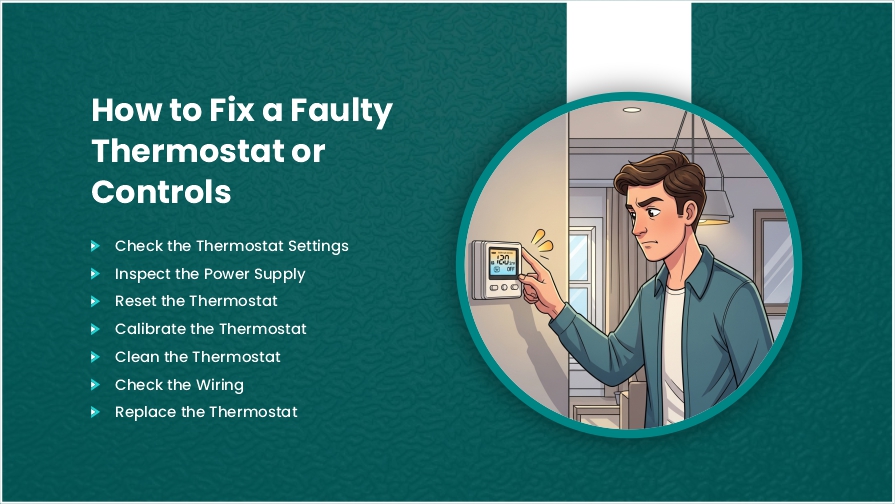
The first thing to do is check the settings. It’s easy to overlook, but sometimes the thermostat might be set incorrectly. For instance, ensure the thermostat is in the correct mode (heating or cooling) and that the temperature is properly set higher or lower than the room temperature, depending on your needs. If the system is off or in the wrong mode, it may appear like the thermostat is malfunctioning when it’s simply a setting issue.
If the thermostat’s display isn’t showing anything, it might not be getting power. For battery-operated thermostats, replacing the batteries is a quick fix. If it’s a wired thermostat, ensure that it’s connected to the power supply correctly and that the circuit breaker hasn’t tripped. A tripped breaker could be the reason the thermostat isn't working.
A reset can often solve minor glitches or software issues in digital thermostats. Many modern thermostats allow you to reset them by turning them off and then back on. In some cases, there may be a small reset button that you can press to restart the device. After resetting, adjust the settings again and see if the thermostat responds correctly.
If the thermostat is still giving inaccurate readings, it might need to be calibrated. Over time, some thermostats can lose their accuracy. Many digital thermostats come with a calibration feature, but if yours doesn’t, you might need to call a professional to recalibrate it. Mechanical thermostats can also experience issues where the internal components get stuck or wear out, causing incorrect readings.
Dust and dirt can accumulate inside the thermostat, particularly in older, mechanical models. This can interfere with its functionality. For mechanical thermostats, open the cover and gently clean the components with a soft cloth. For digital thermostats, use a small vacuum or compressed air to remove any dust that could be interfering with the sensors.
If the thermostat is still malfunctioning after performing the above steps, there could be an issue with the wiring. Loose or damaged wires can prevent the thermostat from properly communicating with the heating or cooling system.
If you're comfortable doing so, turn off the power to your heating/cooling system and check the wires connected to the thermostat. Look for any loose connections, damaged wires, or signs of wear. If you’re unsure, it’s best to call a professional to inspect and repair the wiring.
If none of the previous steps resolve the issue, the thermostat itself might be faulty or outdated. In this case, replacing the thermostat could be the most effective solution. Modern smart thermostats offer additional features, such as learning your schedule and energy-saving settings, which can improve both comfort and efficiency in the long term.
A blocked or malfunctioning valve can stop hot water from flowing into the radiator, leading to a cold unit. Fixing the valve can restore proper heating.
Fixing a blocked or malfunctioning valve is a common problem, especially in heating systems and plumbing. When valves malfunction, it can cause water or gas flow issues, lead to leaks, or even prevent proper operation of appliances. Fortunately, fixing a valve is something you can often do yourself with the right steps.
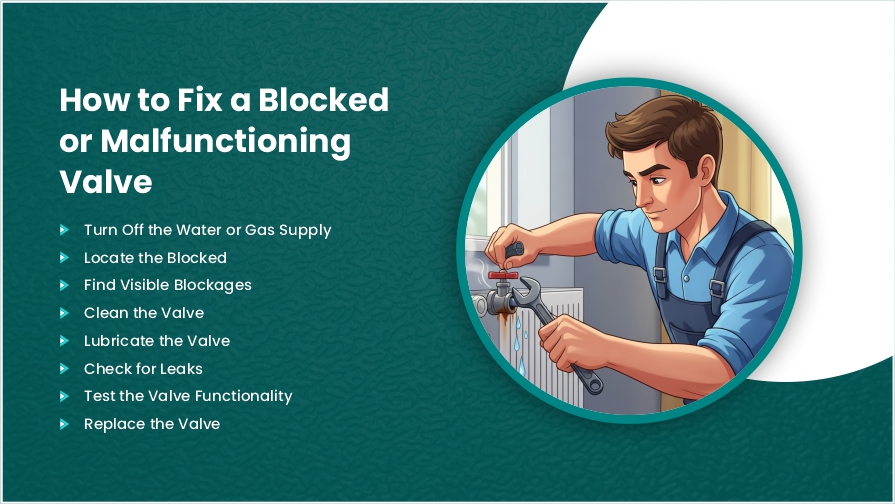
The first and most important step is to turn off the water or gas supply to prevent any leaks or accidents while you work. For water valves, ensure the main water supply is shut off. If you’re dealing with a gas valve, make sure the gas supply is completely off to avoid any risks.
Once the supply is off, locate the valve that’s causing the issue. Whether it’s a radiator valve, a water supply valve, or a gas valve, identifying the exact valve will allow you to focus on fixing it directly. Sometimes the issue is visible, such as a lever or knob that’s stuck or rusted.
For water valves, inspect the valve for any visible blockages. This could be mineral buildup from hard water, rust, or debris inside the valve mechanism. If it’s a gas valve, check for any signs of leaks or damage around the valve stem or fittings.
If you see mineral deposits or dirt buildup in the valve, cleaning it might resolve the issue. For water valves, you can soak the valve or use a soft brush to clean off any buildup around the valve handle or opening.
If the valve is stiff or hard to turn, it may just need some lubrication. Apply a silicone-based lubricant or WD-40 around the valve stem and handle. Move the valve back and forth gently to work the lubricant in. Be sure not to over-lubricate or allow excess lubricant to drip into sensitive areas like gas pipes or water connections.
Once you’ve cleaned and lubricated the valve, check for leaks. For water valves, turn the water supply back on slowly, and observe the valve to ensure water isn’t leaking around the handle or valve seat. If the valve is still leaking after cleaning, it could mean the valve needs to be replaced.
After addressing any blockages, cleaning, and lubricating the valve, it’s time to test its functionality. Turn the valve back on and check its operation. For water valves, turn it on to ensure that water flows correctly and the valve shuts off properly. For heating or cooling valves, check that the temperature regulation is functioning.
If the valve is still malfunctioning after cleaning and lubrication, it may need to be replaced. A worn-out valve may not seal properly, causing leaks or failure to control the flow of water or gas.
If you've tried all these steps and the valve is still malfunctioning, or if you're unsure about the process, it might be time to call in a professional plumber or HVAC technician. A blocked or malfunctioning valve can sometimes be a symptom of a bigger issue within your system, and a professional will be able to diagnose and fix it safely.
If your radiator is too small for the room, it may not be able to heat it effectively. Replacing it with a properly sized unit is the most effective solution.
Fixing an improperly sized radiator can be a bit tricky, but it’s important for maintaining proper heating in your home. An incorrectly sized radiator can lead to inefficient heating, higher energy bills, or rooms that are either too hot or too cold. Here’s how you can address the issue, whether you need to fix the size of an existing radiator or replace it altogether.
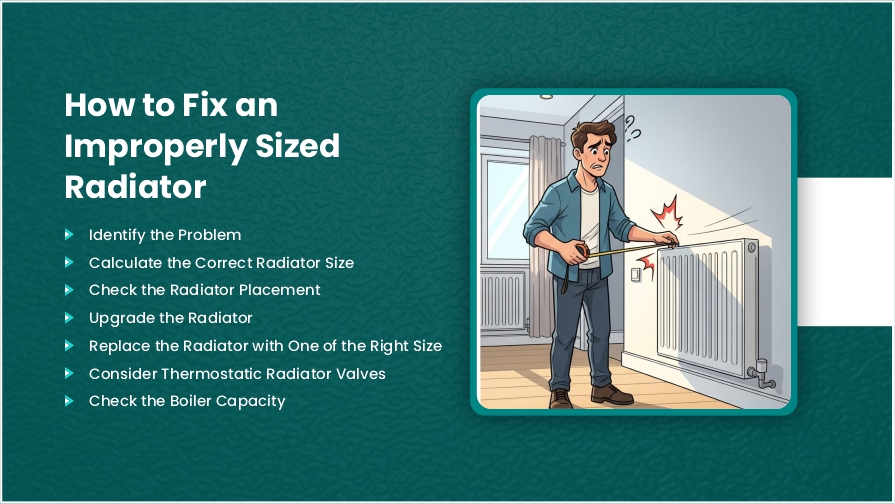
The first step in fixing an improperly sized radiator is to identify the issue. If the radiator is too small for the room, it won’t heat the space adequately. If it's too large, it may cause the room to overheat and lead to wasted energy.
To determine the correct radiator size for your room, you can use a radiator sizing calculator. These calculators take into account the room’s square footage, insulation quality, window sizes, and the type of heating system you have.
Sometimes, the issue isn’t the size of the radiator but its placement in the room. A poorly positioned radiator can cause inefficient heating, regardless of its size.
Ensure the radiator is not obstructed by furniture, curtains, or other items that block the heat flow. Placing a radiator under a window is ideal, as it can help counteract drafts and keep the room warm.
If the radiator is placed in a corner, try moving it to a more central location, if possible, to improve heat distribution.
If your radiator is too small or outdated, it may not be efficient at distributing heat. In this case, upgrading to a more efficient radiator might be necessary.
Consider replacing the radiator with one that has a higher heat output. Modern radiators, such as convector radiators or designer models, often provide better heat distribution and higher performance.
Double-panel radiators generally provide more heat than single-panel versions because they have more surface area to transfer heat into the room.
If your radiator is too large or small for the space, you may need to replace it with one that is better suited for the room's heating needs.
Choose a radiator with the appropriate heat output for the size of the room. Make sure to select the correct type (e.g., panel, convector, or column radiator) depending on your home’s heating requirements.
If you're not sure what size radiator you need, it’s best to consult with a heating professional or plumber. They can help you choose the right radiator and install it properly.
If you don’t want to replace the radiator, thermostatic radiator valves (TRVs) can help regulate the temperature in each room. These valves allow you to control the amount of hot water entering the radiator, helping to balance the room’s temperature and prevent overheating.
Install TRVs on each radiator to control the heat in individual rooms, especially if some areas are hotter or colder than others. TRVs are an easy way to improve efficiency without needing to replace radiators entirely.
If you're replacing a radiator or installing multiple radiators, it's important to ensure that your boiler can handle the additional load. A boiler that is too small may struggle to provide adequate heating to the entire system, especially if you install larger radiators.
If you’re increasing the size or number of radiators, check with a heating professional to ensure your boiler is powerful enough to supply the system.
If the radiator sizing issue persists, or if you’re unsure about the calculations and installation, it may be time to call a professional plumber or heating engineer. They can:
Below is an overview of the estimated cost for each issue, depending on whether you tackle the fix yourself or hire a professional.
| Issue | DIY Cost Range | Professional Cost Range |
|---|---|---|
| Trapped Air in the Radiator | Free (requires radiator key) | $100 – $150 (service visit) |
| Low Water Pressure | Free (if you can top up pressure) | $150 – $250 (pressure check & leak repair) |
| Dirty Radiator or Sludge Build-Up | $10 – $30 (cleaning solution) | $400 – $800 (power flush) |
| Faulty Thermostat or Controls | $25 – $75 (new thermostat) | $150 – $250 (installation) |
| Blocked or Malfunctioning Valve | $10 – $30 (replacement valve) | $100 – $150 (replacement) |
If your radiator isn’t heating properly, there’s a good chance that one of the issues above is causing the problem. Simple fixes, such as bleeding the radiator or adjusting the water pressure, can often restore comfort without requiring a professional. However, if the issue is more complicated, like sludge buildup or a malfunctioning valve, professional intervention may be necessary. Regular maintenance, like cleaning and checking water pressure, can help prevent these problems from arising in the first place.
If only one radiator isn't heating up, it could be due to trapped air or an issue with the valve or water pressure. The first step is to bleed the radiator to release any air trapped inside. If bleeding doesn’t work, check the radiator valve to ensure it's fully open and not malfunctioning. Also, inspect the water pressure to make sure it's at the correct level for the system.
To fix a radiator that isn't heating, start by bleeding the radiator to remove trapped air. If that doesn’t solve the issue, check for low water pressure, which might be limiting the flow of hot water. Also, ensure that the valve is fully open and not blocked. If the problem persists, the radiator might need to be flushed to clear out any sludge or debris inside.
A faulty radiator valve can be identified if the radiator stays cold while the heating system is on. Check the valve to see if it is fully open. If it’s stuck, corroded, or leaking, it might be malfunctioning. In such cases, cleaning or replacing the valve should resolve the issue.
Sludge buildup in a radiator typically consists of a mixture of rust, lime scale, and dirt. This can occur over time, especially in older systems or those that haven’t been cleaned regularly. Sludge restricts water flow and reduces heating efficiency, often resulting in cold spots. Flushing the system or using a power flush can help remove the buildup and restore proper heating.
If your radiator is too small for the room, the space may feel cold or take too long to heat up. This issue is often noticed in larger rooms or rooms with poor insulation. To determine the correct size, consider using a radiator sizing calculator, which factors in room size, insulation quality, and window types. If the radiator is undersized, replacing it with one of the correct size will improve efficiency.
Join our mailing list for exclusive updates, expert tips, and special offers tailored to your needs. Be the first to know about the latest in home services.

Renovize Home is a platform that supports homeowners from planning to renovation. Whether it’s Renovize AI for guidance or a one-on-one call with Pro Finder, we understand your project and match you with local contractors tailored to your needs.
Who We Are
About Renovize HomeGet in TouchHomeownwer Support:
Coming Soon!
General Inquiries:
support@renovizehome.com
Head Office:
24 Greenway Plaza, STE 1800M, Houston, TX 77046.