Explore All
BROWSE BY CATEGORY
Interior
Exterior
Home Essentials
Homeowner Tools
Blogs & Guides
Find a Pro
Book Your Appointment Now
Home Essentials
About Renovize Home
Explore All
BROWSE BY CATEGORY
Interior
Exterior
Home Essentials
Homeowner Tools
Blogs & Guides
Find a Pro
Book Your Appointment Now
Home Essentials
About Renovize Home
Last Updated on October 1, 2025
Downspouts are important for guiding water away from your home, protecting your foundation, landscaping, and siding. When downspouts detach or fail, water can pool near the house, causing soil erosion, basement leaks, or even foundation damage.
Reattaching your downspouts and ensuring proper connections in your gutter and downspout drainage system preserves your home’s structural integrity and prevents costly repairs. Proper maintenance also improves long-term water management and reduces the risk of recurring problems.
Table of Contents
Why Downspouts Come Loose
Common Signs Your Downspout Needs Reattachment
How to Reattach and Seal the Downspout (Step by Step)
Installing or Moving a Downspout on Existing Channels
Downspout Extensions
Downspout Diverters, Drains, and Underground Routing
Restore Flow First—Cleaning and Unclogging
Downspout Sizing for Roof and Rainfall
The Parts You’ll Need to Reattach Securely
Elbows, Straps, and Offsets to Keep Lines Tight
Keep Debris Out at the Outlet (Screens, Guards, Filters)
Downspout Materials and Styles
Rain Chains and Decorative Alternatives
Reattach or Replace? Costs and When to Switch
When Replacement Makes More Sense
DIY vs Hiring a Pro—What’s Safer and Smarter?
Simple Maintenance That Keeps Downspouts Secure
Downspouts can become loose due to weakened fasteners, heavy rainfall, ice buildup, or debris. Over time, even small shifts can affect your gutter downspout system, causing water to flow improperly and increasing the risk of leaks and overflow. Understanding the reasons for loosened downspouts helps homeowners prevent damage and plan timely repairs.
Recognizing early warning signs of a failing downspout allows you to take action before serious water damage occurs. Homeowners who spot these issues promptly can prevent foundation erosion, landscape damage, and costly repairs.
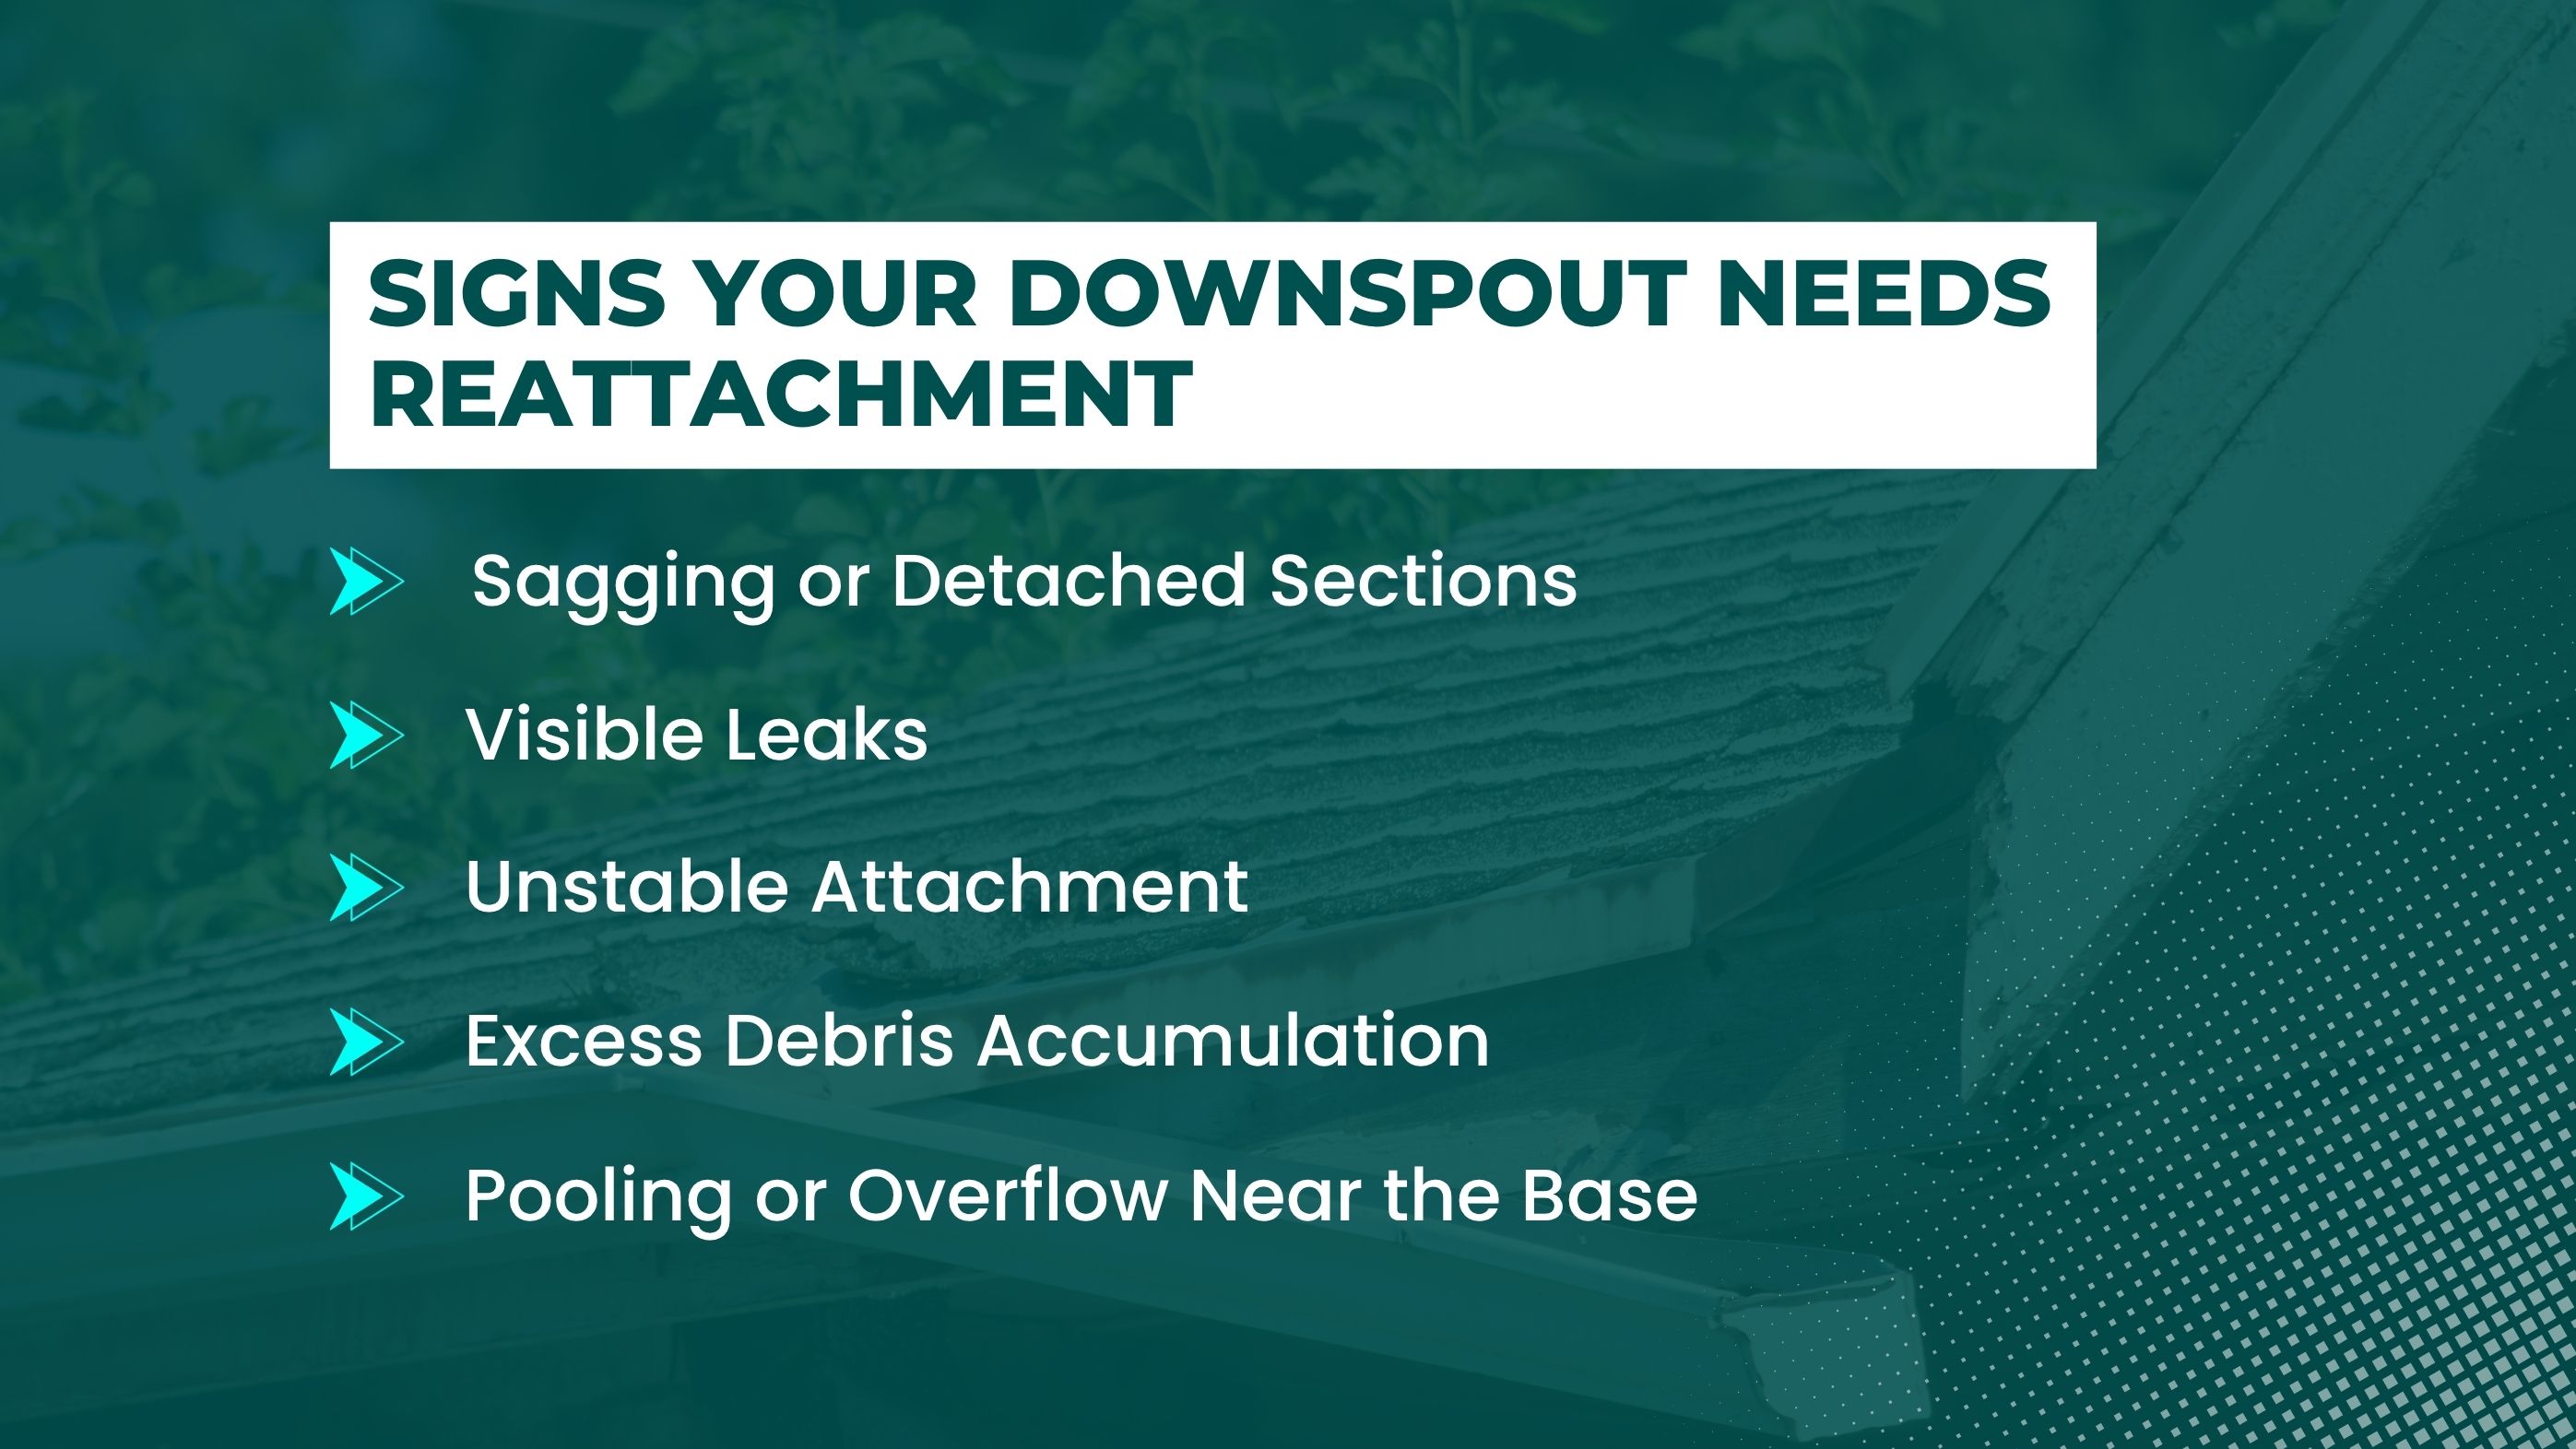
Ignoring loose downspouts affects your gutter downspout drainage and can lead to serious problems. Improperly secured downspouts allow water to accumulate near the foundation, eroding soil and damaging landscaping. Over time, this can weaken your foundation, cause leaks in basements, or even lead to structural issues in your siding and roofline.
Reattaching a downspout correctly ensures long-term performance and prevents recurring water damage. Proper alignment, secure fasteners, and sealed joints guarantee that water flows efficiently through the system.
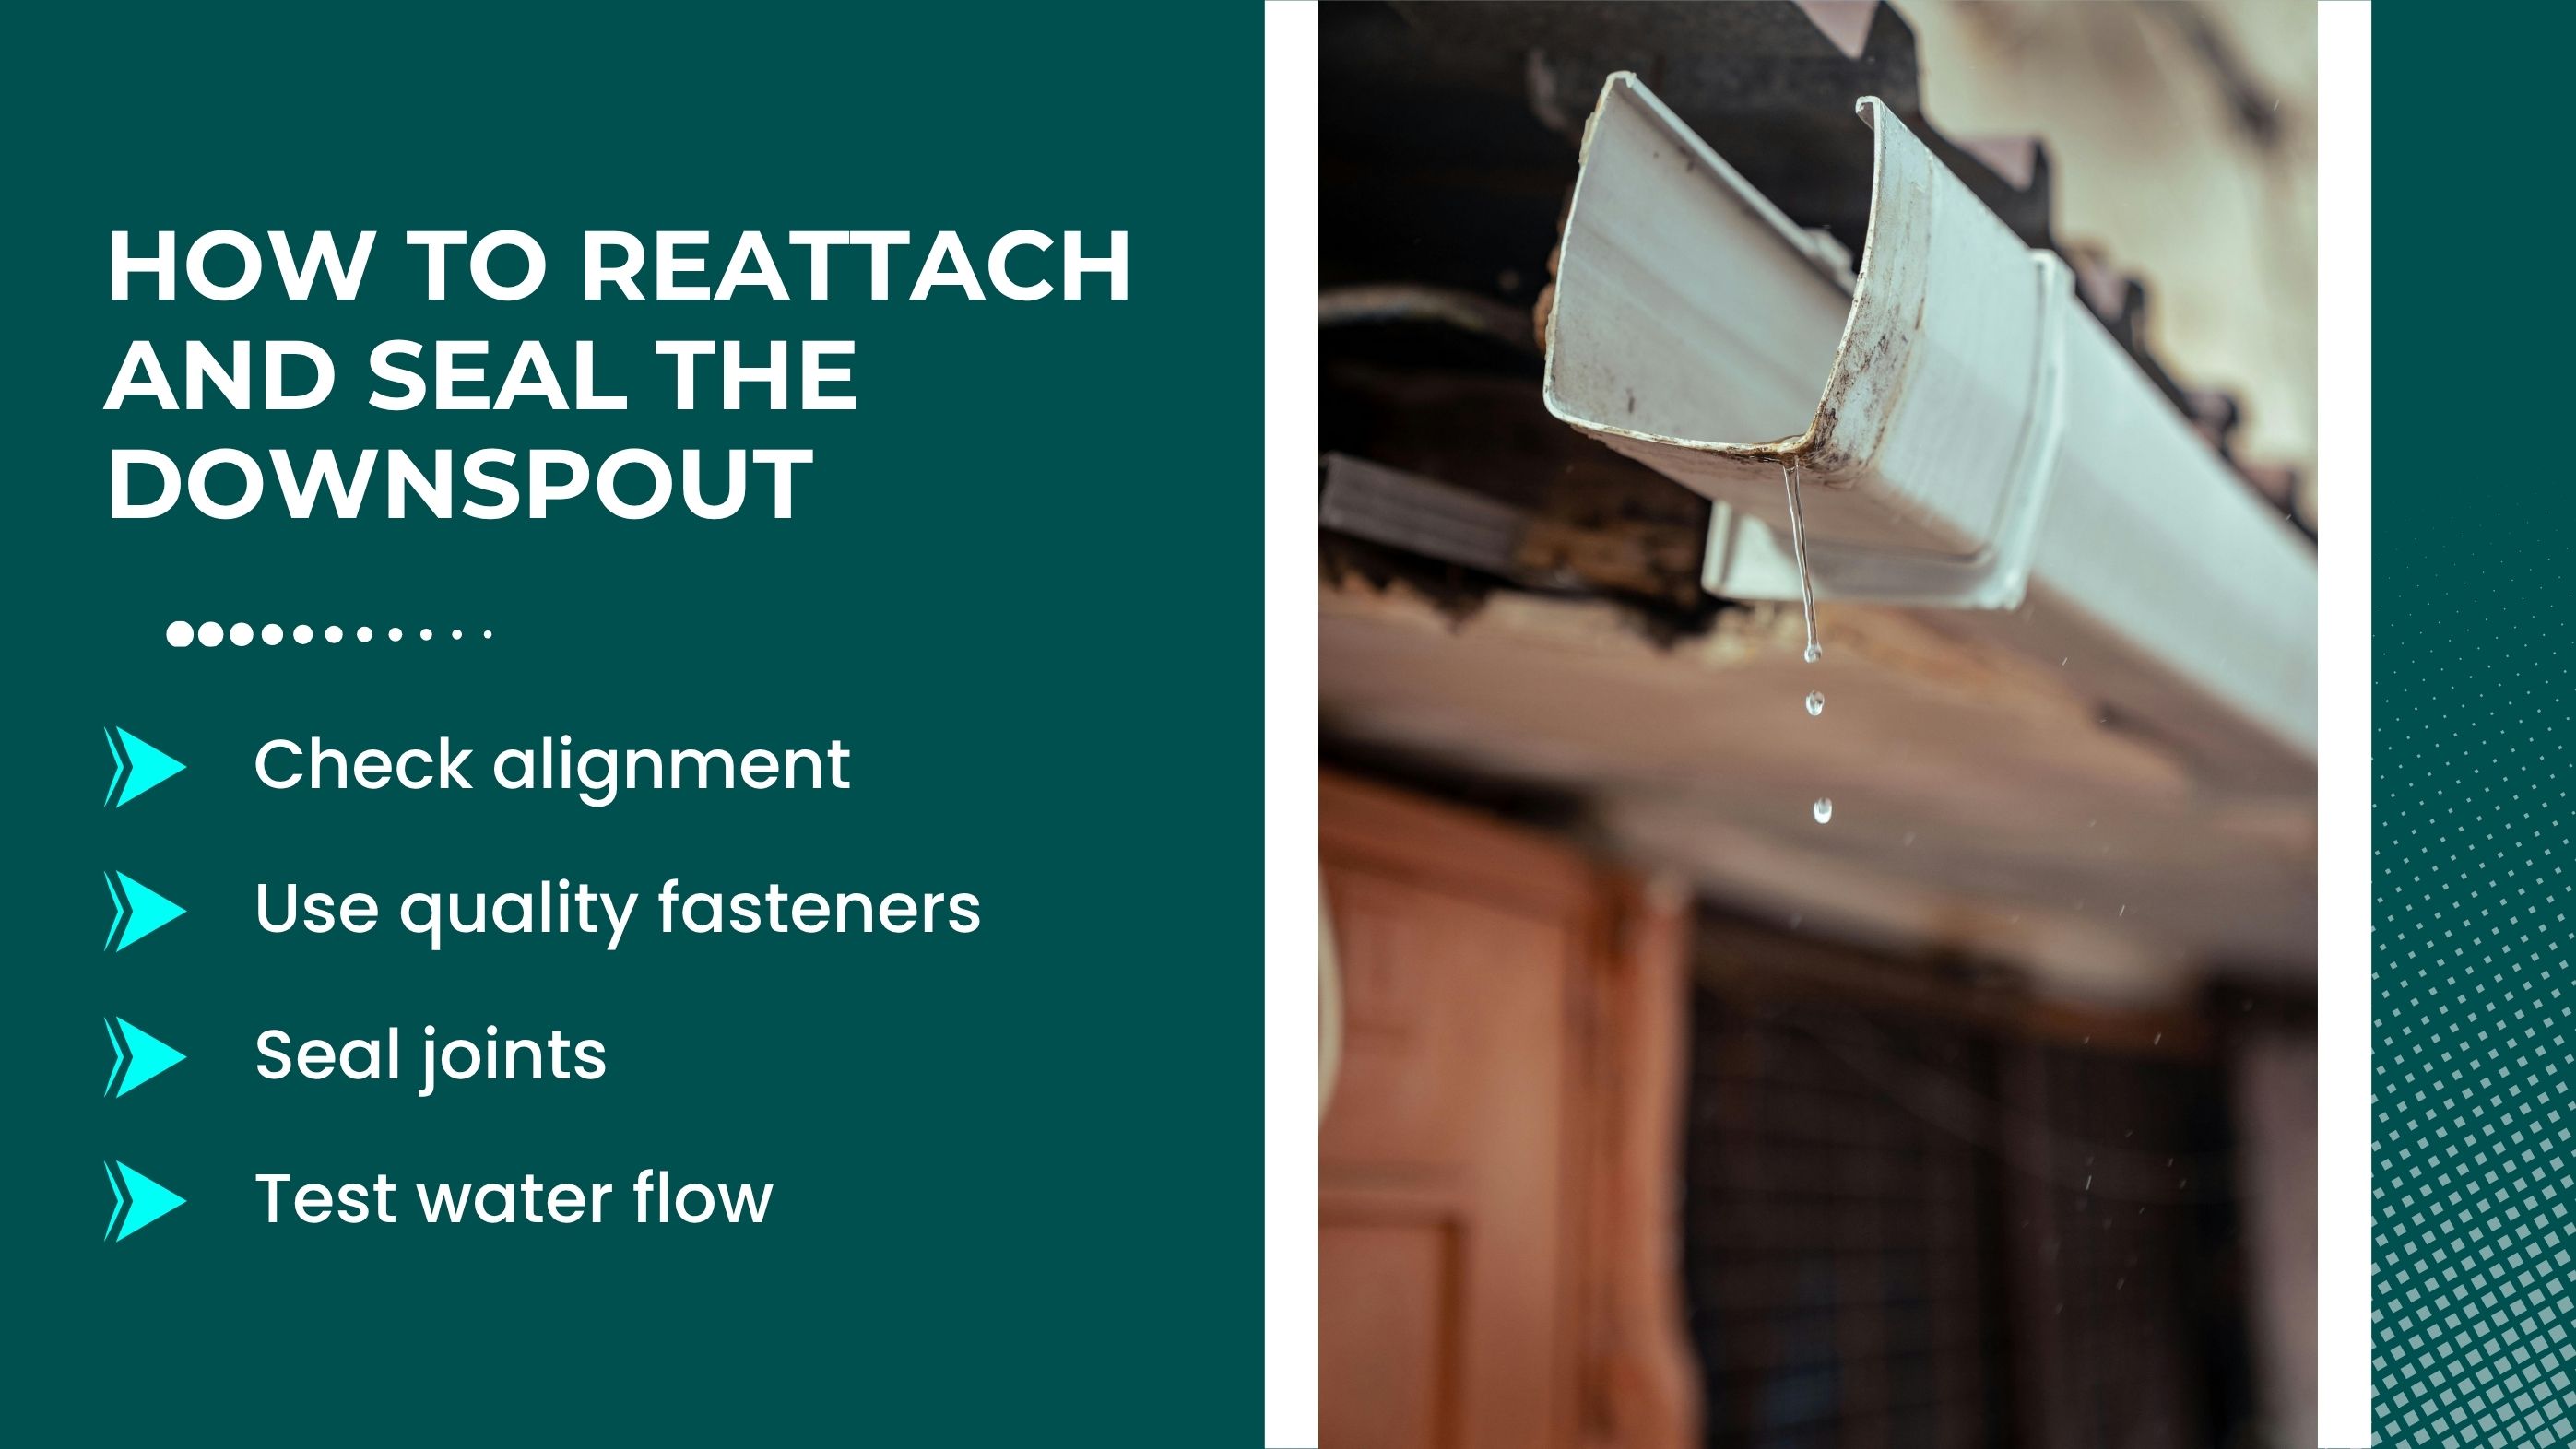
Before securing the downspout, ensure proper placement and a snug fit. This is essential to avoid leaks, overflow, and unnecessary strain on your gutter system:
Our professional contractors are just a click away.
Sometimes, you may need to add a new outlet or adjust the existing downspout path to improve drainage efficiency. Whether redirecting water away from a vulnerable area, extending the downspout, or fixing misalignment, proper planning ensures water flows correctly without causing pooling, soil erosion, or foundation damage.
Installing or moving a downspout on an existing gutter system requires careful measurement, secure attachments, and sealed connections to maintain long-term performance.
Installing a new outlet along an existing downspout run is necessary when you need to redirect water or improve drainage in a specific area.
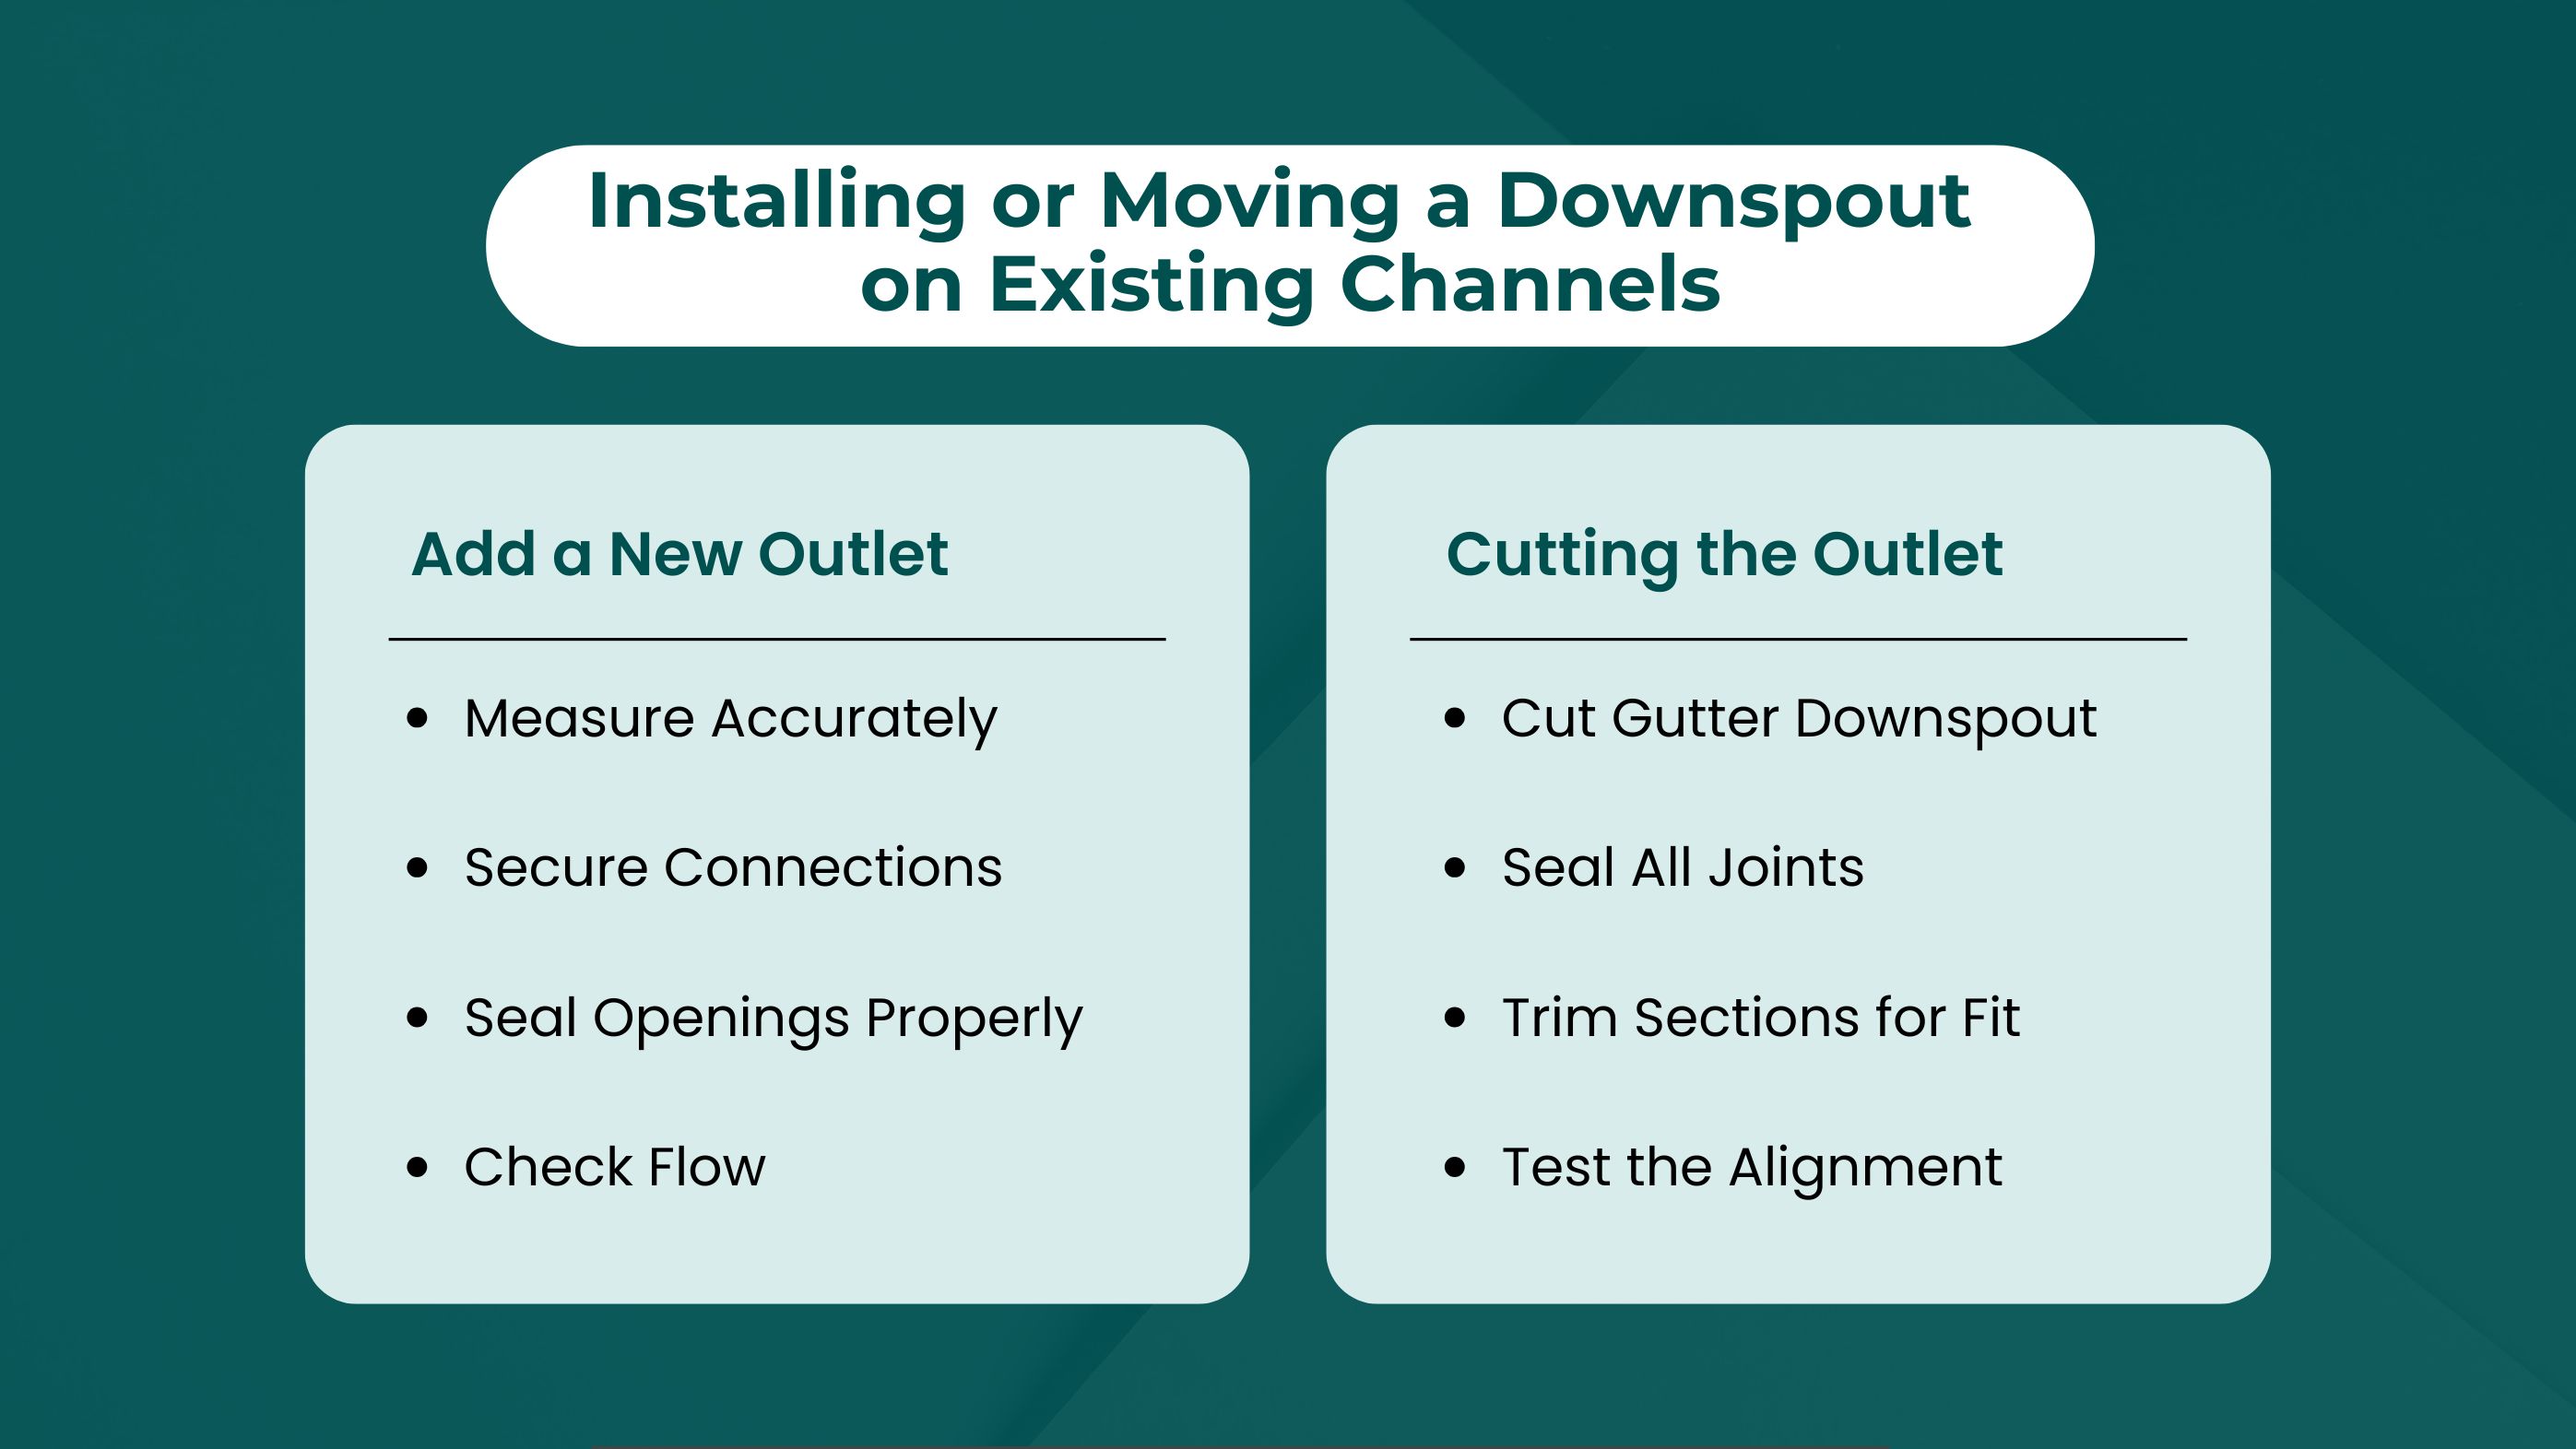
After deciding where the new outlet should go, cutting and trimming the downspout is crucial to create a clean, secure connection. Proper cuts reduce leaks, prevent debris accumulation, and maintain efficient water flow through the system.
Proper downspout extensions help channel rainwater safely away from your home, preventing water from collecting near the foundation, washing away soil, or harming landscaping. Selecting the right extension and placing it correctly ensures effective drainage and protects your property over the long term.
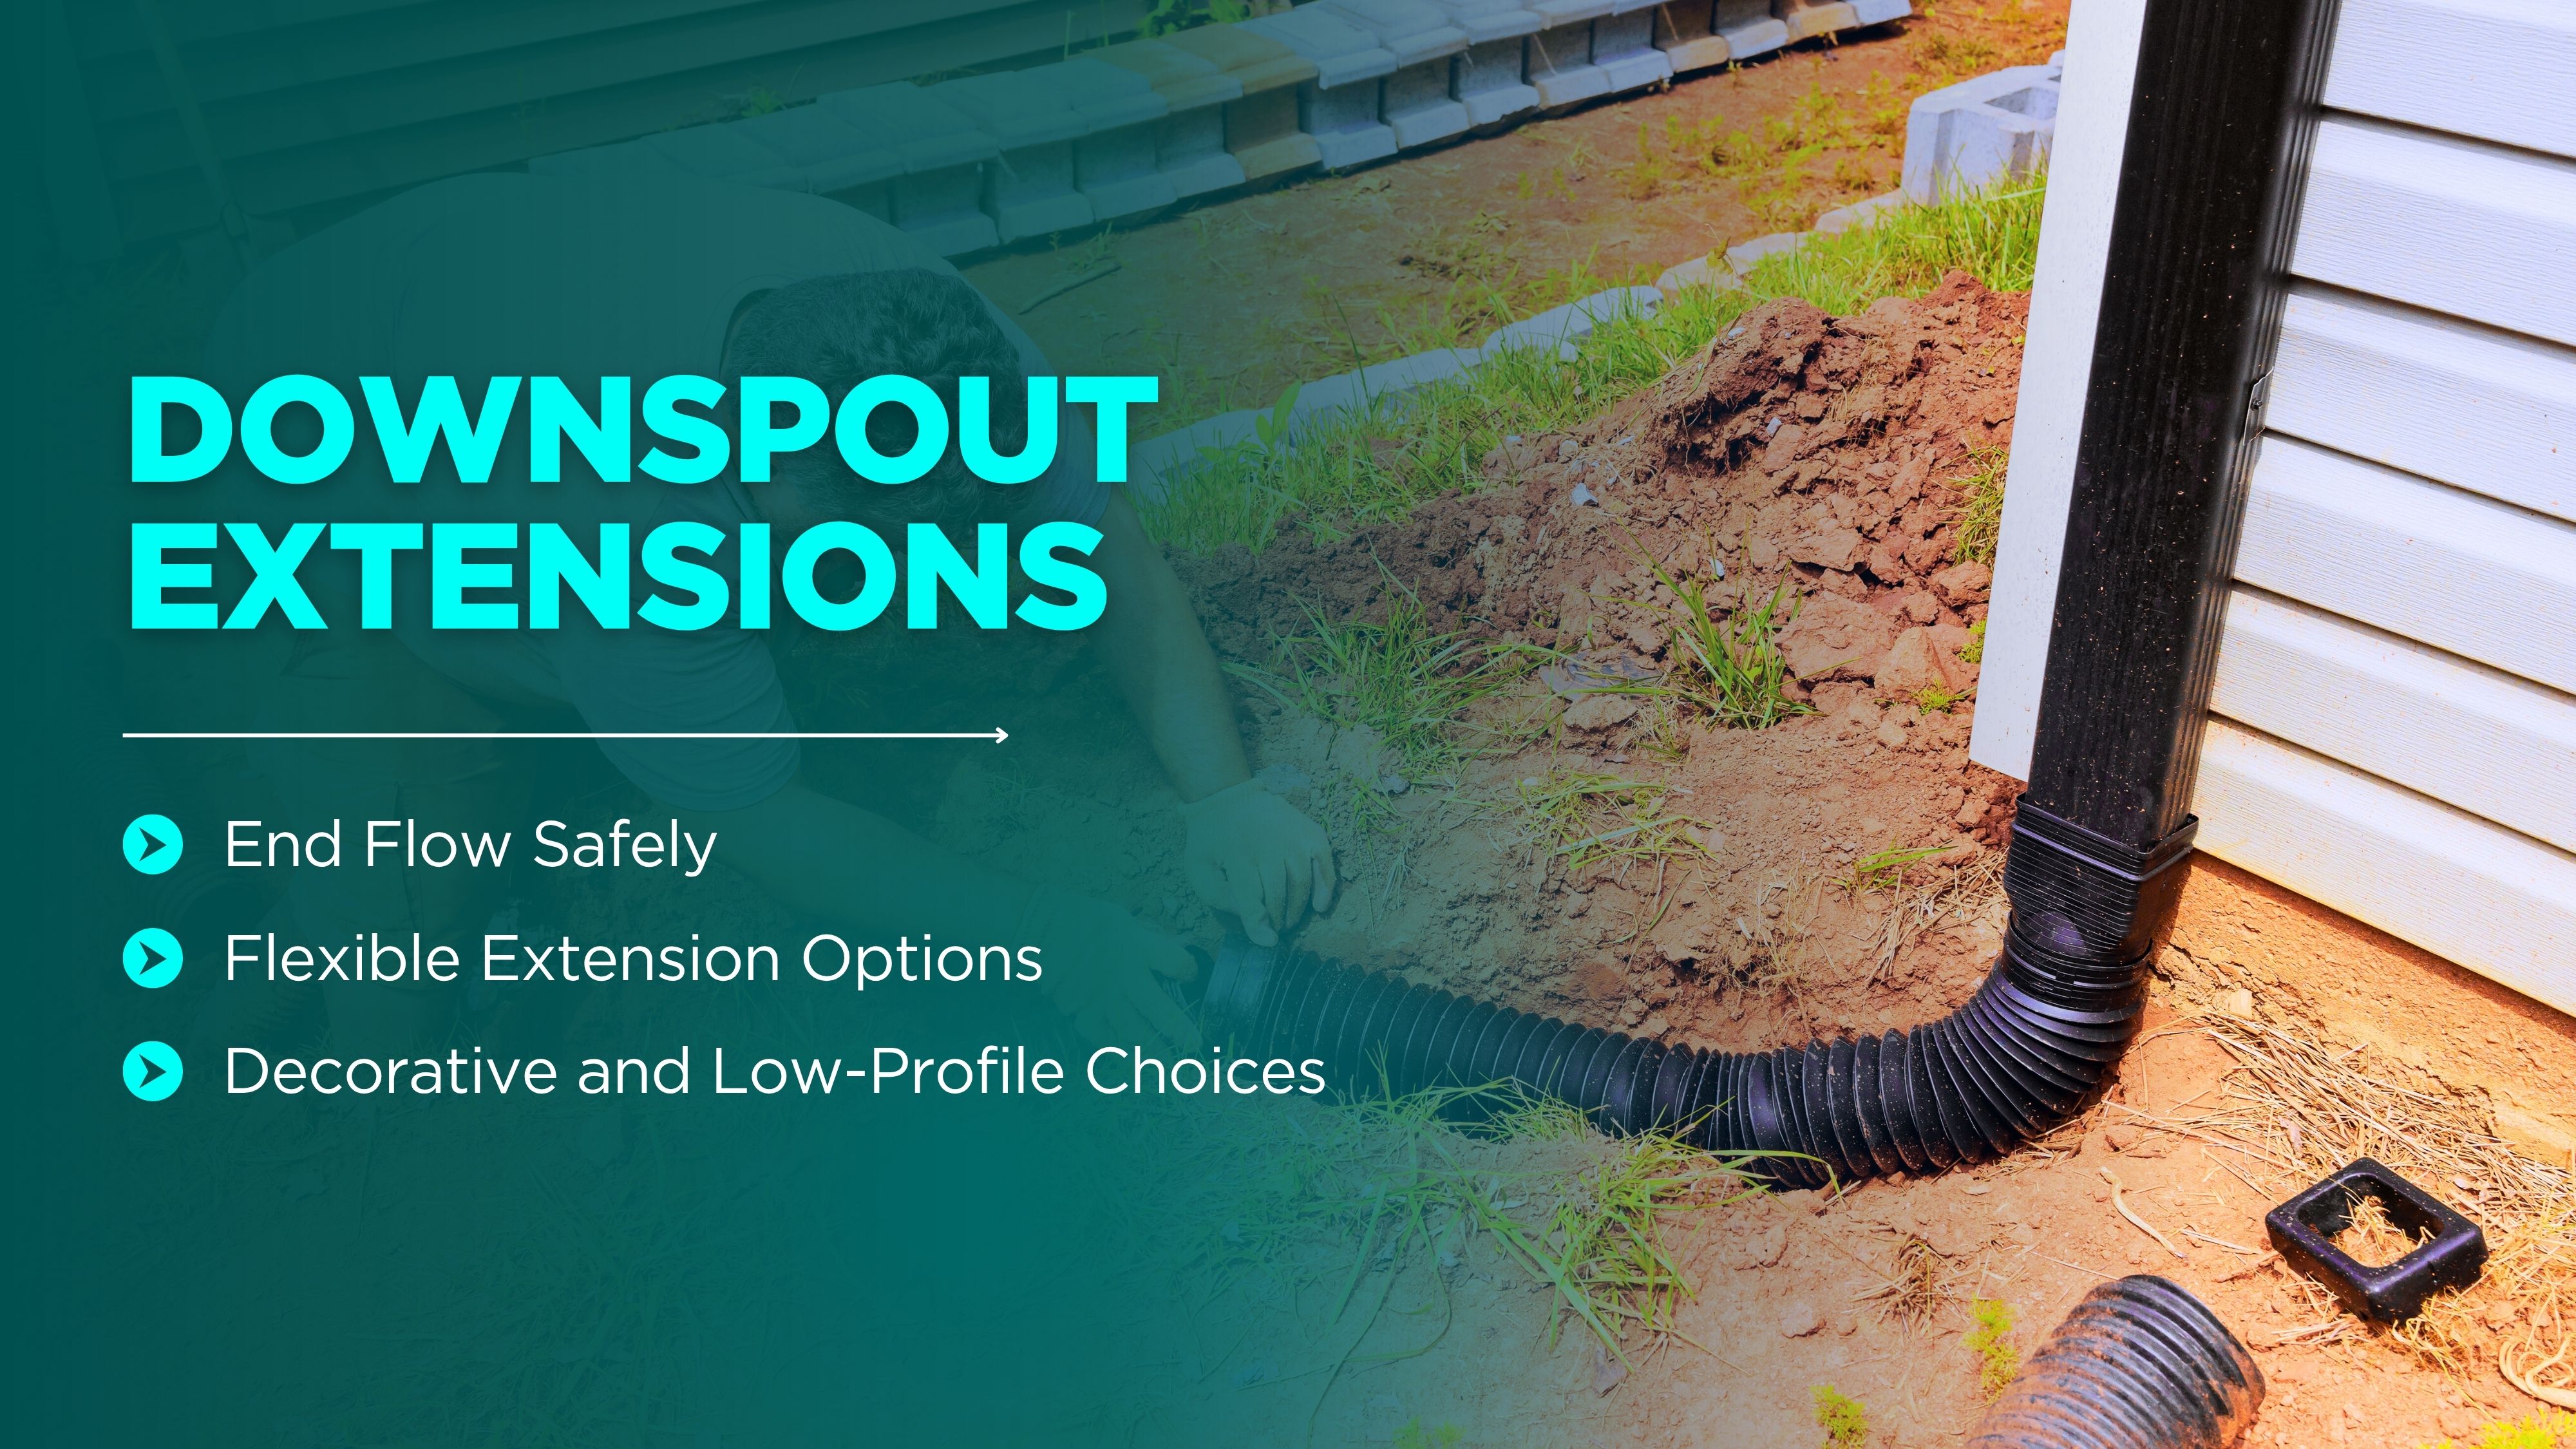
Use splash blocks, trays, or hoses to guide water away from the foundation. These elements prevent soil erosion and reduce the risk of water seeping into basements or crawl spaces. Extensions should be placed on a gentle slope to ensure water moves naturally toward a safe drainage area and does not collect near walkways or patios.
Retractable or adjustable extensions offer flexibility for different landscaping setups. They can be moved or angled as needed, accommodating seasonal changes, garden layouts, or temporary construction work. These options help homeowners maintain proper drainage without compromising aesthetics.
Decorative extensions, such as painted hoses or themed splash blocks, enhance your home’s exterior while keeping water away. Low-profile designs reduce tripping hazards and keep your yard looking neat. Combining functionality with style ensures water management does not interfere with the property’s appearance.
Redirecting water through diverters, drains, or underground systems is a highly effective way to protect your home’s foundation and prevent soil erosion. By channeling water away from vulnerable areas, you reduce the risk of pooling near walkways, garden beds, or the base of your house, ensuring your gutter system operates efficiently and safely.
Decorative extensions, such as painted hoses or themed splash blocks, enhance your home’s exterior while keeping water away. Low-profile designs reduce tripping hazards and keep your yard looking neat. Combining functionality with style ensures water management does not interfere with the property’s appearance.
One common method is directing water into a French drain. These gravel-filled trenches or underground pipes collect runoff from the downspout and carry it to an absorbent area, preventing puddles near the foundation and minimizing erosion.
Alternatively, homeowners can divert downspouts to rain gardens or pre-planned drainage trenches, which safely manage water while also enhancing landscaping. In yards with heavy traffic or sensitive areas, rerouting the downspout underground through buried piping is often the best solution, ensuring proper absorption and reducing standing water risks.
When installing underground piping, maintaining a gradual slope, generally at least 1/4 inch per foot, is critical to prevent backflow or pooling. Using durable materials like HDPE, PVC, or reinforced plastic helps protect pipes from cracking, blockages, or soil movement. Including access points or cleanouts along the piping system is also essential for routine maintenance, allowing easy removal of debris and ensuring the system continues to function efficiently over time.
Make Gutter Cleaning More Affordable
| Method | Cost | Pros | Cons |
|---|---|---|---|
| DIY | $5-$50 | Quick, inexpensive & hands-on | Risk for high gutters may not last long |
| Professional | $100-$400 | Long-lasting, safe, and inspected | Higher upfront cost |
A clear downspout ensures rainwater flows properly, preventing leaks, foundation damage, and overflow issues.
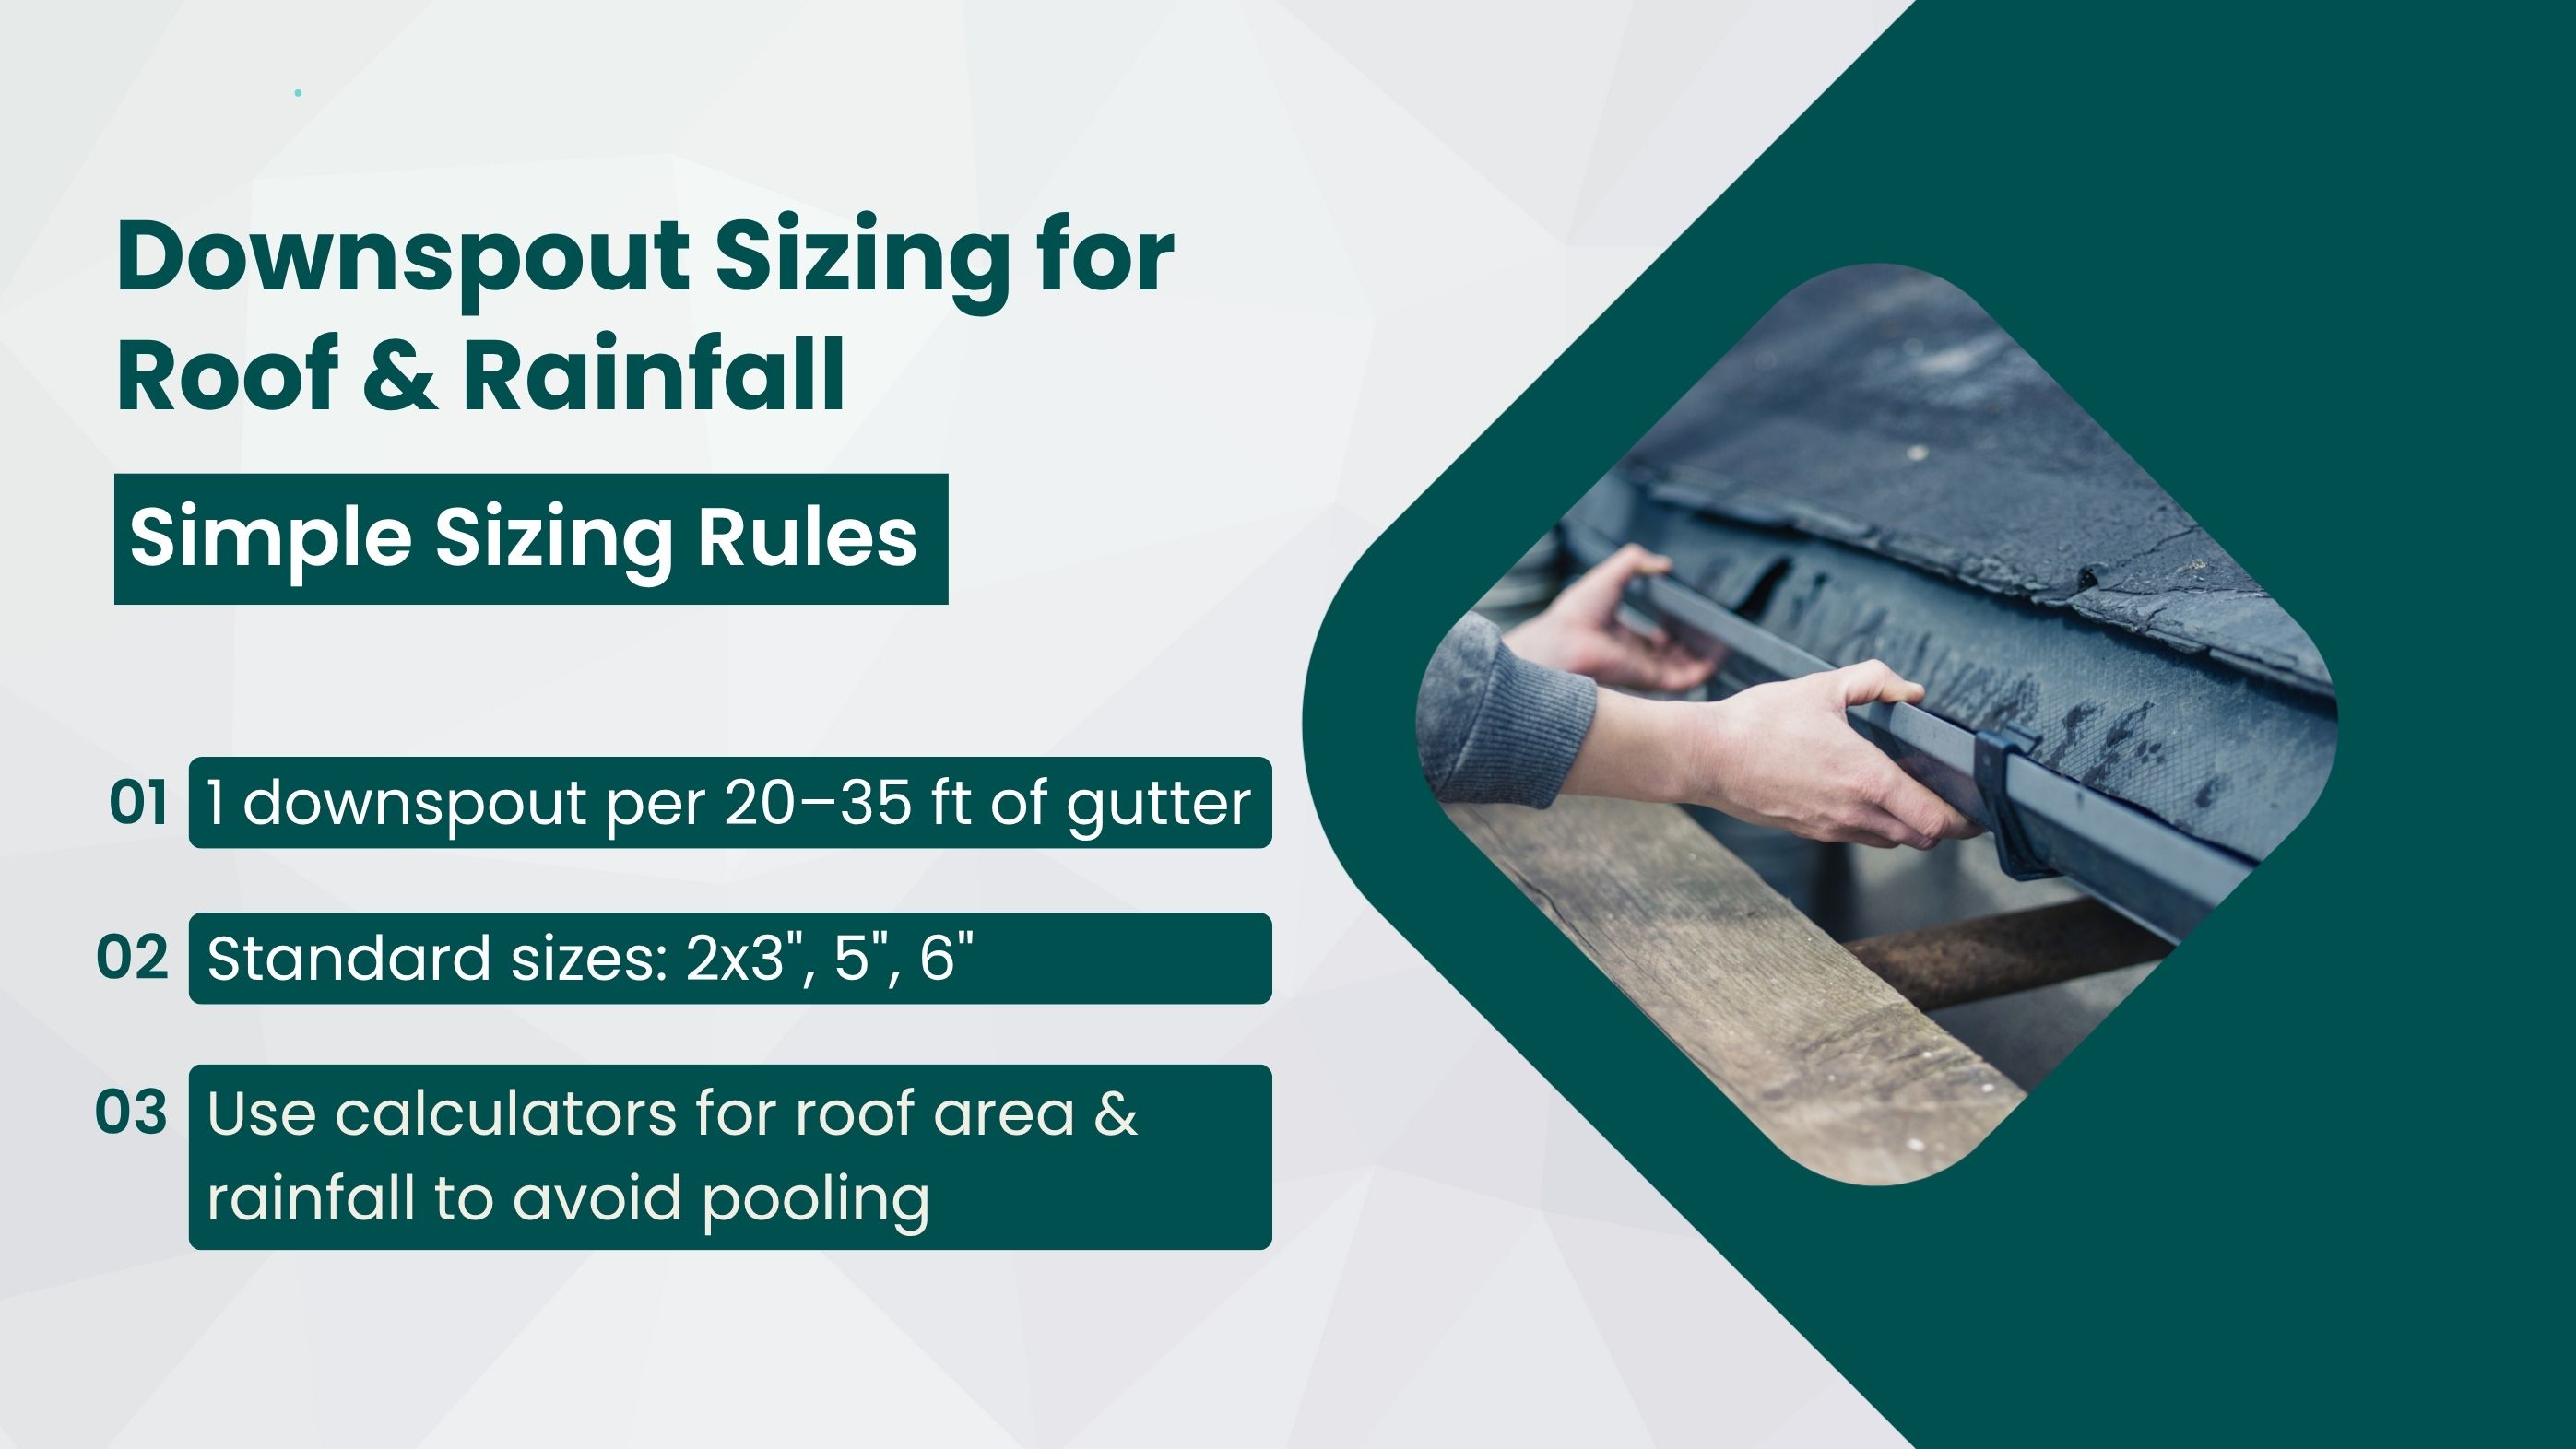
Correct sizing ensures the system handles heavy rainfall without overflowing and maintains proper drainage.
Using the correct components is essential for a secure, leak-free downspout installation. Connectors and outlets play a key role in linking your gutter to the downspout or joining multiple sections together. Adapters allow smooth transitions between different pieces, while Y connectors and outlets help split water flow or redirect it efficiently around corners and landscaping features. Custom fittings can be used to adjust lengths or angles, ensuring a tight fit in tight spaces and maintaining proper drainage away from the foundation
Proper guidance and support ensure water flows efficiently while maintaining system integrity.
Preventing debris from entering the downspout outlet is essential to maintain proper drainage and reduce the risk of clogs, water overflow, or damage to your home’s foundation. Installing guards, screens, and filters at the downspout outlet keeps leaves, twigs, and other debris out while ensuring water flows efficiently.
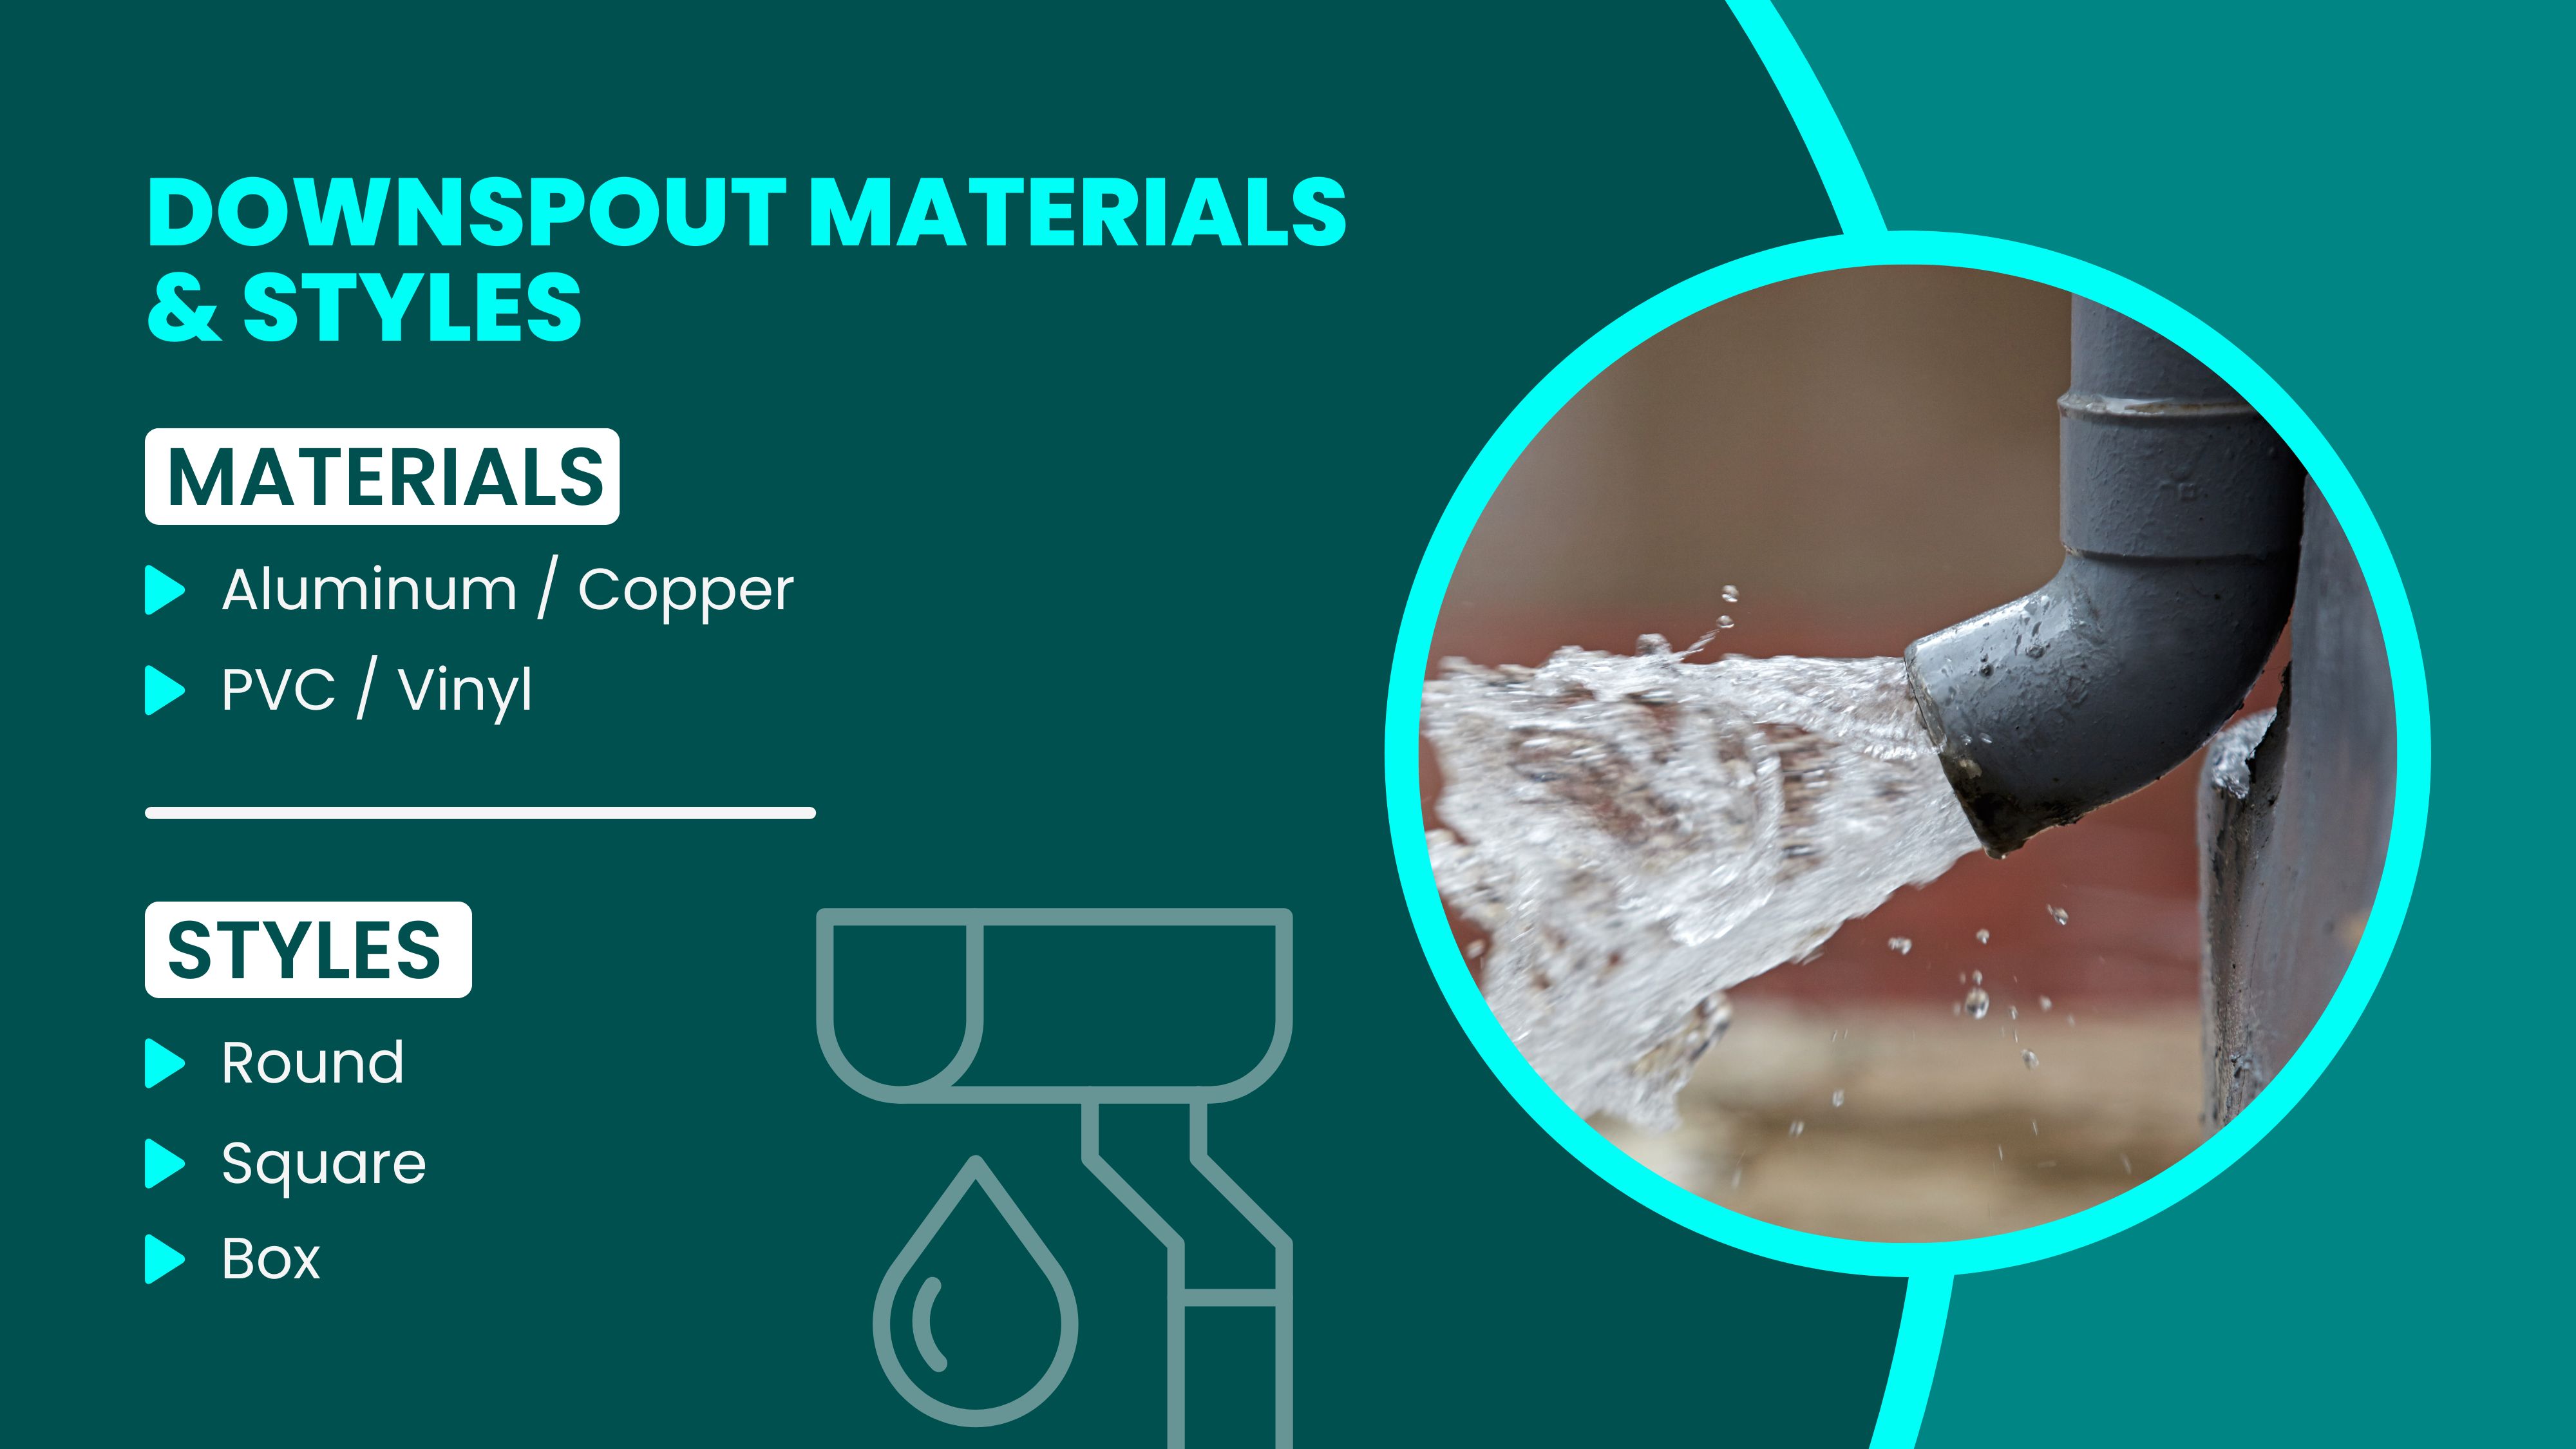
Choosing the right material for downspouts balances durability, maintenance needs, and aesthetic appeal. Selecting the right finish ensures your gutter system performs well while complementing your home’s exterior.
For homeowners who want style without sacrificing function, decorative downspout alternatives offer unique solutions. Rain chains and other decorative devices can direct water away from the foundation while enhancing your outdoor aesthetics.
Understanding when to repair, reattach, or replace your downspouts helps you save money and maintain effective drainage. Acting at the right time prevents costly repairs and ensures long-term performance.
Replacing sections or the entire downspout is often more cost-effective and ensures long-term reliability. You should consider replacement in the following situations:
Some downspout issues are easy to handle with basic tools, while others require professional expertise. Knowing the difference ensures safety and long-lasting results.
Before attempting repairs yourself:
Call in a pro when dealing with:
Regular care prevents clogs, rust, and loose connections. Inspect and clean at least twice a year, especially after storms. Gutter guards and extensions can improve flow and reduce maintenance frequency. Checking fasteners, joints, and seals ensures water is directed safely away from the foundation.
Cost Breakdown: DIY vs Professional Repair
| Service | DIY Supplies | Pro Average Cost (USD) | Details |
|---|---|---|---|
| Reattach downspout | $10–$30 | $100–$200 | Includes brackets, fasteners, and sealant |
| Install new section | $20–$50 | $150 – $400 | Replacement section plus installation |
| Downspout extension | $15–$40 | $100 – $250 | Includes splash blocks, hoses, or decorative extensions |
| Underground routing | $50–$100 | $300 – $700 | Pipes, excavation, and proper slope installation |
Properly reattaching downspouts is crucial for protecting your home from water damage, foundation issues, and landscape erosion. Following correct installation steps, using quality materials, and performing regular maintenance ensures your gutter system functions efficiently. Minor repairs can be handled by homeowners, but for complex, high, or underground systems, hiring a professional guarantees safety and long-lasting results. Acting promptly saves money, protects your property, and prolongs the life of your drainage system.
Yes. Small or accessible downspouts can be reattached using basic tools like a ladder, screws, and sealant. Ensure brackets are secure and the slope allows proper water flow. For high or complex installations, professional help is safer.
Extensions or diverters are recommended to prevent water from pooling near the foundation. Direct water at least 4–6 feet away from the home using splash blocks, trays, hoses, or underground piping.
A standard 3x4 inch or 4x5 inch downspout typically works for a 6-inch gutter. For heavy rainfall or large roof areas, a 5-inch or 6-inch downspout may be required to handle water efficiently.
Generally, one downspout is recommended for every 20–35 feet of gutter. Factors such as roof slope, rainfall intensity, and roof area may require additional downspouts for optimal drainage.
Bury the downspout when you want to keep water hidden, prevent erosion, or safely route runoff away from walkways and landscaping. Ensure proper slope and accessible cleanouts for maintenance.
Yes, rain chains can replace downspouts if you want a decorative option while maintaining drainage. They work best with a basin or splash block at the bottom to safely disperse water away from your foundation.
Join our mailing list for exclusive updates, expert tips, and special offers tailored to your needs. Be the first to know about the latest in home services.

Renovize Home is a platform that supports homeowners from planning to renovation. Whether it’s Renovize AI for guidance or a one-on-one call with Pro Finder, we understand your project and match you with local contractors tailored to your needs.
Who We Are
About Renovize HomeGet in TouchHomeownwer Support:
Coming Soon!
General Inquiries:
support@renovizehome.com
Head Office:
24 Greenway Plaza, STE 1800M, Houston, TX 77046.