Explore All
BROWSE BY CATEGORY
Interior
Exterior
Home Essentials
Homeowner Tools
Blogs & Guides
Find a Pro
Book Your Appointment Now
Home Essentials
About Renovize Home
Explore All
BROWSE BY CATEGORY
Interior
Exterior
Home Essentials
Homeowner Tools
Blogs & Guides
Find a Pro
Book Your Appointment Now
Home Essentials
About Renovize Home
Last Updated 2025-11-19
Preparing the subfloor is one of the most important steps before installing new flooring. A strong, level, and well-sealed subfloor provides the foundation your floors need to stay durable and safe for years. This process involves removing old materials, repairing damage, checking moisture levels, and ensuring the surface is completely even. Proper subfloor preparation not only prevents squeaks, cracks, and uneven flooring but also improves insulation and moisture protection. Whether you’re installing tile, vinyl, or hardwood, starting with a stable base guarantees a smoother installation and long-lasting results.
Table of Contents
Understanding What a Subfloor Is and Why It Matters
Types of Subfloor Materials and Their Uses
Standard Subfloor Thickness and Building Codes
How to Install a Subfloor the Right Way
How to Level an Uneven Subfloor
How to Protect Your Subfloor from Moisture and Mold
Treating Water Damage or Mold Growth
Repairing or Replacing a Damaged Subfloor
Common Subfloor Issues and Quick Fixes
DIY vs Hiring a Professional
Subfloor Preparation Cost Overview
Final Thoughts
A subfloor is the solid base layer that sits directly on top of your home’s floor joists and underneath your visible flooring, such as tile, hardwood, or vinyl. It acts as the foundation that supports everything above it, including the underlayment, finished flooring, furniture, and daily foot traffic. Most subfloors are made of plywood, oriented strand board (OSB), or concrete, depending on the home’s structure.
While the finished flooring gives your home its look and comfort, the subfloor provides strength and stability, ensuring everything stays level, secure, and safe. Without a properly installed subfloor, your flooring can easily shift, squeak, or even sag over time.
The subfloor serves as a critical bridge between the floor joists (the structural beams beneath your floor) and the finished flooring above.
A poorly prepared or damaged subfloor can lead to a range of problems, from uneven flooring and annoying squeaks to serious structural damage. Over time, moisture can seep through gaps or cracks in the flooring and reach the subfloor, causing rot, mold growth, or warping. These issues weaken the floor’s integrity and can become expensive to fix later.
On the other hand, proper subfloor preparation ensures that the surface is flat, dry, and stable before any new flooring is installed. It prevents movement, keeps your floors level, and extends the lifespan of your finished flooring. Whether you’re installing tiles, laminate, or hardwood, taking the time to prepare the subfloor helps your new floor perform better and last longer.
Choosing the right subfloor material is crucial for building a durable and stable flooring system. The subfloor not only supports your finished flooring but also helps with moisture control, insulation, and overall strength. There are several subfloor material options, and understanding how each performs under different conditions can help you choose the best one for your home.
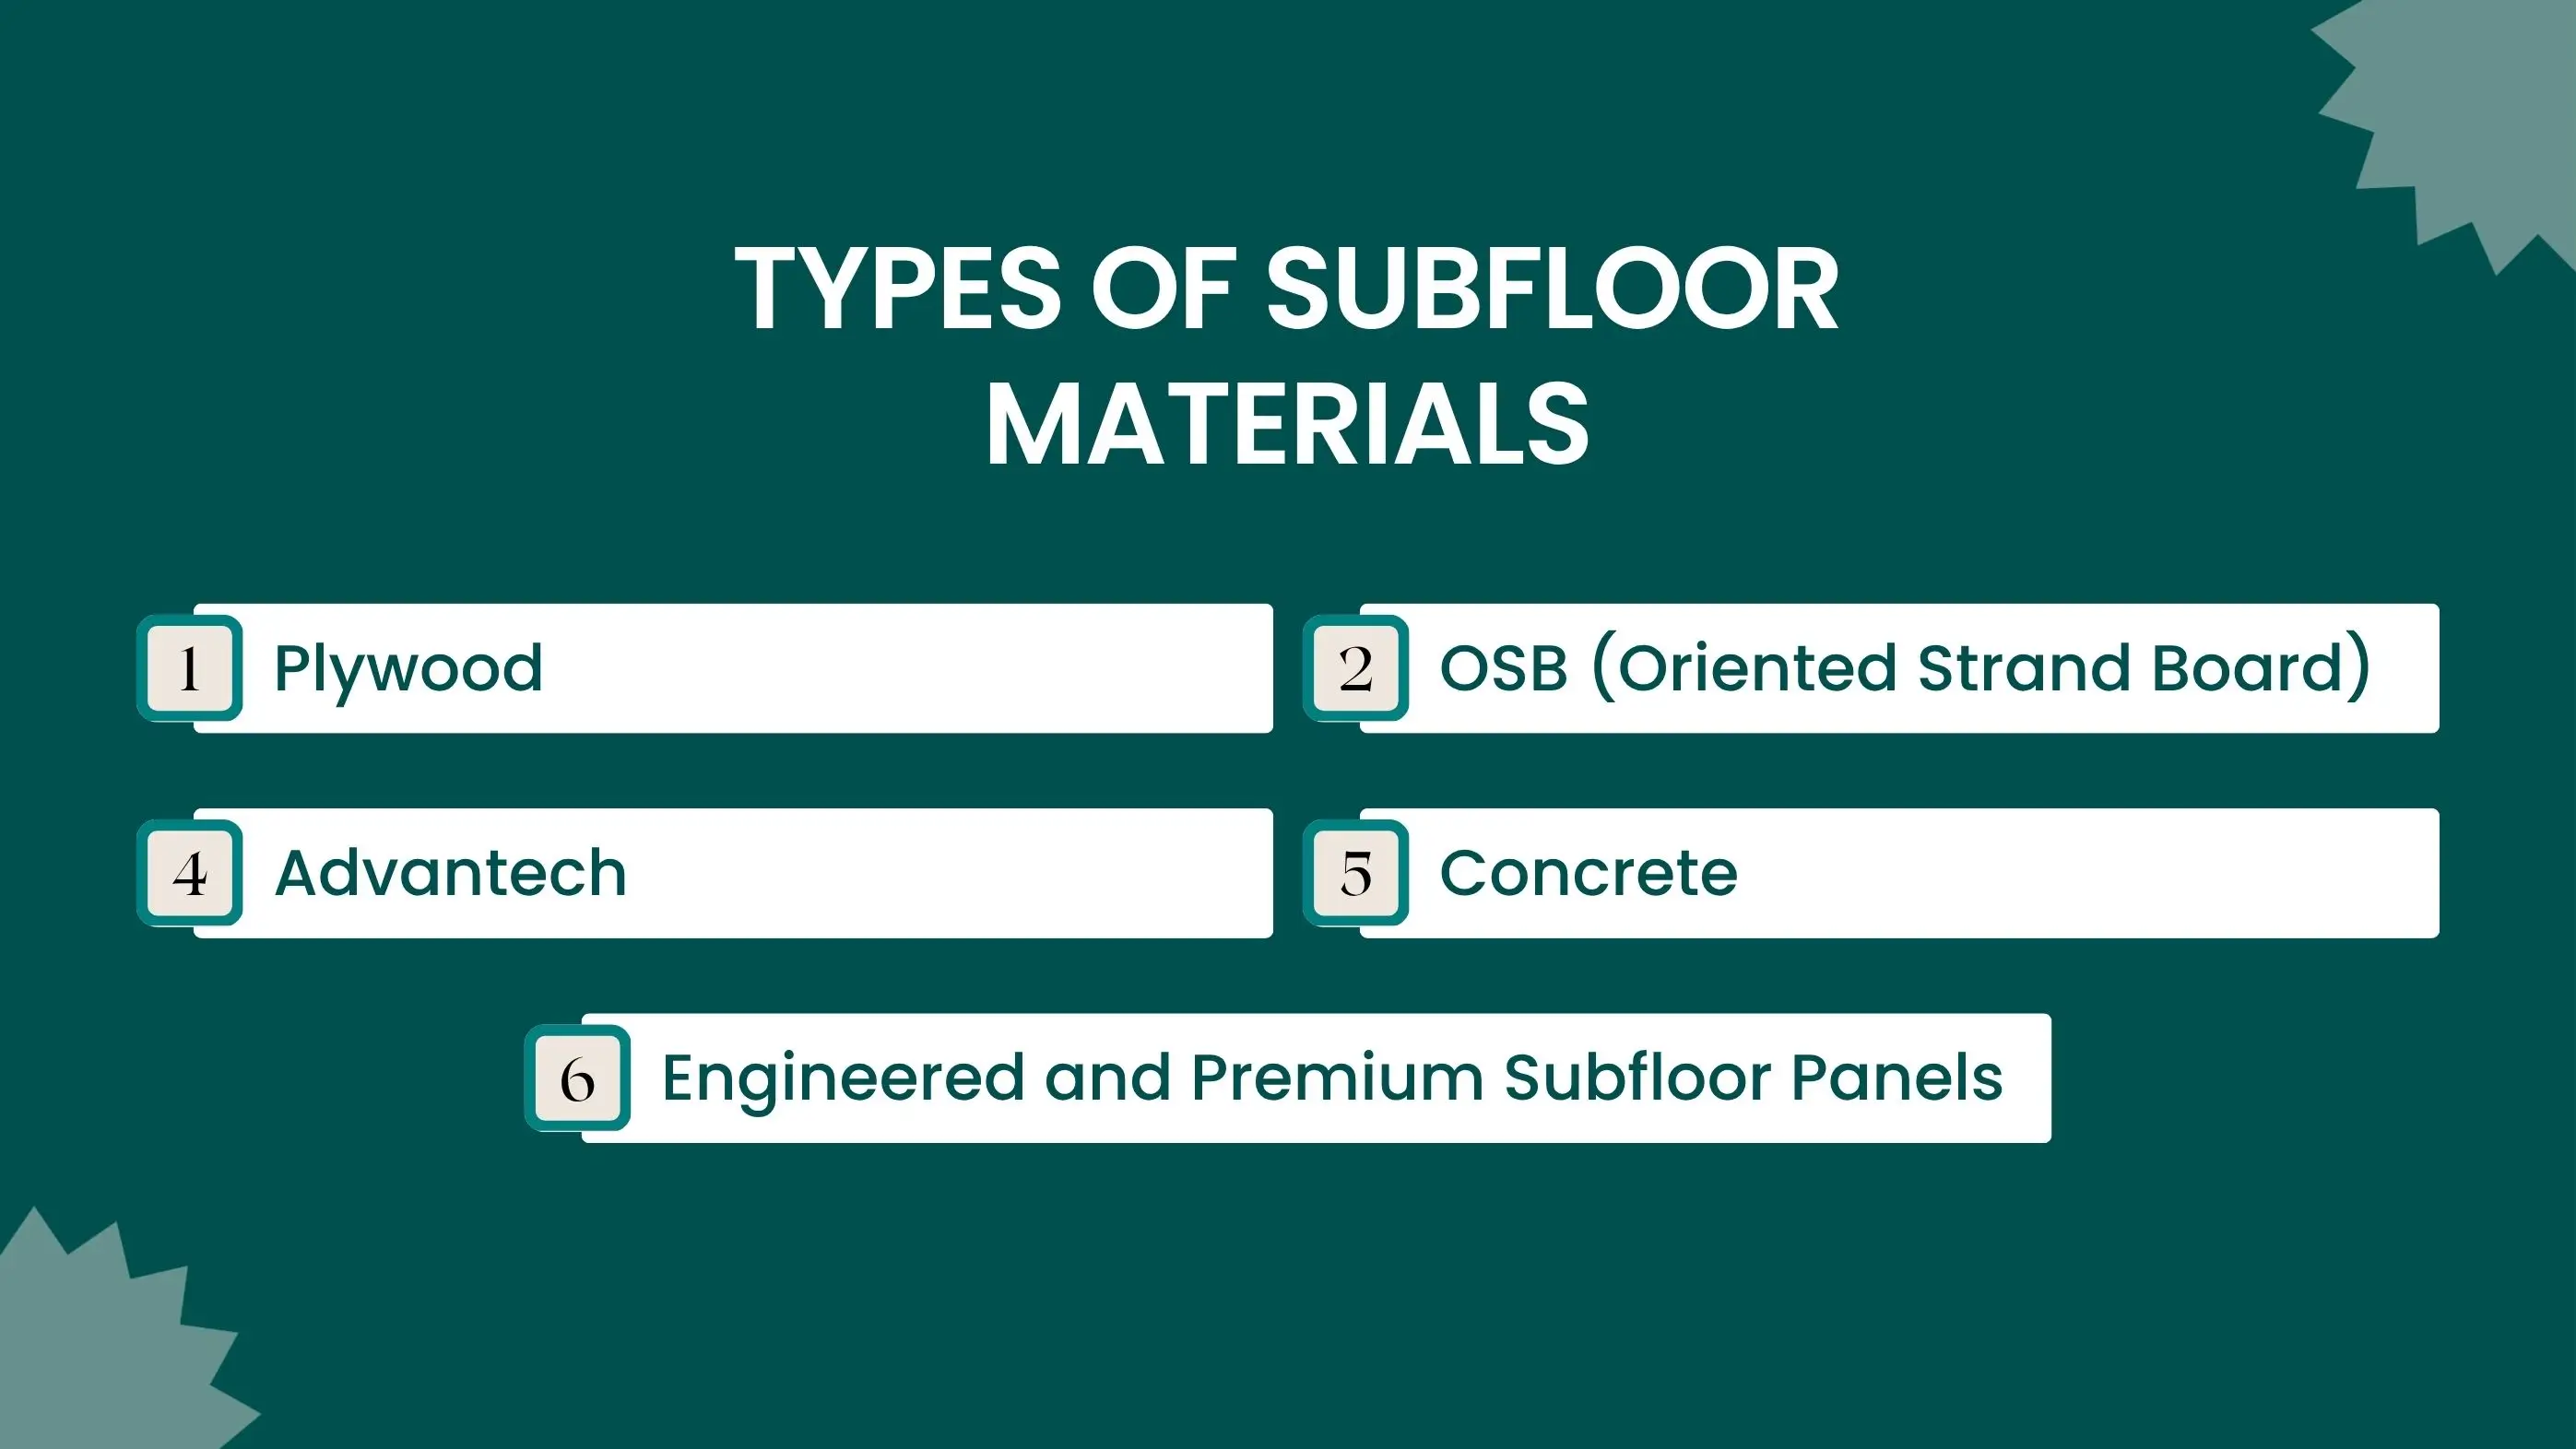
Plywood is one of the most common and reliable subfloor materials used in homes. It’s made by gluing thin layers of wood veneer together in alternating grain directions, creating a strong and stable panel.
Oriented Strand Board is another popular subfloor material option and a cost-effective alternative to plywood. It’s made from compressed layers of wood strands mixed with resin and adhesives to form a dense, solid sheet.
Advantech is a high-performance engineered subflooring material designed to offer superior moisture resistance and stability. It’s made from wood fibers bonded with advanced resins under high pressure, making it one of the strongest subfloor material options available.
Concrete is a non-wood subfloor material typically found in basements, ground floors, and multi-story buildings. Unlike plywood or OSB, concrete provides a solid, moisture-resistant base that doesn’t warp or rot.
Choosing the correct subfloor thickness is just as important as selecting the right material. The thickness of a subfloor determines how well it supports your flooring, distributes weight, and prevents movement or squeaks. Building codes in most residential areas specify minimum thickness requirements to ensure floors remain strong, stable, and safe over time.
In general, the standard subfloor thickness for most homes ranges between 5/8 inch and 3/4 inch, depending on the flooring type and joist spacing. Thicker subfloors provide better strength and rigidity, while thinner ones may flex or squeak under heavy loads.
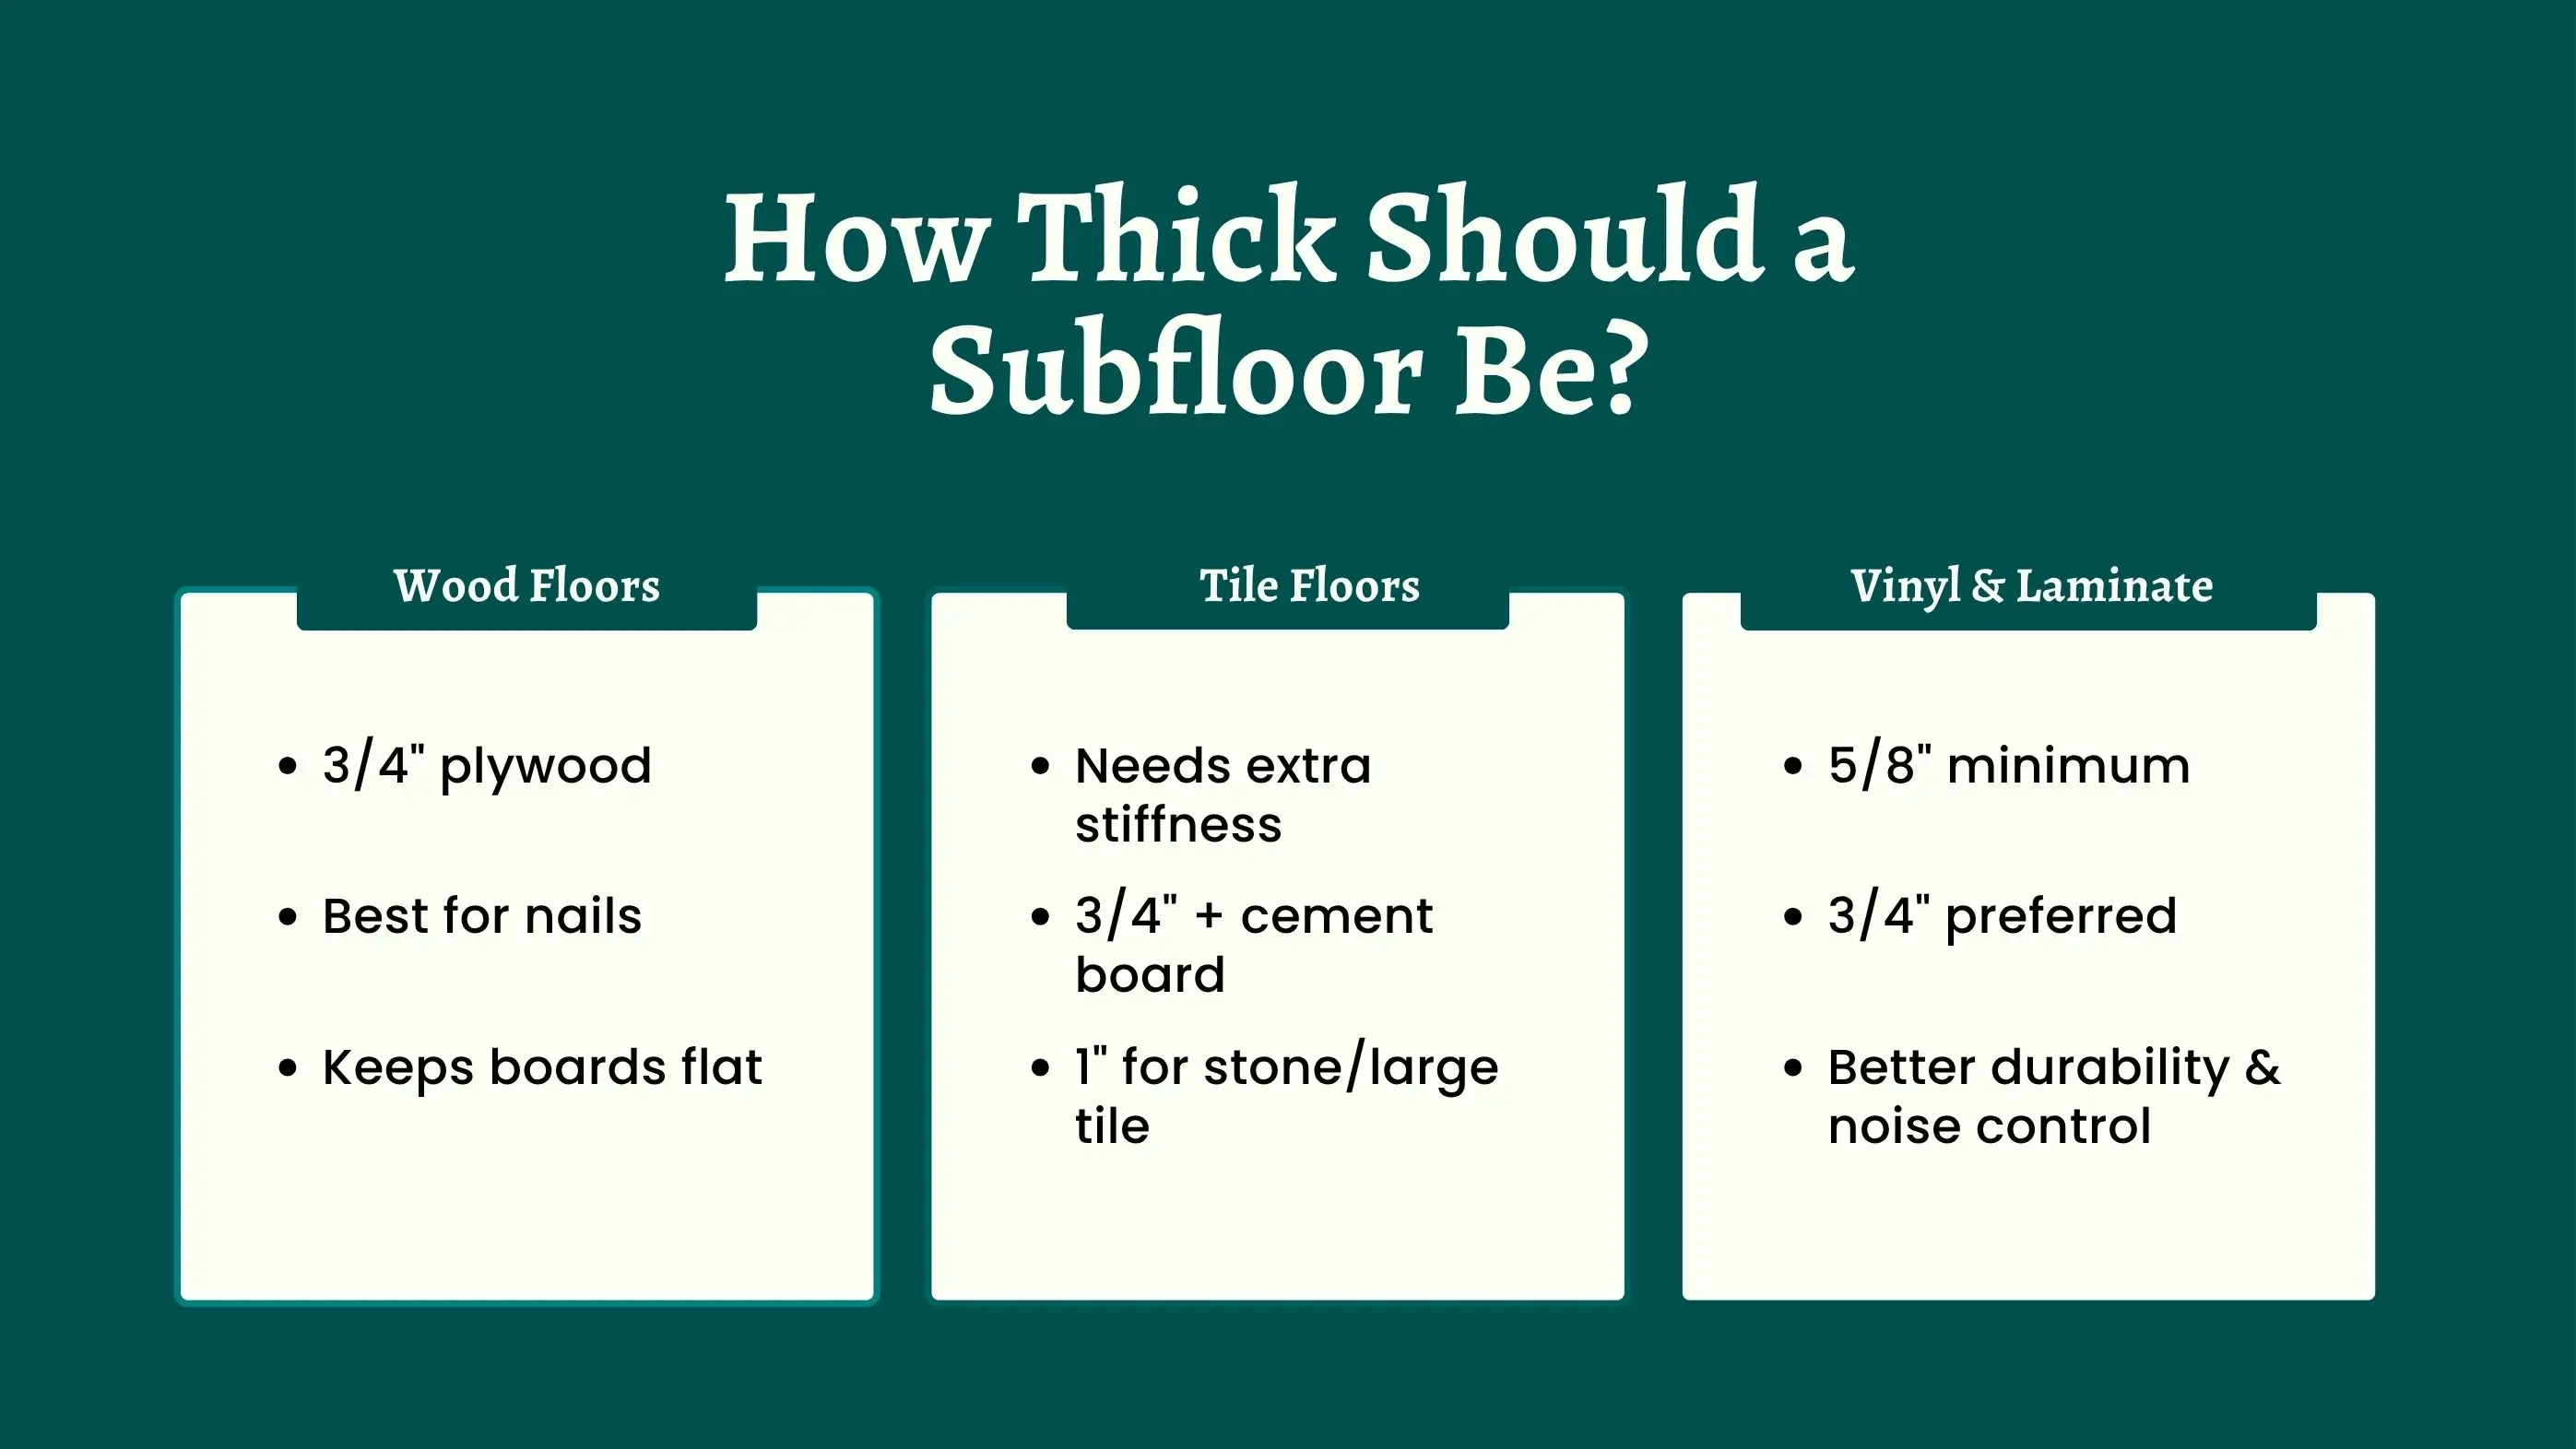
Hardwood and engineered wood floors perform best with a 3/4-inch subfloor, typically made of plywood or Advantech panels. This thickness helps prevent nail movement and keeps the wood flooring flat and secure.
Tile floors require extra stiffness to prevent cracks in the grout or tiles. A 3/4-inch subfloor combined with a cement backer board or additional underlayment layer is usually recommended. In some cases, codes may require an even thicker 1-inch subfloor for large-format or stone tiles.
Lightweight flooring types such as vinyl, linoleum, or laminate can be installed over a 5/8-inch subfloor if the joists are spaced correctly and the floor is level. However, using a 3/4-inch subfloor is still preferred for better durability and noise reduction.
Most residential building codes in North America set minimum standards based on joist spacing and material type. For example:
A strong, level, and well-installed subfloor sets the foundation for everything that comes above it. Proper subfloor installation ensures your flooring won’t squeak, shift, or warp over time. Whether you’re learning how to install a subfloor for the first time or refreshing your skills, following the right steps guarantees a secure, long-lasting result. Installing a subfloor involves planning the layout, cutting the panels accurately, fastening them to the subfloor joists, and inspecting the final surface to confirm it’s level and solid. Let’s go through each step in detail.
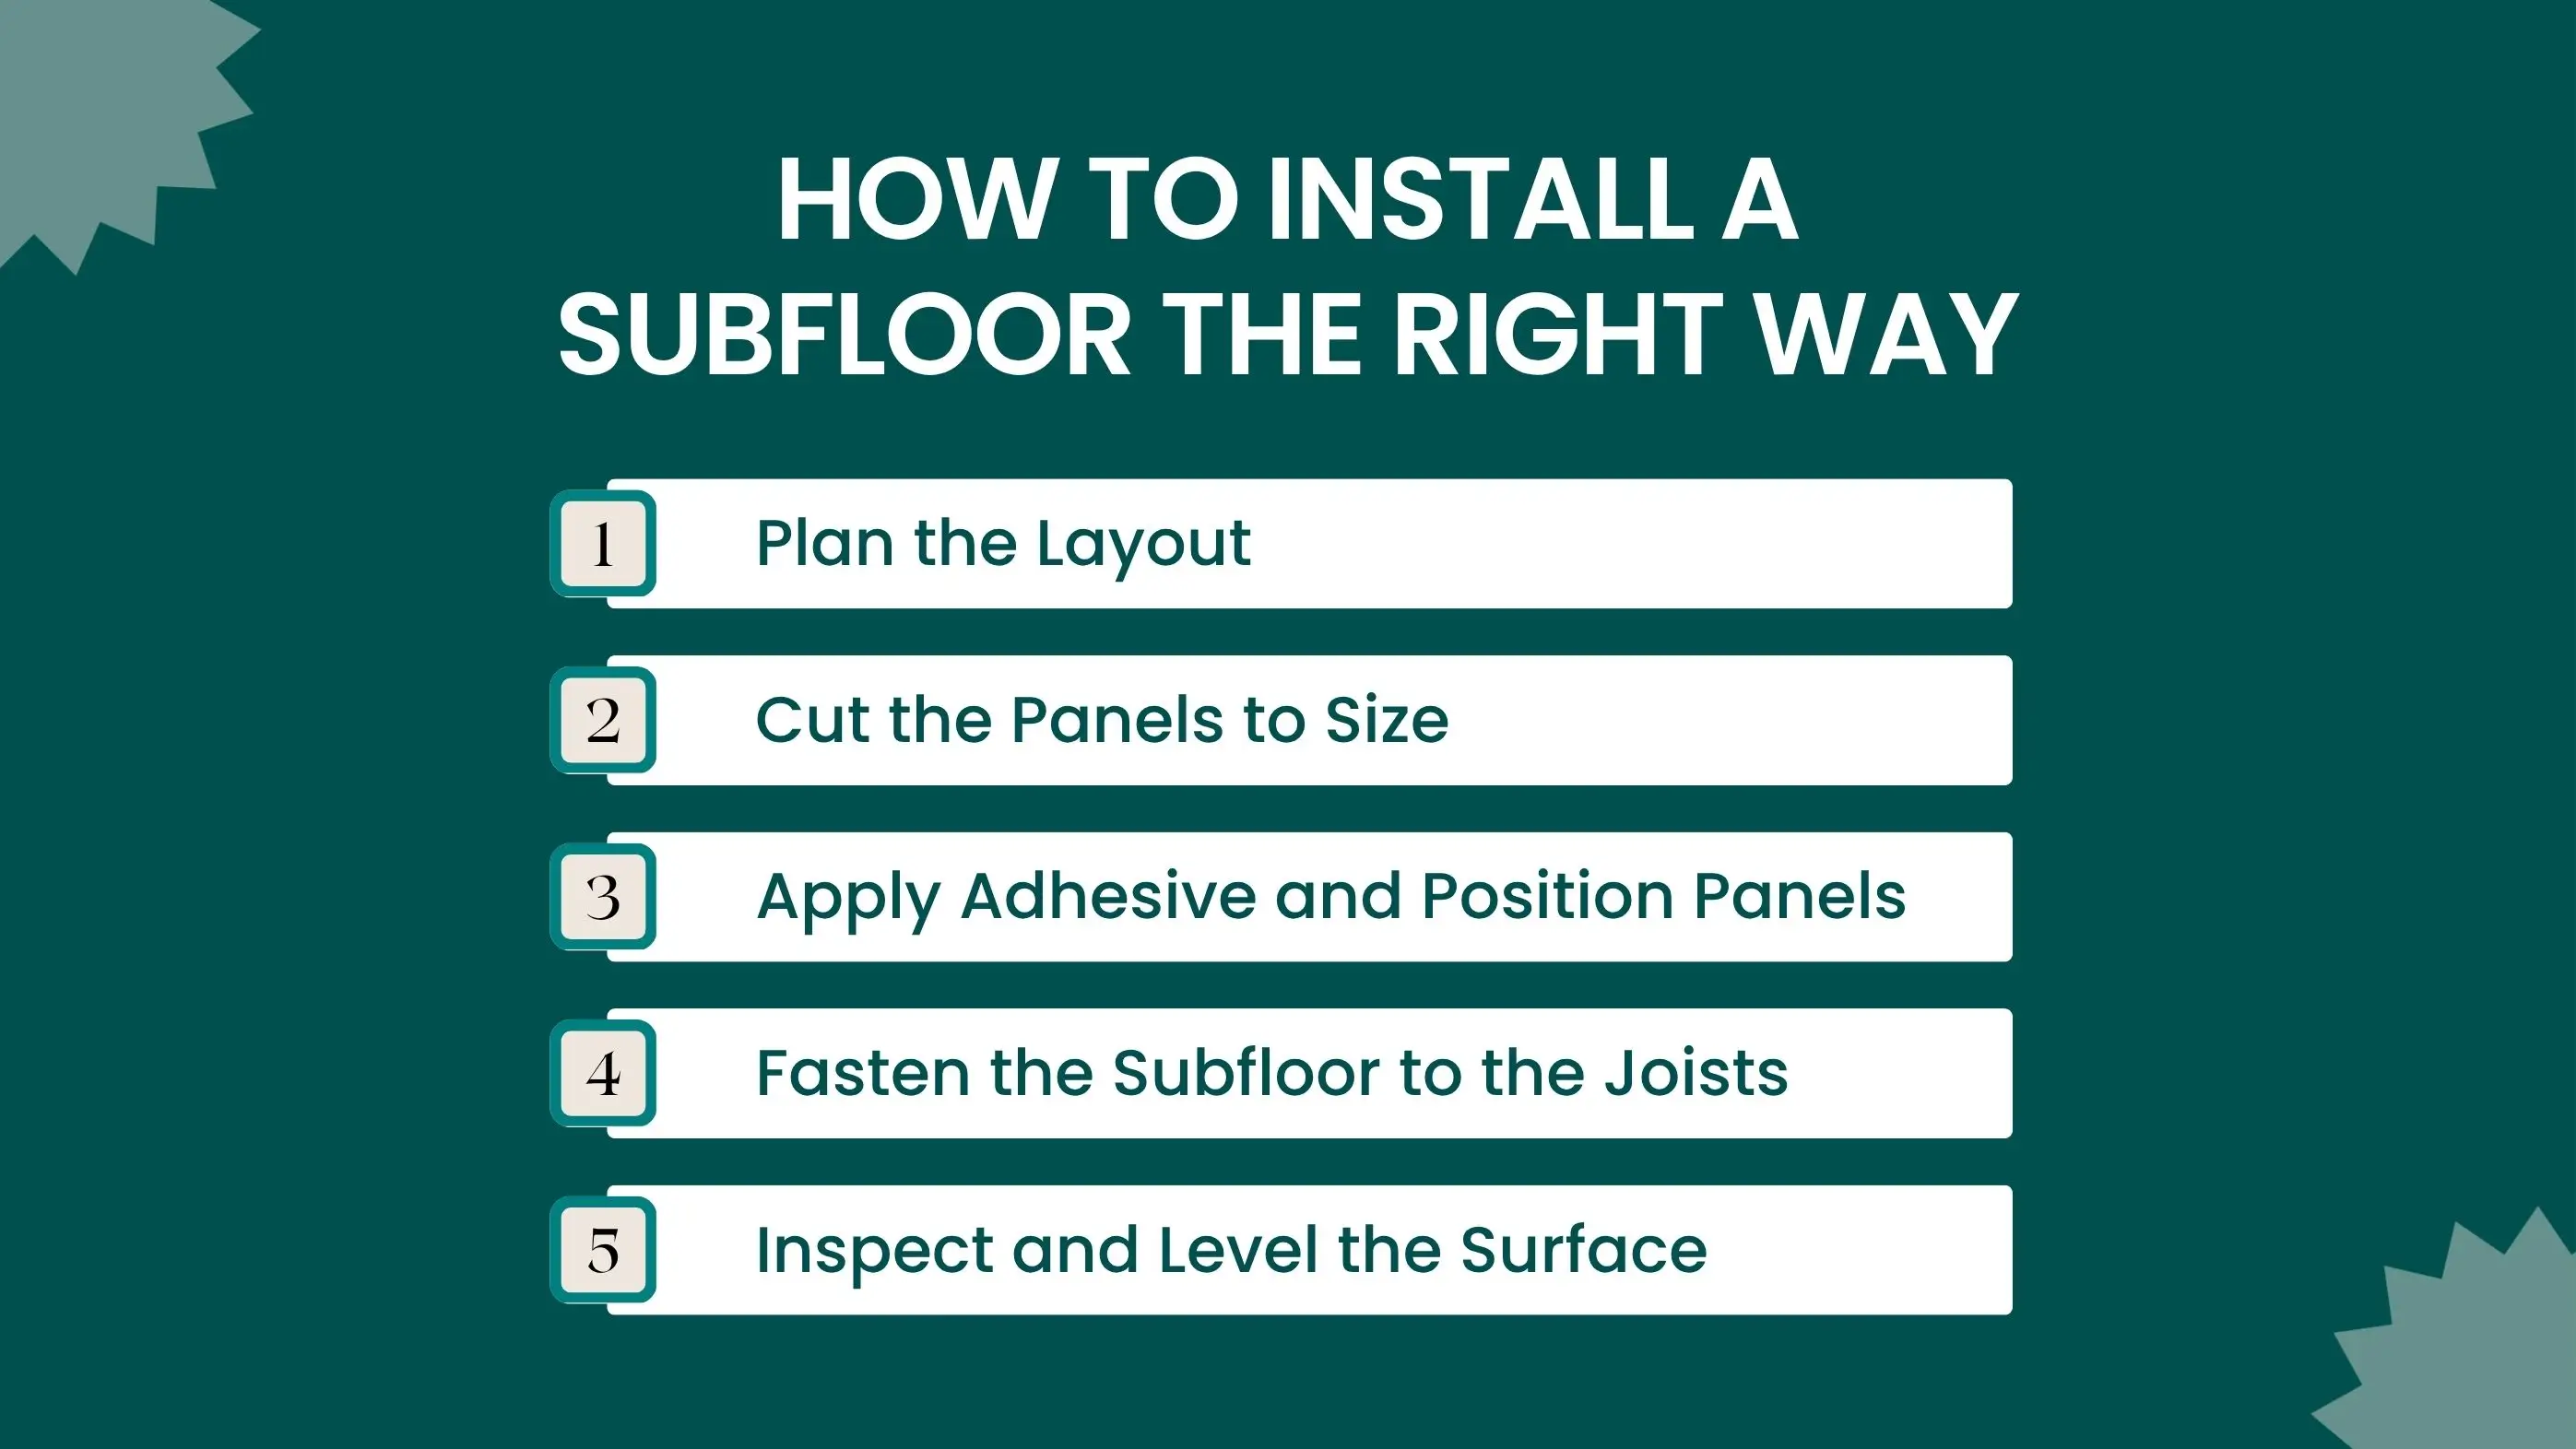
Before you begin installing a subfloor, take precise measurements of the room and mark where the panels will go. When learning how to lay a subfloor, remember to stagger the seams of each sheet so that no four corners meet at one point. This improves stability and prevents weak spots. Panels should run perpendicular to the joists for maximum strength.
Cut the subfloor sheets using a circular saw so they fit snugly against the walls without forcing them into place. Leave a small expansion gap (about 1/8 inch) between sheets to allow for natural movement caused by temperature or humidity changes. For laying plywood subfloor, make sure each cut is clean and straight for tight, even joints.
Before placing each panel, apply a high-quality subfloor adhesive along the top of every subfloor joist. This creates a strong bond and helps eliminate squeaks later. Press the panel firmly into place so the adhesive spreads evenly. Adhesives also act as a moisture barrier, preventing water from seeping through the seams.
Once the panels are in position, use screws or nails to fasten them securely to the joists. Proper fastening ensures that the floor feels stable and solid underfoot.
After all panels are secured, inspect the entire subfloor for uneven areas or raised edges. Use a straightedge or level to confirm the surface is flat. Sand down high spots and fill any gaps or low areas with leveling compound. A perfectly level base ensures your finished flooring will install smoothly and perform better long term.
Choosing the right fasteners is key to a quiet, secure floor. Many homeowners wonder whether to nail or screw subfloor panels. The best approach is usually a combination, adhesive plus screws for strength and noise prevention.
Screws provide stronger holding power and are less likely to loosen over time, while nails are faster to drive but may allow minor movement that causes squeaks. For the best results, use subfloor screws rather than standard drywall or wood screws.
The ideal screw length for subfloor panels is typically 1-5/8 to 2-1/2 inches, depending on the material thickness. For a 3/4-inch subfloor, a 2-inch screw ensures deep anchoring into the joists.
Maintain tight screw spacing to distribute weight evenly and avoid flexing. Place screws every 6 to 8 inches along the panel edges and every 12 inches across the center. This pattern secures the sheets firmly and minimizes movement between panels.
To stop squeaks, make sure screws penetrate the joists cleanly without stripping. Drive each fastener flush with the surface—never over-tighten. Pairing screws with a strong subfloor adhesive further eliminates movement that causes noise.
Before installing any new flooring, it’s essential to check whether your subfloor is perfectly flat. Even small dips or humps can cause tiles to crack, vinyl to lift, or hardwood planks to separate over time. Leveling a subfloor ensures your finished floor looks smooth, feels solid, and lasts longer. To begin, inspect your floor by placing a long straightedge or level across the surface. If you notice any uneven areas greater than 1/8 inch over 6 feet, you’ll need to fix them before installation. Follow these simple steps to fix dips and humps, ensuring a flat, stable surface ready for your new flooring installation.
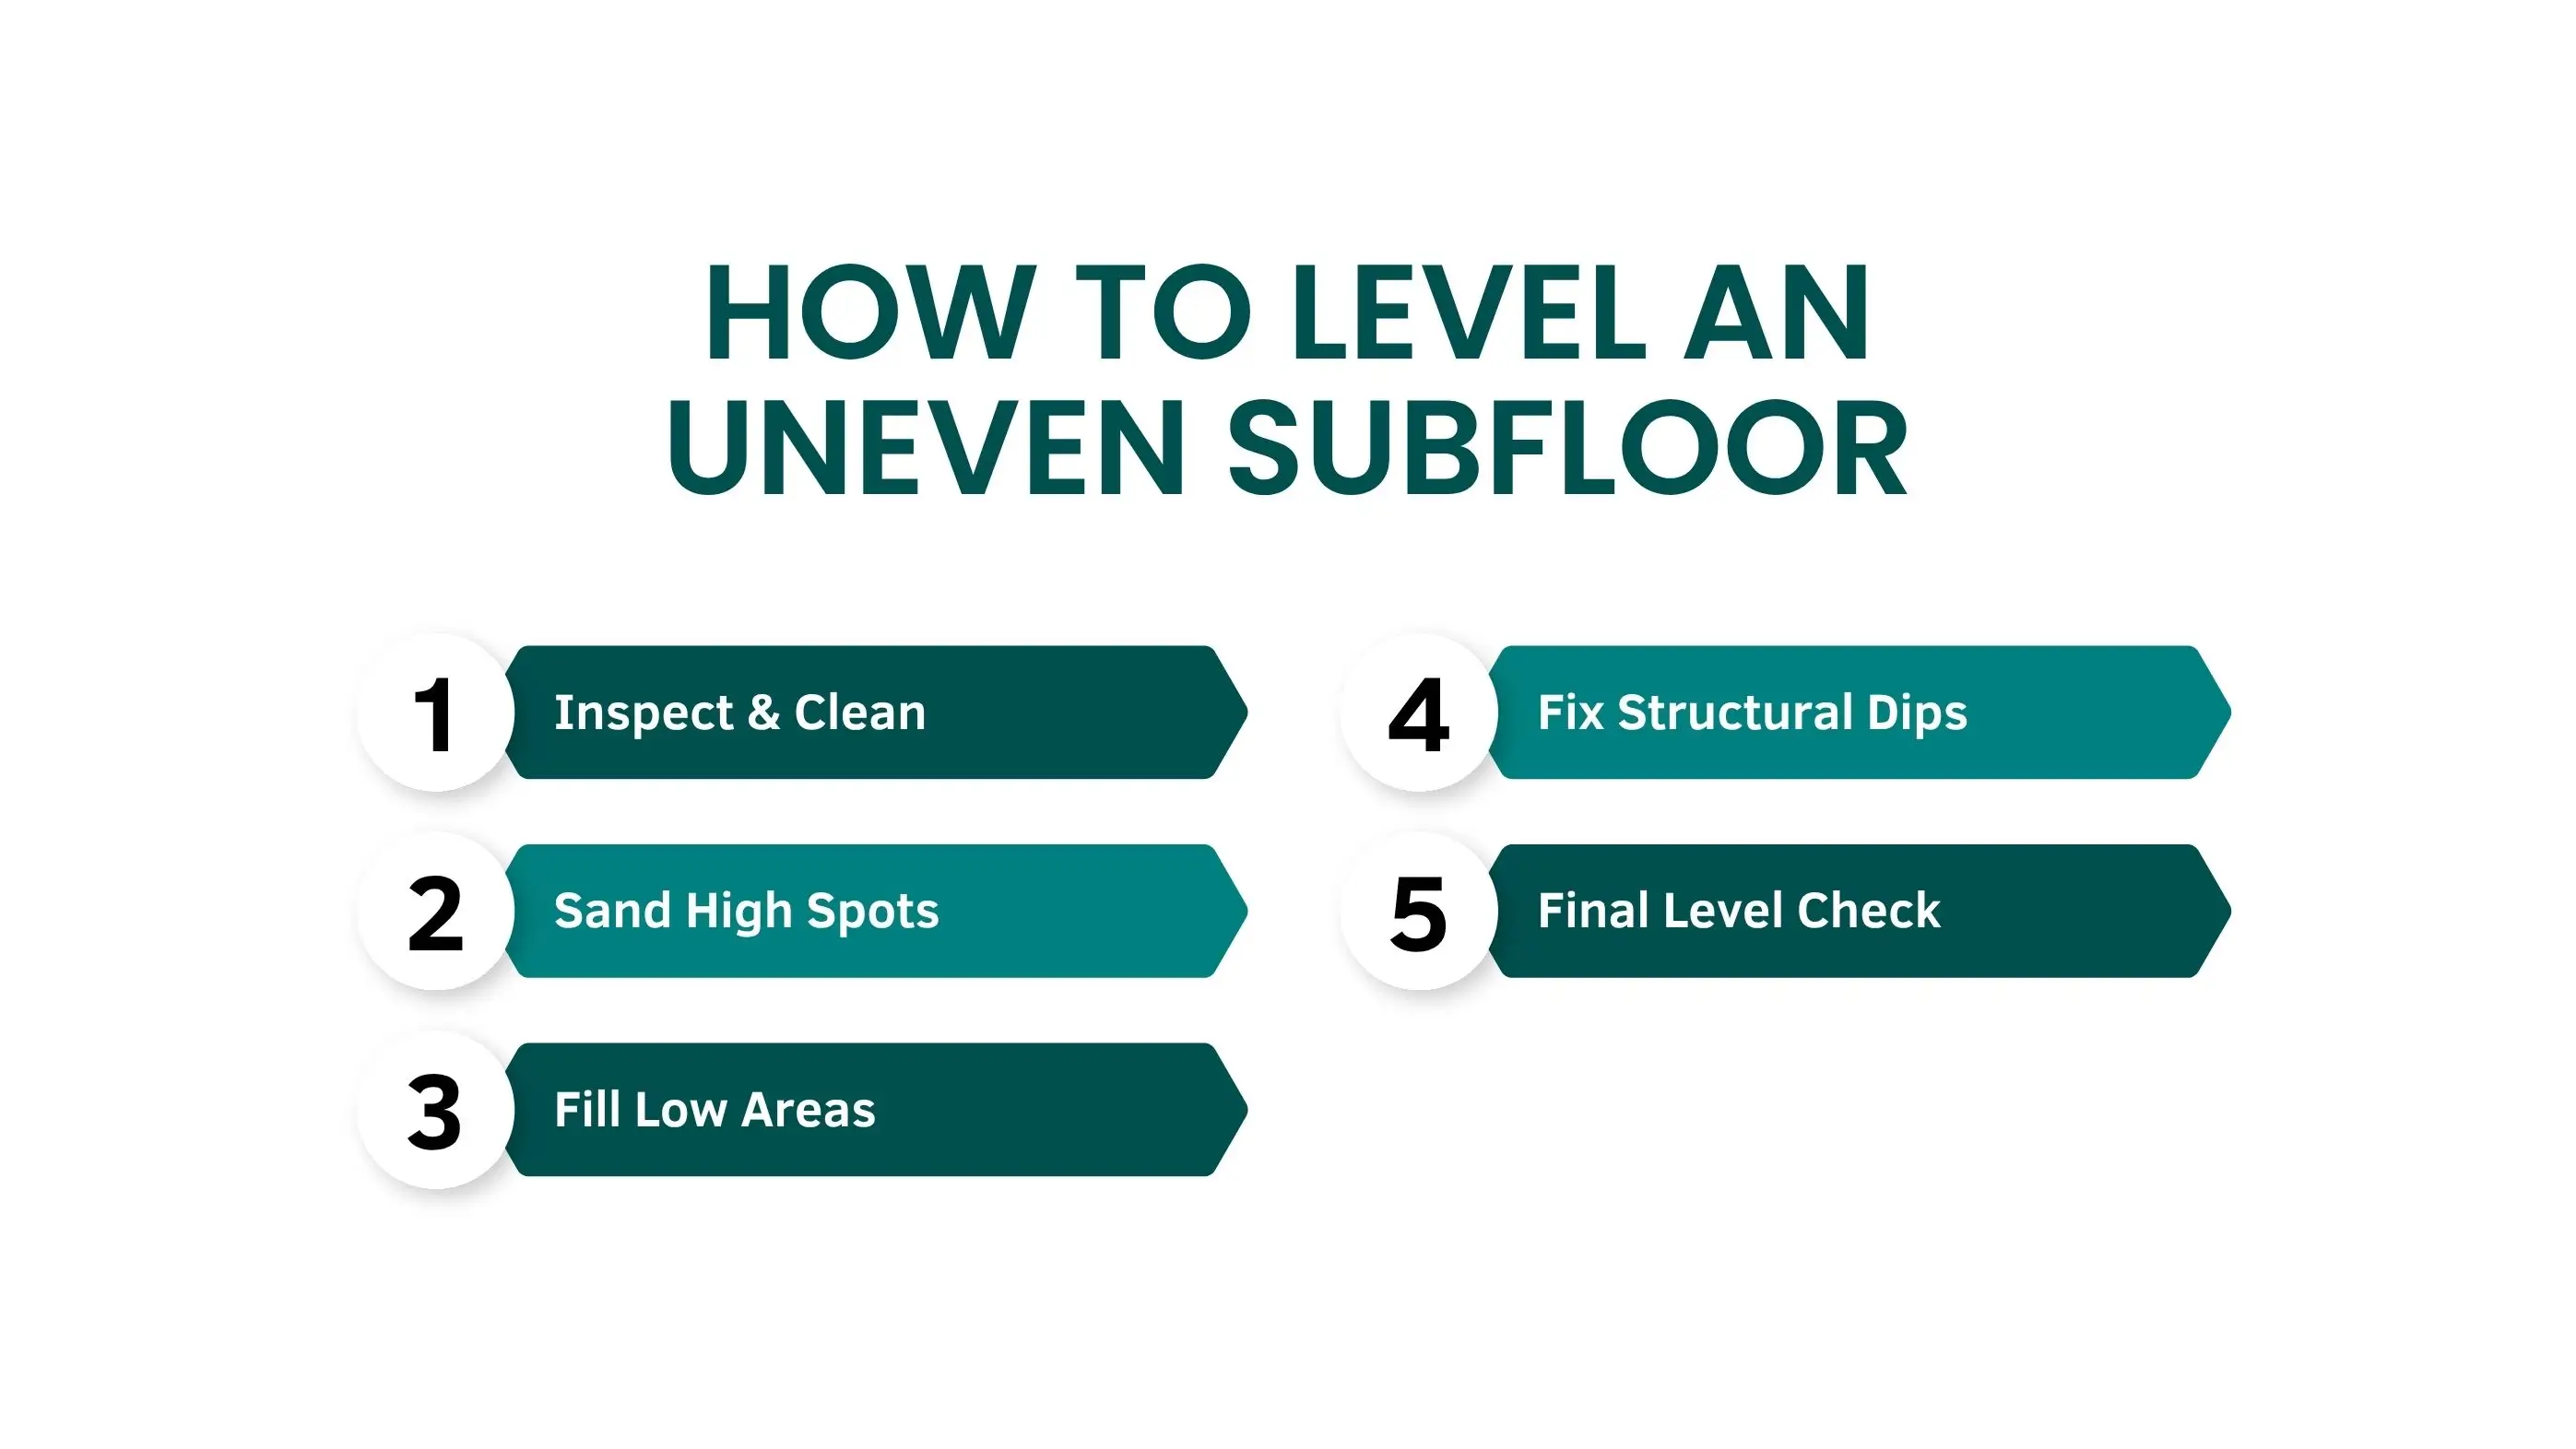
Begin by removing all dust, debris, and nails from the subfloor. A clean surface helps leveling materials bond properly. Use a long level or straightedge to identify all high and low spots.
For minor humps, use a belt sander or floor grinder to smooth the raised areas. Always wear protective gear and vacuum the dust afterward to keep the surface clean.
Apply floor leveling compound for wood subfloors in any low areas. This compound spreads easily and hardens to create a smooth surface. For deep dips, apply it in layers, letting each coat dry before adding the next.
If the floor dips along a joist or support beam, insert wood shims or adjust the joist before applying compound. This reinforces the subfloor and ensures the entire surface is evenly supported.
Once the compound has cured, recheck the floor using a straightedge or level. The surface should now be completely flat and ready for underlayment or finished flooring.
Moisture is the biggest threat to your flooring’s foundation. A well-protected waterproof subfloor prevents swelling, warping, and mold growth, especially in damp spaces like bathrooms, basements, laundry rooms, and crawl spaces. Without proper subfloor waterproofing, water can seep through cracks or seams, leading to rot, structural damage, or black mold on subfloor surfaces.
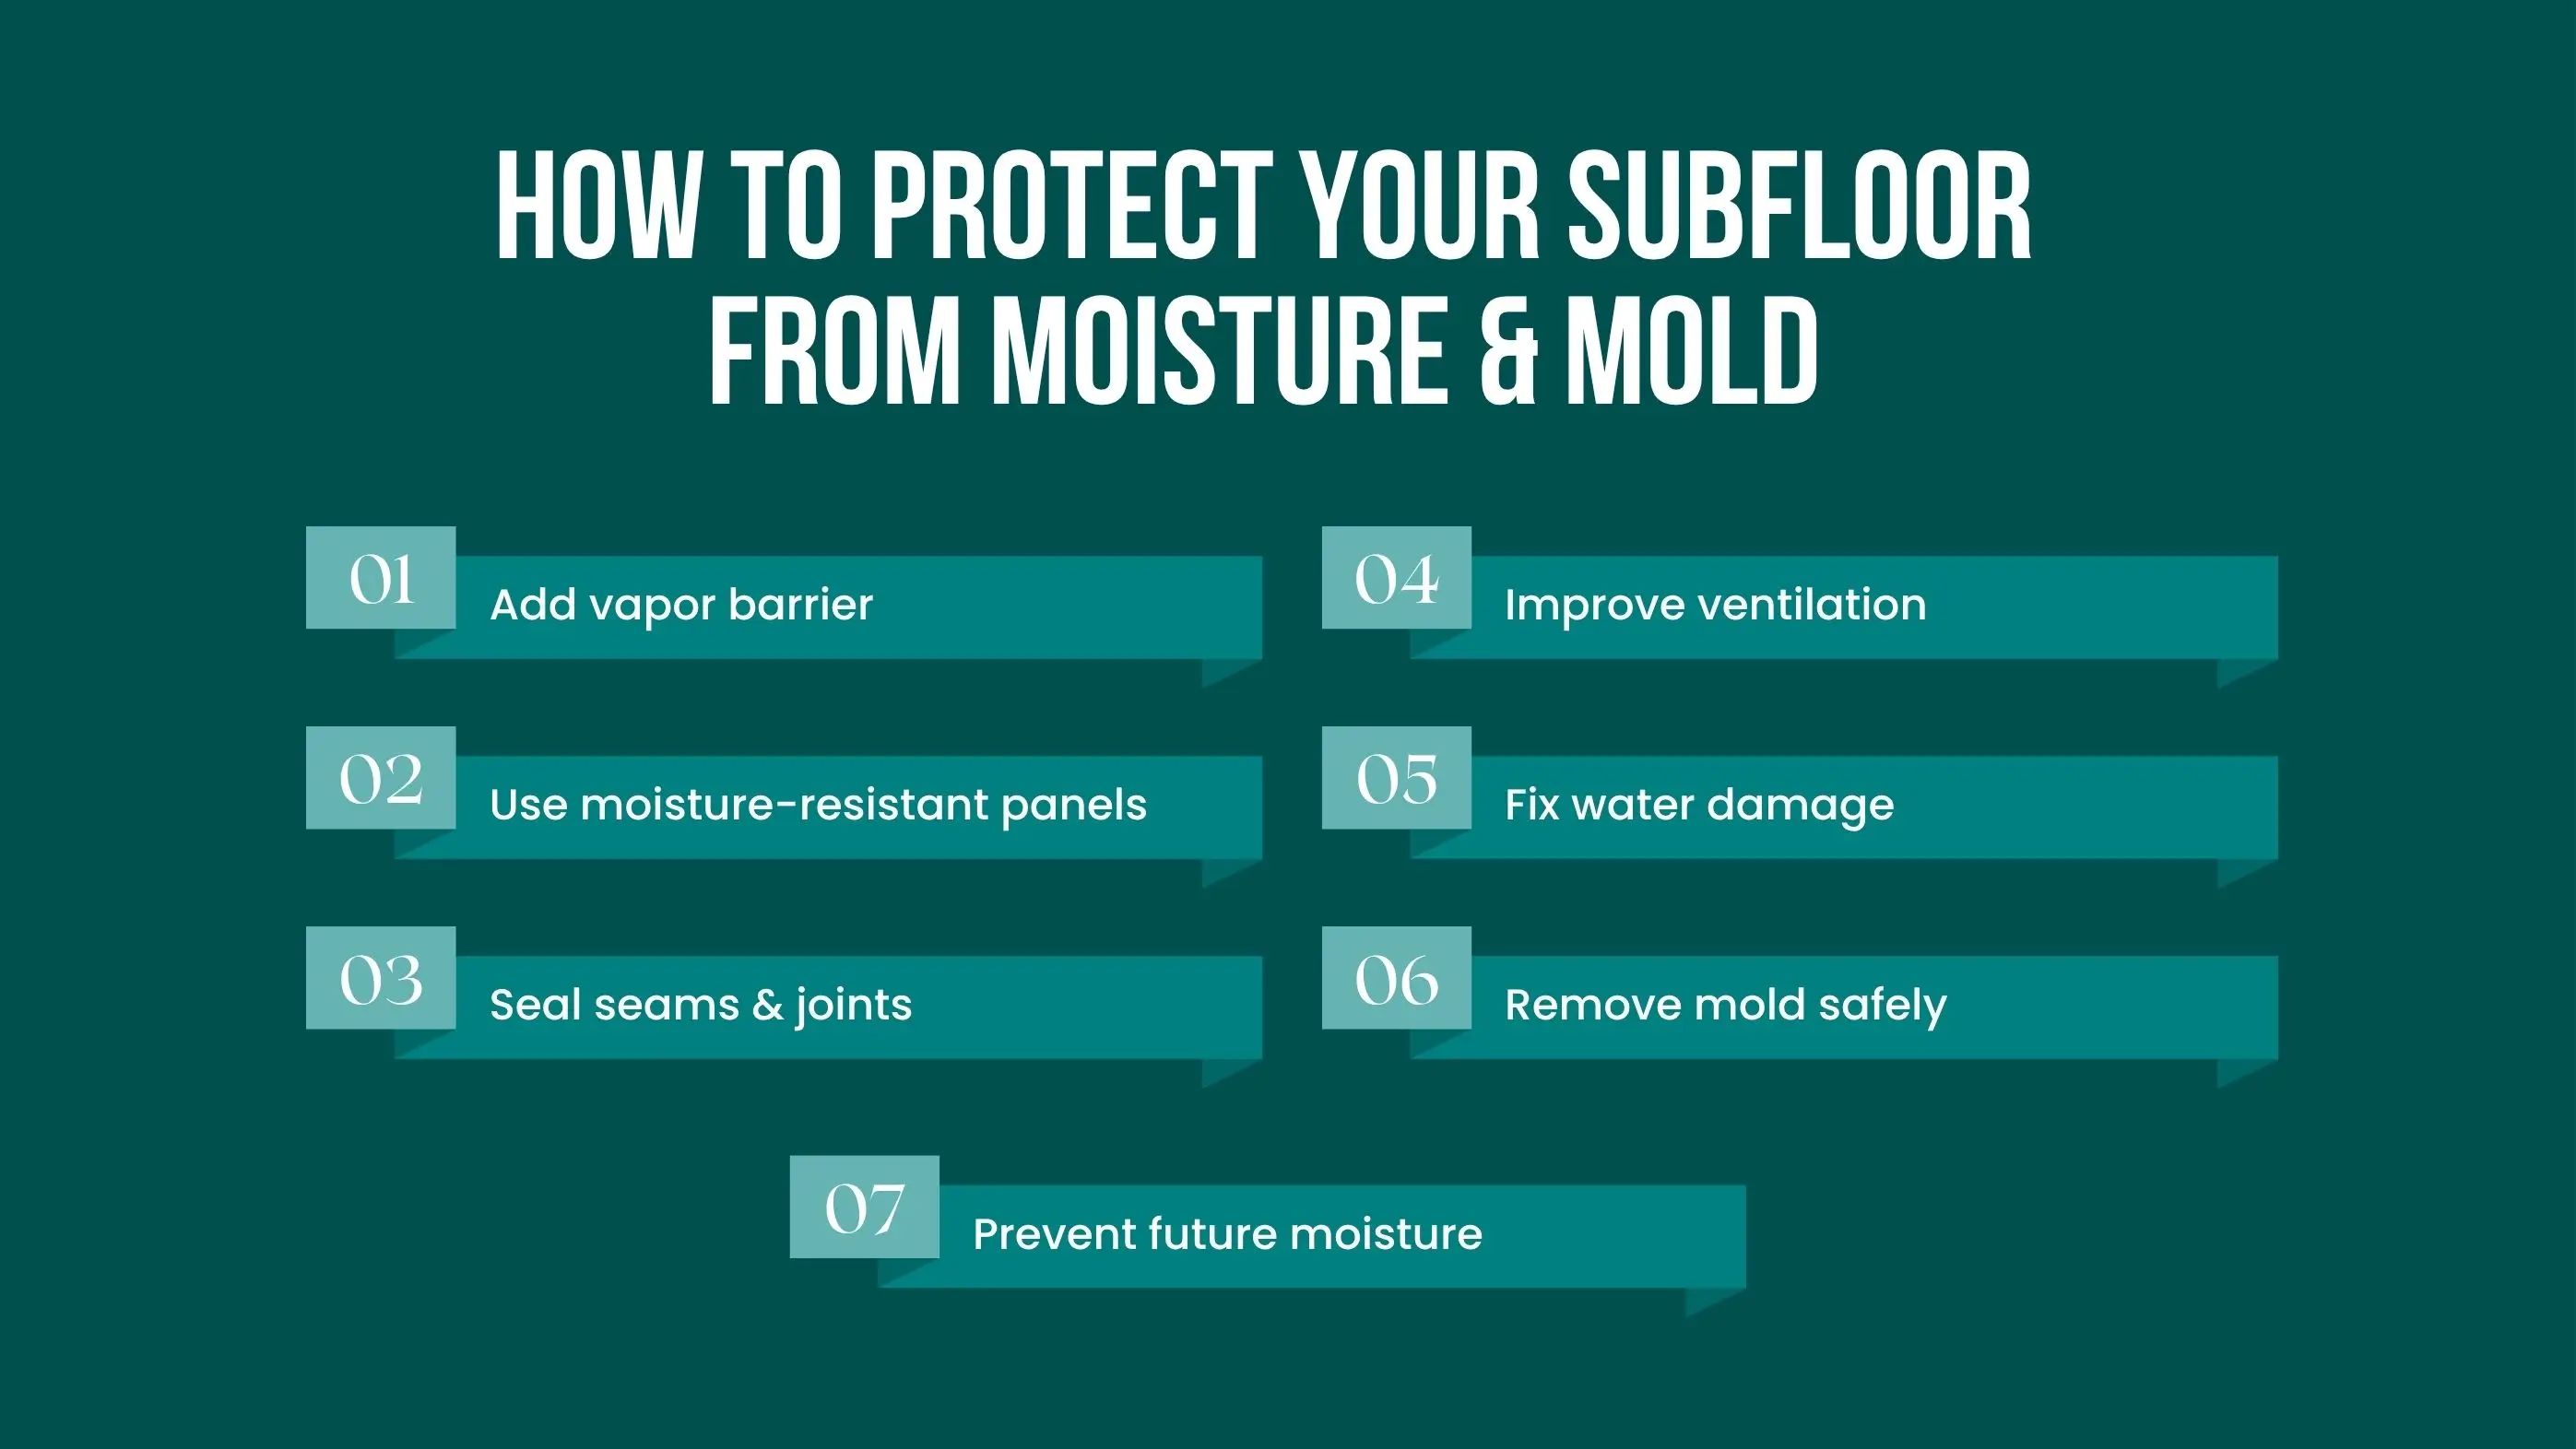
There are several reliable methods to keep your subfloor protected from moisture damage. Choosing the right one depends on your room type and climate conditions.
A vapor barrier under subfloor panels is one of the most effective ways to block moisture from rising through the foundation. It’s especially important in basements and crawl spaces where humidity levels stay high. Polyethylene sheets or foil-backed barriers are common choices for preventing subfloor moisture from seeping into the wood.
When building or remodeling, consider using moisture-resistant subfloor panels like Advantech or treated plywood. These materials have water-repelling coatings that reduce swelling and help maintain structural integrity in wet environments.
Applying a liquid subfloor waterproofing sealer creates a thin, protective layer that repels water. Use polyurethane or epoxy-based coatings to fill seams and joints. This method is excellent for kitchens and bathrooms, where spills or leaks are common.
Even the best waterproofing system won’t last without good airflow. Install vents in crawl spaces and use dehumidifiers in basements to prevent condensation buildup that can lead to hidden mold on subfloor panels.
If you suspect damage or spot discoloration, act fast. Early water damage subfloor repair prevents minor issues from becoming structural hazards. Learn how to tell if the subfloor is water-damaged and how to respond effectively.
Look for signs such as warped flooring, dark stains, or musty odors. Soft spots underfoot usually mean the subfloor has absorbed moisture. Ignoring these warning signs can lead to rot and the spread of mold beneath the surface. Once you identify moisture problems, start by removing surface water. Use fans, heaters, or dehumidifiers to dry the affected space thoroughly. After drying, clean the area with a mold-killing solution to stop spores from spreading.
When removing mold from the subfloor, always wear gloves and a mask. Scrub visible growth using a mixture of vinegar and water or a commercial antifungal cleaner. For extensive contamination, sanding or replacing the affected panels might be necessary. Knowing how to get rid of mold on the subfloor also means preventing future outbreaks. Always locate and fix the moisture source before reinstalling flooring.
If panels have rotted or weakened beyond repair, full water damage, subfloor repair or replacement is the safest solution. Remove damaged sections, check the joists for decay, and install new moisture-resistant panels with adhesive and screws.
Over time, every home experiences flooring wear and tear. A weak or uneven floor may not just be cosmetic, it often points to deeper issues beneath the surface. Knowing how to approach subfloor repair or full subfloor replacement can prevent further damage and make your floors feel solid and secure again. If your floors squeak, feel spongy, or sag when you walk on them, your subfloor might need attention. Understanding when to repair and when to replace subfloor panels ensures your home stays structurally safe and comfortable.
The first step in repairing subfloor panels is recognizing the warning signs. Early detection saves time, money, and prevents more serious damage later.
Not every damaged subfloor needs to be replaced. Some issues can be fixed easily, while others demand a full overhaul.
You can often fix subfloor problems with basic repairs when:
A full subfloor replacement becomes necessary when:
The cost of subfloor repair or replacement varies depending on the size of the affected area, material type, and labor rates. On average, U.S. homeowners spend between $3 and $12 per square foot, with small patch repairs on the lower end and full replacements on the higher end.
Below is a detailed cost breakdown to help you estimate your project:
| Type of Work | Average Cost (Per Sq. Ft.) | Includes |
|---|---|---|
| Minor Subfloor Repair | $1.50 – $3.00 | Tightening screws, patching small sections |
| Moderate Repair (Localized Water Damage) | $3.00 – $6.00 | Replacing partial panels, mold cleanup |
| Full Subfloor Replacement | $6.00 – $12.00 | Removal, disposal, new installation |
| Plywood Material Cost | $1.50 – $3.50 | Standard 3/4" plywood panels |
| Advantech or Premium Subfloor Material | $3.00 – $5.00 | Moisture-resistant engineered panels |
| Labor Cost to Replace Plywood Subfloor per Sq. Ft. | $3.00 – $6.00 | Cutting, fitting, fastening, sealing |
| Average Total for 200 sq. ft. Room | $1,200 – $2,400 | Materials + Labor |
Even a properly installed subfloor can develop issues over time due to age, moisture, or structural shifts. Identifying and addressing small problems early prevents major subfloor damage later. Here are some of the most common issues homeowners face and how to solve them before installing new flooring.
A squeaky subfloor or creaky subfloor happens when panels move slightly against the joists or fasteners. The friction causes noise every time you step on the floor.
Tighten loose screws or nails by drilling in new subfloor screws through the panel into the joist. For areas that still squeak, inject construction adhesive or wood glue between the panel and joist to eliminate movement permanently.
An uneven subfloor leads to unstable flooring, visible dips, or poor alignment. It can be caused by moisture, settling, or poorly secured panels.
Sand down raised areas with a belt sander, and fill low spots using a self-leveling compound. Make sure the surface is completely flat before adding underlayment or flooring to prevent further shifting.
Small gaps in subfloor joints can occur when wood expands or contracts with changes in humidity.
For minor gaps, apply a flexible floor filler or construction adhesive. If the gap is larger than 1/4 inch, insert wood shims or replace the affected section. This prevents movement and ensures a smooth transition between panels.
When it comes to subfloor work, many homeowners debate between DIY subfloor replacement and hiring a licensed contractor. Both approaches have pros and cons depending on the scope, tools, and safety requirements involved.
If you’re comfortable with tools and basic carpentry, minor repairs like tightening screws or small patchwork are suitable DIY tasks. You can learn how to fix a squeaky subfloor or reinforce weak spots using screws and adhesive.
For larger or moisture-related issues, hiring an expert ensures quality and safety. Knowing who to hire to replace the subfloor, such as licensed flooring contractors or general carpenters, is key.
Professionals understand how to fix subfloor systems comprehensively, ensuring long-term strength and a squeak-free finish. For structural, water, or mold damage, professional repair is always worth the investment.
Understanding subfloor cost helps plan your flooring project with confidence. Prices vary depending on materials, labor, and whether you’re installing new panels or repairing existing ones.
| Type of Work | Average Cost (USD per Sq. Ft.) | Details |
|---|---|---|
| New Subfloor Installation | $2 – $5 | Laying fresh panels over joists, adhesive + fasteners included |
| Subfloor Repair | $1.50 – $4 | Minor patching, tightening, or filling small damaged areas |
| Subfloor Replacement | $6 – $12 | Full removal, disposal, and installation of new materials |
| Plywood Subfloor Installation | $4 – $7 | Material + labor for standard 3/4" plywood subfloor |
| Premium Moisture-Resistant Panels (Advantech, OSB) | $5 – $8 | Ideal for bathrooms, kitchens, and basements |
| Labor Cost (Average) | $3 – $6 | Regional variation based on skill and job complexity |
A strong, moisture-protected subfloor is the foundation of every long-lasting floor. Whether you’re building new, repairing damage, or upgrading materials, proper installation and waterproofing make all the difference. Inspect regularly, fix small issues early, and use quality materials like Advantech or treated plywood for best results. With the right preparation and care, your floors will stay solid, quiet, and durable for decades.
Most homes use 3/4-inch plywood for a strong, stable subfloor. However, smaller rooms or tight joist spacing may allow 5/8-inch, while tile or stone flooring may need 1-inch thickness for added strength.
To level an uneven subfloor, sand down high spots and fill dips using a self-leveling compound. For deeper structural issues, use shims or adjust joists before installing new flooring to ensure a flat, even surface.
To remove mold from a subfloor, wear safety gear and scrub the affected area with a mix of vinegar and water or a commercial mold remover. For severe growth, sand or replace damaged panels and fix the moisture source to prevent recurrence.
Join our mailing list for exclusive updates, expert tips, and special offers tailored to your needs. Be the first to know about the latest in home services.

Renovize Home is a platform that supports homeowners from planning to renovation. Whether it’s Renovize AI for guidance or a one-on-one call with Pro Finder, we understand your project and match you with local contractors tailored to your needs.
Who We Are
About Renovize HomeGet in TouchHomeownwer Support:
Coming Soon!
General Inquiries:
support@renovizehome.com
Head Office:
24 Greenway Plaza, STE 1800M, Houston, TX 77046.