Explore All
BROWSE BY CATEGORY
Interior
Exterior
Home Essentials
Homeowner Tools
Blogs & Guides
Find a Pro
Book Your Appointment Now
Home Essentials
About Renovize Home
Explore All
BROWSE BY CATEGORY
Interior
Exterior
Home Essentials
Homeowner Tools
Blogs & Guides
Find a Pro
Book Your Appointment Now
Home Essentials
About Renovize Home
Last Updated 2025-11-26
Water damage repair is the process of identifying, drying, and restoring floors that have absorbed moisture due to leaks, floods, plumbing failures, or indoor humidity. When water enters flooring layers, it can weaken structural support, create hidden mold, cause boards to swell, or permanently warp the surface. Effective repair not only fixes visual damage but protects the subfloor, indoor air quality, and long-term property value.
Water-damaged flooring often requires a mix of moisture removal, subfloor stabilization, and surface restoration, depending on how deeply the water has penetrated. Acting quickly is essential because water begins damaging flooring materials within hours and can turn into structural decay if ignored. Professional repair ensures that floors return to a safe, level, and durable condition, instead of hiding problems that return later.

Table of Contents
How Water Damages Flooring and What Homeowners Should Look For
Find the Source of Water Damage Before Repair Begins
Types of Flooring Damage Caused by Water
Repairing Different Types of Water-Damaged Floors
When Water Damage Spreads Into the Subfloor or Joists
Step-by-Step Water Damage Repair Process
Cost of Water Damage Floor Repair
When to Hire a Professional for Water Damage Repair
Preventing Future Water Damage to Floors
Final Thoughts
Water damages flooring when it seeps into seams, subfloors, and structural layers. Once moisture gets inside wood, laminate, vinyl, or carpet padding, it weakens fibers and breaks down adhesives that keep the floor stable. This can cause:
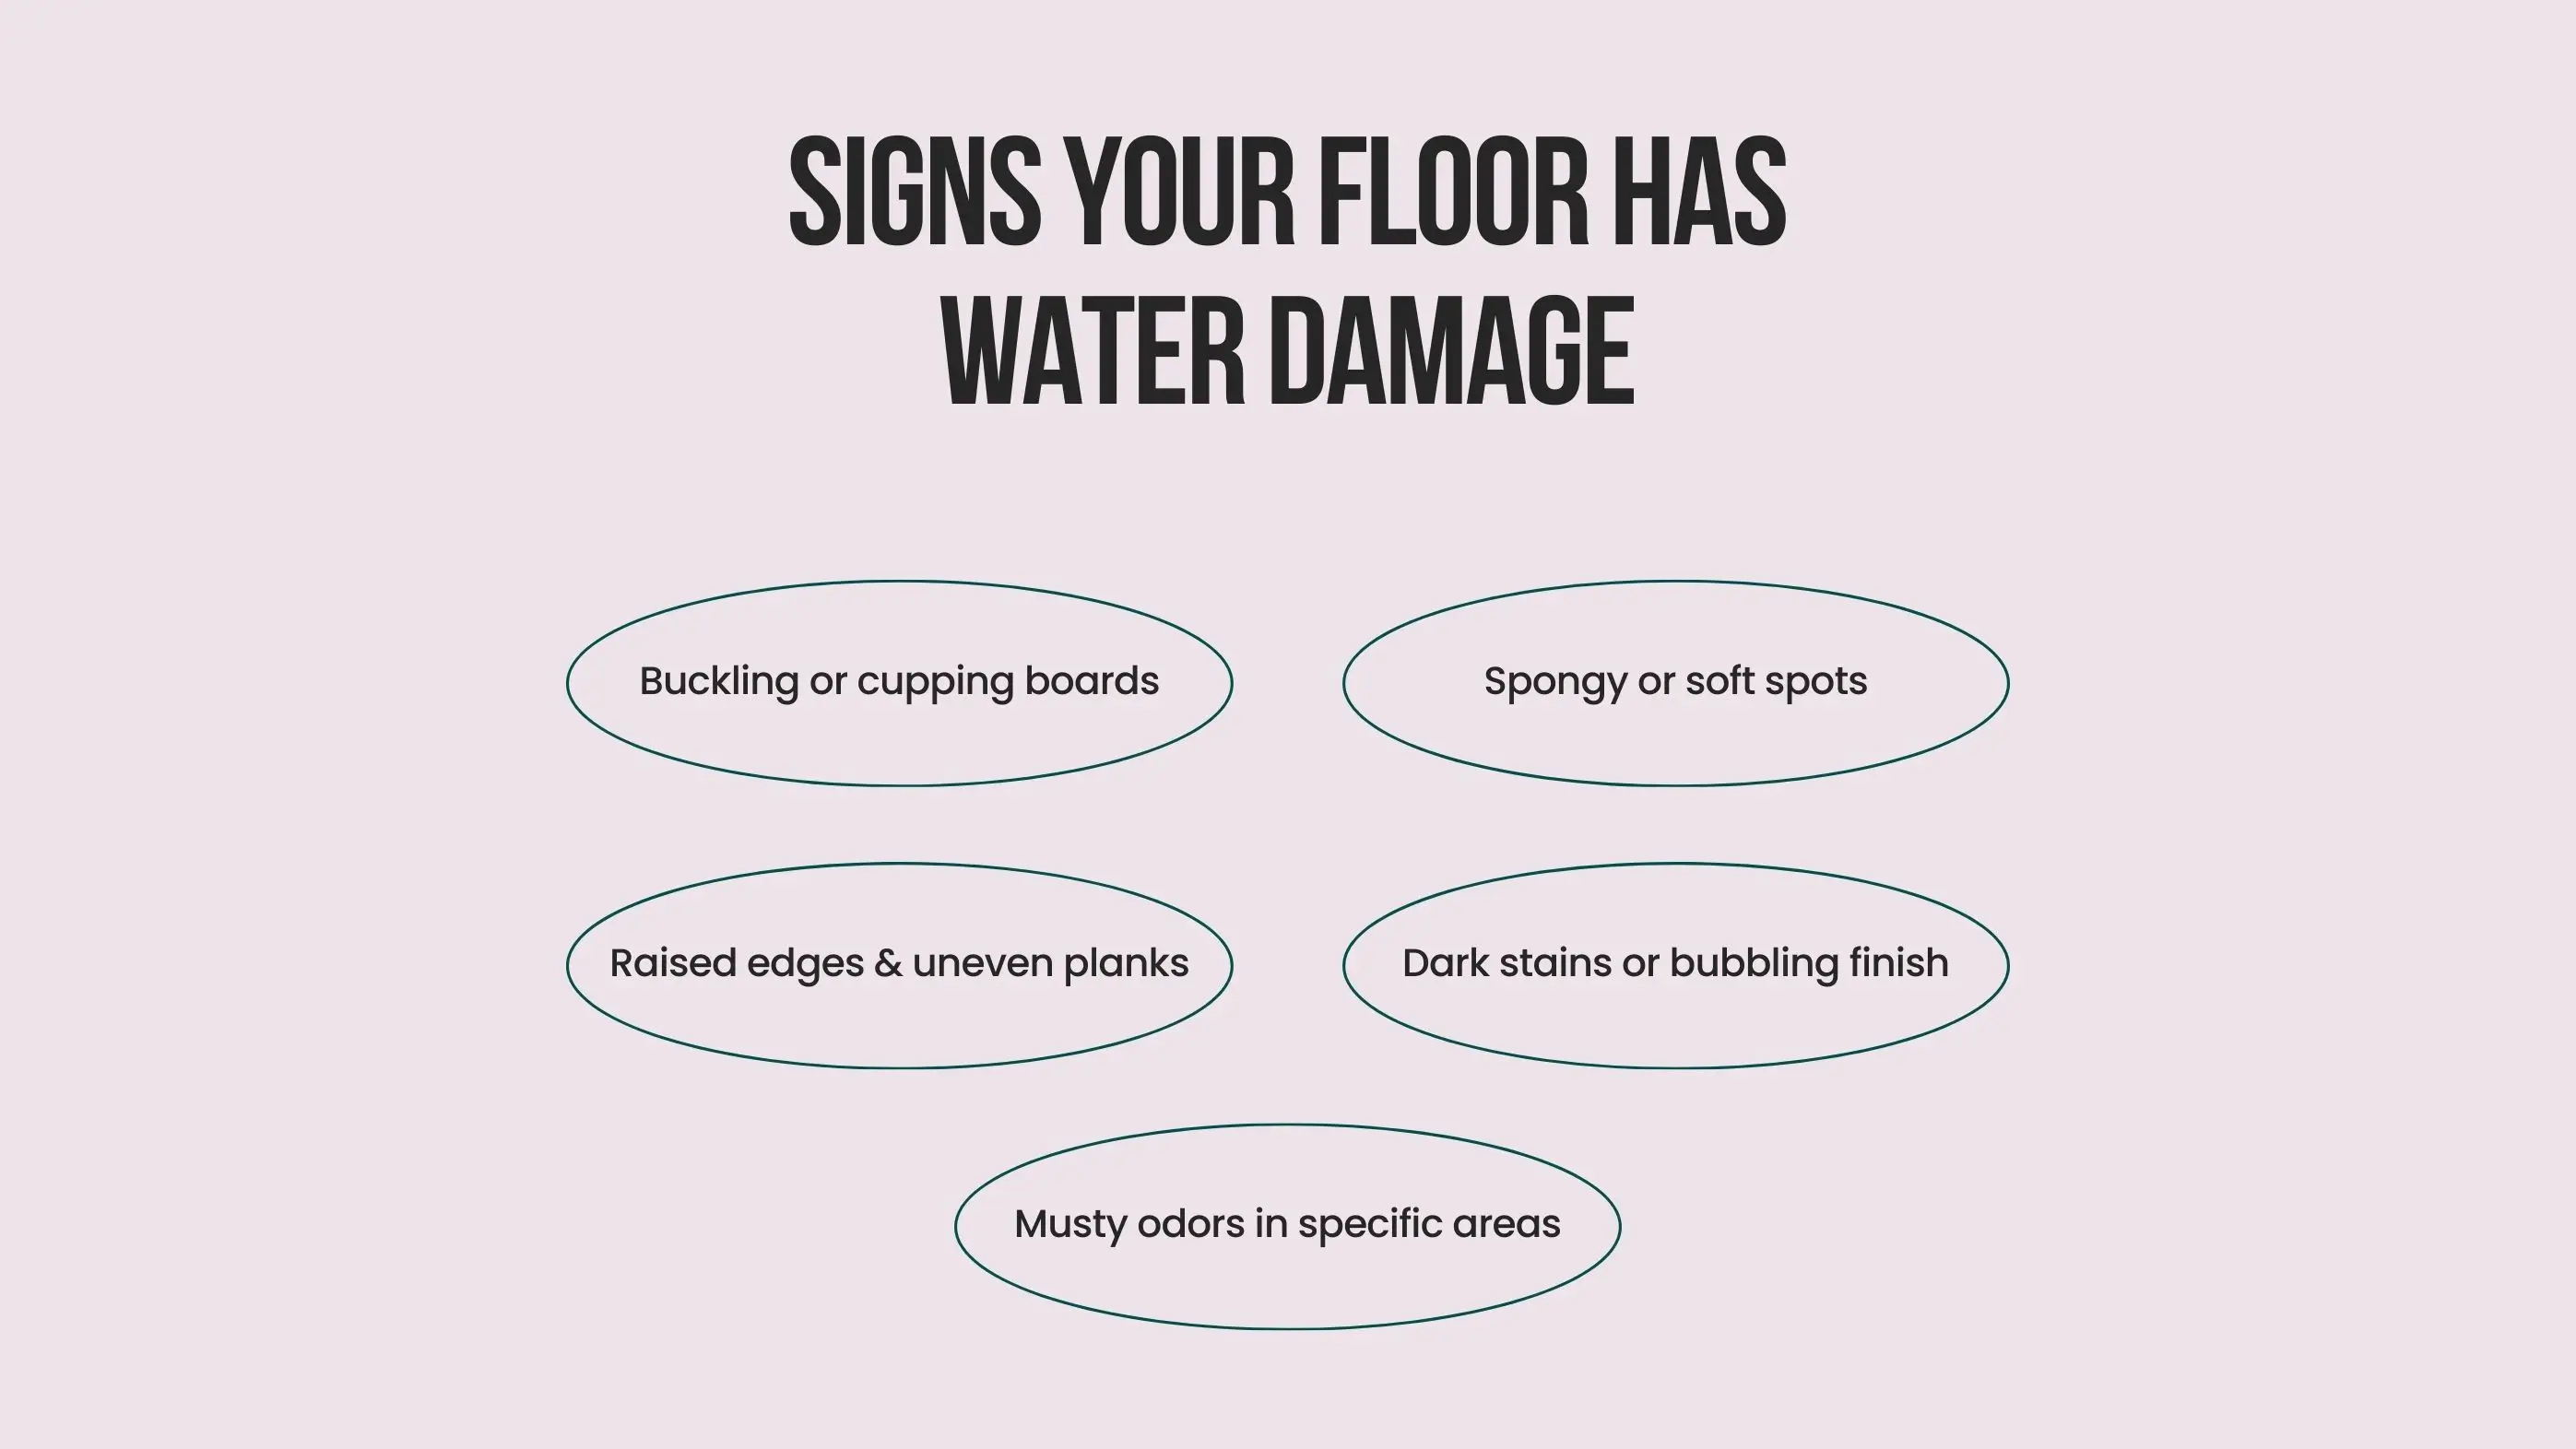
To prevent hidden moisture from spreading, homeowners should pay attention to early warning signs. The most common indicators include:
These issues often appear in bathrooms, kitchens, basements, laundry rooms, or any area exposed to leaks or repeated moisture. Addressing them early helps prevent mold, subfloor rot, and expensive flooring repairs.
Before repairing any floor affected by water, it is critical to identify where the moisture came from and how far it traveled. Effective diagnosis prevents repeated damage and ensures repairs last. Professionals often use moisture meters, infrared thermal cameras, and hygrometers to detect hidden water in subfloors, wall cavities, and insulation.
They also trace the damage pattern to determine whether the source is an active leak, long-term humidity, or a one-time flooding event. Knowing the cause allows homeowners to choose the correct repair method, such as replacing damaged flooring, improving drainage, sealing gaps, or correcting plumbing issues.
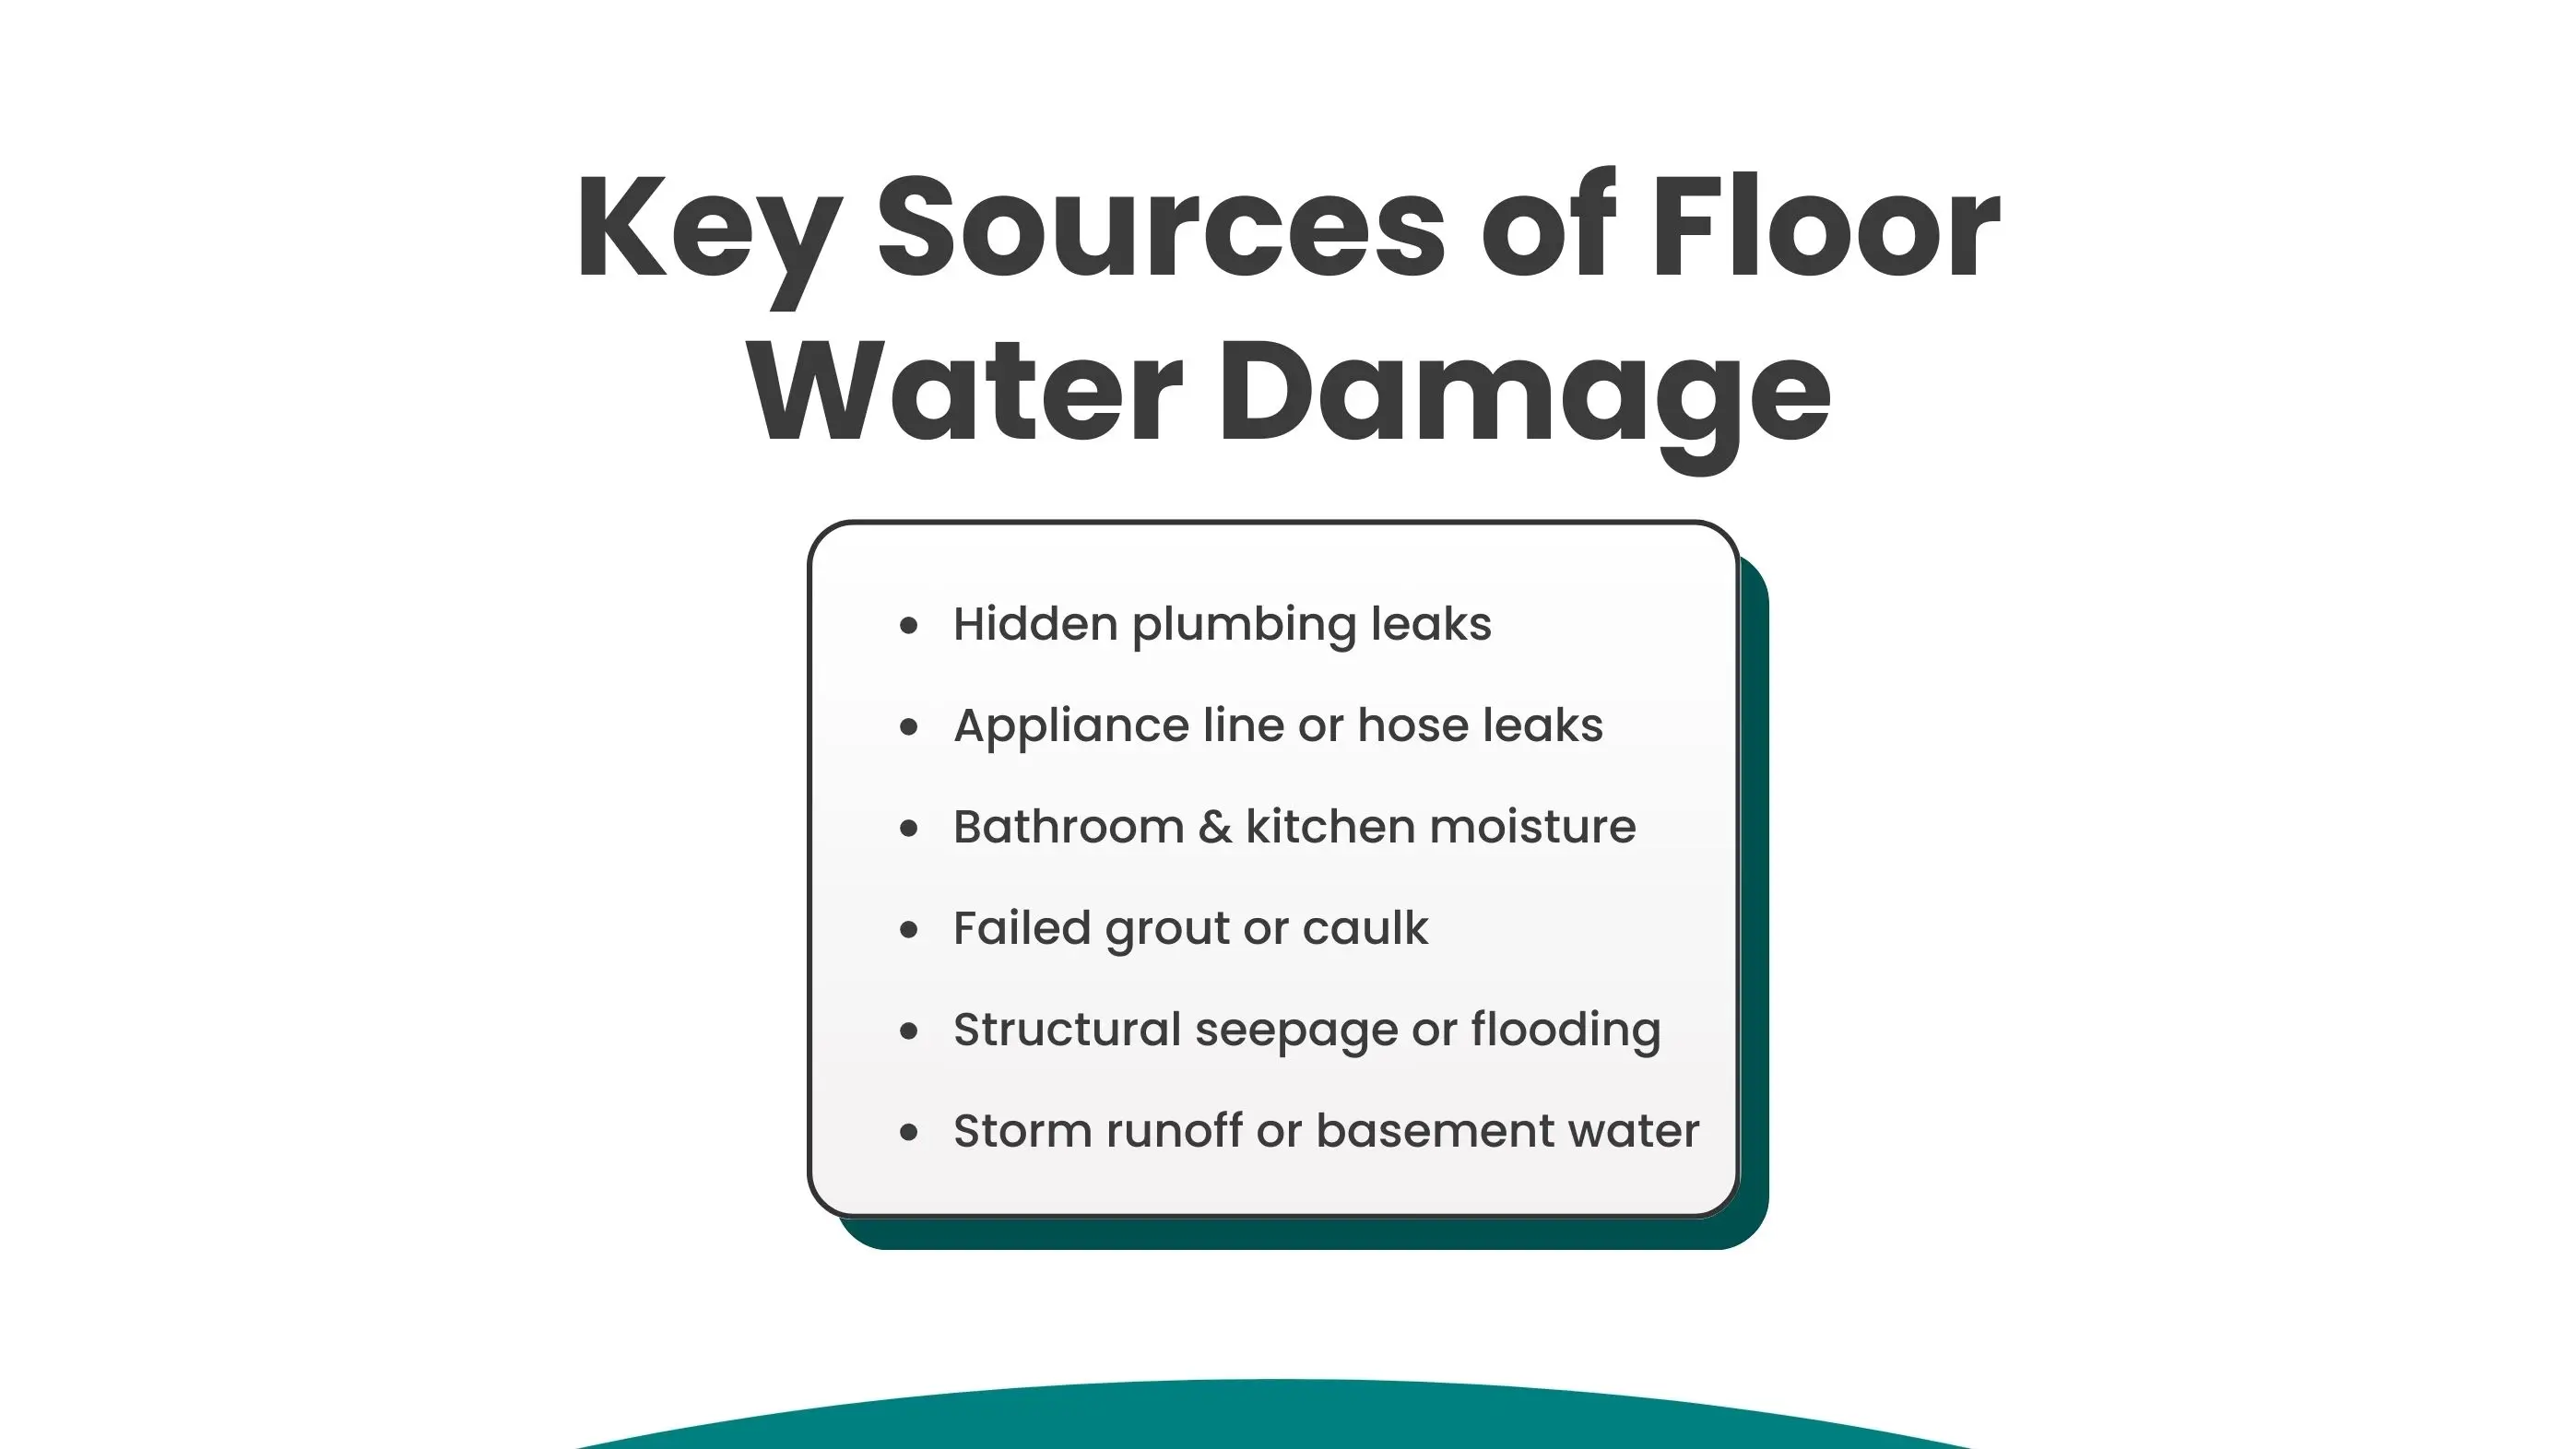
Many cases of water-damaged floors come from slow or hidden leaks around household plumbing and water-using appliances. Common sources include:
These leaks often go unnoticed for weeks if they occur behind walls or beneath cabinets. Over time, the water saturates the subfloor, causing wood rot, warped boards, and mold growth. Inspect the areas around appliances regularly, check for dampness under mats, and look for bubbling or lifting flooring near these fixtures.
High-moisture rooms like bathrooms and kitchens are common places for water-related flooring damage, especially when sealants fail. Splash zones around showers, tubs, sinks, and cooking areas let water sit between tiles or underneath luxury vinyl planks.
Cracked or missing grout and caulk allow moisture to penetrate the subfloor, creating soft spots or cupped boards. Maintaining strong ventilation, repairing grout promptly, and keeping caulk in good condition helps prevent recurring damage.
Some water damage originates from structural or outdoor sources instead of indoor plumbing. These include:
When this happens, groundwater rises into flooring materials and saturates the subfloor. Flood events require immediate drying, dehumidification, and often full flooring removal with mold remediation. When moisture intrusion comes from the structure itself, fixing drainage issues and sealing exterior vulnerabilities is essential before installing new flooring.
Water affects flooring materials in different ways depending on how long the exposure lasts and how the material absorbs moisture. Some materials can be dried and repaired, while others lose structural strength and must be replaced. Understanding the type of damage helps homeowners choose the correct repair method and prevent future issues such as mold, odors, or subfloor deterioration.
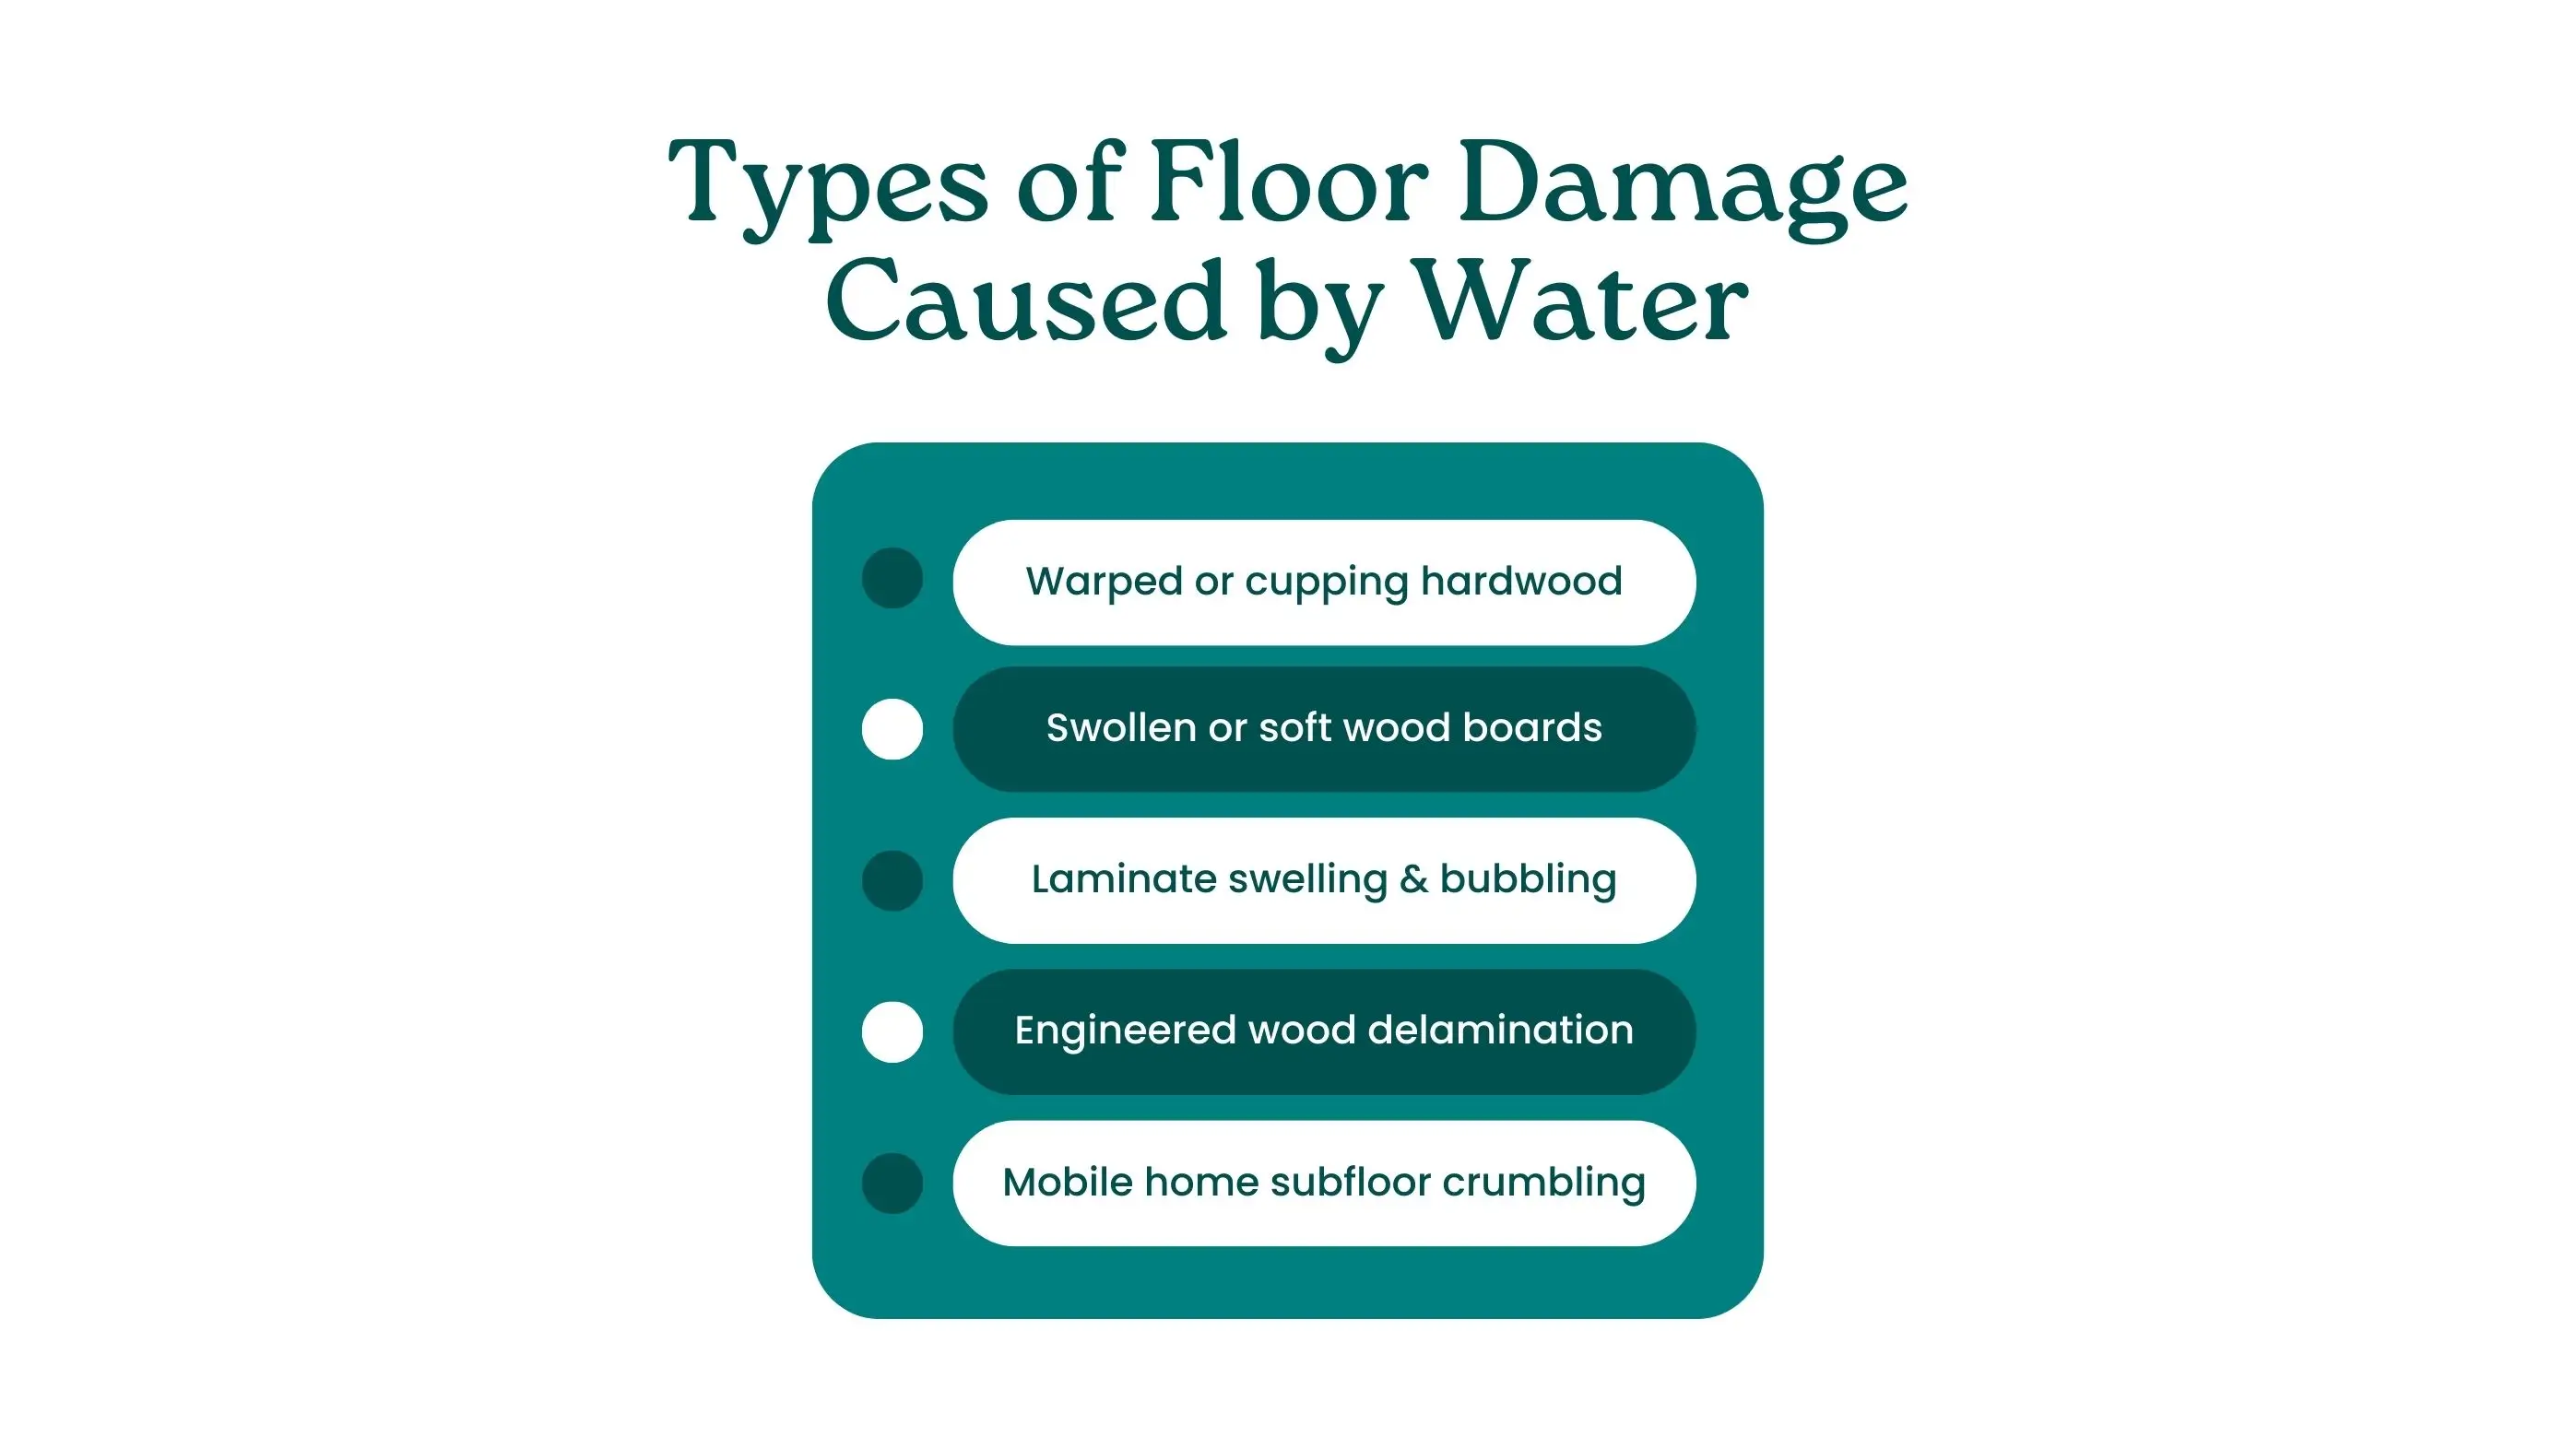
When hardwood absorbs moisture, the wood fibers expand unevenly, causing cupping (when the edges rise) or crowning (when the center rises). If detected early, controlled drying and sanding may restore the planks.
Severe warping, especially when boards lift from the subfloor, usually requires plank replacement. Fixing the moisture source is essential to prevent the problem from returning.
Prolonged moisture exposure causes wood flooring to swell, soften, and lose structural strength. Soft areas often indicate subfloor deterioration or early mold growth. Once the fibers break down, drying alone is not enough, and repairs usually require board replacement along with subfloor treatment to stop further decay.
Laminate flooring has a fiberboard core that absorbs moisture quickly. When water enters the seams, the planks swell, bubble, or lose their click-lock shape. Because laminate cannot be sanded flat, replacement is usually the only solution. Removing damaged planks quickly prevents water from spreading further.
Engineered wood consists of a real wood veneer over layered plywood or fiber backing. Water exposure can cause:
Minor issues may be spot-repaired or re-glued, but widespread moisture damage typically requires plank replacement. Proper seam sealing and humidity control help prevent future problems.
Mobile homes often use particleboard or OSB subfloors, which deteriorate quickly when exposed to moisture. Leaks from plumbing, roof failures, or saturated underbelly insulation can cause the floor to sag, crumble, or develop persistent odors.
Repairs typically involve cutting out damaged sections, installing new panels, and sealing the underbelly to stop recurring moisture intrusion. Proper ventilation and protective belly-wrap systems are essential for long-term durability.
Water-damaged flooring must be repaired based on how deeply moisture has penetrated and how each material responds to water. Some floors can be restored through controlled drying and resurfacing, while others require full plank replacement to prevent recurring structural issues, odors, or mold growth.
Hardwood is one of the few flooring materials that can often be saved if the damage is caught early. The repair process typically follows these steps:
Industrial fans and dehumidifiers are used to remove moisture from both the hardwood and the subfloor. Moisture meters monitor progress and confirm when the floor has reached safe moisture levels before any refinishing work begins.
If planks show light cupping (edges raised) or crowning (center raised), sanding helps restore a flat, even surface. This method works when the wood is structurally intact and the damage is limited to surface distortion.
Boards that split, permanently warp, or detach from the subfloor need to be removed and replaced. This restores structural stability and prevents future movement or noise.
New planks are stained and finished to match the surrounding hardwood. This blending ensures the repaired area looks consistent and remains visually seamless once the work is complete.
Solid wood floors absorb moisture deeply, so repairs must ensure both the surface and the subfloor are fully dry before any replacement or refinishing begins. Long-lasting repairs depend on removing the moisture source, stabilizing the wood, and restoring structural strength.
Repairs will fail if the underlying problem such as plumbing leaks, high humidity, or poor drainage, is not resolved first. Stopping the moisture source prevents the damage from returning.
Fans, dehumidifiers, and proper ventilation are used to bring the wood and subfloor back to stable moisture levels. This prevents future warping or cupping after the repair is complete.
If mold has begun to grow, antimicrobial treatments are applied to stop it from spreading into the subfloor or wall framing. This step protects indoor air quality and prevents long-term structural decay.
Boards that feel soft, spongy, swollen, or permanently deformed must be replaced. Removing damaged wood ensures the repaired floor remains stable, safe, and visually consistent.
Laminate flooring has a fiberboard core that weakens quickly when saturated, making it one of the most difficult materials to salvage after water exposure.
Because laminate uses a click-lock system, repairs begin by removing trim or baseboards and unlocking planks in sequence. This prevents breaking surrounding boards.
The subfloor must be fully dried before installing new material. This prevents trapped moisture from causing new planks to swell, lift, or develop odors.
Replacement planks are installed in the correct direction and pattern to maintain a smooth, even surface. Locking seams must be fully engaged to prevent gaps or movement.
Engineered wood handles humidity better than solid hardwood, but its layered construction can delaminate when exposed to prolonged moisture or standing water.
If the top wood veneer bubbles or layers begin to separate, the plank cannot be restored and must be replaced.
Light moisture damage that affects only the wear layer can often be sanded and recoated with a fresh finish, restoring smoothness and shine.
Boards showing deep bubbling, warping, or layer separation are removed and replaced with matching material to maintain structural stability and a consistent appearance.
When water sits beneath flooring for too long, it can seep through the surface layer and saturate the subfloor and even the floor joists below. Materials that weaken quickly when exposed to moisture include:
Once saturated, these materials become soft, swollen, or crumbly. If water reaches the framing system, it can lead to rot, structural sagging, and mold growth that compromise the stability of the entire floor. Repairing this level of water damage requires moisture correction and structural rebuilding to ensure the floor stays safe to walk on and ready for new flooring installation.
Subfloor repair begins by removing the existing flooring and exposing every area affected by moisture. The repair process typically includes:
These steps create a clean, dry, and stable base that meets structural requirements for new flooring.
When water reaches the joists, the repair shifts from surface restoration to structural reinforcement. Contractors begin by evaluating the depth and severity of the water damage. Depending on the findings:
Sistering involves fastening a new joist alongside the damaged one to restore load-bearing strength. In more severe cases, full joist replacement ensures the floor remains stable and safe.
A structured repair plan ensures water-damaged floors are restored safely and permanently. Following each step in sequence prevents hidden moisture from causing new problems such as mold, subfloor rot, and early flooring failure. Each stage below supports the next to guarantee a stable, long-lasting result.
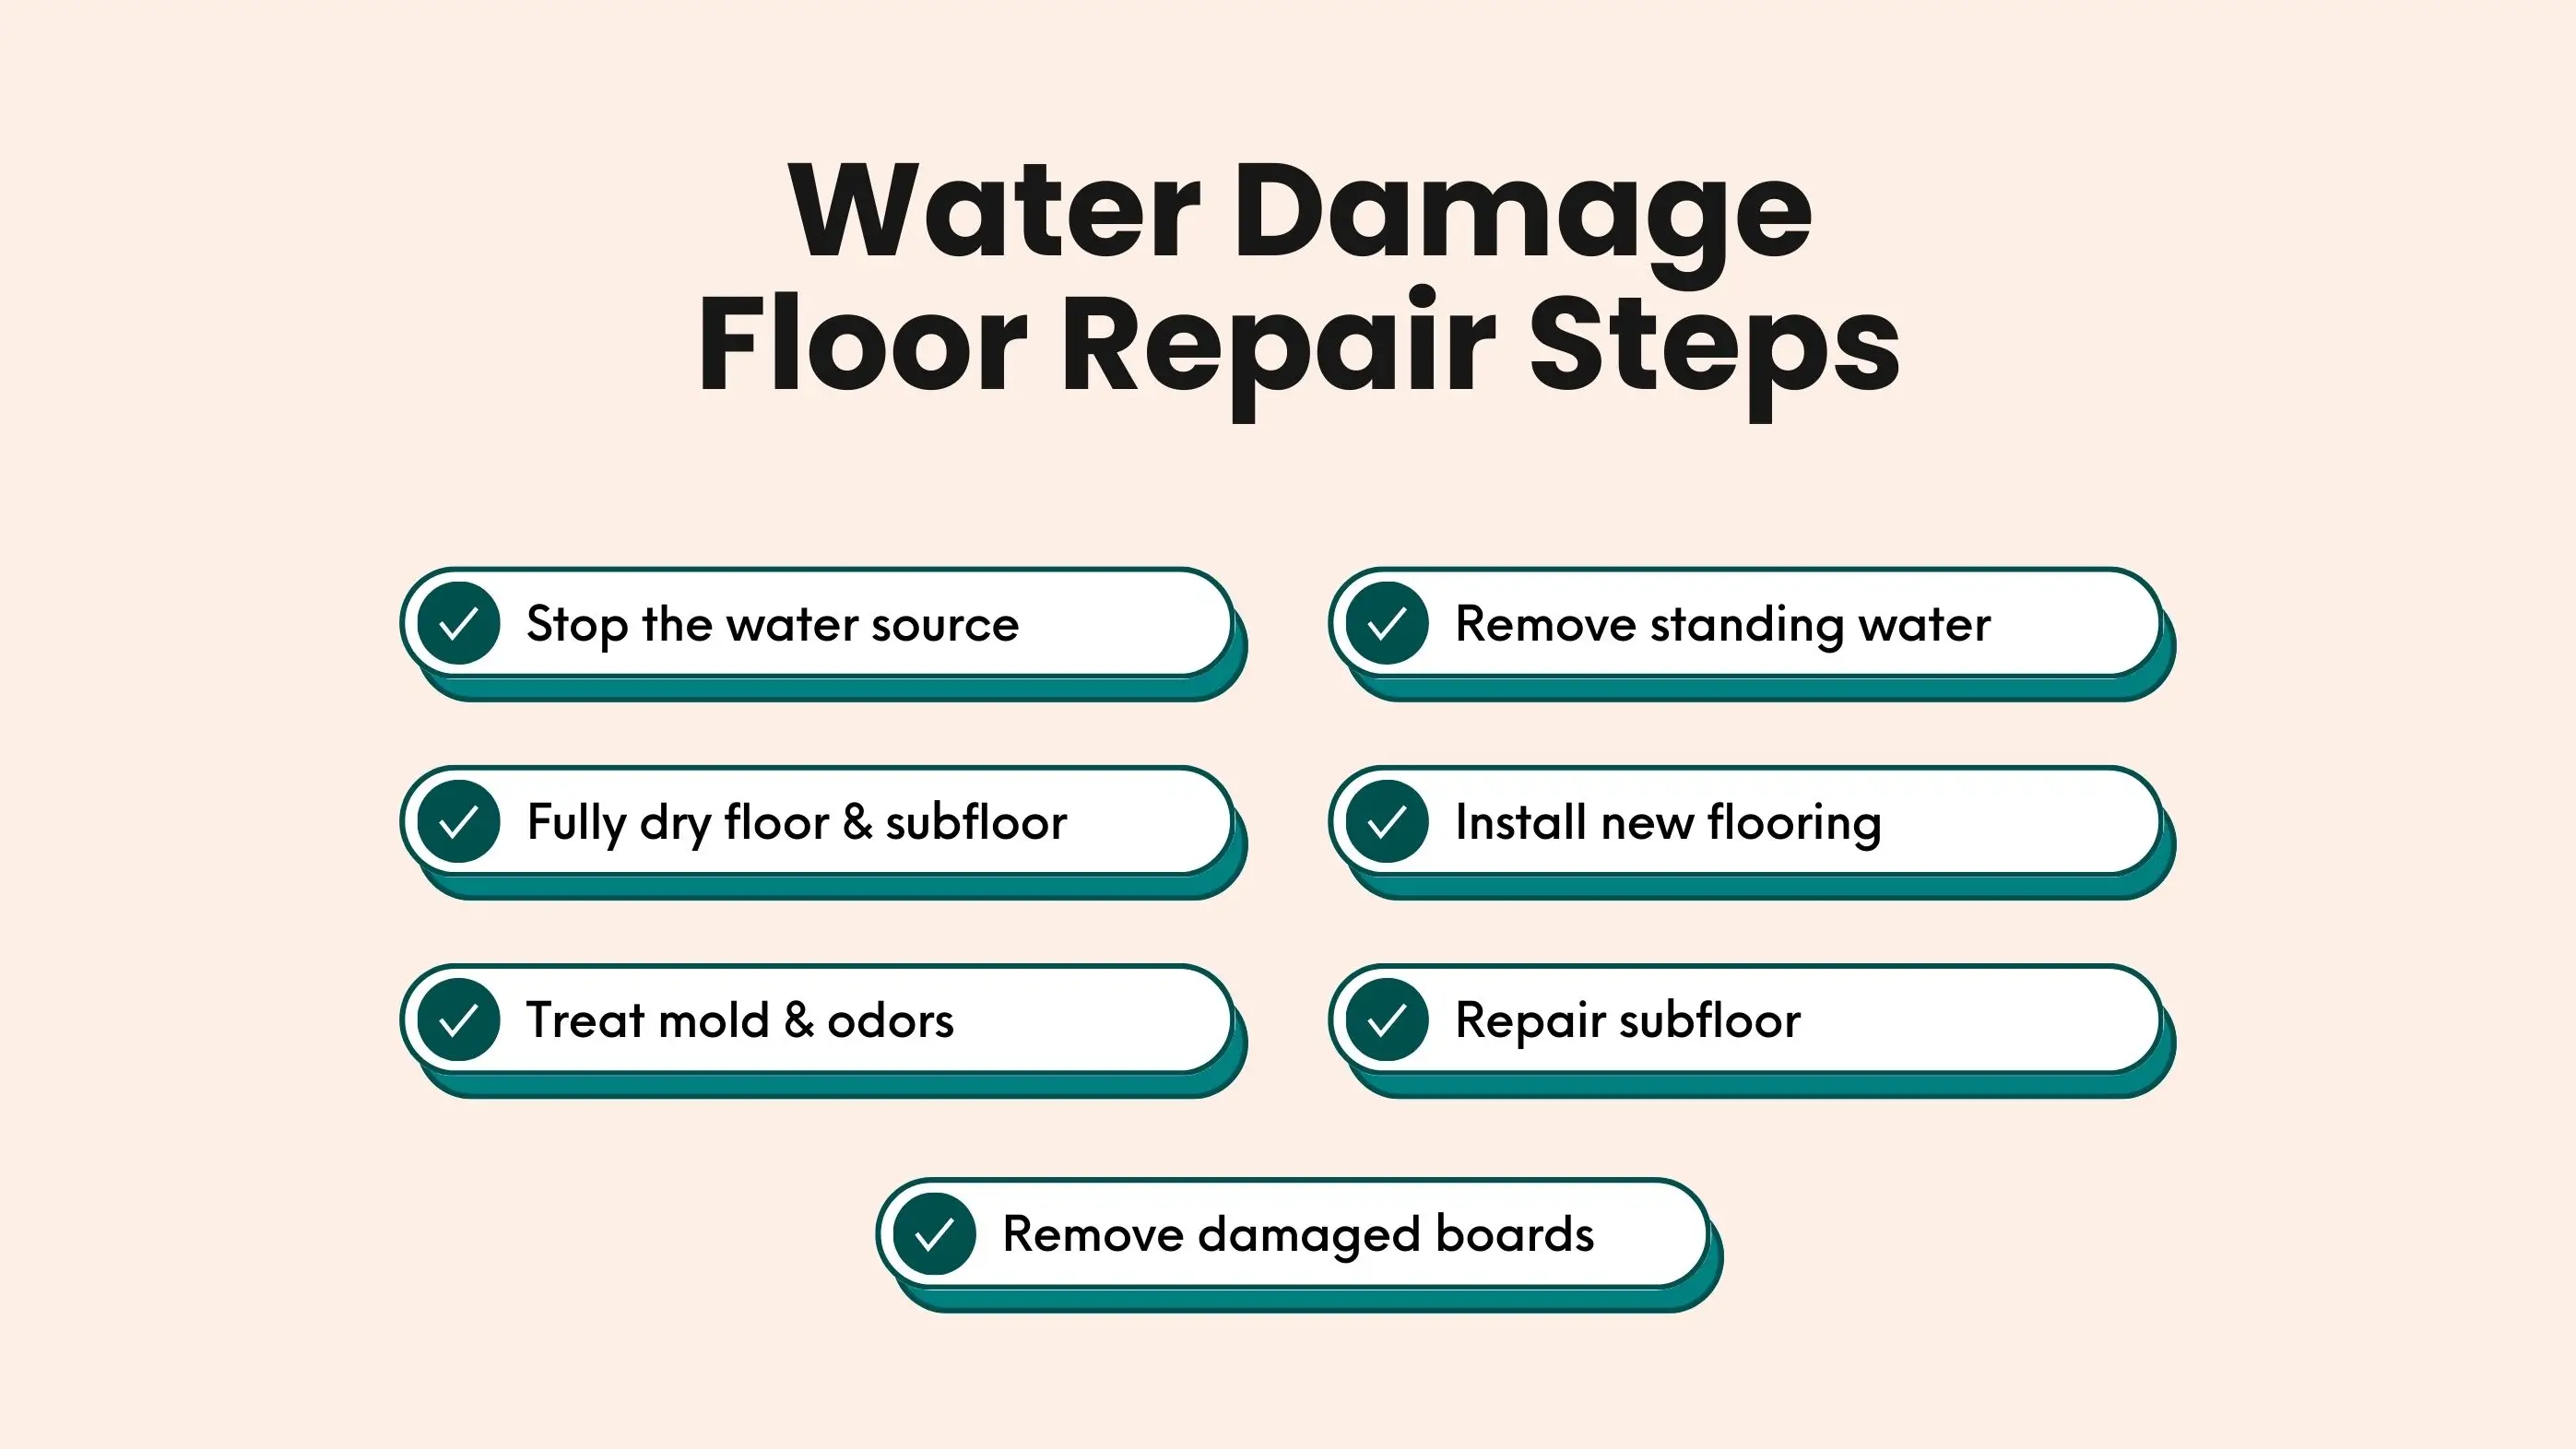
The first priority is identifying and stopping the source of water, whether it comes from plumbing, appliances, storm intrusion, or flooding. Once the flow is contained, standing water is removed using pumps, wet vacuums, or absorbent pads.
Proper extraction helps reduce how deeply moisture penetrates into subfloors and framing, lowering the risk of structural repair.
Key tasks include:
Drying must begin immediately to prevent deeper water absorption. Air movers, fans, and dehumidifiers work together to pull moisture from the flooring surface and the structure below. Moisture meters confirm when levels are safe for repair because water often lingers beneath planks, tile, or underlayment.
In severe cases, baseboards and small sections of drywall may be removed to allow airflow into wall cavities and prevent mold.
Any flooring that is swollen, buckled, cracked, or detached from its adhesive needs to be taken out. Planks are lifted carefully to protect surrounding boards, while tile may require chisels or small demolition tools.
This step exposes the full condition of the subfloor and ensures no hidden moisture remains.
This may include:
Once the damaged flooring is removed, the exposed subfloor and nearby framing areas are inspected for early mold growth. Antimicrobial cleaners or fungicides are applied to eliminate spores and stop future spread.
If musty odors remain, odor-neutralizing treatments and increased ventilation help restore fresh air. Wall cavities may also be inspected when strong odors suggest hidden contamination.
The subfloor is checked carefully for soft spots, dark stains, warping, or weakened structural areas. When necessary, damaged sections of OSB or plywood are cut out and replaced with new material.
Panels are installed with proper edge support and securely fastened to create a strong, stable base.
If the subfloor is structurally sound, sanding and sealing may be enough to restore durability and prepare it for new flooring.
After the subfloor is dry, level, and mold-free, new flooring can be installed. Matching material thickness ensures smooth transitions, and color matching helps the repaired area blend naturally with the rest of the home.
Proper installation techniques, including expansion gaps, high-quality adhesives, and moisture barriers, help protect the repaired floor and improve long-term performance.
Water damage floor repair costs vary based on the flooring material, how deeply the moisture has penetrated, the size of the affected area, and local labor rates. Repairs for minor surface damage are usually affordable, while structural issues such as soaked subfloors, mold removal, or joist repairs increase the total cost.
Understanding the typical price range helps homeowners prepare for both small fixes and full restoration work. Below is a clean cost breakdown you can expand later in a table if needed:
| Repair Level | Description | Estimated Cost Range |
|---|---|---|
| Minor Damage | Drying, dehumidification, small plank/tile replacement | $200 – $1,200 |
| Moderate Damage | Material removal, partial subfloor repair, sanding/refinishing | $1,200 – $5,000 |
| Severe Damage | Full replacement, subfloor/joist repair, mold remediation | $5,000 – $15,000+ |
| Repair Type | Estimated Cost Range |
|---|---|
| Drying and minor refinishing | $3 – $8 per sq. ft. |
| Board replacement + stain blending | $8 – $18 per sq. ft. |
| Full tear-out and replacement | $15 – $30+ per sq. ft. |
| Repair Type | Estimated Cost Range |
|---|---|
| Small soft spot repair | $300 – $900 |
| Partial subfloor replacement | $900 – $3,500 |
| Full room subfloor rebuild and flooring | $3,500 – $10,000+ |
Hiring a professional becomes necessary when water damage goes beyond light surface issues and starts affecting the structure of your home. If the floor feels soft, uneven, or spongy, moisture has likely reached the subfloor or joists, which requires skilled repair work. Professionals also know how to spot hidden problems that homeowners often miss, such as slow leaks, trapped moisture, or early mold growth.
Signs you should bring in a professional include:
A qualified technician ensures the repair is done correctly, documents the damage for insurance if needed, and restores the floor to meet building safety standards. This prevents recurring issues and saves homeowners from costly repairs in the future.
Preventing water damage is far easier and far less expensive than repairing it. Homeowners can extend the life of their flooring by controlling moisture, improving airflow, and protecting vulnerable areas with proper materials. These preventive steps keep both the visible flooring and the subfloor structure safe from long-term damage.
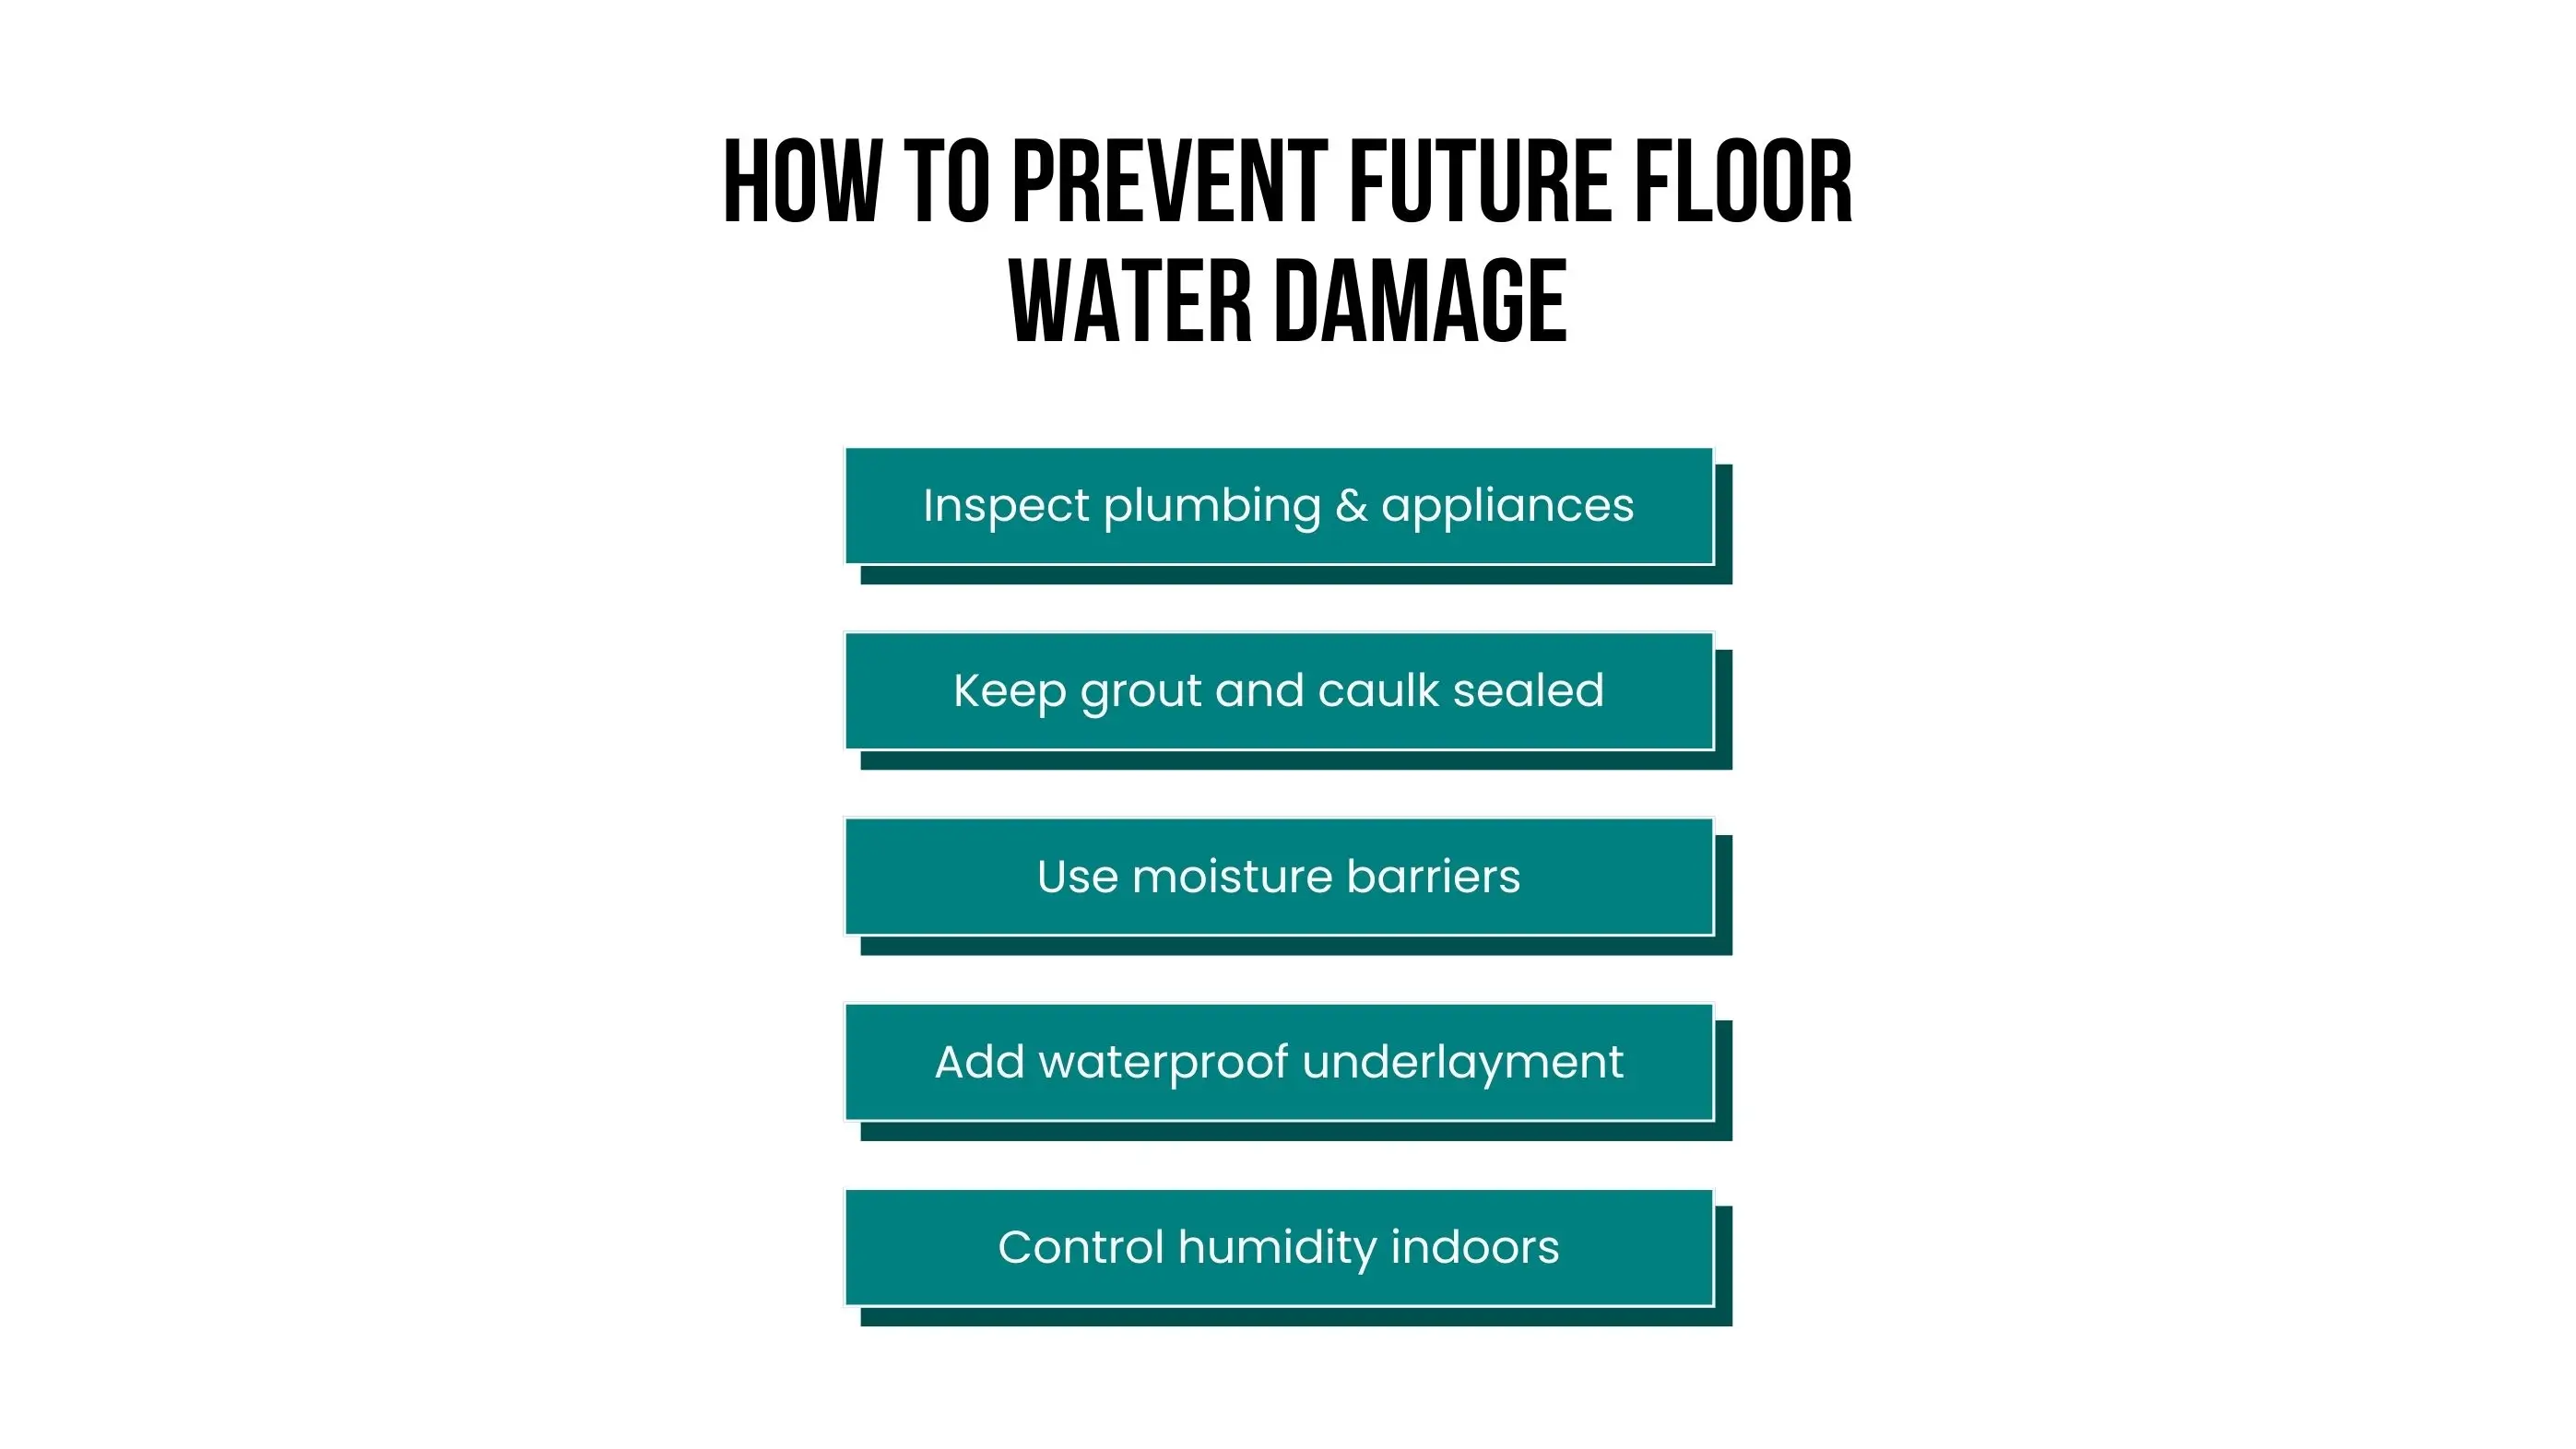
Regular inspections are one of the most effective ways to stop water damage before it begins. Plumbing lines, appliance hoses, sink traps, toilet bases, and under-sink cabinets should be checked for small drips or loose connections. Areas around showers, tubs, and sinks should have intact caulk and grout to prevent water from slipping beneath flooring.
Helpful inspection reminders:
Moisture barriers add a protective layer between the flooring and subfloor, especially in high-moisture spaces like kitchens, bathrooms, laundry rooms, and basements. A vapor barrier or waterproof underlayment helps block moisture from rising into wood, laminate, or vinyl flooring.
Additional protection includes:
Indoor humidity plays a major role in preventing flooring issues. Excess moisture in the air can cause wood and laminate floors to swell, cup, or lift from the subfloor. Using exhaust fans in bathrooms and kitchens, running a dehumidifier in damp rooms, and ensuring consistent HVAC airflow keeps humidity levels stable.
Good ventilation also reduces the risk of mold and mildew forming beneath flooring, especially in rooms with limited natural airflow.
Repairing water-damaged floors isn’t just about fixing what you can see, it’s about protecting the structure beneath your feet and preventing long-term problems that quietly spread through moisture, mold, and weakened subfloors. Acting quickly, drying thoroughly, and repairing both surface materials and hidden layers ensures your flooring returns to a safe, stable, and healthy condition. Whether the damage came from a leak, flooding, or slow moisture buildup, proper restoration protects your home’s strength, improves air quality, and helps you avoid costly structural repairs in the future.
Wood-based flooring can begin rotting in as little as 24 to 48 hours if moisture stays trapped beneath the surface. Subfloors made from OSB or plywood often deteriorate faster than hardwood. In warm or poorly ventilated areas, structural weakening and deep rot can develop within one to three weeks.
Yes, but only when damage is detected early. Mild cupping or surface warping may improve once the wood reaches a stable moisture level through controlled drying. However, boards that have split, permanently swelled, or detached from the subfloor typically need to be replaced rather than repaired.
Insurance generally covers sudden and accidental water events, such as burst pipes or appliance failures, when reported promptly. Most policies do not cover long-term seepage, neglected leaks, or damage caused by poor maintenance. Keeping documentation and moisture readings strengthens insurance claims.
Mold growth can begin within 24 to 48 hours under wet tile, vinyl, laminate, or wood flooring. Kitchens, bathrooms, and basements create ideal conditions because they retain humidity. Without proper drying and sanitizing, mold can spread to walls, framing, and insulation.
Walking on floors that feel soft, uneven, or spongy can be unsafe because the subfloor or joists may be compromised. In severe cases, sections of the floor can collapse under weight. If structural damage is suspected, limit foot traffic and schedule a professional inspection.
Join our mailing list for exclusive updates, expert tips, and special offers tailored to your needs. Be the first to know about the latest in home services.

Renovize Home is a platform that supports homeowners from planning to renovation. Whether it’s Renovize AI for guidance or a one-on-one call with Pro Finder, we understand your project and match you with local contractors tailored to your needs.
Who We Are
About Renovize HomeGet in TouchHomeownwer Support:
Coming Soon!
General Inquiries:
support@renovizehome.com
Head Office:
24 Greenway Plaza, STE 1800M, Houston, TX 77046.