Explore All
BROWSE BY CATEGORY
Interior
Exterior
Home Essentials
Homeowner Tools
Blogs & Guides
Find a Pro
Book Your Appointment Now
Home Essentials
About Renovize Home
Explore All
BROWSE BY CATEGORY
Interior
Exterior
Home Essentials
Homeowner Tools
Blogs & Guides
Find a Pro
Book Your Appointment Now
Home Essentials
About Renovize Home
Last Updated 2025-11-24
Removing old flooring is the first and most important step when preparing for a new installation. It involves safely taking up existing materials, handling debris disposal, and repairing or leveling the subfloor to meet the requirements of your new floor type.
Proper removal prevents hidden moisture issues, eliminates squeaks, and ensures your new flooring sits on a clean, stable, and long-lasting foundation. Whether the old floor is hardwood, tile, carpet, laminate, or vinyl, careful removal and subfloor preparation dramatically improve the quality and durability of the final install.
Table of Contents
What Old Flooring Removal Includes
Step-by-Step Breakdown of Old Flooring Removal
Why Proper Floor Removal Matters
Types of Flooring Removed
Tools & Equipment Used for Old Floor Removal
Step-by-Step Process for Removing Old Flooring
Subfloor Preparation After Floor Removal
Cost Factors for Removing Old Flooring
When You Should Hire a Professional Instead of DIY
Final Thoughts
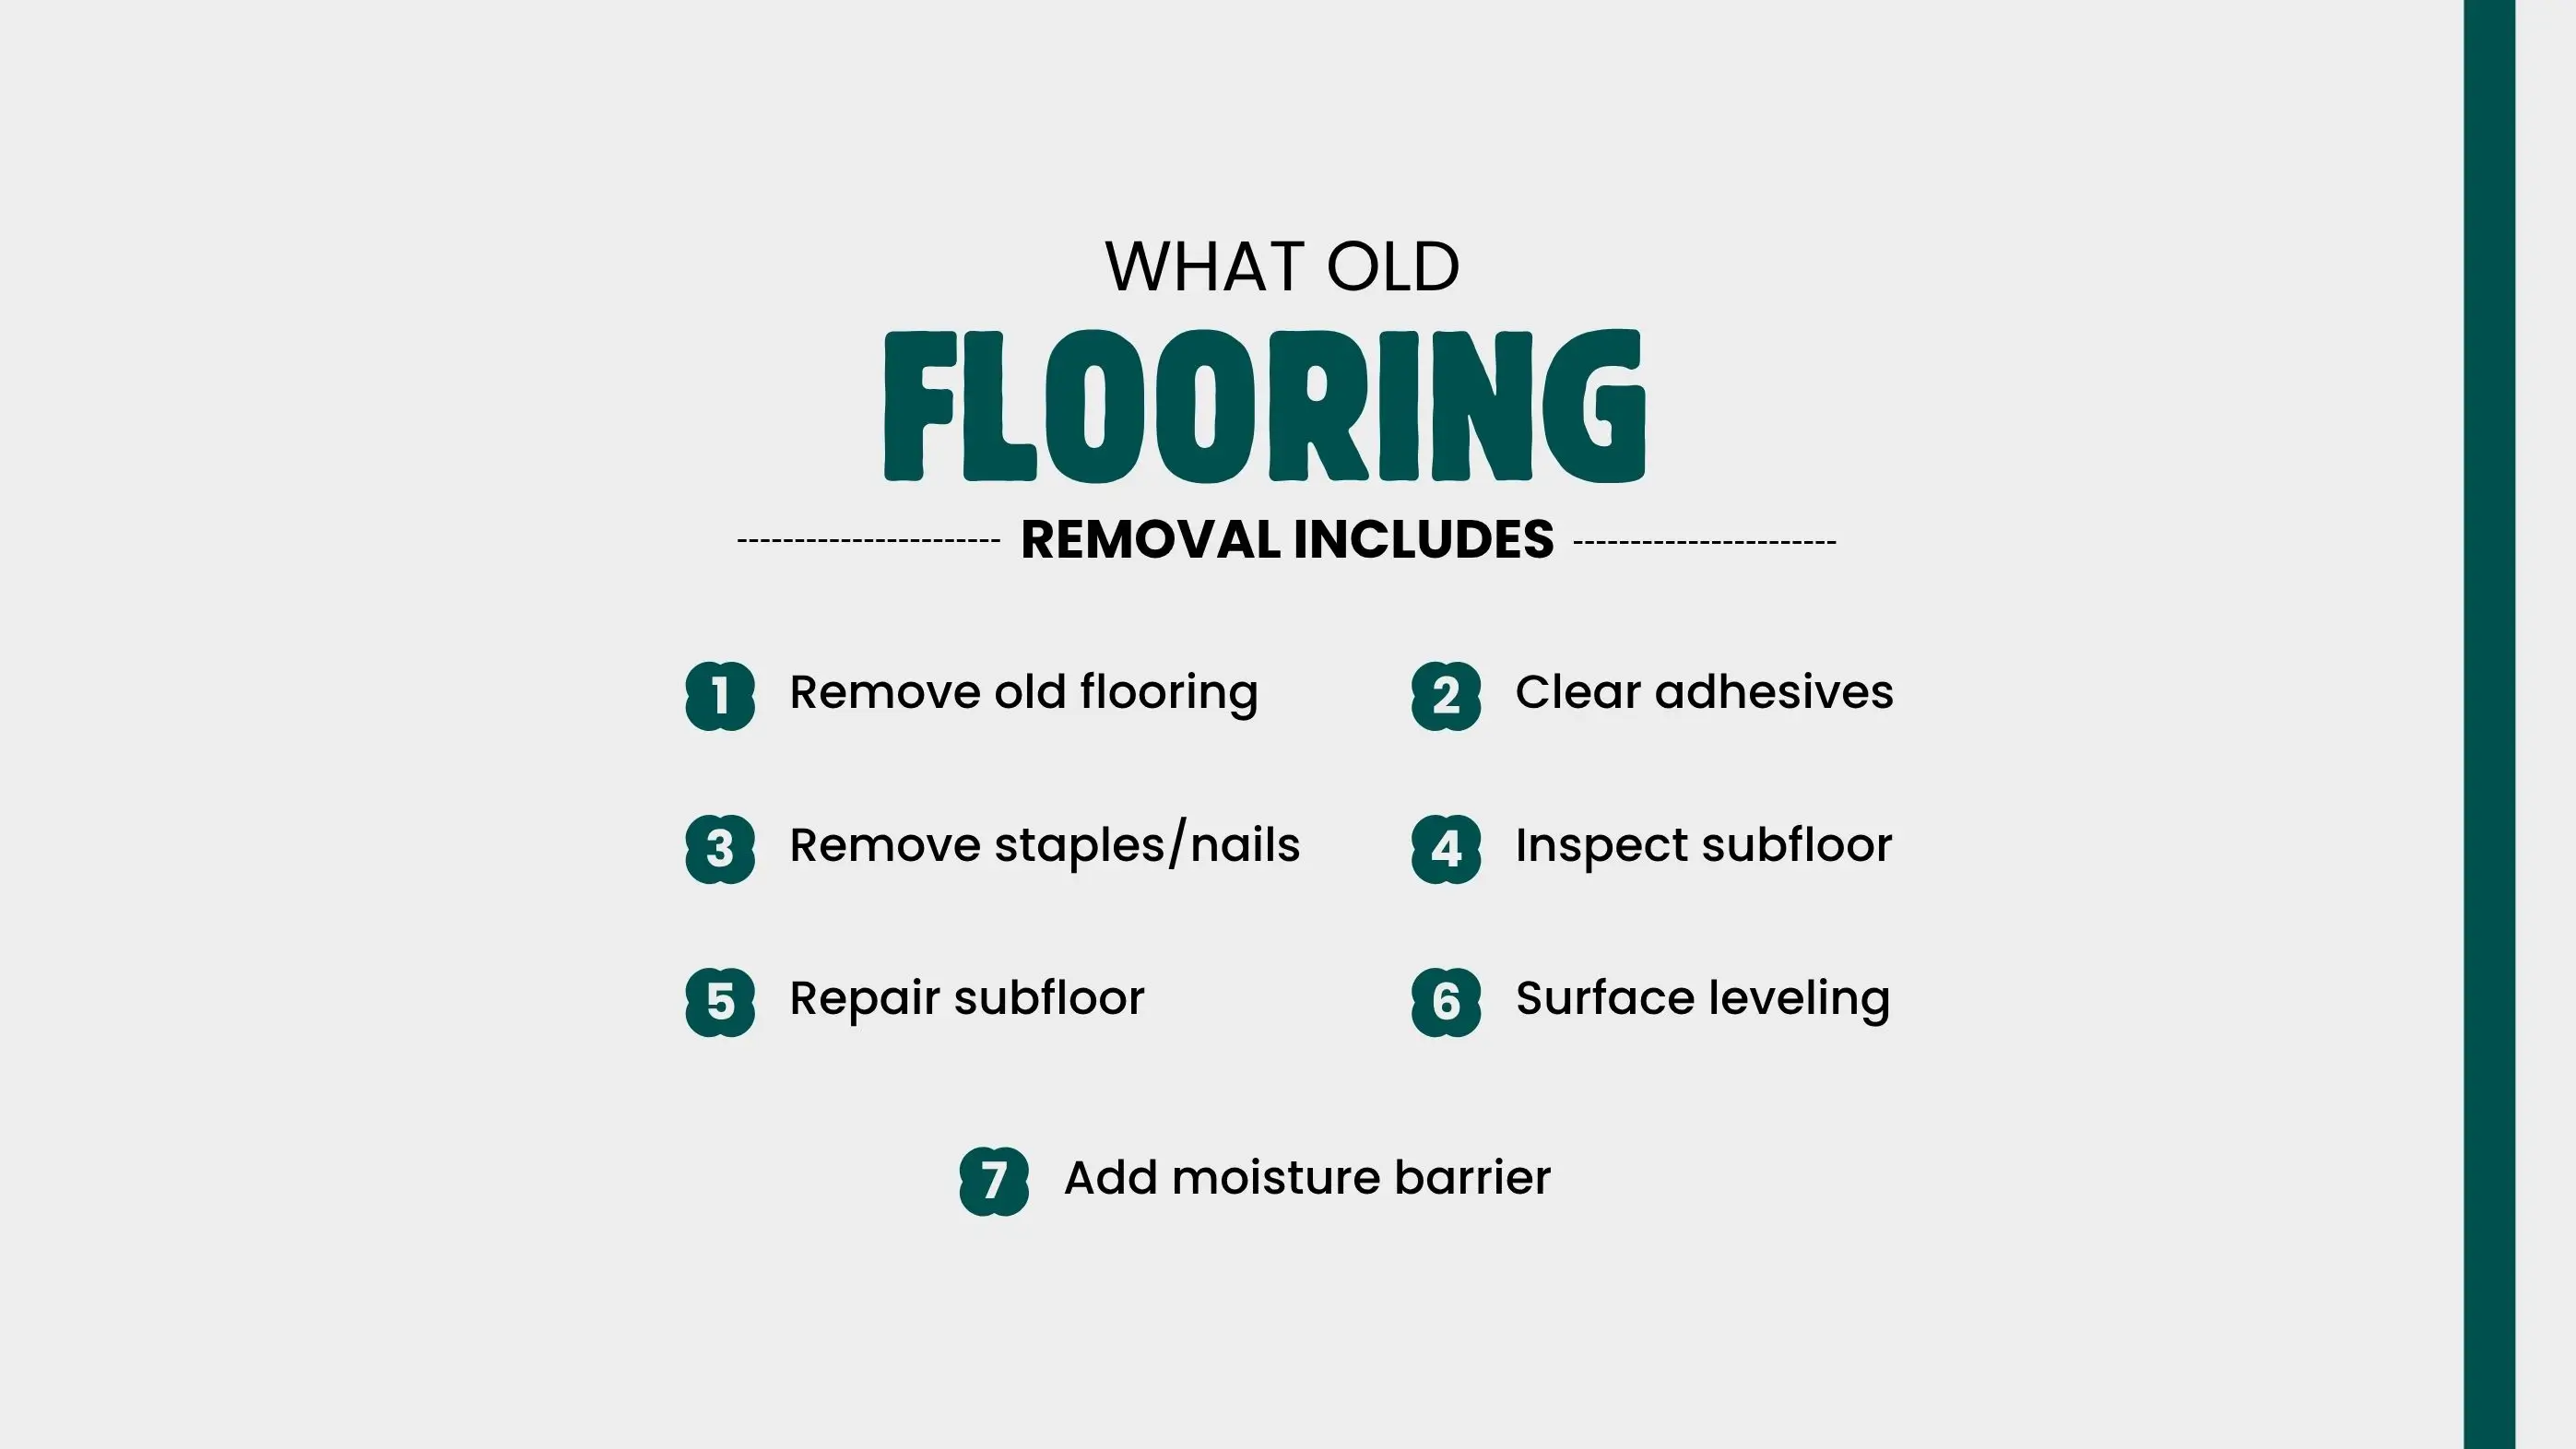
Old flooring removal involves several technical steps that ensure the surface is clean, stable, and ready for a new installation. Proper removal prevents future issues such as uneven floors, weak adhesion, moisture problems, and squeaking. Below is a clear, step-by-step breakdown of what the process includes.
Removing old flooring is a multi-stage process that requires the right tools, proper safety measures, and a careful inspection of the layers underneath. Each step prepares the foundation for a long-lasting and successful new flooring install.
The first step is detaching and lifting the existing flooring, whether it’s carpet, tile, hardwood, vinyl, or laminate, using the appropriate tools. Each material requires a different removal technique to avoid damaging the subfloor. Tile may need chiseling, hardwood may require prying, and carpet must be cut into sections for easier handling.
Once the flooring is removed, all leftover adhesive, thinset, staples, nails, and glue must be fully cleared. Even a small amount of residue can interfere with leveling, prevent new flooring from lying flat, or disrupt click-lock systems. This cleanup step is essential for achieving a smooth installation surface.
With the surface completely exposed, installers inspect the subfloor for:
The final stage includes preparing the subfloor for installation. Installers vacuum dust, sand uneven seams, fill low areas with patching compounds, apply self-levelers when needed, and add moisture barriers based on the flooring type. This creates a structurally sound, clean, and level base for the new flooring material.
Proper floor removal is essential for preventing future damage, maintaining structural stability, and ensuring your new flooring performs as expected. If old materials, adhesives, or moisture problems are not fully addressed, the new installation may fail early, develop uneven areas, or trap hidden mold beneath the surface.
Correct removal allows installers to inspect, repair, and prepare the subfloor so the new flooring stays stable, lasts longer, and delivers the performance it should.
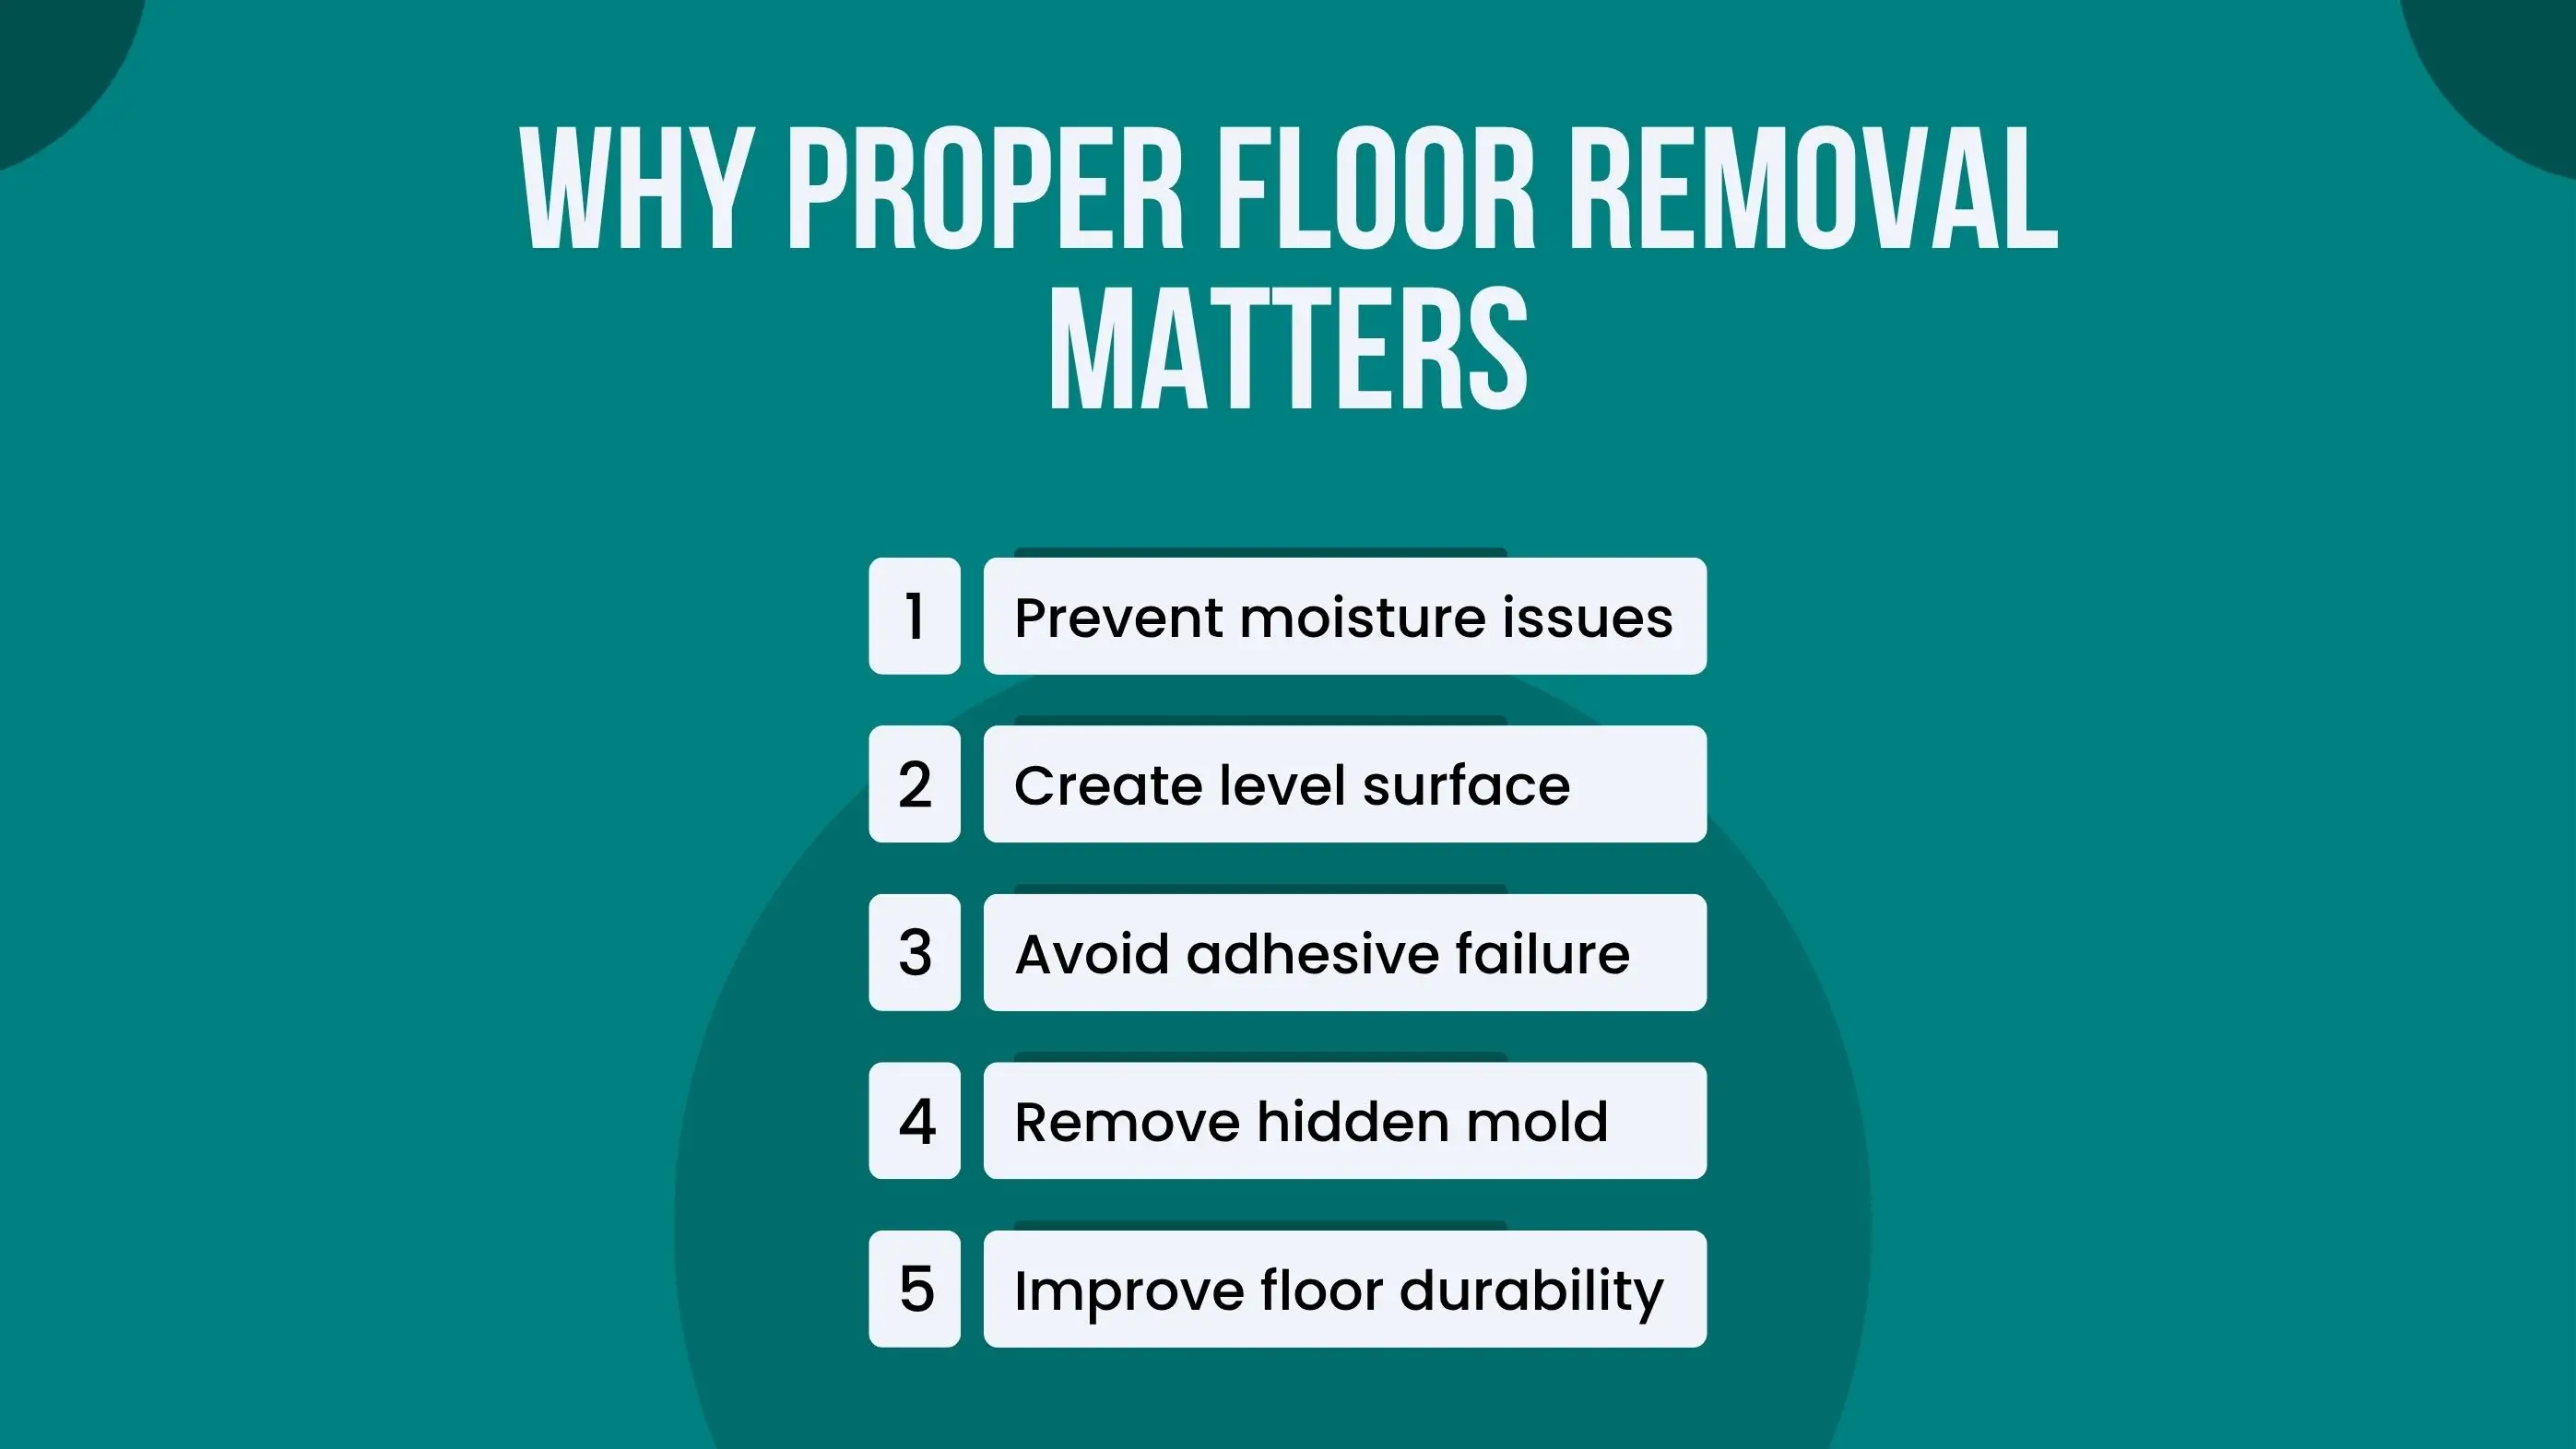
Removing the old floor exposes hidden moisture pockets, damp subfloors, or mold growth beneath older materials. Once exposed, installers can dry, seal, and repair the area properly. This prevents future issues such as warping, cupping, swelling, and adhesive failure in the new flooring.
Uneven or weak subfloors cause flooring to shift, pop, or crack over time. Proper removal gives installers full access to level dips, sand down high spots, and secure loose seams or panels. A flat, solid surface is crucial for the new floor to look smooth and stay stable.
Glue-down or engineered flooring cannot bond properly to old adhesive, dust, or residue. Thorough cleaning and removal create a clean subfloor that allows adhesives to grip correctly. This guarantees stronger bonding, quieter floors, and long-term durability.
Older carpets, pads, vinyl layers, and tile underlayment can trap moisture and develop mold underneath. Full removal exposes these hidden issues so they can be treated before they spread into surrounding flooring, walls, or indoor air.
Proper preparation minimizes movement, squeaks, and early wear patterns. A well-prepared subfloor keeps seams tight, prevents lifting or hollow spots, and ensures the new flooring stays stable and durable for many years.
| Aspect | Proper Removal | Rushed Removal |
|---|---|---|
| Moisture safety | Moisture tested & sealed | Hidden moisture causes warping |
| Surface leveling | Smooth, flat, stable | Dips, bumps, and cracking |
| Adhesive bonding | Strong, long-lasting | Floors lift or bubble |
| Mold control | Found & removed early | Mold spreads under new floors |
| Installation lifespan | 2× longer on average | Premature replacement needed |
Flooring removal varies based on the material, how it was installed, and how long it has been in place. Each flooring type requires specific tools, removal techniques, and safety precautions to avoid damaging the subfloor or creating unnecessary debris.
Tile often requires demolition, hardwood may need prying or adhesive softening, and vinyl or laminate must be dismantled systematically. Carpet involves tack strip removal, and stone flooring needs heavy-duty tools with strict dust control.
Whether the floor is glued, nailed, floating, or water-damaged, we remove it safely and efficiently to prepare the subfloor for a flawless new installation.
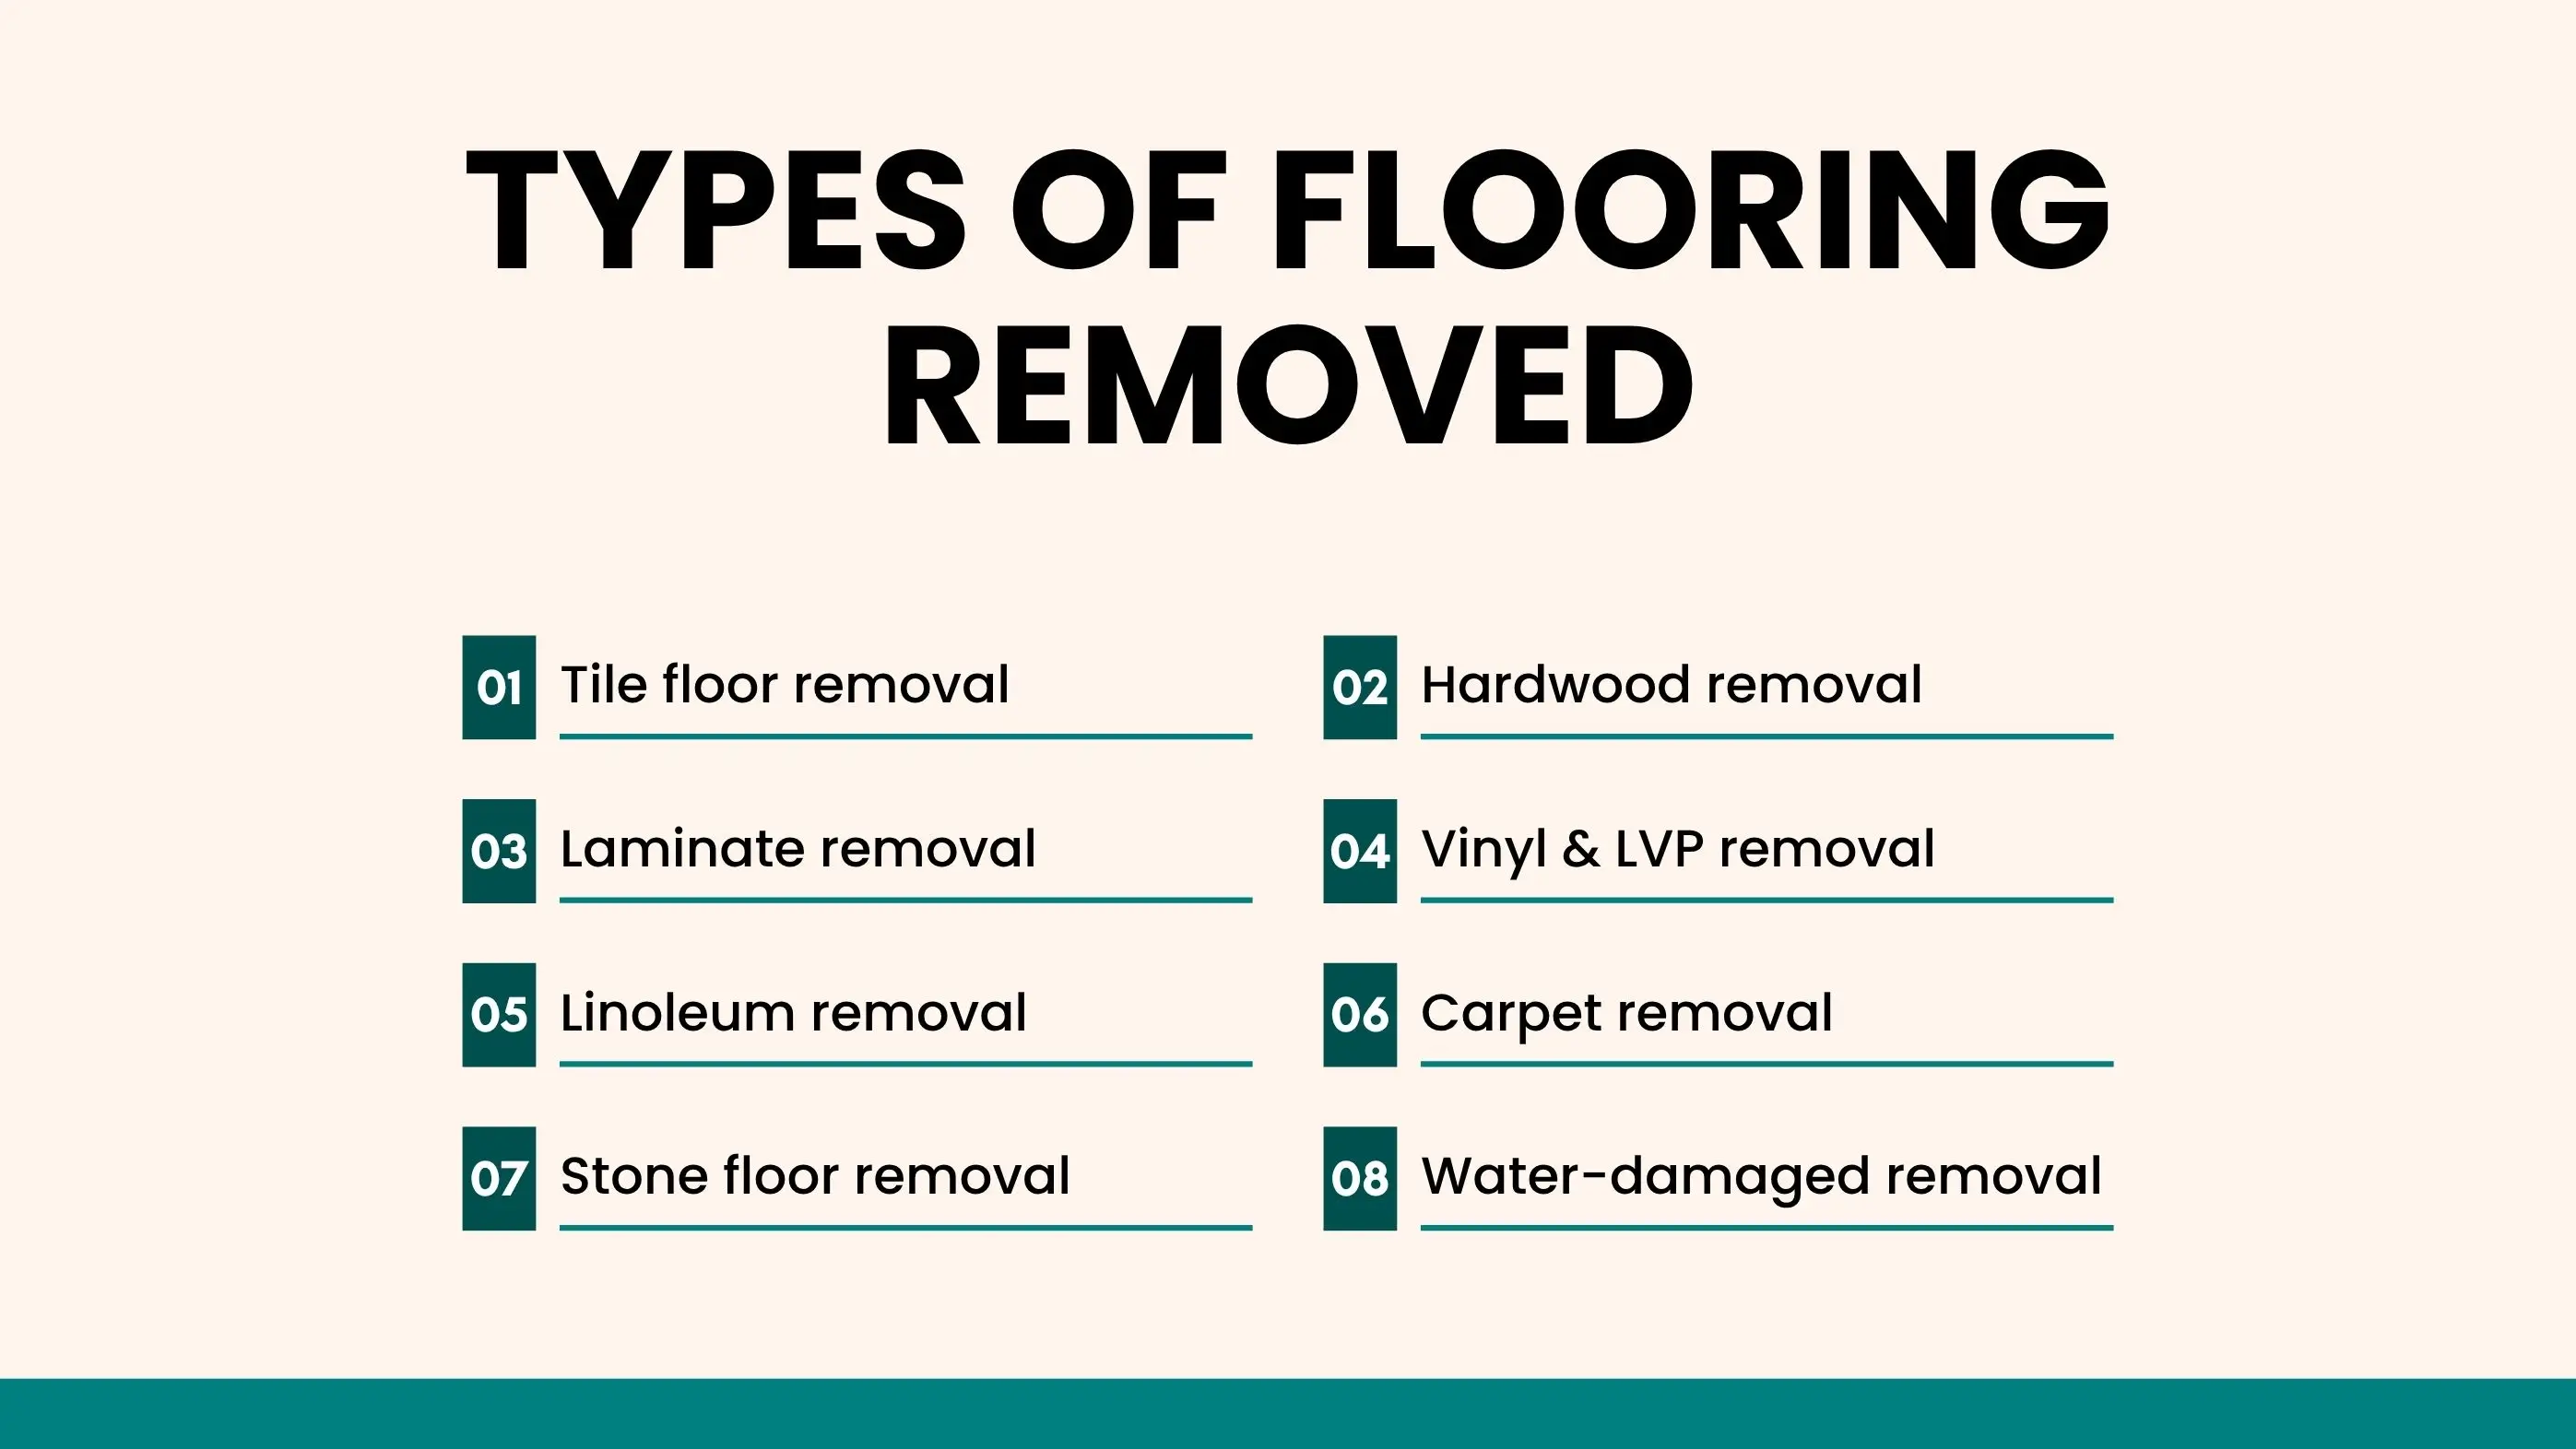
Tile flooring is broken and lifted using chisels, hammers, or demolition tools, and the thinset mortar beneath is fully ground off. Dust barriers and HEPA vacuums help control airborne particles during the process. Once complete, the subfloor is left clean, level, and ready for new tile, hardwood, or vinyl installation.
Nail-down, glue-down, and floating hardwood floors are removed using pry bars, heat tools, or adhesive removers depending on their installation method. Removal exposes hidden issues such as squeaks, loose seams, or damaged subfloors. Correcting these problems now strengthens the surface and improves the lifespan of the new flooring.
Laminate click-lock planks unlock easily, allowing clean removal without heavy demolition. Adhesives used on stairs or transition areas are scraped away to prevent uneven spots. Clearing out old underlayment ensures the new floor sits stable, level, and sound-free.
Glue-down vinyl and LVP are scored, heated, and scraped to loosen stubborn adhesives. Floating planks are removed by unlocking them the same way laminate is taken apart. This method protects the subfloor and prevents unnecessary damage.
Linoleum is cut into sections and lifted after softening the adhesive with heat or steam. In some cases, the old plywood underlayment must be removed along with the linoleum to achieve a smooth, even surface for the new flooring.
Carpet is sliced into strips and pulled up, while tack strips around the perimeter are pried off. Staples holding the carpet pad are removed to prevent bumps under the new flooring. Any odors, stains, or pet damage uncovered during removal can be treated or sealed before installation.
Stone flooring is removed using heavy-duty demolition tools because of its density and weight. Mortar beds must be chipped out completely to avoid uneven or unstable surfaces. Strict dust control measures are used to protect indoor air quality throughout the process.
Water-damaged flooring is removed quickly to prevent mold growth and structural decay. Moisture meters help identify hidden wet areas beneath the surface. Soft, swollen, or moldy subfloor sections are replaced to provide a clean, dry base for new flooring installation.
Removing old flooring requires a mix of demolition tools, precision cutters, and dust-control systems to ensure safe, damage-free results. Professionals use the right equipment based on the flooring type tile, hardwood, vinyl, or carpet to speed up removal and protect the subfloor.
These tools also help manage noise, debris, and airborne dust, which are major concerns in active households or remodel projects.
| Tool / Equipment | Primary Use | Why It Matters |
|---|---|---|
| Floor Scrapers | Removes glue, vinyl sheets, thinset residue | Ensures a clean, bond-ready subfloor |
| Demolition Hammer / Rotary Hammer | Breaks tile and stone surfaces | Speeds up removal without damaging subfloor |
| Pry Bars & Crowbars | Lifts hardwood, laminate, and nailed boards | Prevents excessive force that can crack subfloors |
| Oscillating Multi-Tools | Cuts edges, trims, and tricky corners | Helps remove flooring near walls or cabinets cleanly |
| Thinset Grinders | Grinds down mortar after tile removal | Provides a smooth, level surface for new flooring |
| Carpet Tack Strip Tools | Removes tack strips and carpet staples | Avoids gouging the subfloor during carpet removal |
| HEPA Vacuums | Captures fine dust during removal | Protects indoor air quality and reduces cleanup |
| Dust Barriers & Plastic Sheeting | Isolate work areas | Prevents dust from spreading throughout the home |
Using proper equipment prevents unnecessary subfloor damage, which can save hundreds in repairs. It also speeds up removal, reduces dust exposure, and ensures the surface is fully ready for new flooring installation. Professionals rely on commercial-grade tools because they deliver cleaner cuts, safer demolition, and consistent results that DIY tools cannot match.
Removing old flooring requires a systematic approach to protect your home, expose the subfloor safely, and prepare the surface for a flawless new installation. Each step is designed to control debris, prevent damage, and ensure the subfloor is fully inspected before new flooring goes in. Below is the professional-grade process followed during floor removal.
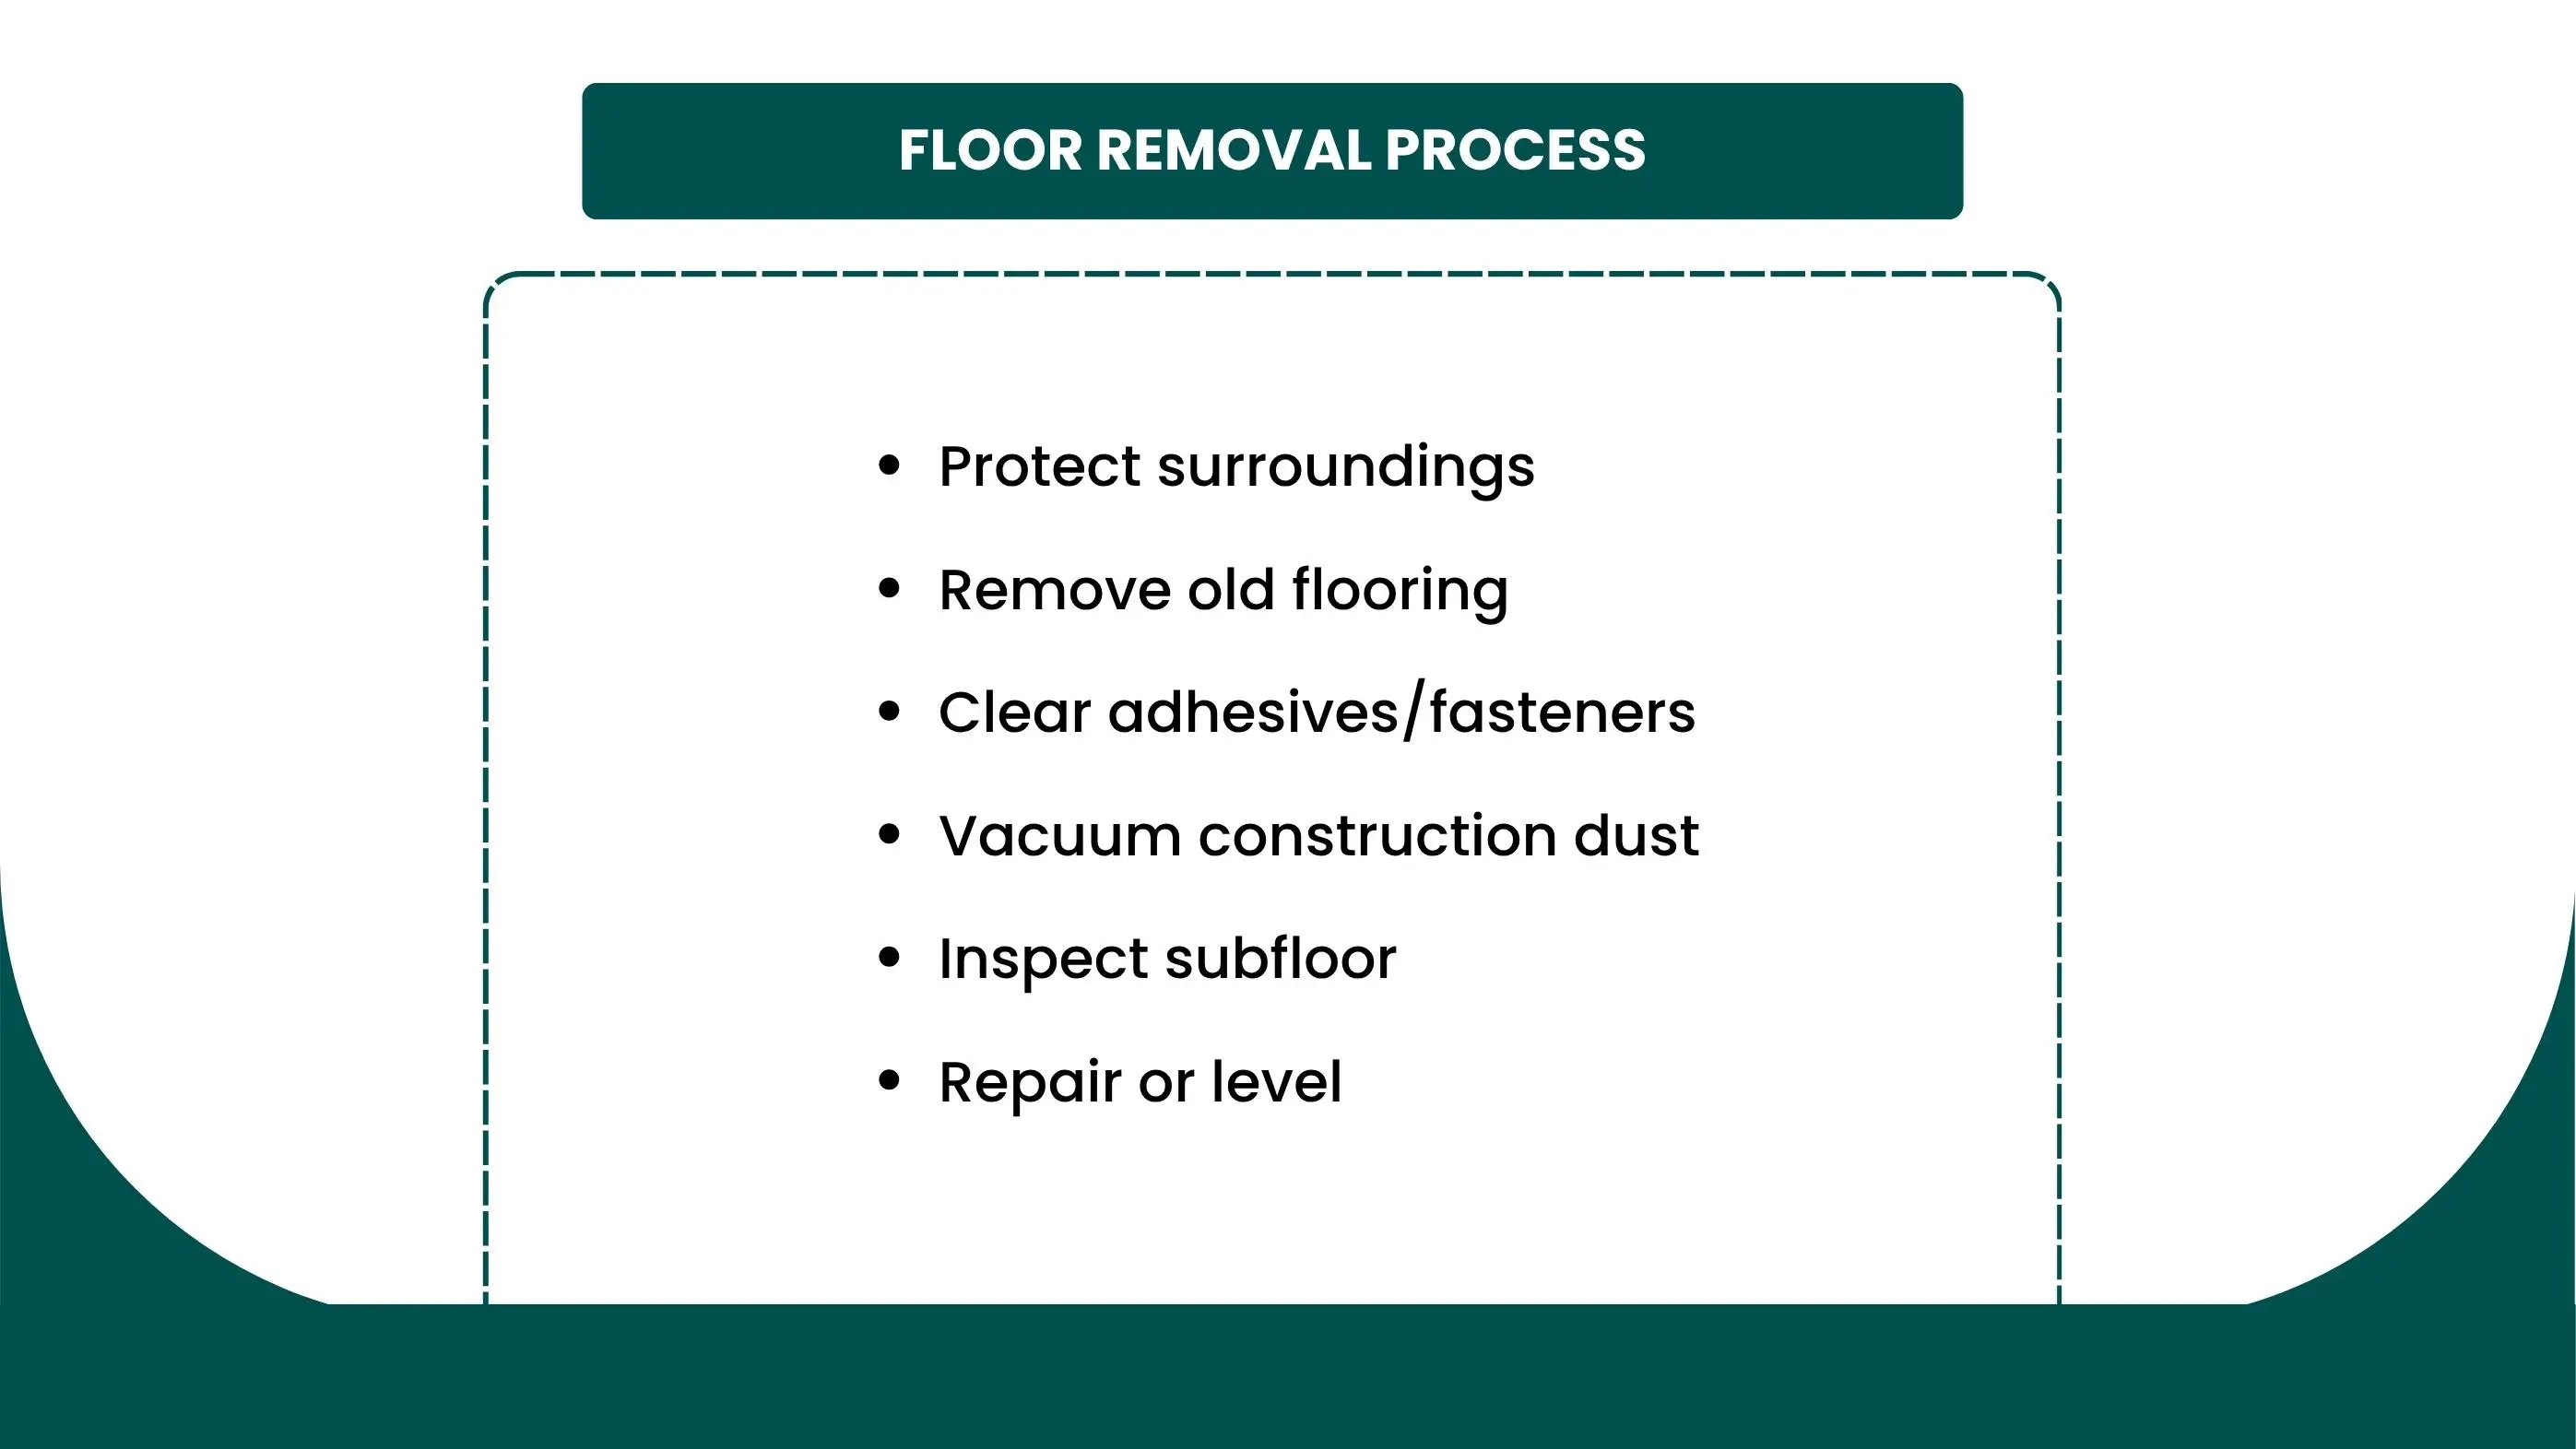
Before removal begins, contractors set up dust barriers, plastic sheeting, and protective floor coverings for nearby areas. HVAC vents are sealed to prevent dust from entering the duct system. Furniture is removed or wrapped, and walkways are protected to keep the rest of the home clean and safe throughout the process.
The top flooring layer, whether it’s tile, hardwood, carpet, laminate, or vinyl, is removed using the correct tools for each type.
After the surface flooring is lifted, all adhesives and fasteners must be cleared. Thinset is ground down, glue is scraped or heat-softened, and nails or staples are fully removed. This prevents bumps, uneven spots, and adhesion problems with the new flooring. A clean subfloor surface is essential for a successful installation.
A HEPA vacuum is used to remove fine dust, debris, and leftover fragments. Proper cleaning prevents contaminants from interfering with new flooring adhesives or finishes. This step also helps reveal hidden subfloor issues such as cracks, gaps, or moisture spots—that may have been covered by old materials.
With the surface cleared and cleaned, the subfloor is inspected for:
Identifying and fixing these problems now ensures no structural issues remain hidden beneath the new flooring. This is one of the most important steps for long-term durability.
Any damaged areas are replaced, loose boards are re-secured, and uneven sections are corrected using leveling compounds or shims. A properly repaired and leveled subfloor prevents squeaks, shifting, hollow spots, and early floor failure. This ensures the new flooring installs smoothly and maintains its stability for years.
Proper subfloor preparation ensures the new flooring installs smoothly, stays level, and lasts for decades. Once the old material is removed, contractors inspect, clean, and repair the exposed base to eliminate structural issues, moisture concerns, and uneven surfaces. Each step below strengthens the foundation for a flawless new floor installation.
After removal, fine debris, dust, and leftover adhesive must be completely cleared. A HEPA vacuum removes particles from seams, corners, and joist gaps, preventing bumps under new flooring. This deep cleaning also exposes hidden issues like water stains or cracks that must be addressed before installation.
Uneven spots cause hollow sounds, plank shifting, and premature floor damage, so they’re corrected with leveling compounds or shims. High areas are sanded or ground down, while low spots are filled to create a perfectly flat surface. A level subfloor ensures tight seams and prevents the new flooring from separating over time.
Squeaks most often come from loose panels rubbing against joists. Contractors eliminate these by applying construction adhesive and securing the subfloor with screws instead of nails. This method locks panels firmly in place, preventing future movement and delivering a quieter, more stable walking surface.
Water-soaked, moldy, or structurally weak sections are removed and replaced with new plywood or OSB panels. Edges are glued and screwed to maintain structural integrity and keep the surface rigid. Replacing damaged areas prevents long-term issues like sagging floors, moisture intrusion, and compromised support for the new flooring.
The cost of removing old flooring varies depending on the labor required, the type of material being removed, and the condition of the subfloor underneath. More complex flooring systems like tile or glued hardwood require specialized tools, longer labor hours, and careful disposal.
The overall price also changes based on room size, accessibility, and how much adhesive, thinset, or debris must be cleared before new flooring can be installed.
The cost of removing old flooring depends on the material type, removal difficulty, adhesive strength, disposal volume, and the condition of the subfloor underneath. Some floors come up quickly with minimal labor, while others require demolition tools, grinding equipment, and extensive cleanup.
Certain flooring materials demand more labor due to their density, fastening method, or removal complexity. Tile and glued hardwood require demolition tools and grinding, while laminate or carpet lifts quickly. The harder the material, the higher the labor cost.
Glue-down vinyl, engineered wood, and tile mortar can significantly increase removal time. Professionals must scrape, grind, or soften adhesives before the subfloor becomes usable again. This step often extends labor hours more than the removal of the flooring itself.
Construction debris, especially tile, stone, and hardwood adds weight and volume, increasing disposal costs. Some areas require special disposal for mortar, thinset, or old flooring adhesives, which can raise landfill or hauling fees.
If removal reveals rot, mold, soft spots, or water damage, repairs or replacements add to the cost. A clean, stable subfloor is faster to work on; damaged areas require structural reinforcement, new panels, or moisture treatments.
Larger rooms increase both labor time and disposal volume. Tight spaces, stairs, or rooms with built-in fixtures (like bathrooms or kitchens) may also cost more due to restricted access or additional cutting.
| Cost Factor | Low Range | High Range | Notes |
|---|---|---|---|
| Tile Removal | $3.00 / sq ft | $7.00 / sq ft | Labor-heavy; requires thinset grinding |
| Hardwood Removal | $2.50 / sq ft | $8.00 / sq ft | Glue-down hardwood costs the most |
| Laminate Removal | $1.50 / sq ft | $3.00 / sq ft | Fast, minimal disposal |
| Vinyl / LVP Removal | $1.50 / sq ft | $4.00 / sq ft | Adhesive removal increases cost |
| Carpet Removal | $1.00 / sq ft | $2.50 / sq ft | Includes tack strip and staple removal |
| Disposal Fees | $50 | $200+ | Based on weight and material |
| Subfloor Repairs | $75 | $400+ | Depends on moisture or structural issues |
Some flooring types and removal conditions are too risky or labor-intensive for DIY methods. Professional contractors have the tools, safety gear, and expertise required to prevent subfloor damage, reduce dust exposure, and handle hazardous materials safely.
Removing old flooring is more than a simple teardown. It is the foundation of a strong and long lasting new installation. Proper removal exposes hidden issues, strengthens the subfloor, and creates a clean and level base that supports the performance of your new flooring. This preparation helps prevent future moisture problems, uneven surfaces, and early floor failure.
If you are planning a flooring upgrade, choosing careful and professional removal gives your project the clarity and stability it needs. With the right tools, proper dust control, and necessary subfloor repairs, the installation becomes smoother, faster, and more durable. Starting with a solid foundation is the smartest way to protect your home and the value of your new floors.
Yes, most Home Depot locations offer floor removal, but it’s an add-on service and pricing varies by store. Renovize provides complete removal, cleanup, and disposal as part of the installation process.
Thinset forms a cement-like chemical bond with concrete or plywood, making it extremely rigid. Removing it requires chiseling, demolition hammers, or surface grinding to expose a clean subfloor.
The only reliable method is sending a sample to a certified lab. Adhesive products manufactured from the 1950s to the late 1980s are the most likely to contain asbestos fibers.
Using heat to soften the adhesive, followed by scraping and adhesive remover, is the quickest method. Professionals complete this much faster because they use commercial-grade heat tools and floor scrapers.
Dust often remains inside HVAC vents, wall cavities, and air returns even after surface cleaning. A post-construction HVAC cleaning or filter replacement stops dust from circulating back into the home.
Join our mailing list for exclusive updates, expert tips, and special offers tailored to your needs. Be the first to know about the latest in home services.

Renovize Home is a platform that supports homeowners from planning to renovation. Whether it’s Renovize AI for guidance or a one-on-one call with Pro Finder, we understand your project and match you with local contractors tailored to your needs.
Who We Are
About Renovize HomeGet in TouchHomeownwer Support:
Coming Soon!
General Inquiries:
support@renovizehome.com
Head Office:
24 Greenway Plaza, STE 1800M, Houston, TX 77046.