Explore All
BROWSE BY CATEGORY
Interior
Exterior
Home Essentials
Homeowner Tools
Blogs & Guides
Find a Pro
Book Your Appointment Now
Home Essentials
About Renovize Home
Explore All
BROWSE BY CATEGORY
Interior
Exterior
Home Essentials
Homeowner Tools
Blogs & Guides
Find a Pro
Book Your Appointment Now
Home Essentials
About Renovize Home
Last Updated 2025-11-21
New flooring in home construction involves a structured process that begins long before the visible surface materials are installed. It includes subfloor preparation, structural framing, moisture protection, and temporary floor coverings that safeguard the surface until construction is complete. Each layer from joists to final finish plays a critical role in stability, safety, and long-term performance.
Table of Contents
What Construction Flooring Means in Home Building
Floor Plans and Structural Layout in New Construction
How to Construct a Floor For New House
Floor Framing and Joist Construction Basics
Wood Floor Construction in New Builds
Concrete Floor Slab Construction
Floating Floor Construction
Construction Flooring for Special Home Types
Protecting Floors During Construction
Final Views
Construction flooring refers to the complete process of building a durable, stable, and long-lasting floor system during a new home build or major addition. It covers everything from structural framing and subfloor installation to concrete slab preparation, moisture control, radiant heating integration, and the final flooring material. Each layer plays a specific role in supporting weight, preventing movement, and ensuring the finished floor looks clean, level, and professionally installed.
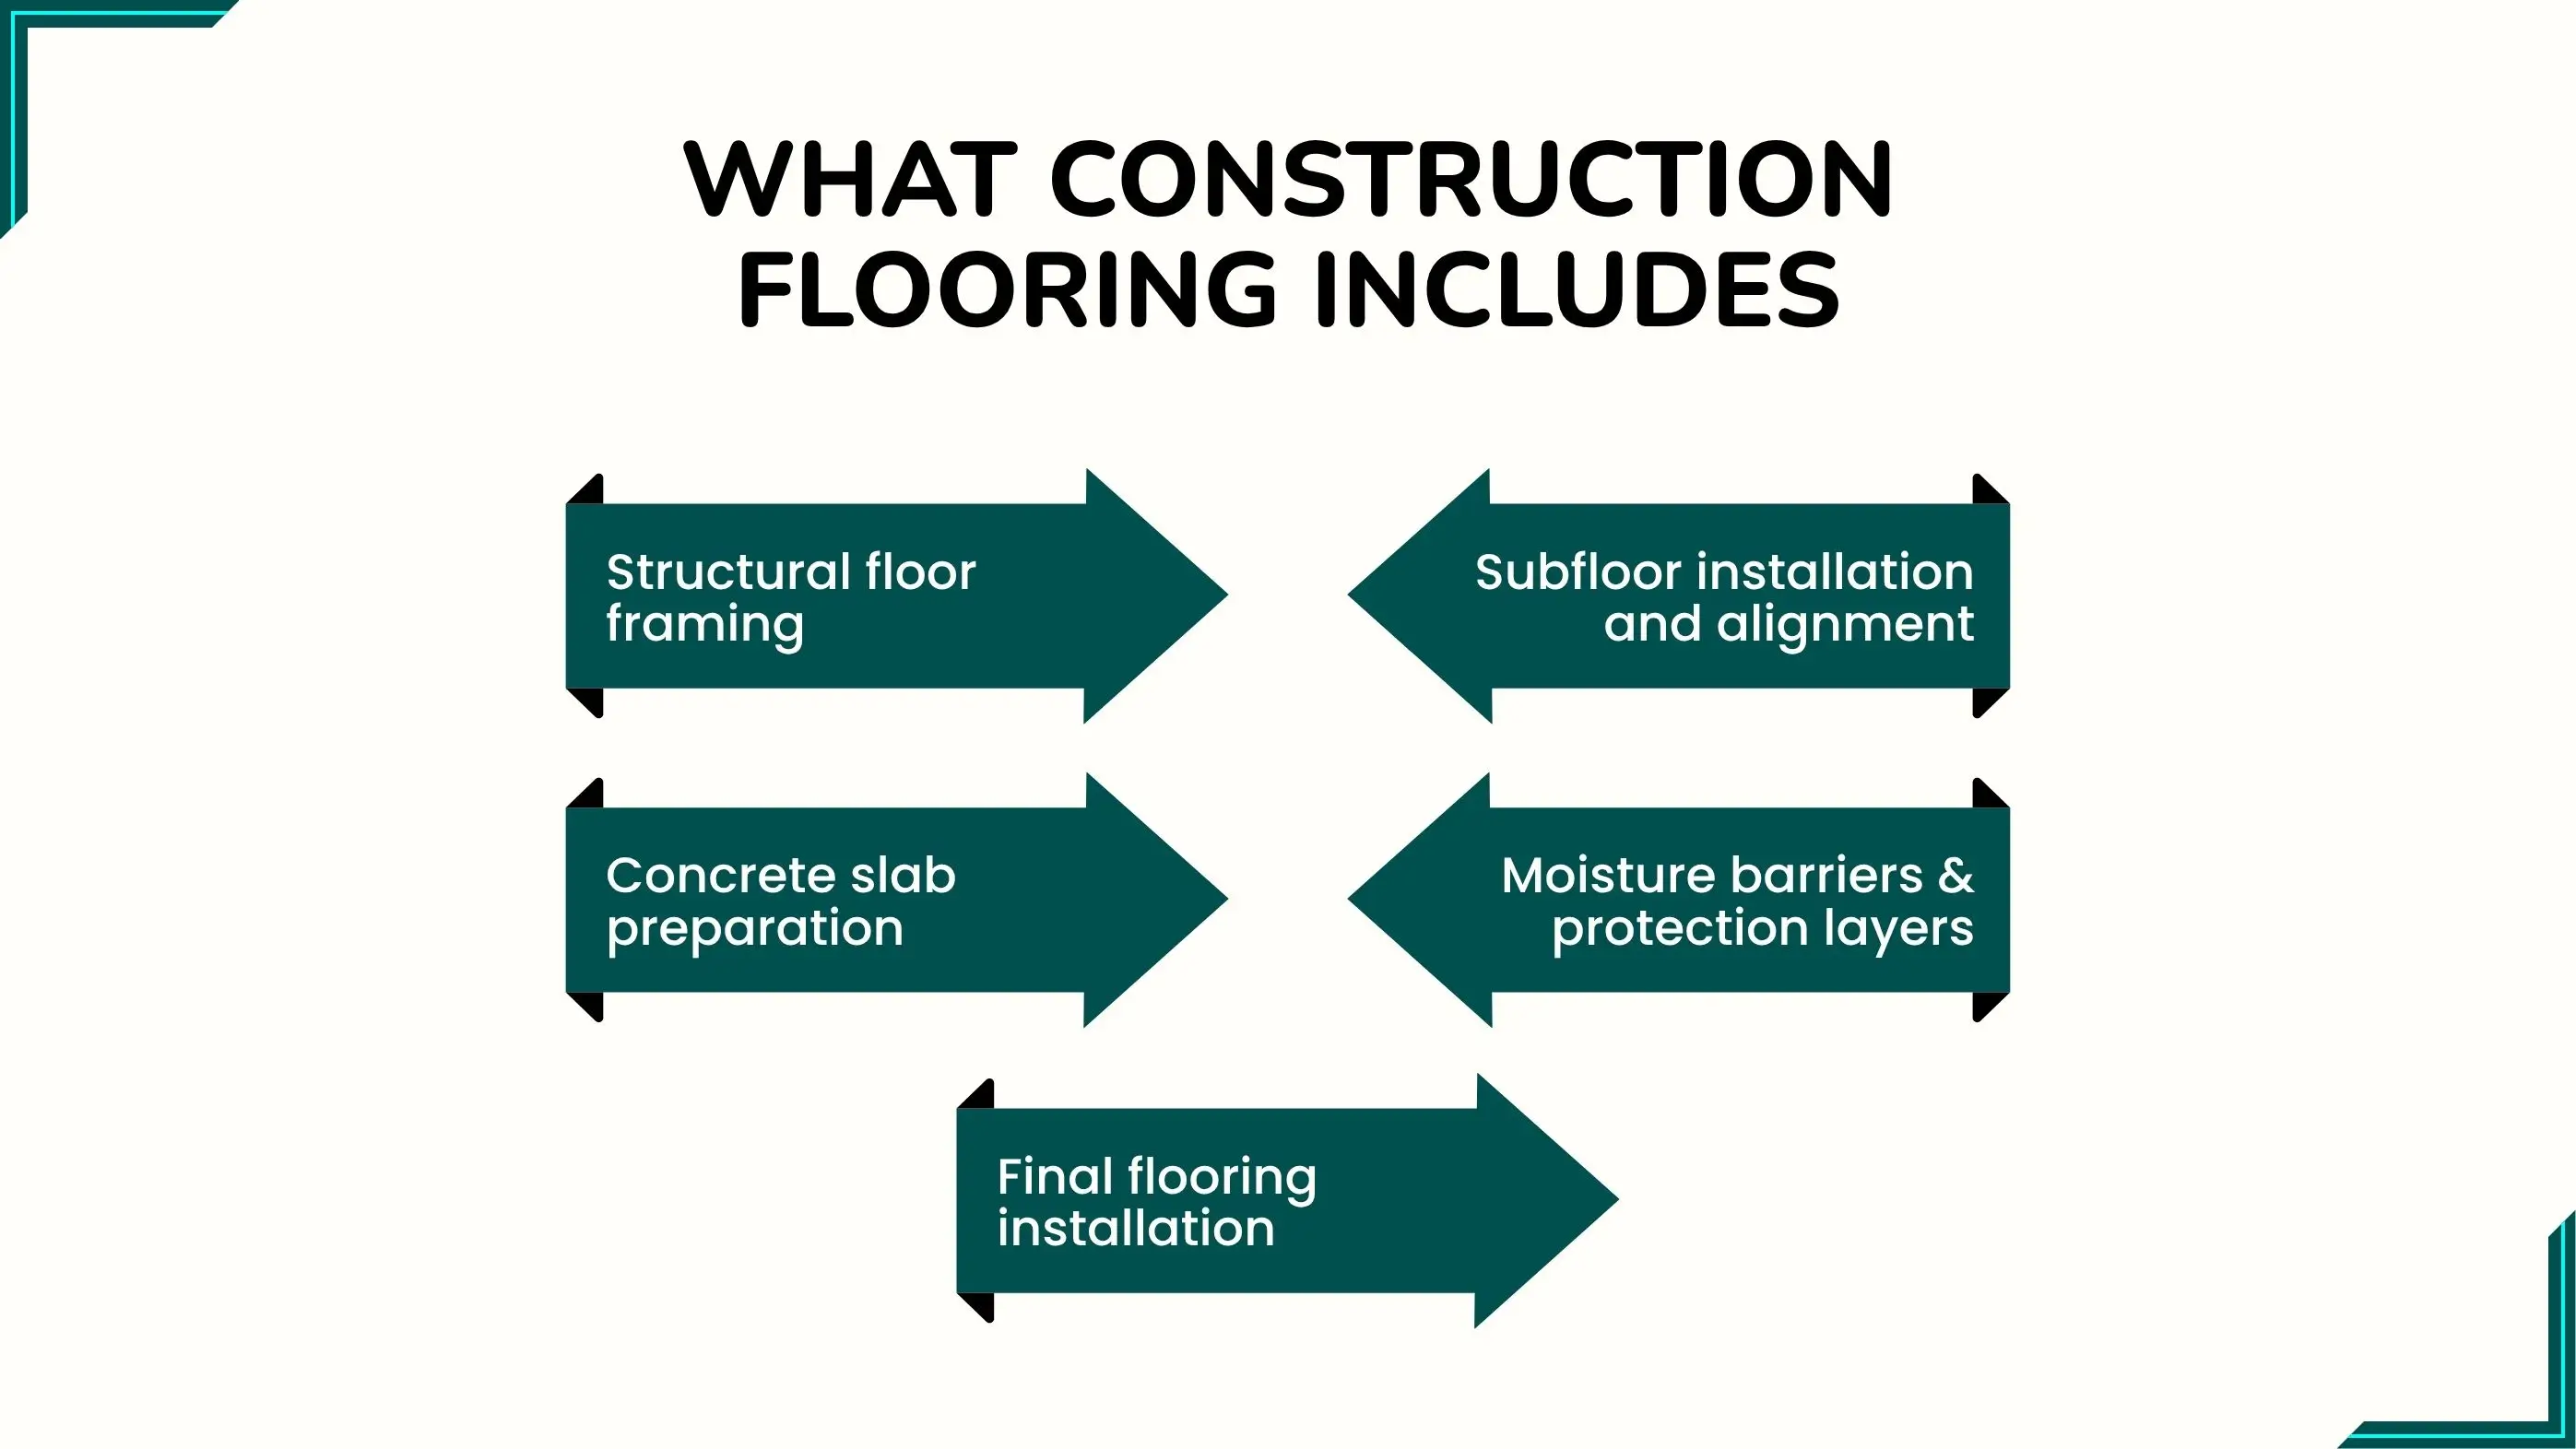
Floor framing is the foundation of every construction floor. Builders install joists, beams, and rim boards to create a stable base that supports the entire load of the home. Correct spacing and fastening prevent sagging, squeaking, and structural weaknesses. Engineered lumber or traditional wood joists may be used depending on the home’s design and expected weight distribution.
The subfloor usually plywood or OSB panels is secured to the framing to create a solid walking surface. Panels must be level tightly fastened and properly glued to prevent squeaks and shifting. Gaps are staggered to increase strength while expansion spaces are maintained to prevent buckling. A well installed subfloor determines how smooth and stable the final flooring will feel.
In homes built on a slab foundation the construction floor begins with compacted soil gravel vapor barriers and poured concrete. The slab must cure correctly, be moisture tested and remain level to avoid cracks or moisture infiltration. Many finished flooring types of tile vinyl engineered wood require a perfectly smooth slab to prevent imperfections from telegraphing through.
Moisture control is crucial in floor construction. Builders install vapor barriers, underlayment, and insulation to prevent mold, rot, and warping. These layers regulate temperature, reduce noise transfer, and prepare the surface for radiant heat systems or floating floors. Proper moisture protection extends the lifespan of both the structure and the finished floor.
The final flooring whether hardwood tile vinyl laminate or carpet is installed only after all structural and moisture controls are complete. Each material requires a different installation method, expansion gap and adhesive. This stage focuses on precision cutting edge finishing and ensuring a smooth seamless appearance throughout the home.
Floor plans do more than show where rooms are placed, they determine how the entire floor system is engineered. The layout influences joist direction, load-bearing wall placement, subfloor strength, and even which flooring materials perform best in each space. A well-designed construction floor plan ensures structural stability, balanced weight distribution, noise control, and long-term durability across every level of the home.
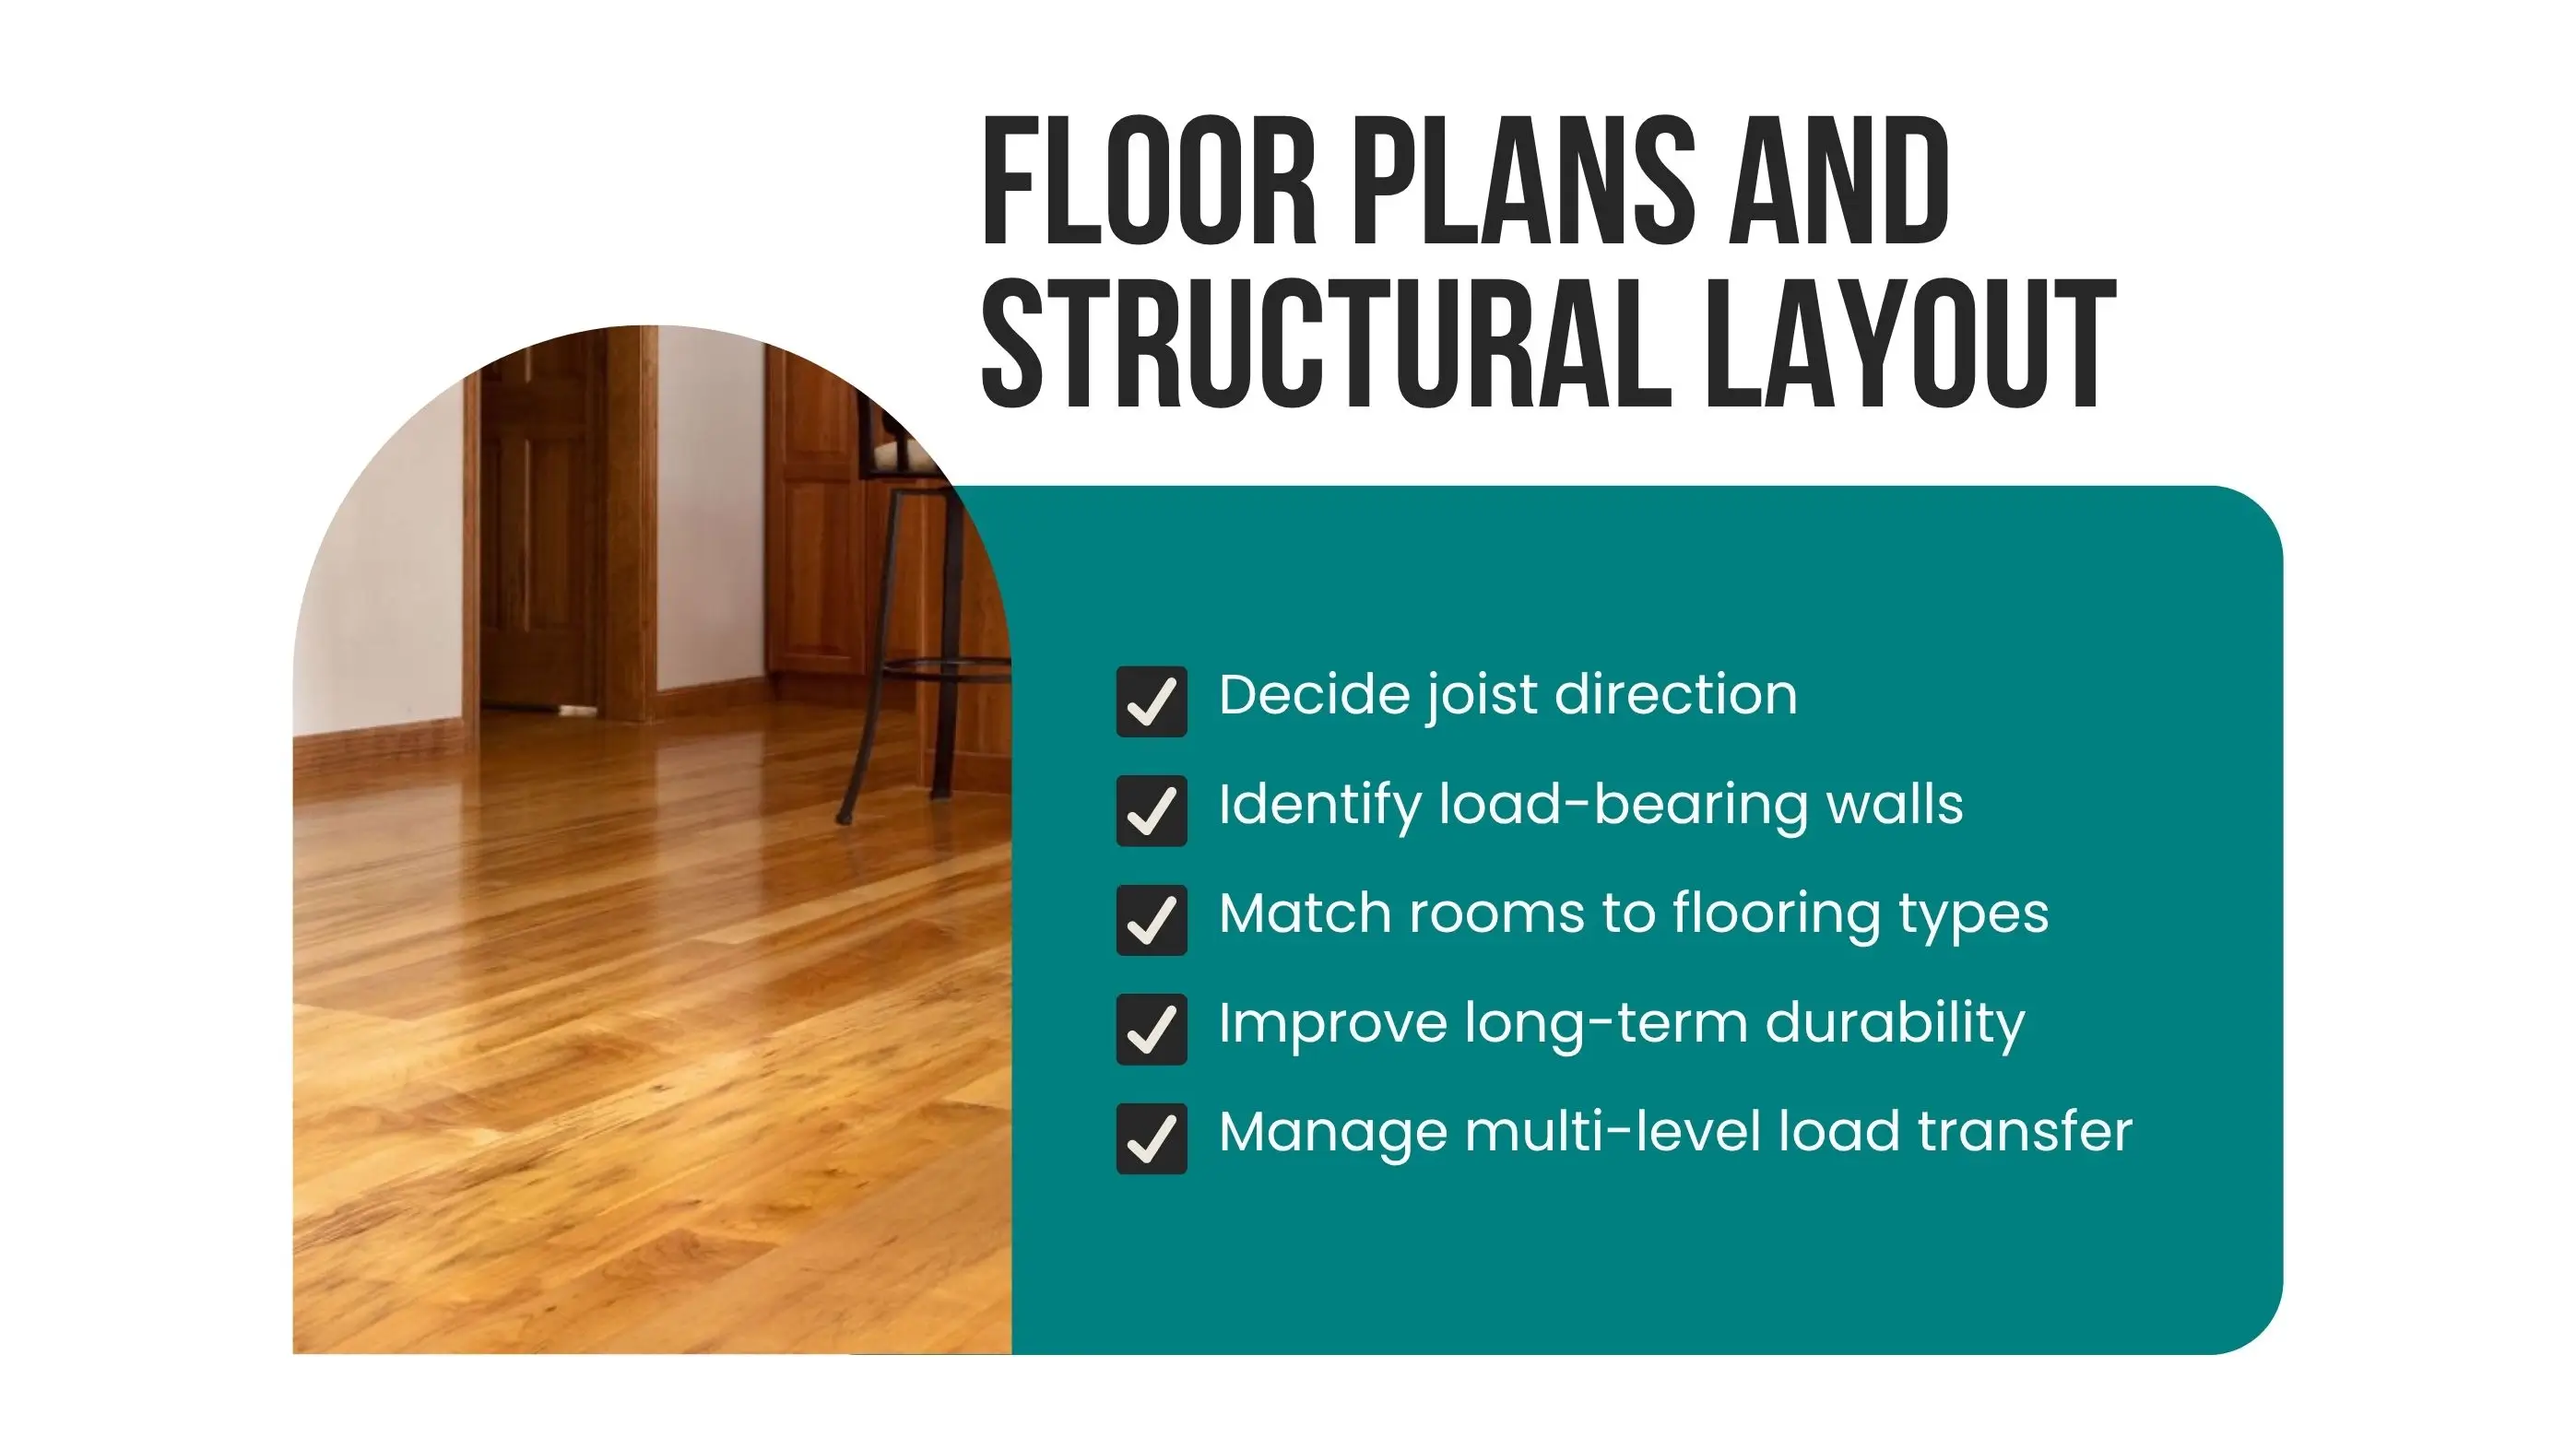
Joist direction is chosen based on room size, wall layout, and structural loads shown in the floor plan. Large, open areas require joists to run perpendicular to load-bearing walls to provide maximum support. Correct joist alignment prevents sagging, floor bounce, uneven surfaces, and future structural strain. The joist layout also affects how subfloor panels are installed and how solid the finished flooring feels underfoot.
Construction plans clearly mark load-bearing walls that support upper floors and roof structures. These walls guide the placement of joists, beams, and subfloor reinforcements. Aligning flooring components with load-bearing points strengthens the overall structure and reduces strain on the floor system. Misreading load-bearing locations can lead to structural deflection, squeaks, and long-term flooring failures.
A construction floor plan helps determine which flooring material works best in each room. For example:
Builders make these choices based on moisture exposure, foot traffic, acoustics, and room purpose. This ensures each space receives a flooring type that performs properly and lasts without premature wear.
A well-planned structural layout supports long-term flooring durability. Correct joist spacing, balanced load distribution, and proper transition areas reduce stress on the subfloor and prevent issues like cracked tiles, soft spots, or noisy floors. Good structural alignment also makes future renovations easier because homeowners can upgrade flooring materials without needing major structural adjustments.
In multi-story homes, the floor plan defines how loads transfer from upper floors to the foundation. This affects joist size, beam placement, and subfloor thickness. Proper planning reduces vibration on upper levels, improves soundproofing between floors, and ensures strong support for heavy fixtures such as kitchen islands, laundry appliances, or bathtubs.
Constructing a floor during home building follows a precise sequence designed for strength, durability, and long-term performance. Each stage builds on the previous one, ensuring the finished floor can support weight, resist movement, and stay level over time. A well-structured floor construction diagram typically includes framing, joist installation, subfloor attachment, underlayment placement, and the final flooring material.
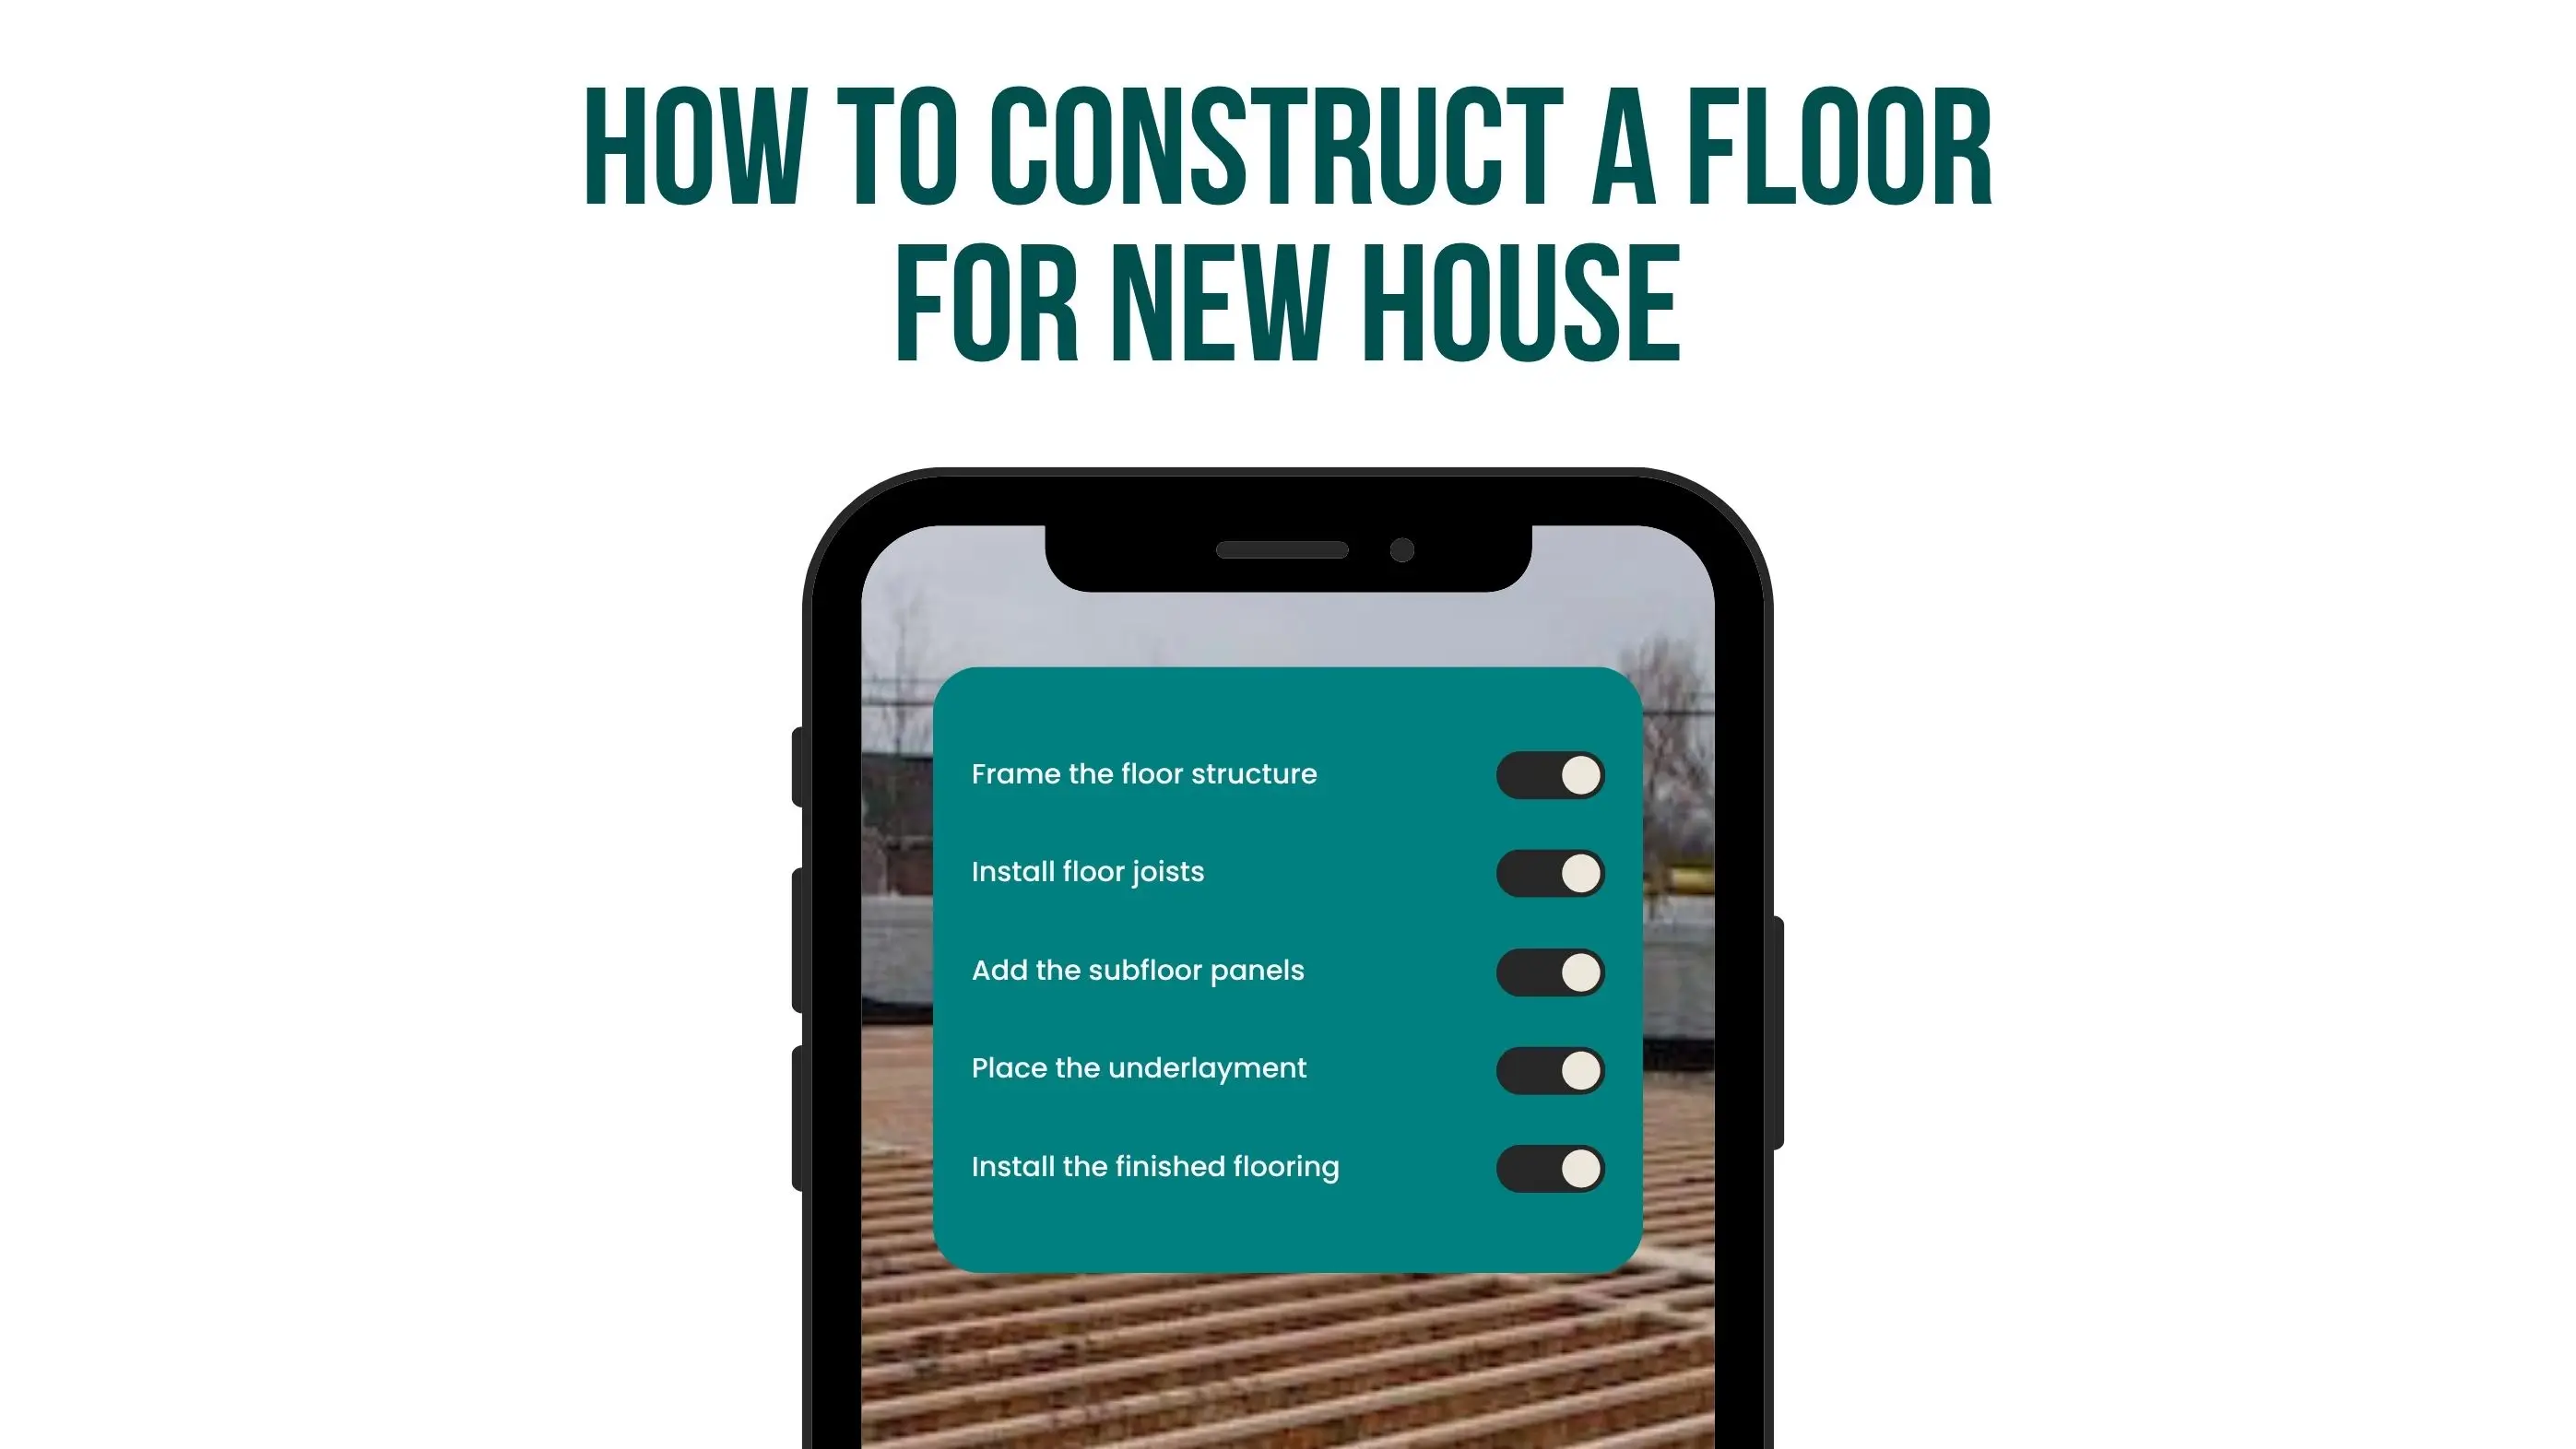
Builders install beams, rim boards, and sills that anchor the entire floor system to the foundation. This framework defines room dimensions and sets the load-bearing capacity. Accurate framing ensures stability and prevents future floor deflection or sagging.
Joists span across the framing and create the skeleton of the floor. They are sized and spaced based on room width, material type, and expected load. Proper placement maintains level flooring and eliminates bounce or vibration.
Plywood or OSB panels are laid over joists, glued, and fastened tightly to create a solid working surface. Panels are staggered for strength and installed with small expansion gaps to handle humidity changes.
An underlayment foam, cork, felt, or cement board smooths the subfloor, improves sound absorption, and adds moisture or vapor protection depending on floor type. It prepares the surface for precise flooring installation.
The final material (hardwood, laminate, tile, vinyl, or carpet) is installed using techniques suited to the product: nail-down, glue-down, floating, or thin-set application. Edges are trimmed, transitions added, and the room receives a clean, level finish.
Floor framing and joist construction form the structural backbone of every new home. They determine how well the floor handles weight, resists movement, and maintains level surfaces for decades. Proper planning and installation prevent squeaks, sagging, and long-term structural problems.

Joist spacing is usually 12", 16", or 24" on center, depending on the room span and flooring material. Wider rooms or heavier loads require thicker joists or engineered lumber. Correct spacing ensures structural integrity and keeps the floor rigid.
Blocking braces the joists, preventing twisting or lateral movement. Bridging (metal or solid wood pieces between joists) distributes weight across the entire floor. These reinforcements eliminate bounce, reduce noise, and keep the floor flat under stress.
Before joists are covered, builders apply moisture barriers, sealants, or pressure-treated materials near foundations. This prevents rot, mold growth, and premature weakening of the frame especially in crawlspaces or humid climates.
Accurate framing ensures the subfloor lies flat and the finished floor installs smoothly. Misaligned joists cause uneven surfaces, tile cracking, hardwood separation, and long-term deflection problems. Tight connections and precision measuring eliminate future troubleshooting.
When framing is done correctly, floors remain stable, quiet, and free of structural movement. High-quality framing supports heavier materials like stone tile and protects against seasonal expansion. It’s the single most important factor in long-term floor performance.
Wood floor construction in new homes combines structural engineering, moisture control, and precise installation techniques. When done correctly, it ensures hardwood or engineered wood performs well, stays stable, and resists long-term damage. The goal is to create a floor that looks smooth, feels solid, and lasts for decades.
Most new homes use 3/4" tongue-and-groove plywood or OSB as the base layer for wood flooring. These panels add rigidity, prevent movement between joists, and create a consistent surface for hardwood installation. Builders glue and nail each panel securely to reduce flexing and eliminate squeaks. Properly installed subflooring is essential for a firm, quiet wood floor.
Wood naturally expands and contracts with humidity. To accommodate this movement, a 1/8"–1/4" gap is left around walls and structural edges. These expansion gaps prevent the floor from buckling, cupping, or pushing against walls during seasonal moisture changes. Baseboards and trim cover the gaps for a clean, finished appearance.
Fasteners play a key role in keeping the floor stable. Nails or screws are placed:
This fastening pattern prevents flexing, keeps panels firmly secured, and reduces the risk of squeaks. Many builders also use glue-and-nail installation to create a stronger bond and a more solid feel underfoot.
Before hardwood or engineered planks are installed, builders level the subfloor by sanding high spots and filling low areas. Moisture levels are checked using calibrated moisture meters to ensure the subfloor is dry enough for wood flooring. A flat, dry, and stable subfloor prevents future problems such as warping, lifting, or cracking.
Wood flooring must acclimate for 48–72 hours so the planks adjust to the home's temperature and humidity. Installers use this time to plan layout lines, staggered joints, and plank direction to maintain visual symmetry and avoid narrow cuts along walls. Proper acclimation and layout planning ensure long-term stability and a professional, balanced appearance.
Concrete slab construction forms the foundation for many modern homes, especially in single-story builds, basements, and ground-level living areas. A properly built slab provides a durable, moisture-resistant, and level base that supports various flooring types such as tile, luxury vinyl plank (LVP), carpet, and engineered wood. The quality of each step grading, moisture protection, reinforcement, pouring, leveling, and curing directly impacts long-term performance and prevents costly issues like cracking, moisture intrusion, or adhesive failure.
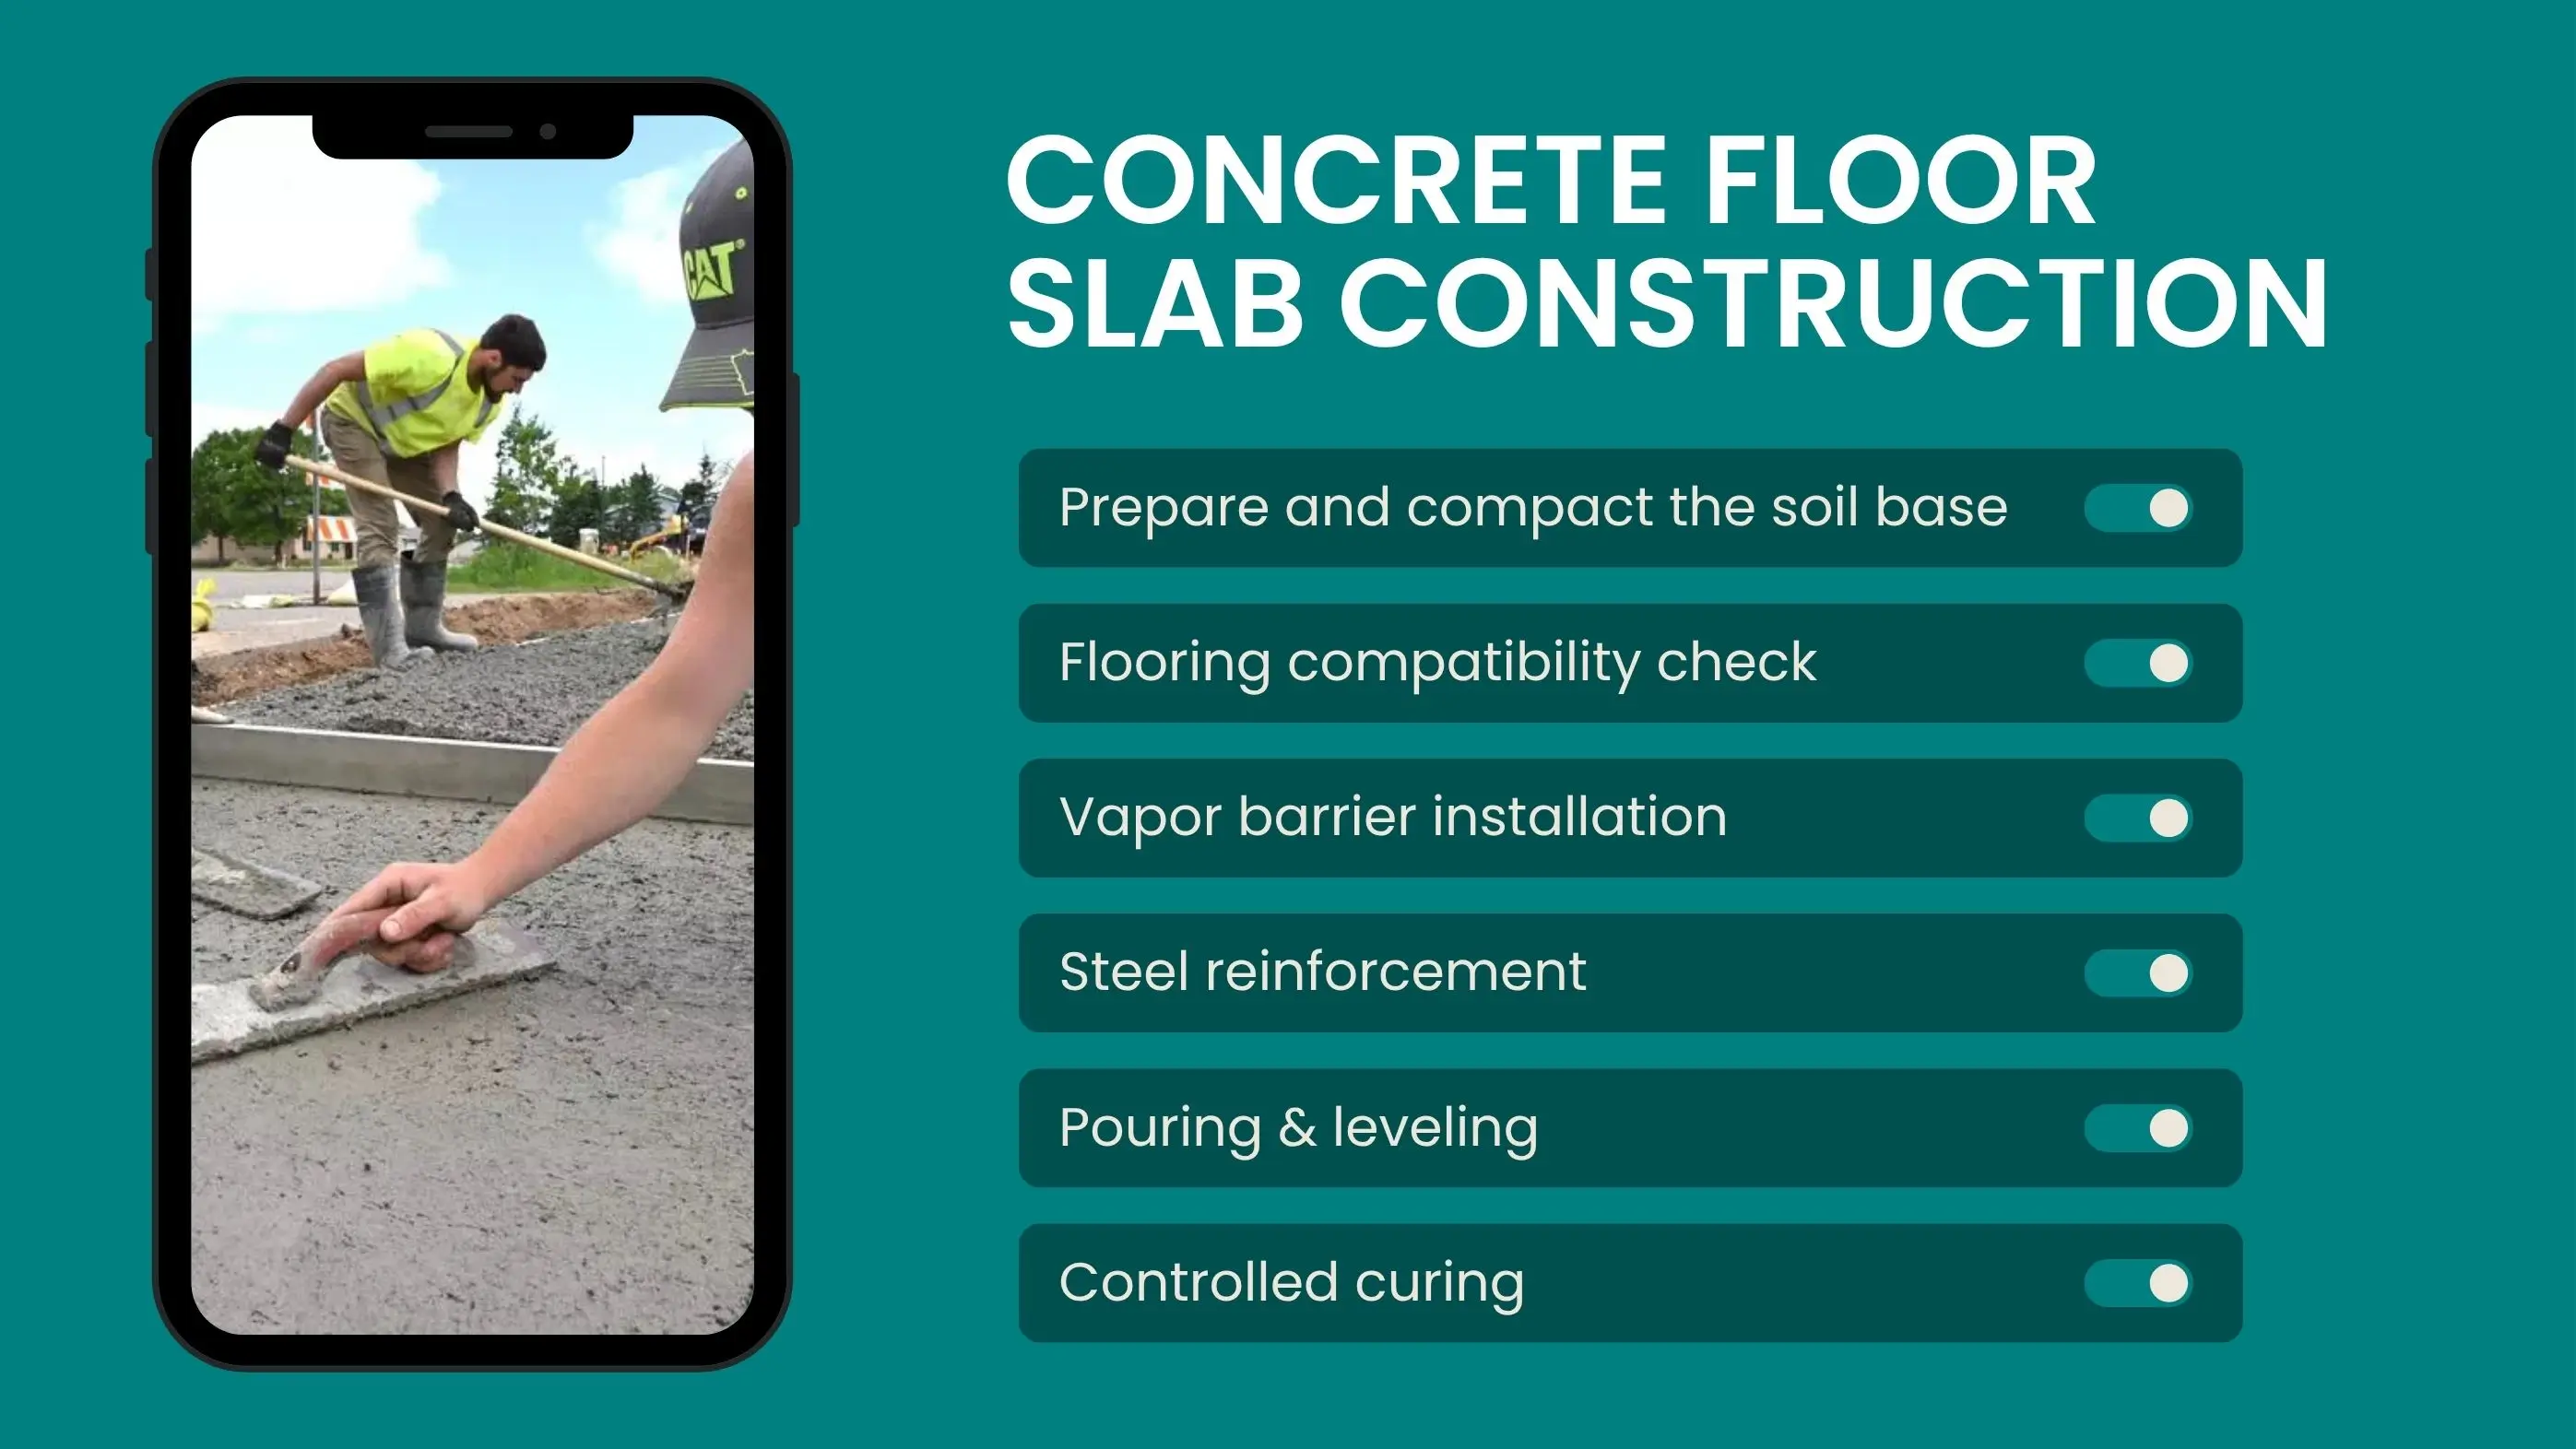
The process begins with soil excavation and proper grading to direct water away from the structure. Builders compact gravel or crushed stone to form a stable base that prevents slab settlement. A well-prepared base is essential for eliminating voids and ensuring even load distribution throughout the slab.
A heavy-duty vapor barrier (typically 6–15 mil polyethylene sheeting) is placed over the compacted base to block ground moisture from seeping into the concrete. This step prevents mold growth, flooring adhesive failure, and long-term humidity issues inside the home. In humid climates, double barriers or insulating foam boards may be added.
Steel reinforcement rebar, mesh, or fiber additives are placed to strengthen the slab and limit cracking. Reinforcement helps the slab handle load stress, temperature fluctuations, and structural shifting without compromising integrity.
Concrete is poured evenly and screeded to create a level surface. Finishing tools smooth the slab while ensuring proper thickness and consistent density. Builders check slopes carefully near drains or exterior doors to prevent puddling.
Concrete must cure slowly to reach maximum durability. Builders use curing blankets, water misting, or sealants to maintain moisture for the first 48–72 hours. Full strength typically develops over 28 days, but surface flooring can often be installed earlier once moisture levels meet manufacturer guidelines.
A properly cured and moisture-tested slab supports numerous floor types:
Floating floor construction uses interlocking planks or tiles that “float” above the subfloor without being nailed or glued down. This system is ideal for new builds and remodels because it installs quickly, reduces subfloor imperfections, and accommodates seasonal movement. Floating floors are commonly used for laminate, engineered wood, and luxury vinyl flooring.
Floating floors rely on precision-milled edges that snap together tightly. Click-lock systems lock the boards in place, forming a continuous surface without adhesives. This method ensures stability, reduces installation time, and allows individual planks to be replaced if damaged.
A specialized underlayment foam, cork, rubber, or multi-layer barrier is installed between the subfloor and the floating planks. Underlayment provides:
Some premium planks come with pre-attached underlayment for convenience.
Floating floors naturally enhance insulation because they sit slightly elevated above the subfloor. This air gap reduces temperature transfer and improves sound absorption, making the system ideal for multi-level homes, bedrooms, and living areas where quietness and warmth matter.
Floating installations are recommended when:
Floating floors are especially popular in condos, basements, and open-concept spaces because they manage movement well and deliver a flexible, resilient finish.
Certain residential structures require specialized flooring systems due to mobility, weight limits, moisture exposure, or location. Each type of mobile homes, RVs, sheds, and second-story floors follow unique construction methods to ensure structural stability, comfort, and long-term durability.
Mobile home floors are engineered differently from standard houses because they sit on steel chassis frames instead of concrete foundations. This creates unique challenges that require lightweight materials, moisture control, and insulation efficiency.
Mobile homes use steel I-beams as the main structure. Floor joists are attached directly to the steel frame, which limits how heavy the flooring materials can be. Proper spacing and alignment keep the home level when it’s transported or anchored.
Most mobile home subfloors use 5/8" or 3/4" OSB, supported by fiberglass or rigid foam insulation underneath. The insulation is wrapped with a “belly board” or vapor barrier to prevent heat loss and protect plumbing lines from cold weather.
Because mobile homes sit close to the ground, moisture intrusion is common. Builders install vapor barriers, treated joists, and perimeter skirting to prevent water damage. Any leak can compromise OSB quickly, so moisture-proofing is a critical step.
Mobile homes require materials that don’t overload the steel frame:
RV floors must balance minimal weight, water resistance, and durability because they endure constant movement and temperature changes.
Builders use aluminum framing or narrow wood joists topped with thin OSB or plywood to keep weight low. Reducing weight improves towing safety and fuel efficiency.
RVs face humidity, rain, and spills daily. Subfloors are often coated with sealants or marine-grade plywood to prevent rot. Areas near bathrooms and kitchens receive extra waterproof membranes.
Because RVs flex when driving, flooring must tolerate vibration and expansion:
RV remodels often require partial subfloor replacement due to leaks. Repairs must match the original thickness to avoid slide-out misalignment or door frame issues.
Shed flooring handles outdoor moisture, ground contact, and heavy storage loads like lawn equipment and tools.
Most shed floors sit on pressure-treated skids or concrete blocks, elevating the structure to allow airflow beneath it. This prevents soil moisture from damaging wood.
Builders use treated joists spaced 12"–16" apart to withstand heavy equipment weight. The tighter spacing reduces flexing and protects stored items.
Sheds typically use 3/4" pressure-treated plywood or exterior-rated OSB. For extra durability, flooring options include:
Second-story floors must support furniture, daily foot traffic, and structural loads without transmitting noise or vibration to lower levels. Engineering, soundproofing, and leveling are crucial.
Upper floors often use deeper engineered joists (I-joists or LVL beams) to span long distances without sagging. Proper sizing prevents flexing and ensures stable, quiet floors.
To reduce noise, builders install:
Second-floor subfloors are usually 3/4" tongue-and-groove plywood, glued and screwed tightly into place. This prevents squeaks, which are more noticeable on upper levels.
Because upper floors cover many rooms, installers check alignment at every doorway and hallway. Leveling ensures smooth transitions between tile, carpet, or wood flooring.
During construction, new floors face constant risks from debris, tools, foot traffic, spills, and equipment movement. Without proper protection, finished flooring can suffer scratches, gouges, moisture stains, and dents leading to costly repairs or complete reinstallation. Professional builders use specialized protection products to keep floors clean, dry, and intact until the project is complete.
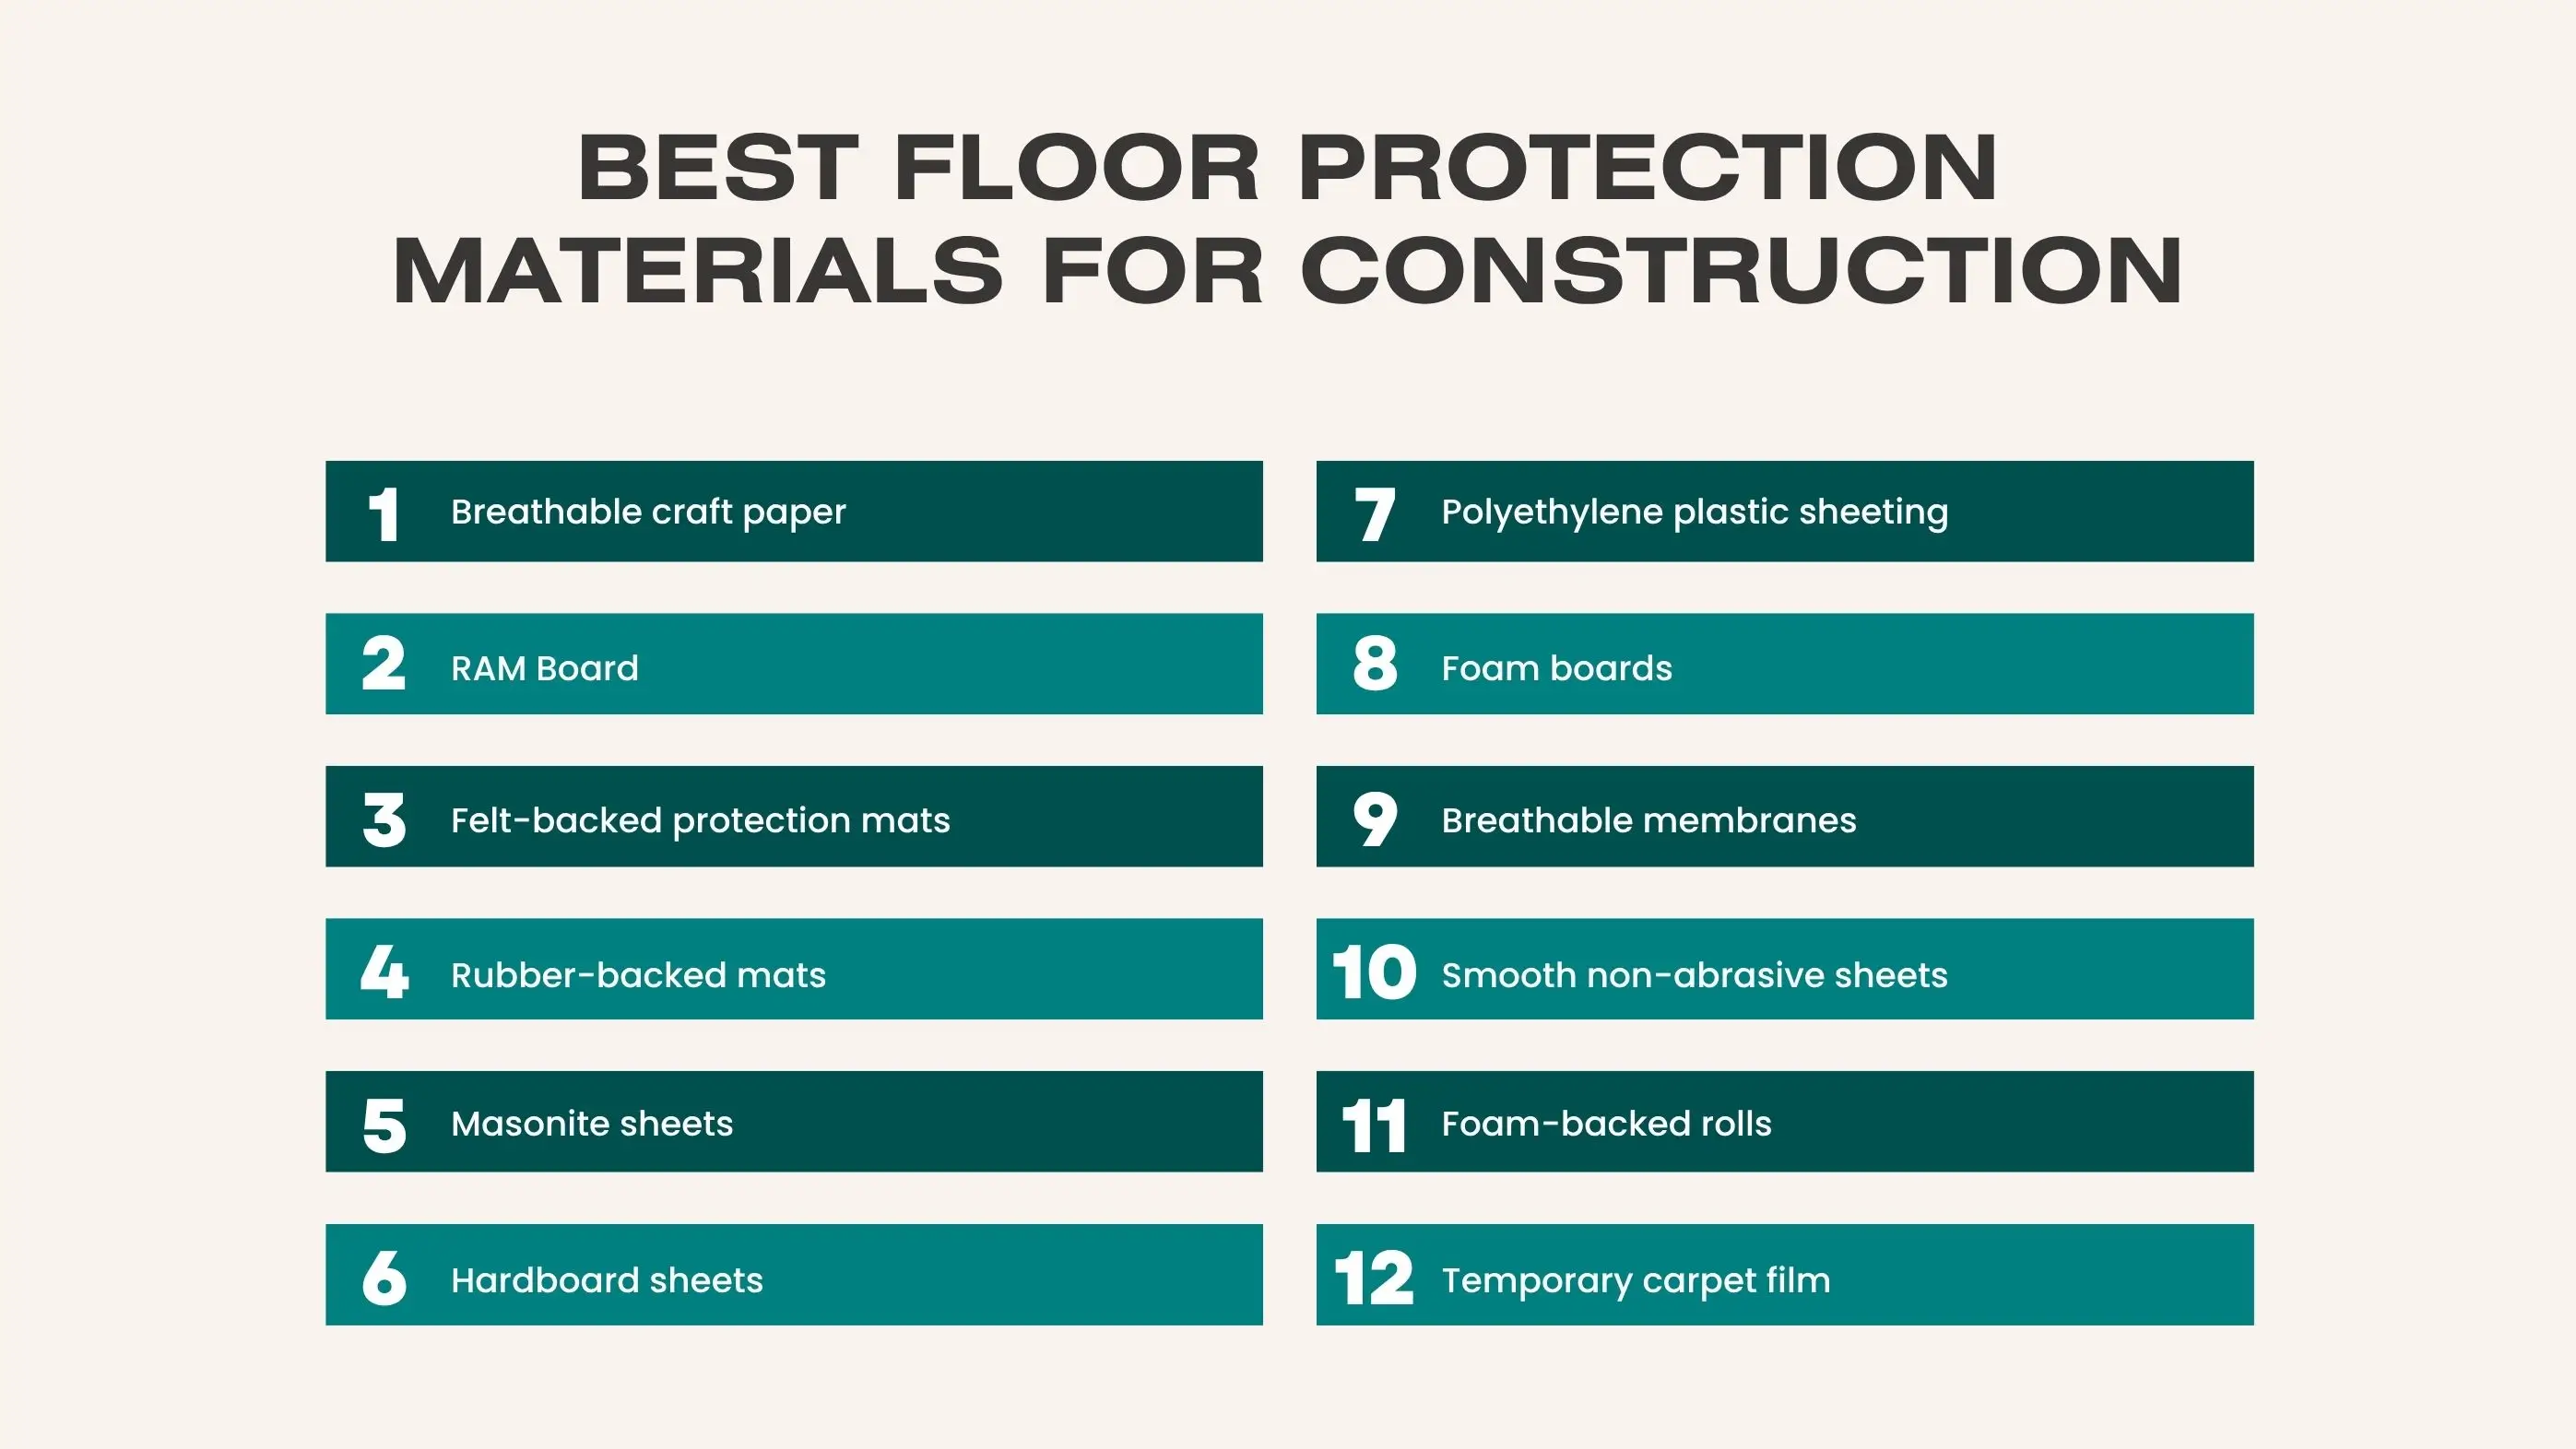
Contractors use temporary coverings designed to absorb impact, resist moisture, and prevent surface wear:
A well-constructed floor system is one of the most important structural elements in any new home. Every layer from framing and subfloor installation to moisture protection and finished flooring plays a direct role in long-term stability, comfort, and durability. When each stage is planned and executed with precision, homeowners benefit from quieter rooms, stronger support, improved energy efficiency, and surfaces that stay level and reliable for years. Whether the home is built on a concrete slab, wood framing, or a multi-story layout, the key to lasting performance lies in proper engineering, moisture control, and careful protection throughout construction. With the right approach and attention to detail, your new home’s floors will remain safe, stable, and beautifully finished for the long term.
Uneven floors usually come from subfloor seam height differences, joist crown variations, or humidity-driven expansion. Builders typically sand high spots, fill low spots with leveling compound, and secure loose panels before installing finished flooring.
Finished flooring is installed near the end of the project after drywall, painting, trim work, and HVAC activation. Subfloors, joists, and slabs are completed early, but materials like hardwood and vinyl must acclimate in a climate-controlled environment to prevent moisture issues.
Small squeaks can occur temporarily as framing settles, but persistent squeaks often indicate loose fasteners, missing construction adhesive, or friction between joists and subfloor panels.
Most slabs need 28–30 days of curing before installing flooring. Builders also moisture-test the slab to ensure adhesives, LVP, tile, or engineered wood will bond correctly.
Builders commonly use LVP for durability and moisture resistance, hardwood for living areas, and tile in bathrooms, kitchens, and laundry rooms. The best choice depends on room use, climate, and maintenance preferences.
Hydronic tubes or electric heating mats are installed after insulation and vapor barriers but before the finished flooring. This placement ensures efficient heat transfer and protects the system from structural stress.
Dust lingers because it settles inside HVAC ducts, wall cavities, and ceiling fixtures. A full post-construction cleaning including duct cleaning stops dust from re-circulating into finished rooms.
Check for evenly spaced fasteners, tight seams, flat panel transitions, and visible adhesive beads on joists. A properly installed subfloor feels solid underfoot with no flexing, shifting, or squeaking.
Join our mailing list for exclusive updates, expert tips, and special offers tailored to your needs. Be the first to know about the latest in home services.

Renovize Home is a platform that supports homeowners from planning to renovation. Whether it’s Renovize AI for guidance or a one-on-one call with Pro Finder, we understand your project and match you with local contractors tailored to your needs.
Who We Are
About Renovize HomeGet in TouchHomeownwer Support:
Coming Soon!
General Inquiries:
support@renovizehome.com
Head Office:
24 Greenway Plaza, STE 1800M, Houston, TX 77046.