Explore All
BROWSE BY CATEGORY
Interior
Exterior
Home Essentials
Homeowner Tools
Blogs & Guides
Find a Pro
Book Your Appointment Now
Home Essentials
About Renovize Home
Explore All
BROWSE BY CATEGORY
Interior
Exterior
Home Essentials
Homeowner Tools
Blogs & Guides
Find a Pro
Book Your Appointment Now
Home Essentials
About Renovize Home
Last Updated 2025-11-27
Wood floor staining is one of the most effective ways to transform the look of hardwood without replacing any planks. By applying a fresh stain, homeowners can revive faded color, highlight natural wood grain, and create a richer, more modern finish that matches their interior style. Staining does more than improve appearance. It also strengthens the surface by adding a new protective layer that resists scratches, moisture, and everyday wear.
This process brings new life to older floors, corrects uneven tones from sun exposure, and enhances durability so the wood stays beautiful for years. Whether you want a deeper, warmer color or a lighter, contemporary look, staining provides a customizable, long lasting upgrade that instantly boosts the comfort, cleanliness, and overall value of your home.
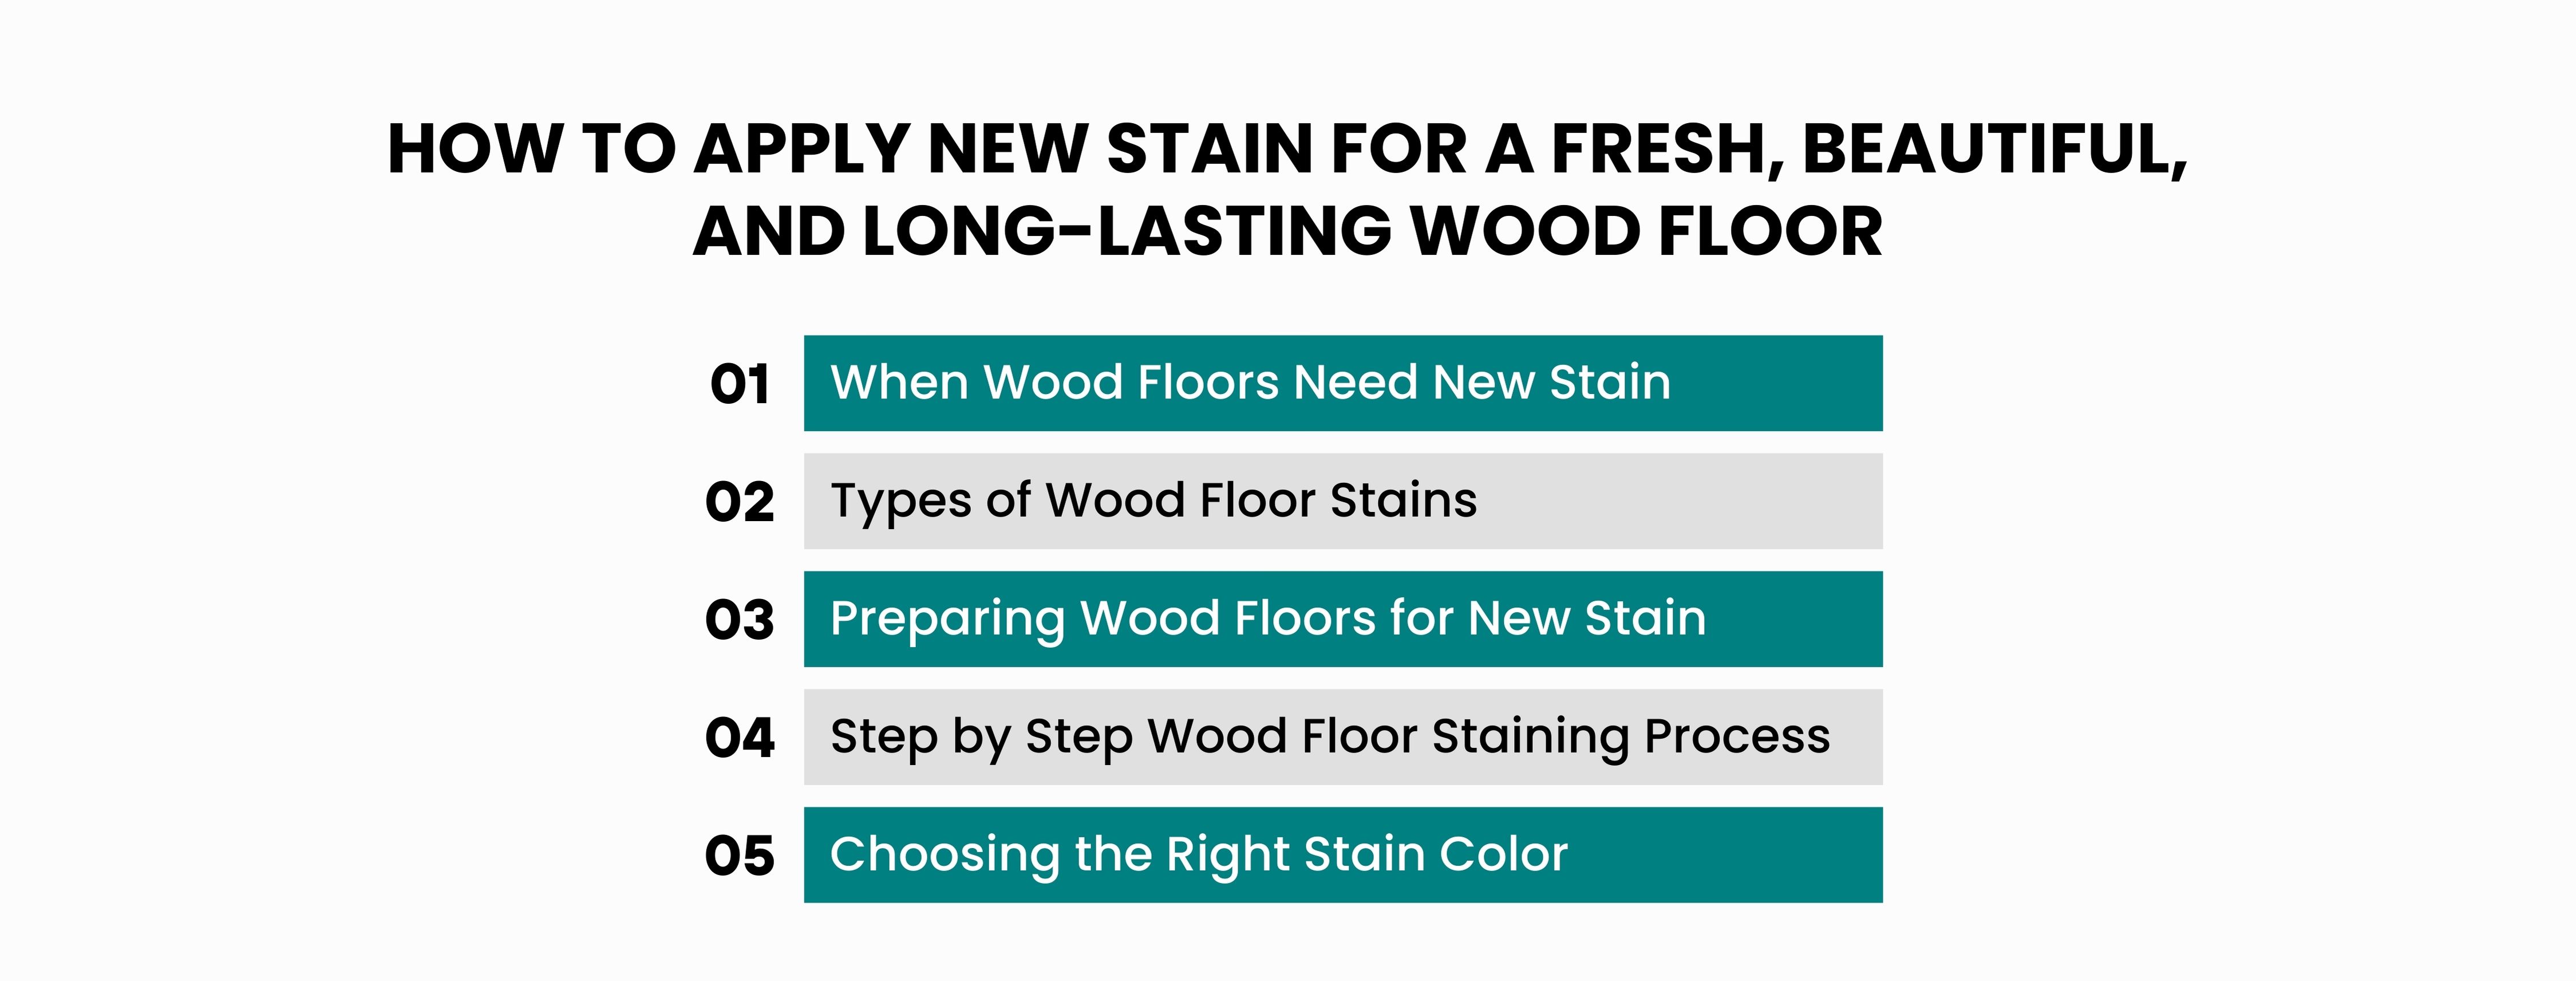
Table of Contents
What Wood Floor Staining Means
When Wood Floors Need New Stain
Types of Wood Floor Stains
Preparing Wood Floors for New Stain
Step by Step Wood Floor Staining Process
Choosing the Right Stain Color
Correct Sanding
Cost of Applying New Wood Floor Stain
Final Thoughts
Wood floor staining is the process of changing or refreshing the color of hardwood by applying a new pigment directly onto the bare wood surface. Before stain can be applied, the old finish must be fully sanded off to expose clean, raw wood to ensure the new color absorbs evenly and bonds properly.
Staining not only transforms the floor’s color but also enhances the natural grain patterns, deepens the character of the wood, and prepares the surface for a new protective topcoat. The goal is to achieve a smooth, uniform finish that updates the look of the floor while strengthening its resistance against wear, moisture, and daily use.
Wood floors naturally lose their color and clarity over time, especially in busy rooms or areas with strong sunlight. When the finish wears down, the wood underneath becomes exposed and starts showing uneven tones, dull spots, and surface damage. Applying new stain restores color consistency, revives the wood’s natural beauty, and protects the surface with a fresh, durable finish. Homeowners typically need new stain when they notice any of the following issues:
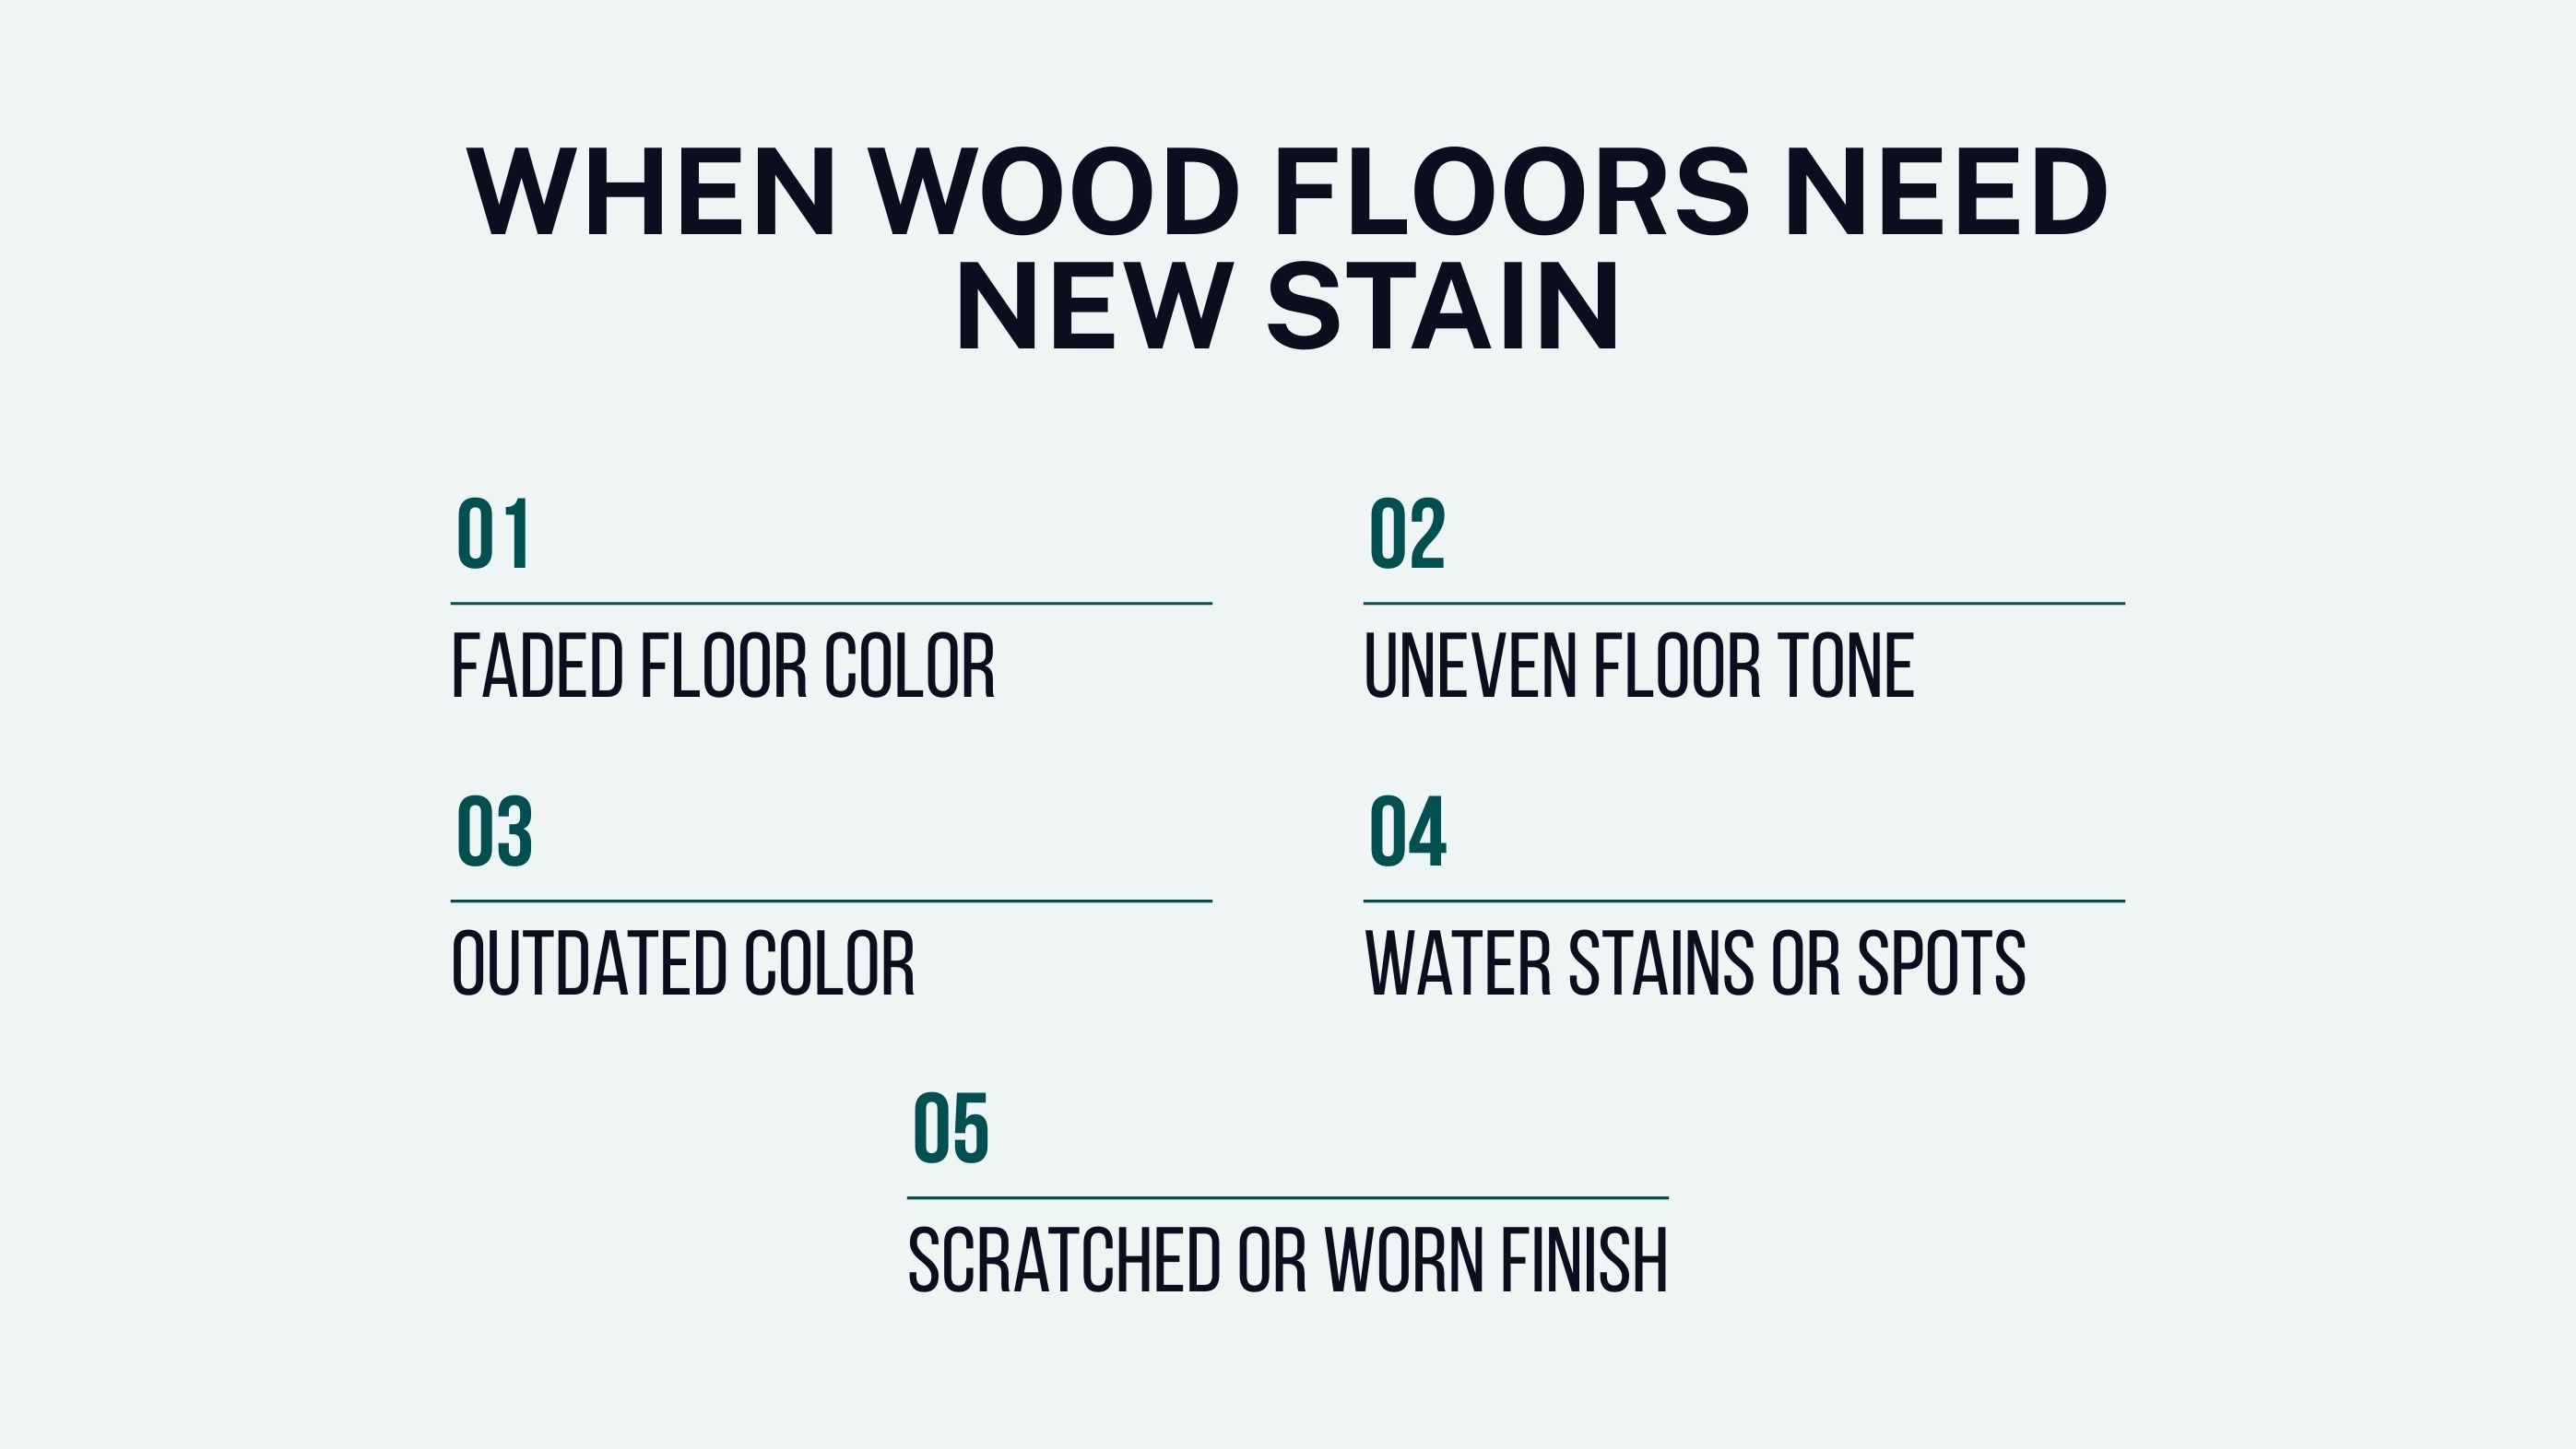
Direct sunlight, heavy foot traffic, and years of cleaning can slowly bleach the stain, leaving the floor dull and washed out. The pigment becomes lighter in some areas and disappears entirely in others. Fresh stain brings back a deeper, richer color and restores the warmth the wood originally had.
Older floors often develop patchy areas where previous staining was absorbed unevenly or where partial repairs were done without matching the original color. New stain evens out the entire surface, creating a smooth and consistent tone across every plank.
Surface scratches, scuffs, and light gouges break through the finish and expose bare wood. Before staining, the floor is sanded to remove these imperfections, allowing the new stain to absorb evenly and giving the floor a flawless, newly refinished look.
Dark rings, cloudy spots, and moisture marks can sink into the surface of untreated or worn wood. Sanding removes these damaged layers, and a fresh stain helps blend the repaired areas seamlessly with the rest of the floor for a clean, restored appearance.
Many older hardwood floors have yellow, orange, or red tones that no longer match modern interior design. Staining lets homeowners update the color to cooler grays, warm browns, or rich espresso shades, instantly refreshing the entire room without replacing the flooring.
Choosing the right type of stain is one of the most important steps in achieving the color, depth, and finish you want for your hardwood floors. Each stain type works differently based on how it absorbs into the wood, how quickly it dries, and the style of color it produces. Understanding these options helps homeowners pick a stain that fits their design goals, lifestyle, and maintenance preferences.
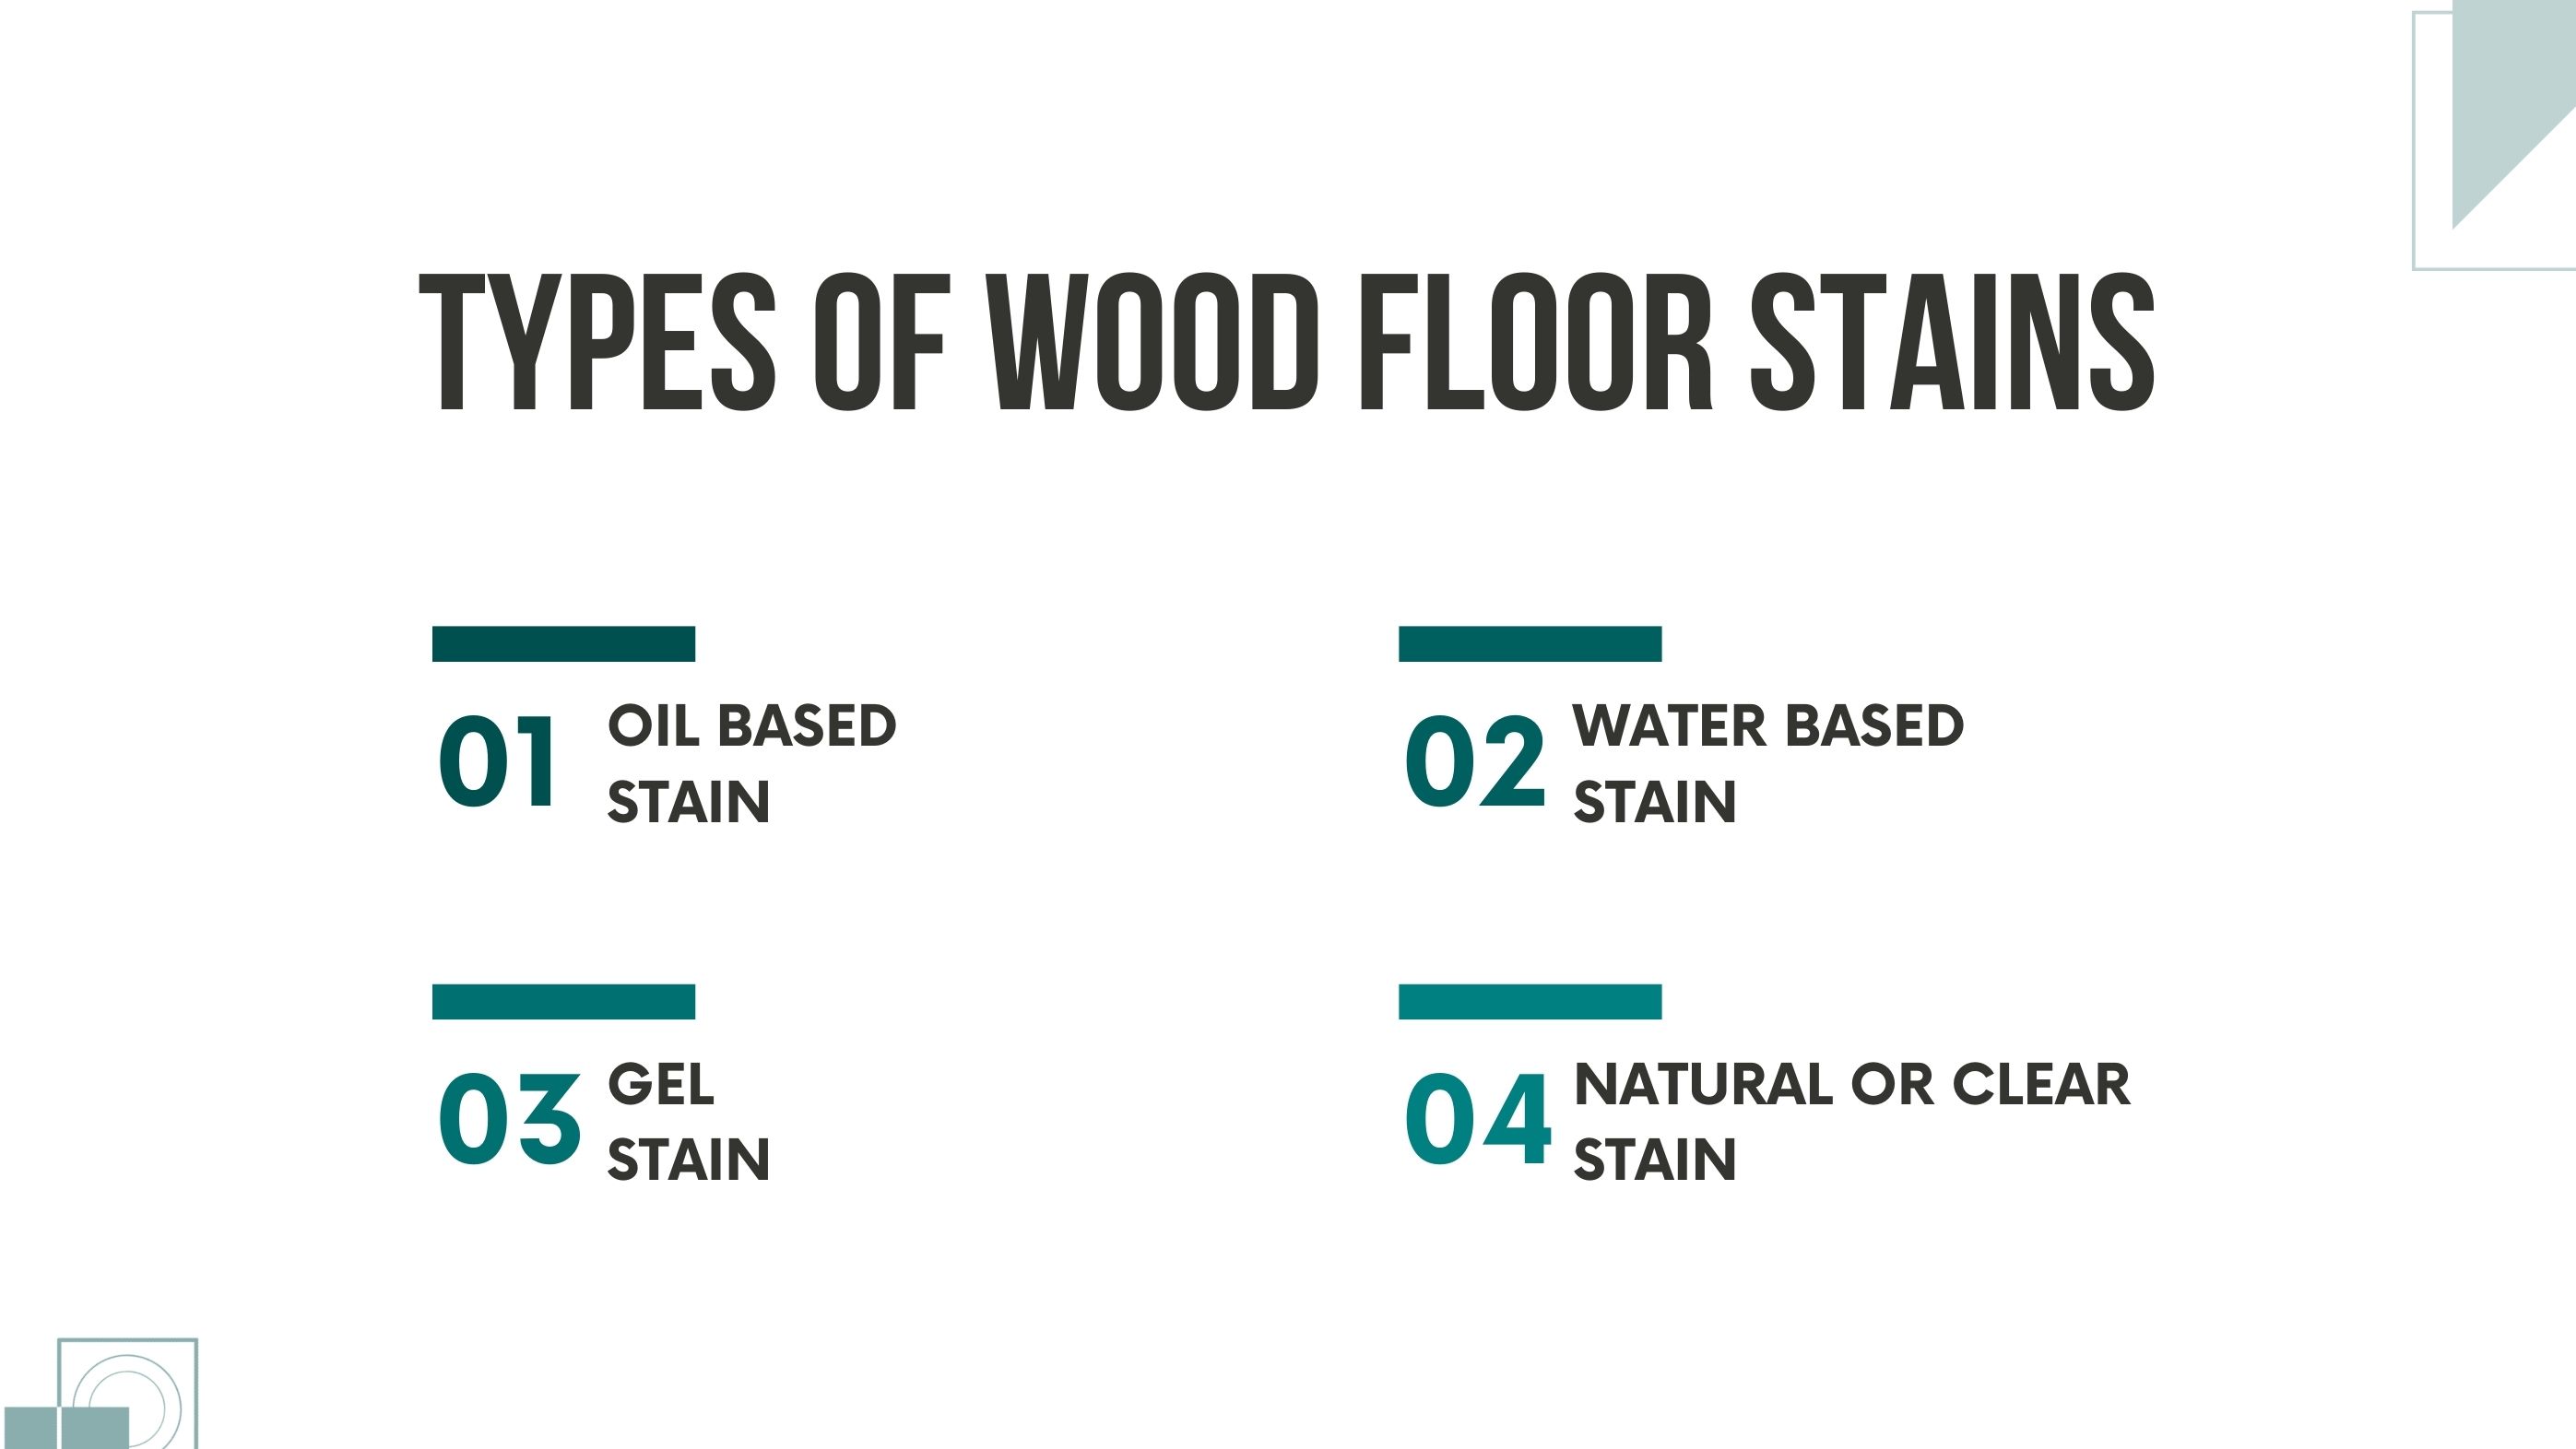
Oil based stains penetrate deeply into the wood fibers, creating rich, warm color tones that highlight natural grain patterns. Because the oils soak in slowly, the stain has extra working time, making it easier to avoid lap marks and achieve an even finish. These stains take longer to dry, but the deeper penetration results in stronger color saturation and long lasting durability.
Water based stains dry quickly, produce very little odor, and offer a wide range of modern, contemporary tones like cool grays, soft browns, and natural neutrals. They sit closer to the surface than oil based stains, allowing the grain to stay visible while delivering clean, uniform color. Their fast drying time makes them ideal for homeowners who want a quicker refinishing process without sacrificing quality.
Gel stain has a thicker, pudding-like consistency that sits on top of the wood rather than soaking deeply into it. This gives excellent control over color intensity, especially on woods that typically absorb unevenly. It is a great option for reducing blotchiness, evening out tone across different boards, and achieving consistent color on challenging hardwood species.
Natural or clear stains enhance the wood’s original grain without dramatically changing the floor’s tone. They add subtle warmth, protect the surface, and keep the bare wood appearance while still providing depth and clarity. This option is perfect for homeowners who love the natural character of their wood and want a bright, light, open look that feels modern and airy.
Preparing a wood floor correctly is the foundation of a smooth, even, long lasting stain job. Every step matters because stain absorbs directly into the wood, and any dust, old finish, or surface imperfections will affect the final color. Proper preparation ensures the new stain penetrates evenly, highlights the grain, and bonds securely with the protective finish that follows.
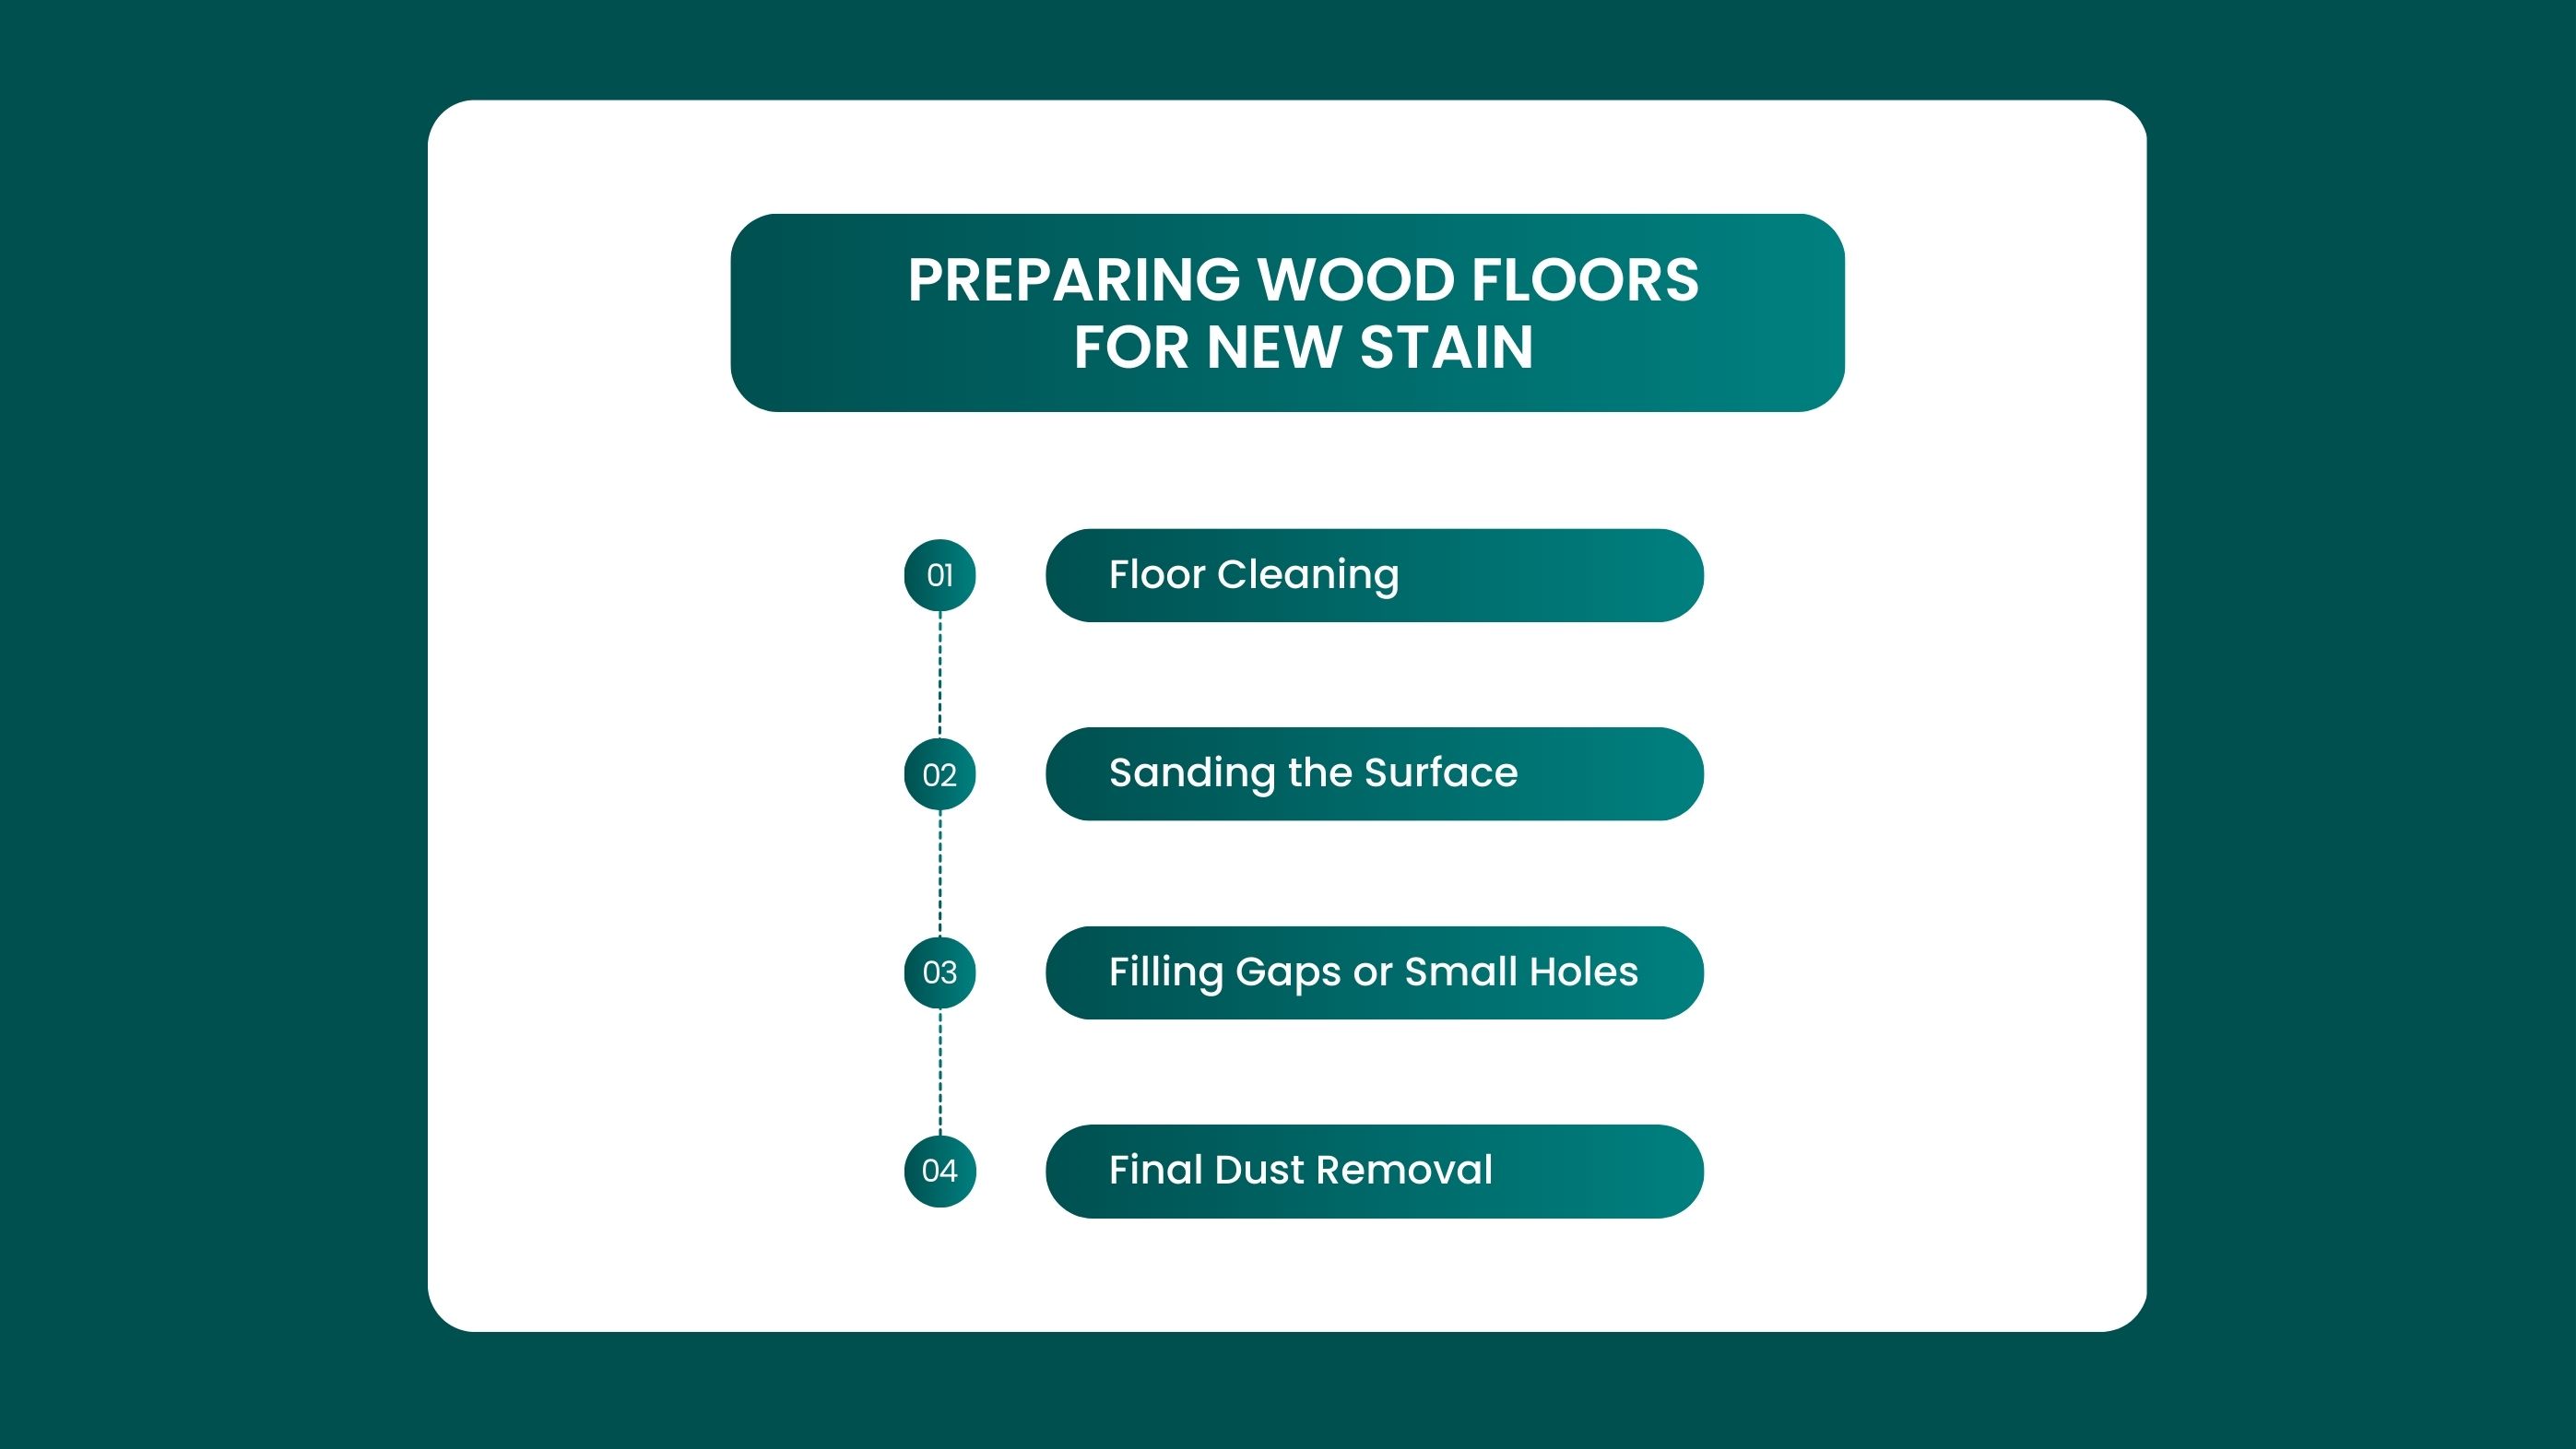
Before sanding begins, the floor is thoroughly cleaned to remove surface dirt, oils, cleaning residues, and any debris that could scratch the wood during sanding. Even small particles can get dragged across the floor by sanding machines, causing swirl marks or uneven sanding patterns. A clean surface gives the sanding equipment smooth contact with the wood, helping achieve a consistent, damage free base for staining.
Sanding removes the old finish, eliminates scratches, and levels the wood so the stain absorbs evenly. Professionals use coarse, medium, and fine grits in sequence to strip the floor, flatten uneven spots, and smooth the surface completely. By the final sanding pass, the wood is bare, uniform, and ready to accept new stain. This step is essential because without proper sanding, the new color will look patchy or blotchy.
Wood filler is used to repair gaps, nail holes, and minor surface imperfections before staining. This prevents the stain from settling unevenly into cracks or defects and ensures the floor looks smooth and continuous after finishing. When applied correctly, filler blends seamlessly with the surrounding wood once stained, which improves both the appearance and structural integrity of the floor.
After sanding and filling, all dust must be removed to prevent particles from embedding in the stain. The floor is vacuumed thoroughly, including edges and corners, followed by wiping with a tack cloth or microfiber cloth to pick up fine dust that the vacuum cannot catch. This step creates a clean, bare surface so the stain can soak in evenly and the finish cures smoothly without bumps or rough patches.
Staining hardwood floors is a detailed, multi stage process that requires precision at every step. Each action affects how the color absorbs, how the wood grain appears, and how durable the final finish will be. A properly stained floor delivers deep, even color and strong long term surface protection. Below is a clear breakdown of how professionals complete the staining process from start to finish.
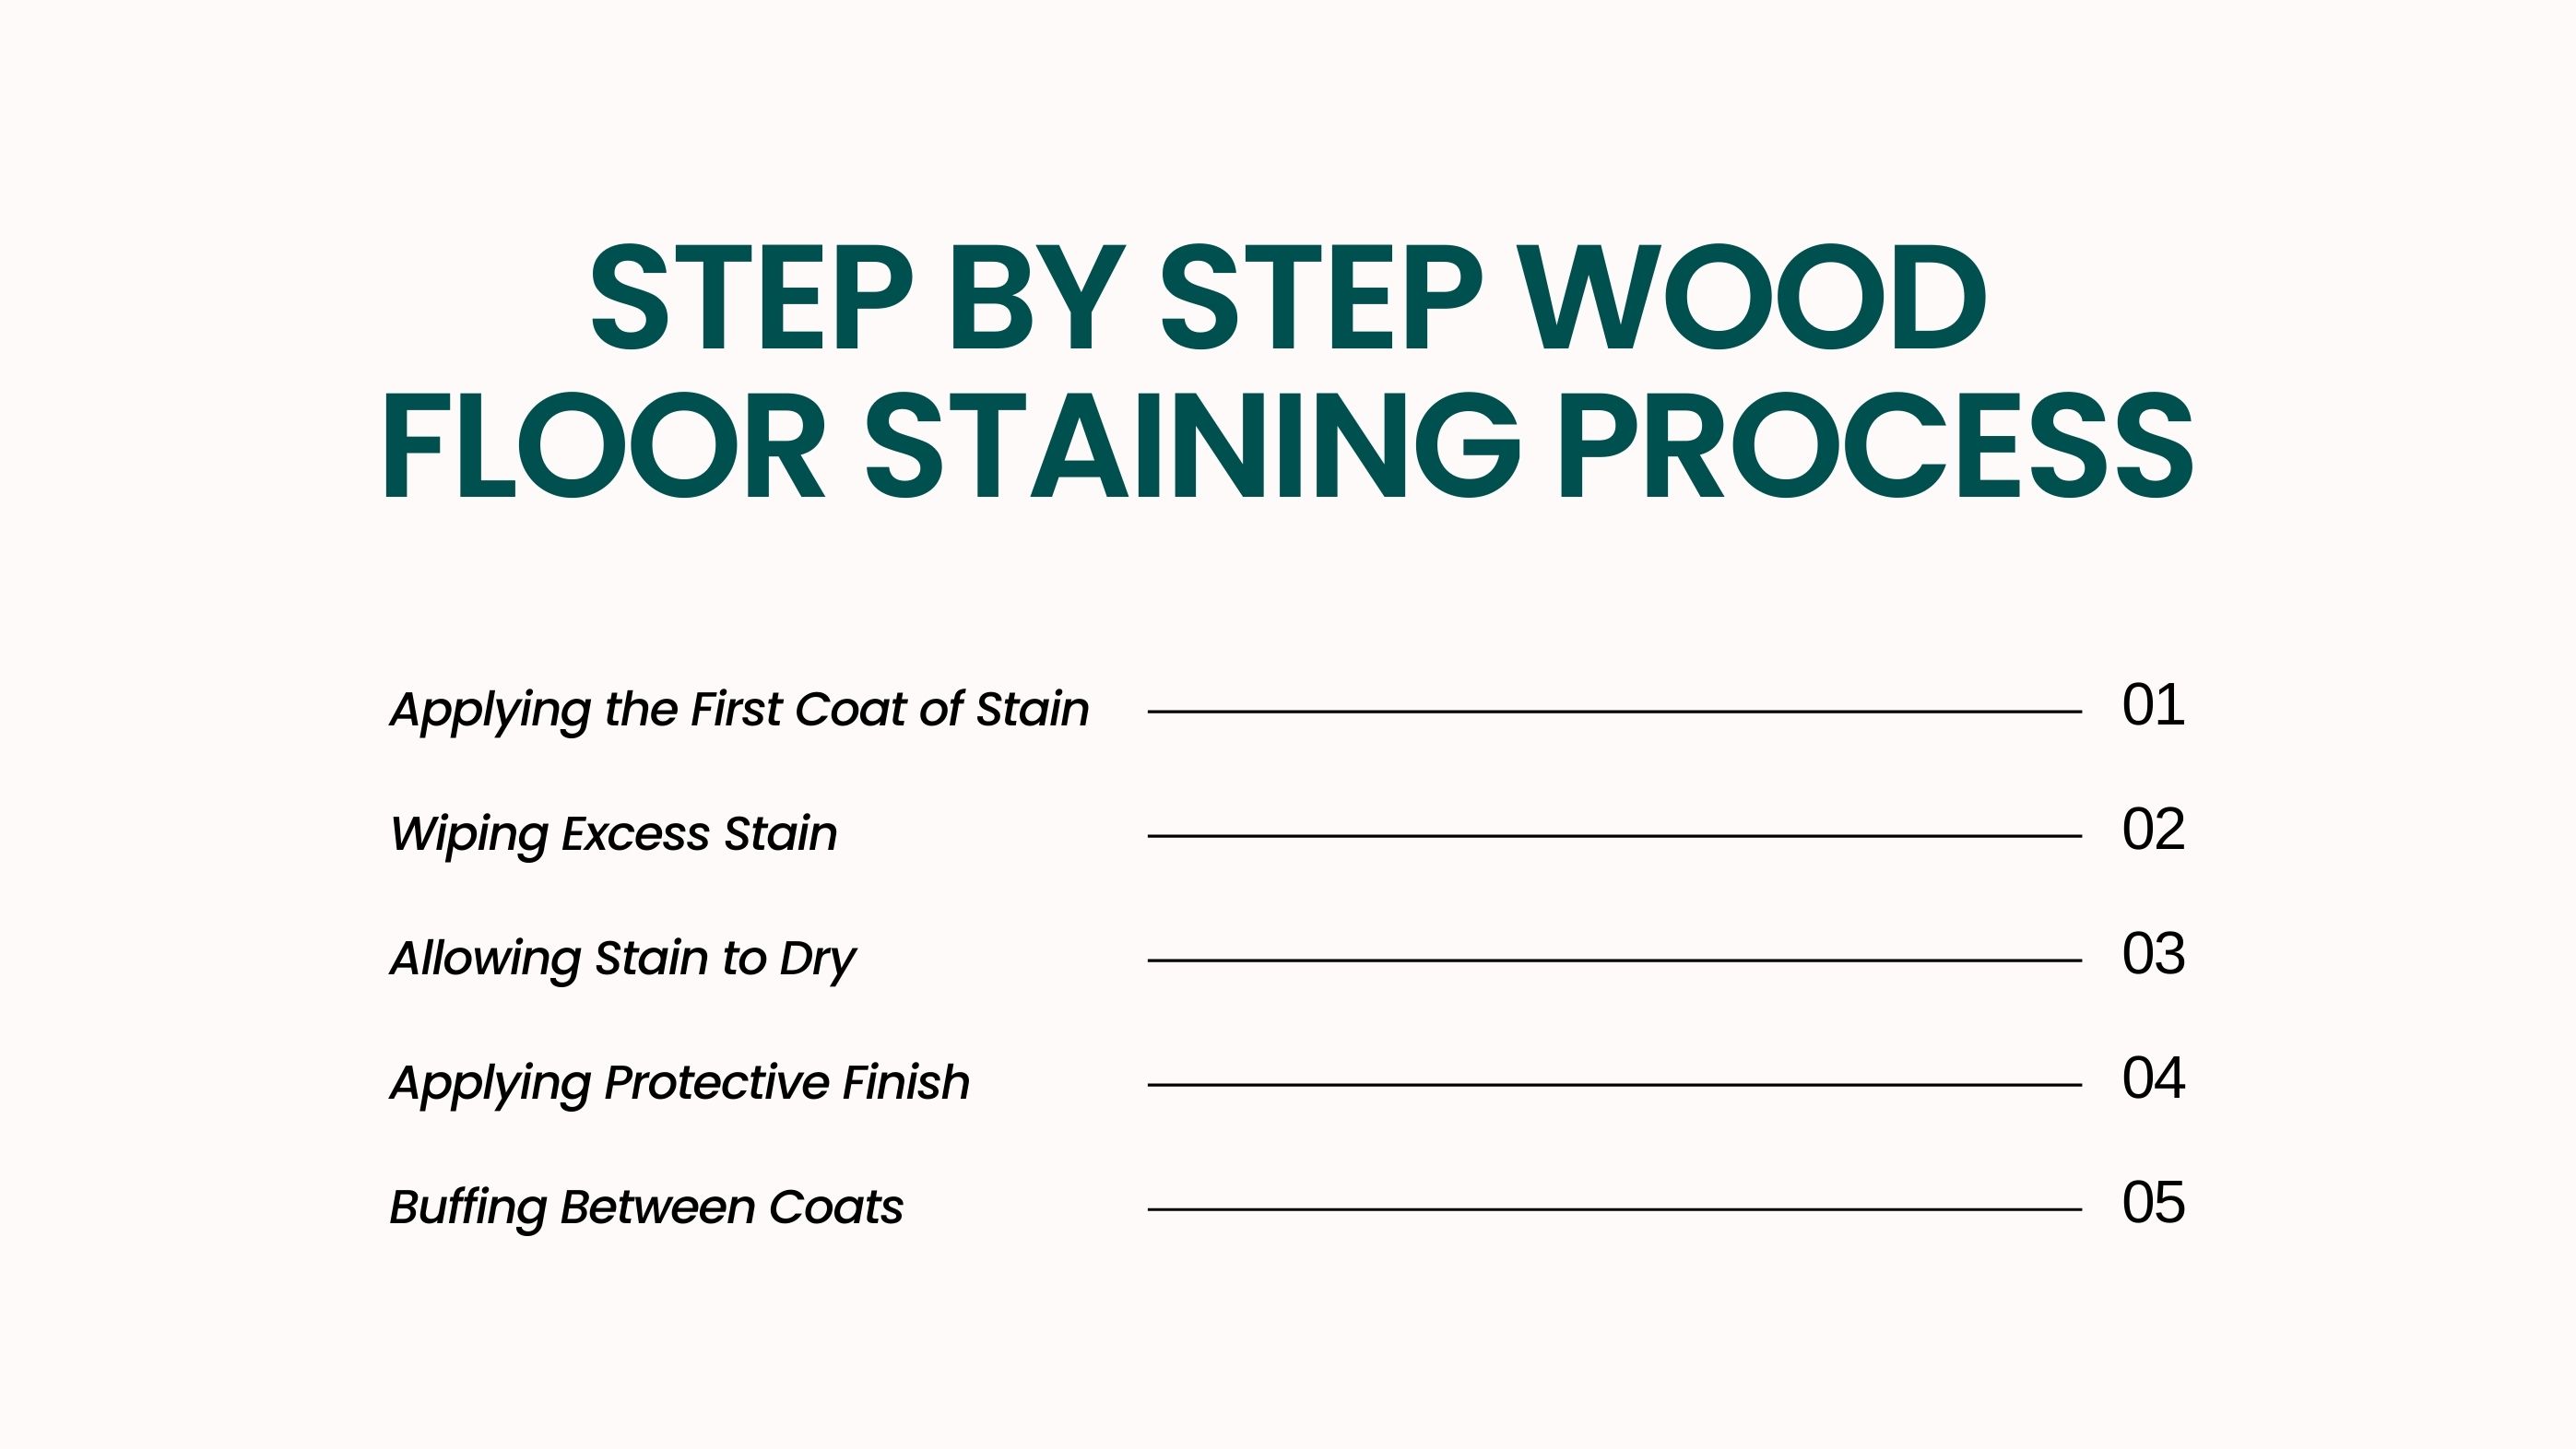
Once the wood is sanded, cleaned, and prepared, the first coat of stain is applied using a cloth, staining pad, or brush. The goal is to spread the stain evenly across the floor so the color penetrates each board consistently. Professionals work in small sections and move with the grain of the wood to avoid streaks, dark patches, or lap marks. Even coverage during this first pass sets the foundation for controlled, uniform color throughout the entire floor.
After allowing the stain to soak into the wood for a few minutes, the excess is wiped away using clean, dry cloth. This step determines the final depth and richness of the color. Leaving more stain on the surface results in a deeper tone, while wiping thoroughly creates a lighter, more natural look. Wiping also prevents sticky spots, uneven blotches, and slow drying areas, ensuring the stain absorbs only into the wood and not on top of it.
Proper drying time is essential for long term adhesion and finish performance. Most stains require several hours to dry fully, though humidity, ventilation, and stain type affect drying speed. This period allows the pigment to settle into the wood fibers and ensures that the protective topcoat will bond correctly. Walking on the floor or applying finish too soon can disrupt the color, cause smudging, or trap moisture under the coating.
After the stain dries, a protective finish such as polyurethane, water based sealant, or oil modified coating is applied to shield the wood from scratches, spills, and everyday wear. This finish locks in the color, enhances the grain, and adds a durable sheen that can be matte, satin, semi gloss, or high gloss. The protective layer also prevents the stain from rubbing off and helps the floor withstand long term foot traffic and cleaning.
Between each coat of finish, the floor is lightly buffed using a fine abrasive screen or buffer. This step smooths tiny imperfections, removes small raised wood fibers, and creates microscopic texture that helps the next coat of finish bond tightly. Buffing between coats results in a glass smooth surface, stronger layers of protection, and a cleaner, more refined final appearance. It is one of the key steps that separates professional grade results from basic DIY staining.
Selecting the right stain color is one of the most important decisions in the refinishing process because it shapes the entire look and feel of your home. The stain you choose affects room brightness, interior style, furniture pairing, and how visible natural grain patterns appear. Each color category offers a unique atmosphere, making it easier for homeowners to match their flooring to modern, classic, or rustic design styles. Below are the main options and how they influence the overall appearance of your space.
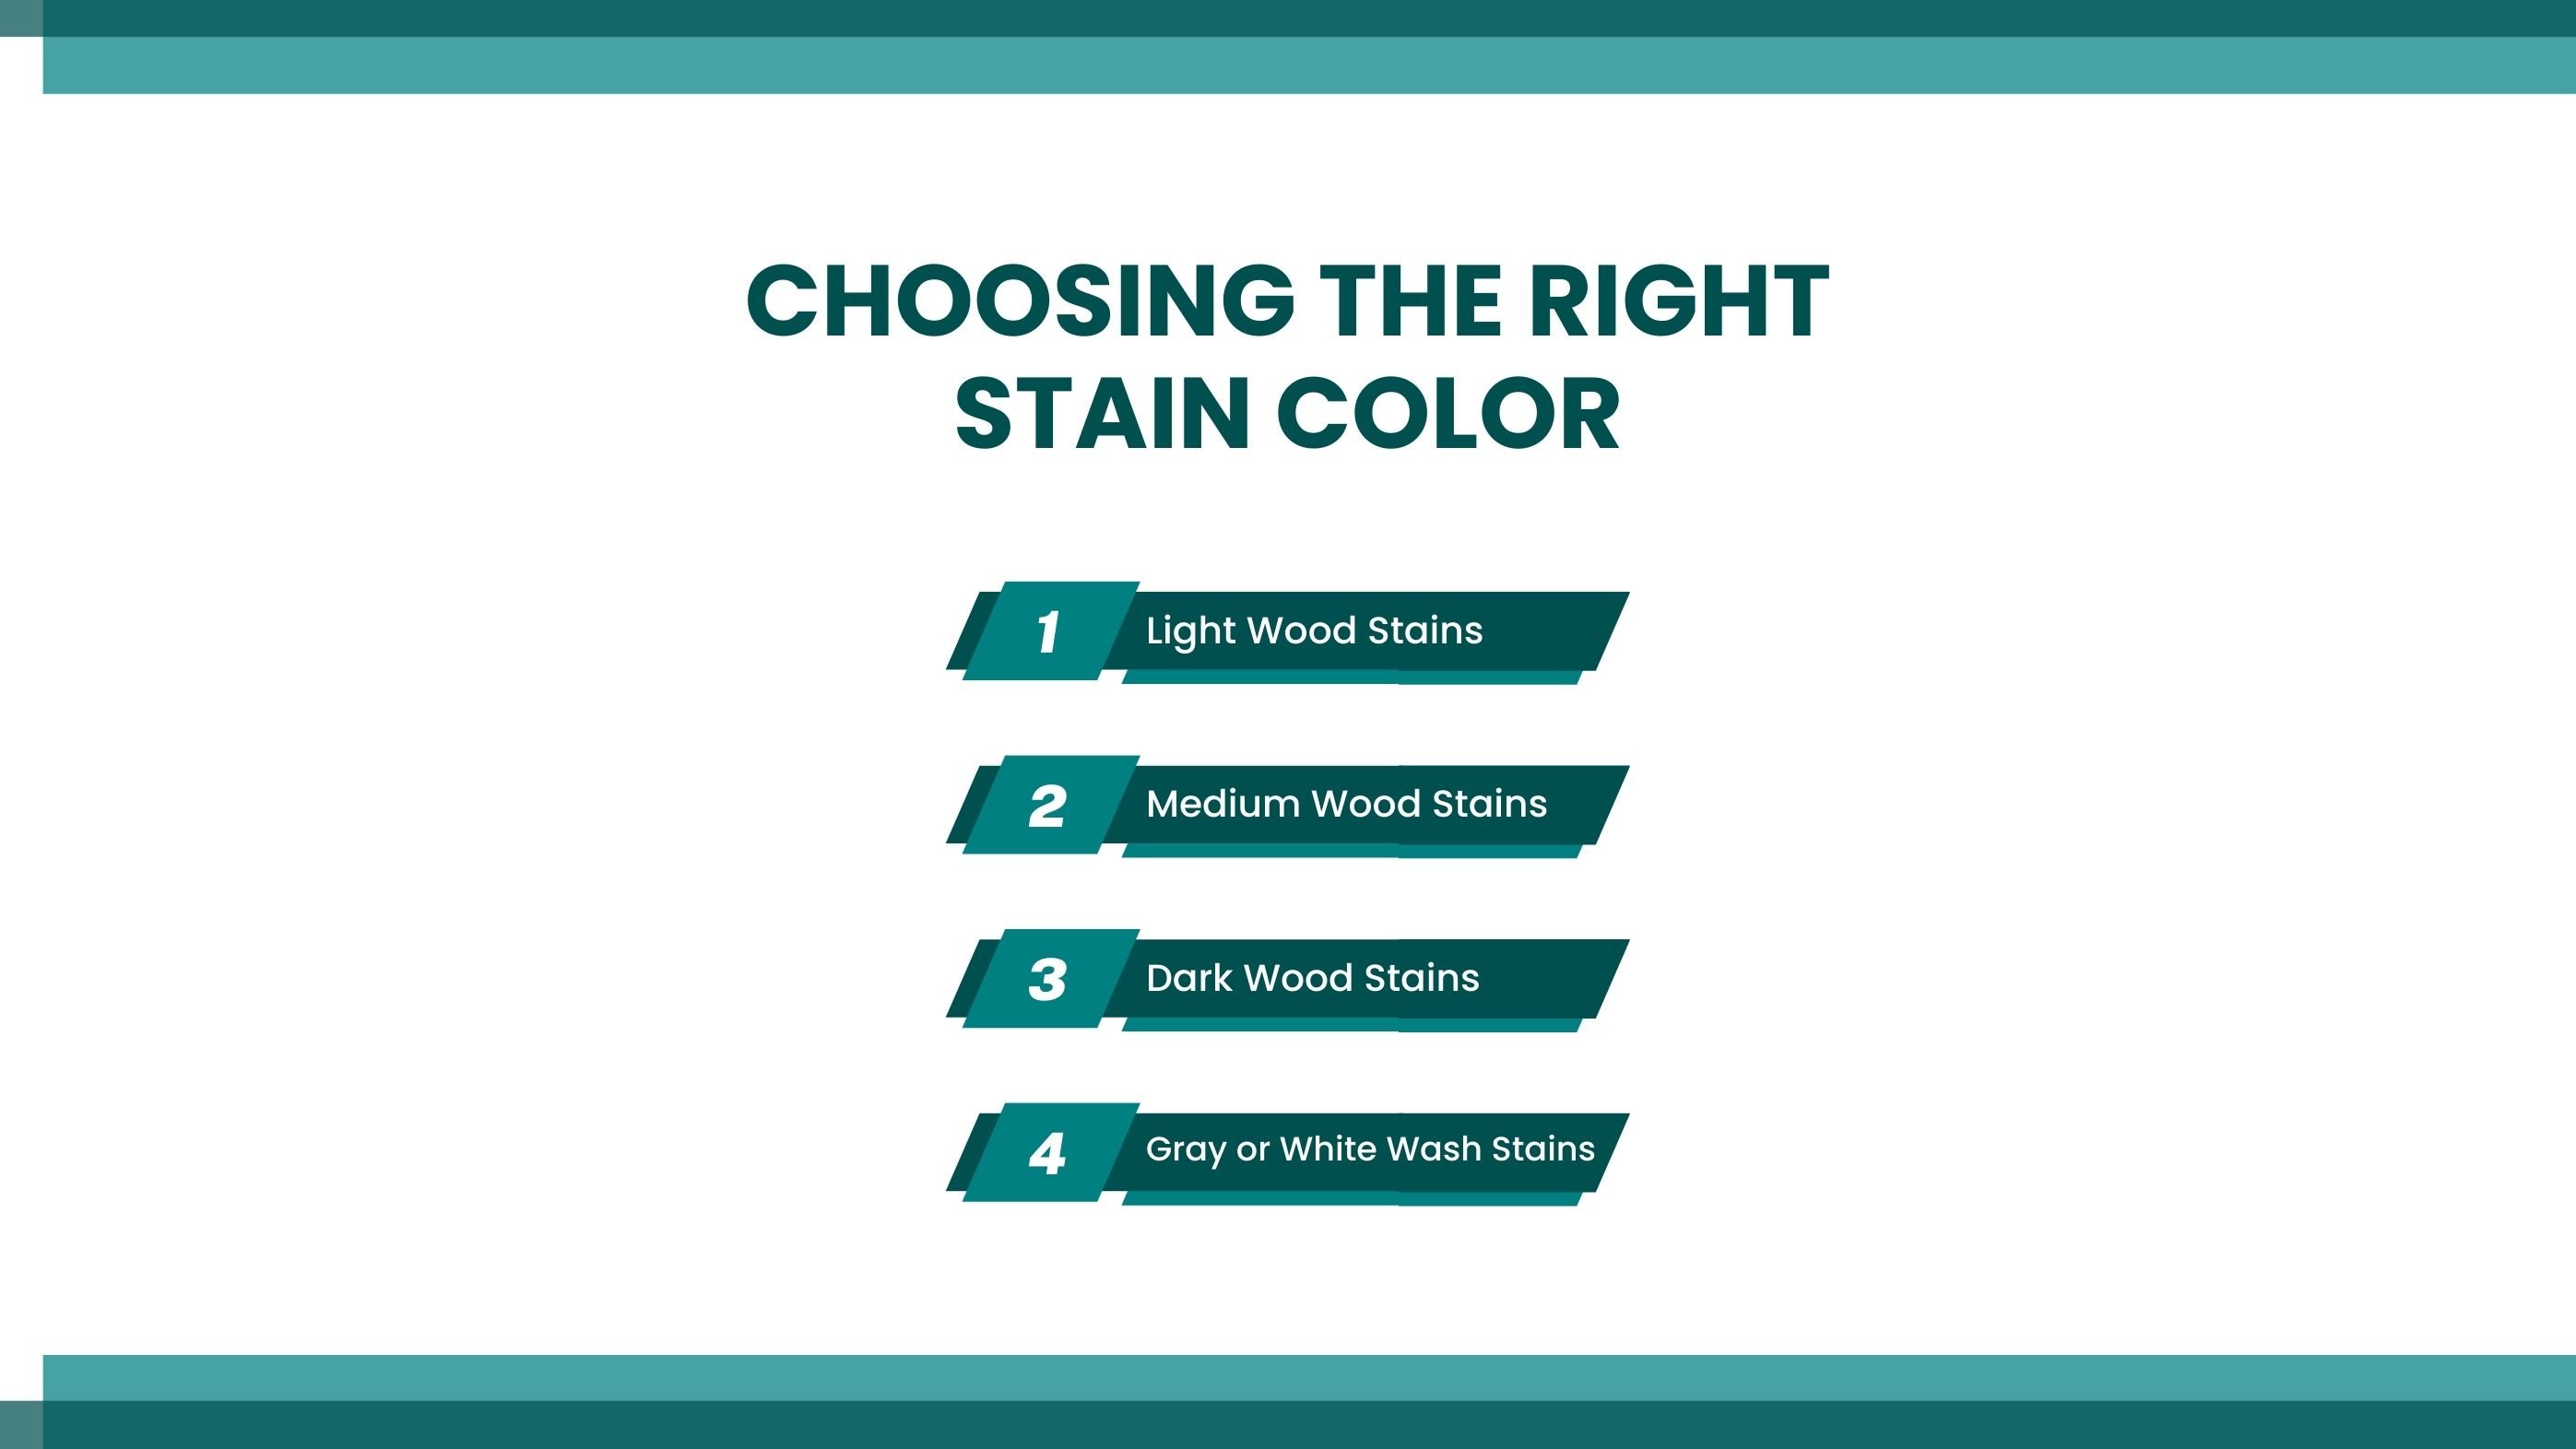
Light stains create a bright, open, and airy look that instantly makes small rooms feel larger. These tones highlight the natural grain without overpowering it, giving the floor a clean and modern appearance. Light colors also hide dust and minor scratches better than darker shades, making them ideal for busy households, apartments, and homes with minimalistic or Scandinavian style interiors.
Medium stains offer the perfect balance between warm, traditional tones and modern neutrality. They allow the natural grain to remain clearly visible while adding soft depth and richness to the wood. These shades work well with most furniture styles and color schemes, making them a versatile choice for living rooms, hallways, family spaces, and open layout homes.
Dark stains provide a dramatic, bold, and upscale look that adds instant sophistication to any room. These rich colors create strong contrast against light walls and furnishings, making the room feel grounded and luxurious. Dark floors also enhance the definition of grain lines, adding visual character. They are a popular choice in modern, high end, and classic style homes looking for a polished, elegant finish.
Gray and white wash stains are popular for their contemporary, stylish look that pairs well with modern décor. These tones soften the natural wood while giving it a sleek, updated appearance. Gray stains offer cool, muted undertones that complement industrial or coastal styles, while white wash creates a fresh, beachy, and modern farmhouse vibe. Both options brighten the room and hide imperfections while keeping the space visually light.
Hiring a professional for wood floor staining ensures the floor is prepared, colored, and finished with the level of precision required for long lasting, high quality results. While staining may look simple on the surface, the process demands skill, experience, and specialized equipment to achieve an even color and flawless finish. Professionals understand how different wood species absorb stain, how to avoid uneven patches, and how to create a durable protective layer that lasts for years. Homeowners choose professional staining for the following key reasons:
Professionals use commercial grade sanding machines that remove old finish evenly, level the floor, and open the wood grain properly for stain absorption. Their sanding process prevents uneven color, blotchy areas, or exposed patches that DIY equipment often leaves behind. Proper sanding is the foundation of a smooth, consistent final stain.
Experts know how to test stain samples, adjust pigment levels, and work with the natural characteristics of the wood to achieve the exact color homeowners want. They understand how lighting, grain patterns, and wood density affect the final shade, ensuring the chosen color looks correct across the entire floor and not just in a small test area.
Improper sanding techniques and low quality equipment can leave swirl marks that become even more visible after staining. Professionals use advanced sanding sequences and high quality abrasives to prevent these marks from appearing. Their finishing techniques eliminate fine scratches so the stain absorbs smoothly and evenly.
Professional stain teams use dust containment systems that remove airborne dust during sanding and preparation. This prevents dust from settling into the wet stain or finish, eliminating bumps, specks, and rough patches. Cleaner air results in cleaner floors and a polished, professional look.
Professionals apply high quality sealers and polyurethane coatings using controlled methods that ensure even thickness, strong bonding, and long term durability. Their finishing layers resist scratches, moisture, and everyday foot traffic far better than basic DIY products. A professionally finished floor maintains its color and smoothness much longer, reducing future maintenance needs.
The cost of applying new stain to hardwood floors varies depending on the floor’s condition, the stain product selected, and the amount of preparation required. Staining is not just about adding color. Sanding, repairing, and sealing all influence the total price. Understanding these cost factors helps homeowners plan accurately and choose the right options for their project and budget. Below are the main elements that affect pricing:
Different stain types come with different price points. Oil based stains tend to cost more because they penetrate deeply and take longer to apply, while water based stains may be slightly cheaper but require more precise application. Specialty stains like gel formulas, reactive stains, and designer gray or white washes also increase costs due to added labor and premium pigments.
The amount of sanding required directly impacts labor costs. Light surface sanding is less expensive, but floors with deep scratches, old finish buildup, cupping, or heavy wear need extensive sanding, which takes more time and requires multiple grit levels. The deeper the sanding, the higher the cost, especially for older hardwood floors that need full refinishing before staining.
Some wood types absorb stain easily, while others need extra preparation. Hardwoods like oak or hickory stain uniformly, while species such as maple, cherry, and pine are more difficult because they absorb stain unevenly. These woods often require pre stain conditioners, test samples, and controlled application to prevent blotchiness, all of which increase material and labor costs.
Larger spaces naturally cost more because they require more sanding time, stain product, and finishing coats. Tight corners, closets, transitions, and detailed layouts also add time to the job. Open layouts are typically more cost efficient, while homes with multiple small rooms often take longer due to setup and edging work.
After staining, the floor needs protective coats of polyurethane or sealant. Adding more coats increases durability but also increases cost. High traffic homes, rental properties, and families with pets often choose additional layers for extra protection. Premium finishes such as water based polyurethanes, matte professional sealers, or high durability commercial coatings also increase the total price.
Refreshing hardwood floors with new stain is one of the most impactful ways to transform a home without replacing a single plank. It brings faded wood back to life, evens out worn areas, enhances natural grain patterns, and adds a rich, modern color that elevates the entire space. When paired with proper sanding, dust-free preparation, and a strong protective finish, staining delivers long-lasting beauty and durability that can endure years of daily use. Whether you’re updating outdated tones or restoring floors after years of wear, a well-executed staining project gives your home a cleaner, warmer, and more polished feel while boosting long-term value and comfort.
Yes. When the floor is sanded down to bare wood, you can lighten the color, darken it, or switch to a completely different tone. Sanding removes the old stain entirely, giving the wood a fresh surface that accepts new colors without being influenced by the previous finish.
Most stains need around 24 hours to dry before light foot traffic. However, after the protective topcoat is applied, homeowners should wait 24 to 48 hours before using the room normally. Heavy furniture, rugs, or appliances should not be placed back for several days to avoid surface dents or finish damage.
No. Different woods absorb stain differently. Oak stains evenly and shows strong grain definition, making it one of the most stain friendly species. Maple, pine, and cherry absorb stain unevenly and often need pre-stain conditioners or specialized techniques to prevent blotches and streaks.
Not by itself. Stain adds color and enhances the wood’s appearance, but the protective topcoat such as polyurethane or a durable sealant is what strengthens the surface. The finish layer protects the floor from scratches, moisture, and daily wear.
Yes, you can stain a single room as long as that section of flooring can be isolated. However, matching the exact color of adjacent rooms can be challenging because wood ages, sunlight exposure changes tone, and stain absorbs differently across older sections. Professionals use blending methods to match colors seamlessly when needed.
Refreshing hardwood floors with new stain is one of the most impactful ways to transform a home without replacing a single plank. It brings faded wood back to life, evens out worn areas, enhances natural grain patterns, and adds a rich, modern color that elevates the entire space. When paired with proper sanding, dust-free preparation, and a strong protective finish, staining delivers long-lasting beauty and durability that can endure years of daily use. Whether you’re updating outdated tones or restoring floors after years of wear, a well-executed staining project gives your home a cleaner, warmer, and more polished feel while boosting long-term value and comfort.
Join our mailing list for exclusive updates, expert tips, and special offers tailored to your needs. Be the first to know about the latest in home services.

Renovize Home is a platform that supports homeowners from planning to renovation. Whether it’s Renovize AI for guidance or a one-on-one call with Pro Finder, we understand your project and match you with local contractors tailored to your needs.
Who We Are
About Renovize HomeGet in TouchHomeownwer Support:
Coming Soon!
General Inquiries:
support@renovizehome.com
Head Office:
24 Greenway Plaza, STE 1800M, Houston, TX 77046.