Explore All
BROWSE BY CATEGORY
Interior
Exterior
Home Essentials
Homeowner Tools
Blogs & Guides
Find a Pro
Book Your Appointment Now
Home Essentials
About Renovize Home
Explore All
BROWSE BY CATEGORY
Interior
Exterior
Home Essentials
Homeowner Tools
Blogs & Guides
Find a Pro
Book Your Appointment Now
Home Essentials
About Renovize Home
Last Updated 2025-11-14
A well-installed bathroom ventilation system is one of the most important features in any home. It removes excess moisture, prevents mold, and keeps indoor air fresh and breathable. Whether you’re adding a new fan, replacing an outdated unit, or upgrading to a smart model, understanding the process ensures your bathroom stays healthy, safe, and energy-efficient.
Table of Contents
Understanding Bathroom Ventilation
Types of Bathroom Ventilation Systems
Choosing the Right Bathroom Ventilation Fan
How to Upgrade Bathroom Ventilation
Replacing Existing Ventilation Fans
Improving Ventilation in Bathrooms Without Windows
Cost of Bathroom Ventilation Installation and Replacement
Final Takeaway
Bathroom ventilation removes humid air, odors, and airborne particles through exhaust fans and ducts. Proper ventilation keeps walls, tiles, and paint in good condition while maintaining air balance inside your home. Upgrading your system improves airflow, reduces condensation, and enhances comfort and cleanliness.
Moisture is the number one cause of damage in bathrooms. Without ventilation, humidity lingers after showers, leading to mold, mildew, and peeling paint. A reliable fan system quickly clears moist air, protecting your bathroom surfaces and improving air quality.
Modern fans feature humidity sensors that activate automatically when moisture rises. These systems regulate airflow, prevent fogging on mirrors, and include backdraft dampers that stop outside air from coming in. This keeps the bathroom environment dry and balanced.
You may need an upgrade if your mirror fogs up too long, walls feel damp, or odors persist. Other signs include weak airflow, noisy operation, or visible mold spots. A new energy-efficient fan restores quiet operation, stronger airflow, and cleaner air.
Bathrooms vary in design, and so do ventilation needs. Knowing which system fits your layout ensures proper moisture control.
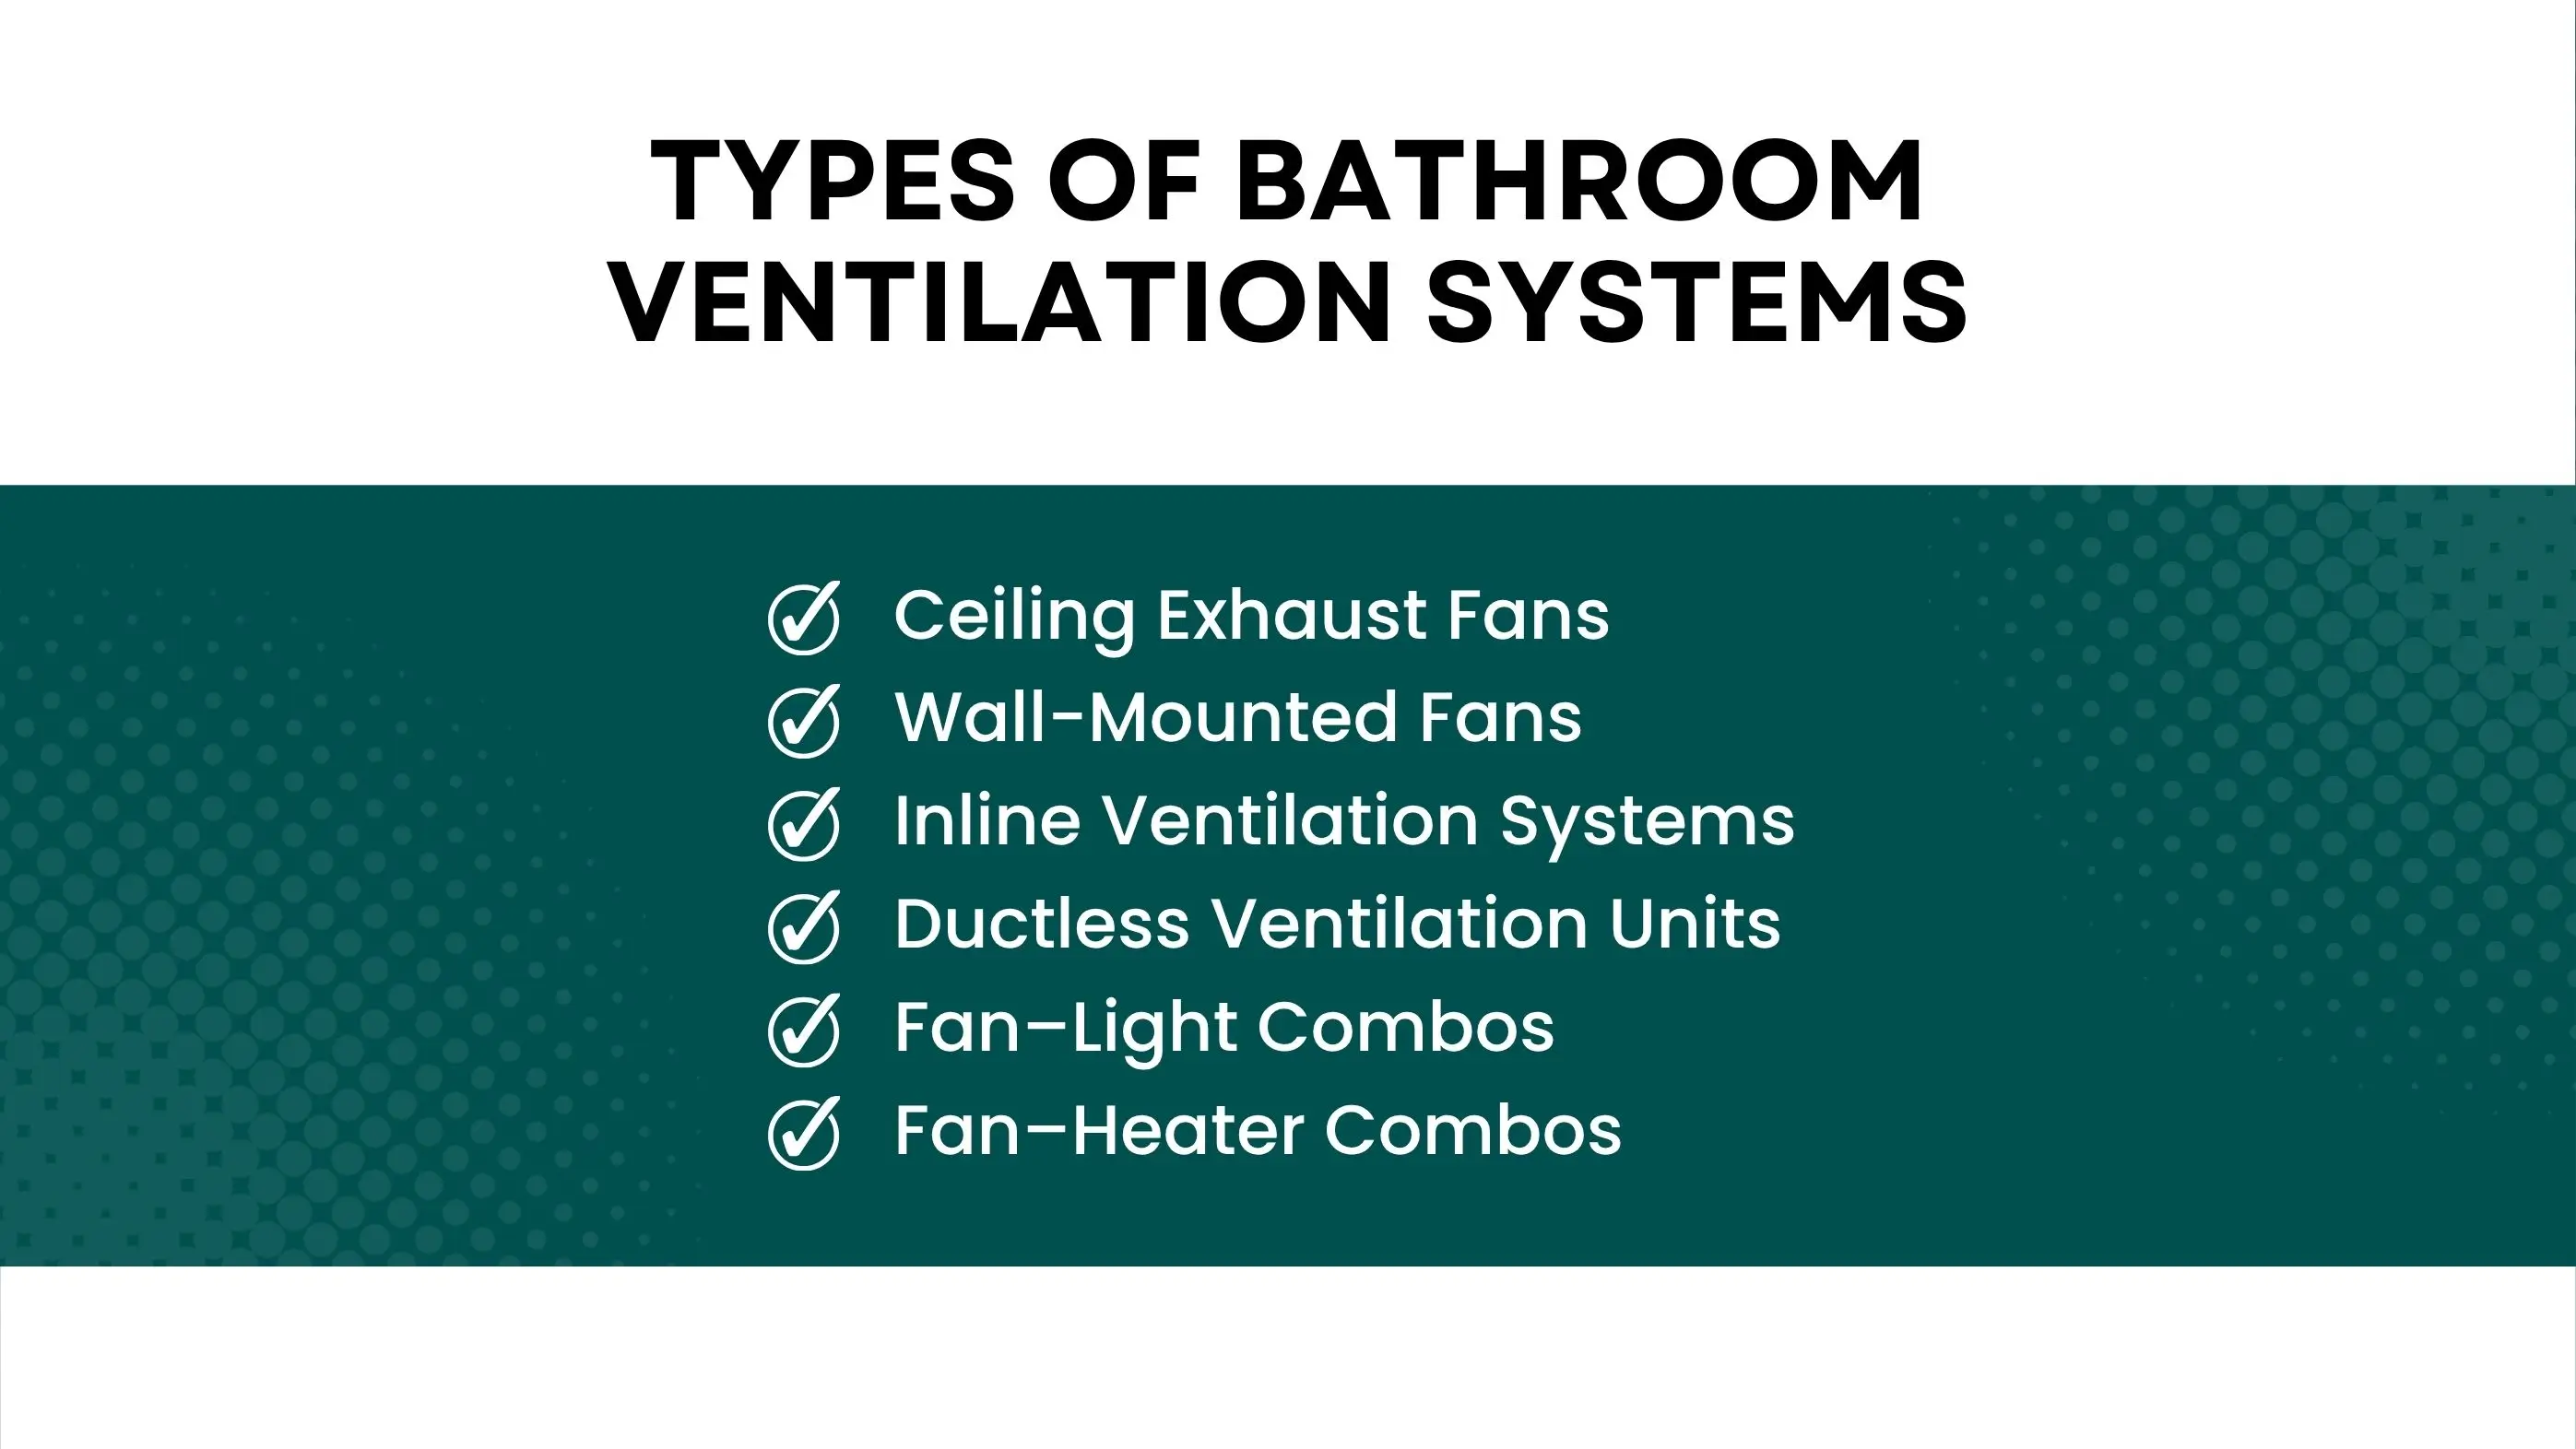
These are the most common type. They pull air upward and vent it outdoors through a duct. Ideal for standard bathrooms, they remove steam quickly and keep the space dry.
Wall-mounted fans exhaust air directly outside, making them great for bathrooms without attic access. They are affordable and easy to install but can be slightly louder than ceiling models.
Inline fans sit inside ducts, keeping the motor away from the bathroom for quieter operation. Ductless systems use charcoal filters to clean and recirculate air, a good option for small or windowless bathrooms.
Combo units integrate fans with LED lights or heaters, saving space and adding functionality. They are especially useful in small or cold bathrooms where warmth and light are needed together.
| Fan Type | Best For | Pros | Cons |
|---|---|---|---|
| Ceiling-Mounted | Standard bathrooms | Effective and quiet | Requires attic access |
| Wall-Mounted | No-ceiling-access bathrooms | Easy installation | Slightly louder |
| Inline | Multi-room setups | Very quiet | More complex install |
| Ductless | Windowless bathrooms | No external vent needed | Requires regular filter changes |
Choosing the right fan depends on bathroom size, layout, and performance needs. Factors like airflow power, noise level, and energy efficiency are crucial.
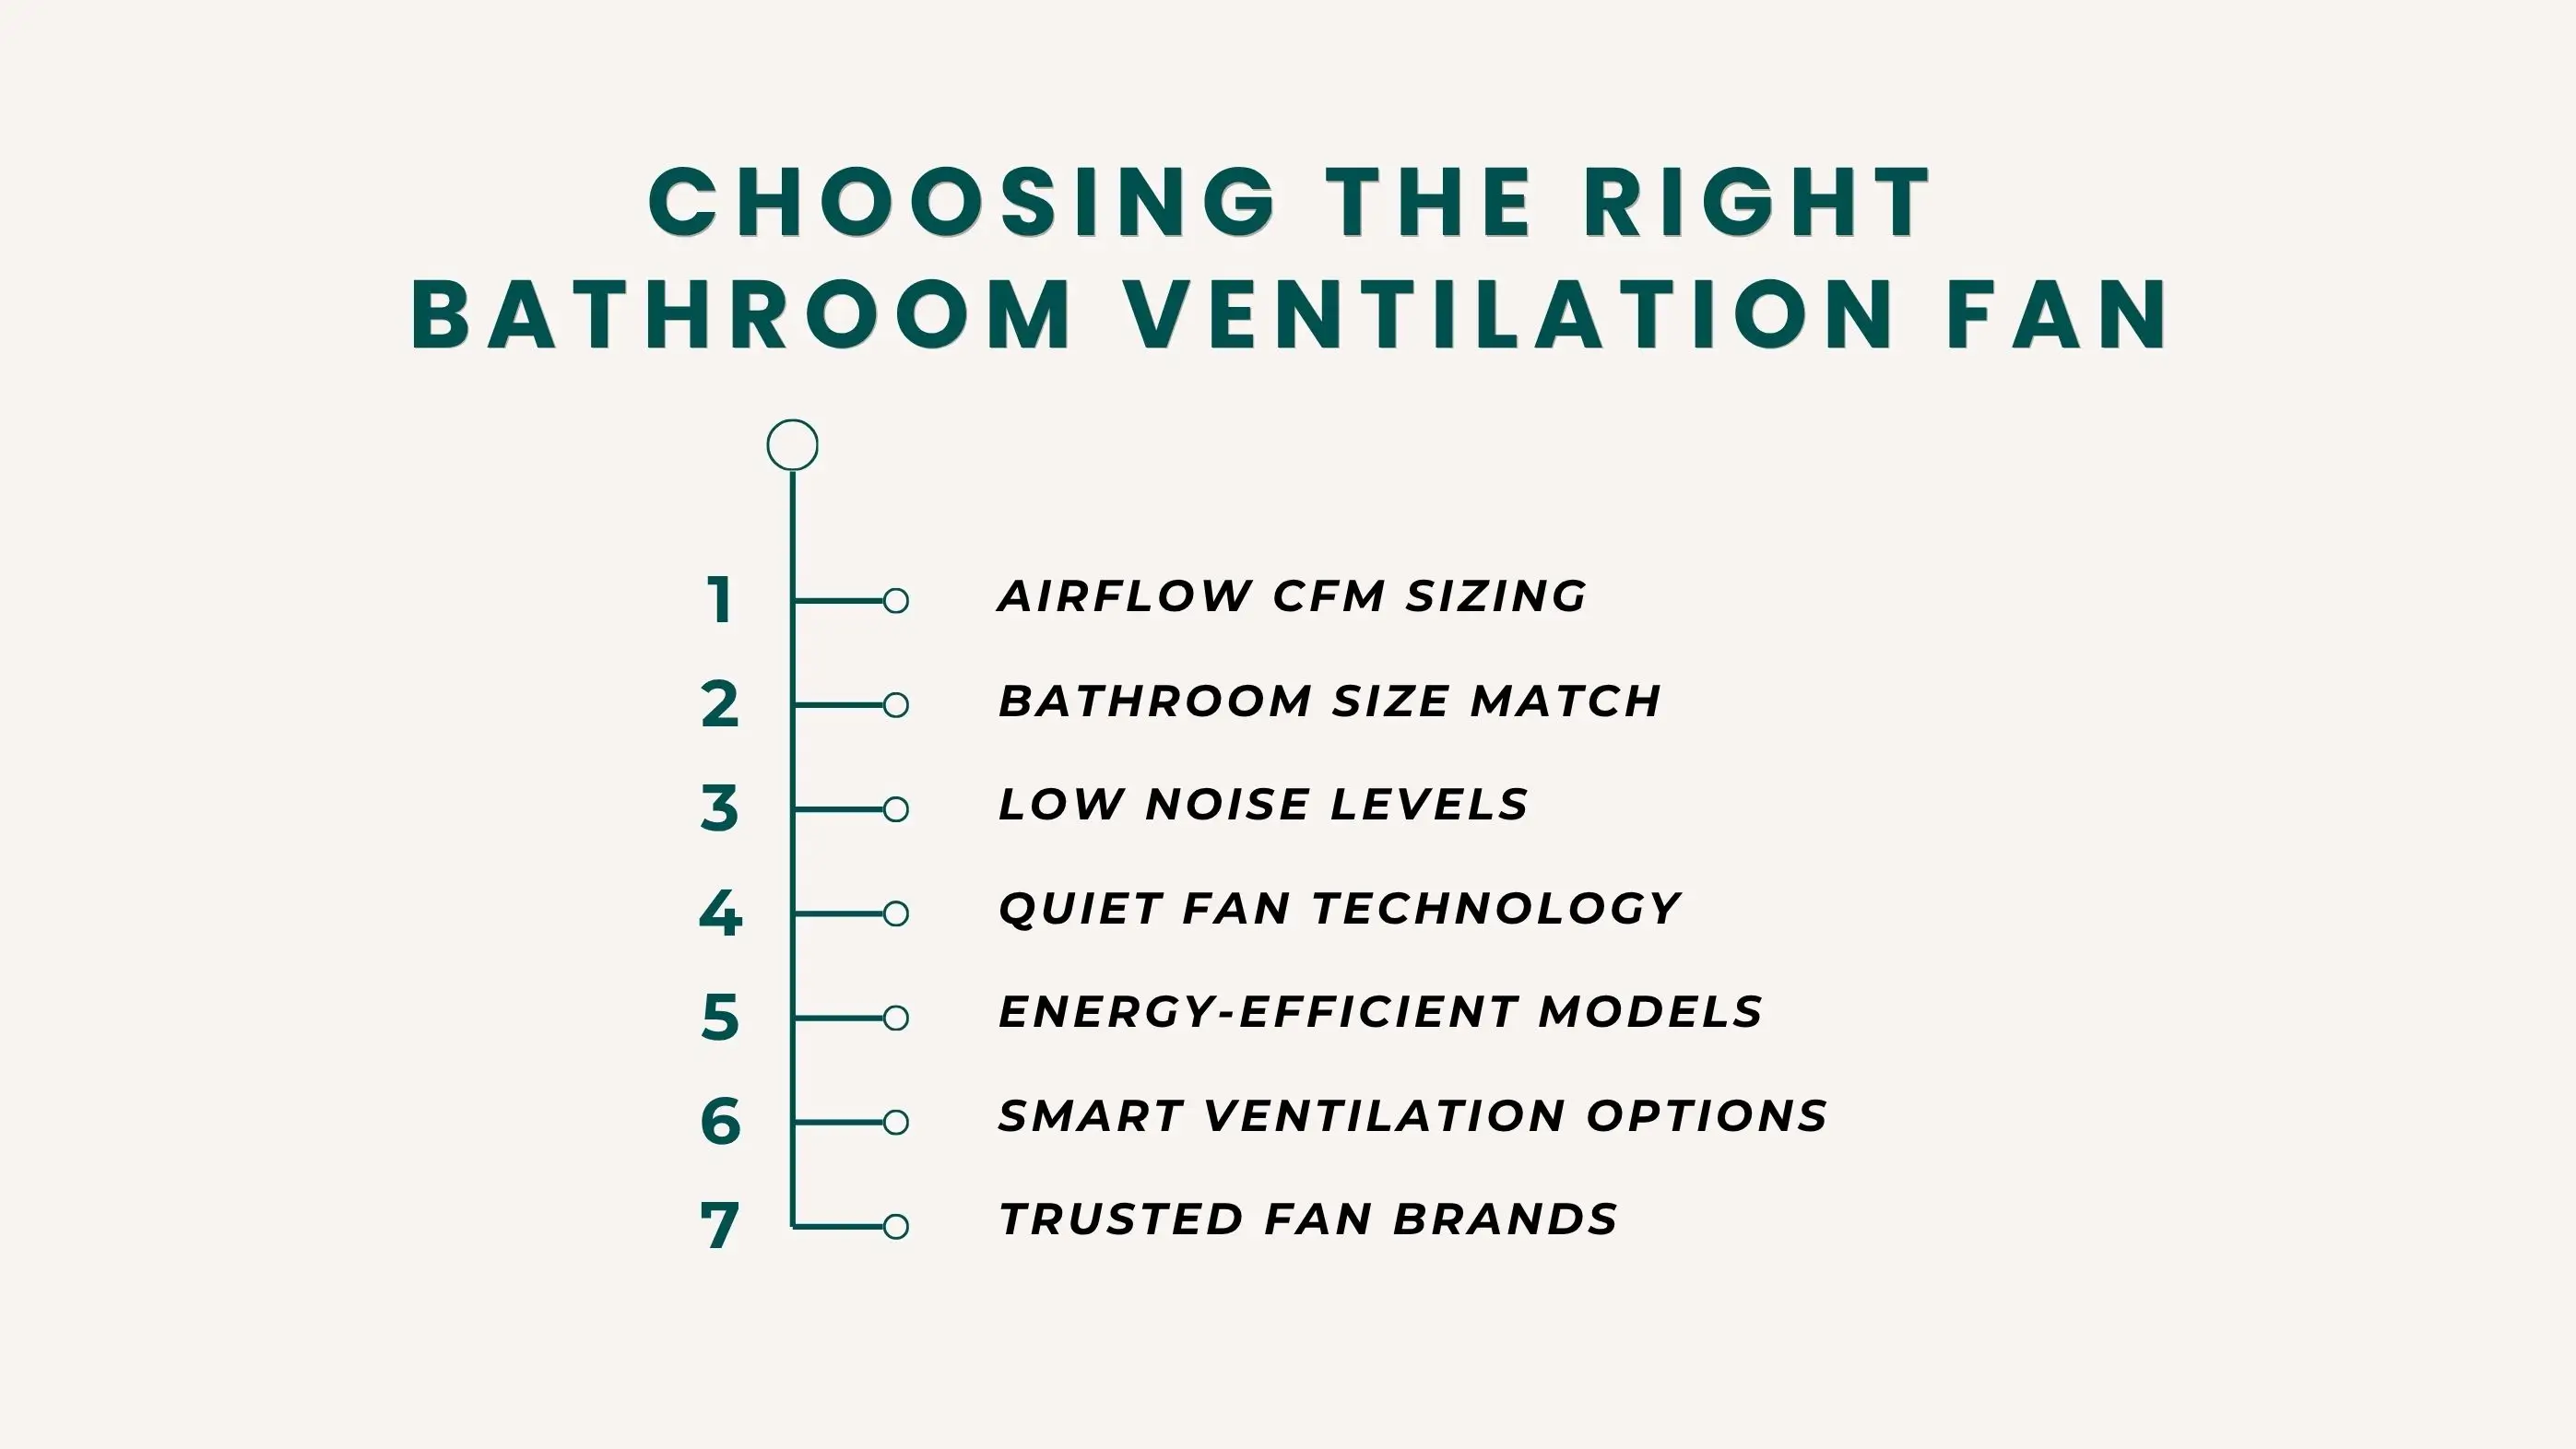
Fan power is measured in cubic feet per minute (CFM). The correct fan size ensures air is replaced efficiently without wasting energy.
| Bathroom Size | Recommended CFM | Example Use |
|---|---|---|
| Up to 50 sq. ft. | 50 CFM | Small or half bathrooms |
| 50–100 sq. ft. | 80–100 CFM | Standard full bathrooms |
| 100+ sq. ft. | 120–150 CFM | Master or shared bathrooms |
Fan noise is measured in “sones.” Anything under 1.5 sones is quiet enough for everyday comfort. Modern fans use sound-dampening motors and aerodynamic grilles to minimize noise during long operation.
Energy-efficient models include features such as timers, motion sensors, and humidity detectors. Smart fans can connect to mobile apps or voice assistants for easy control. These systems use less electricity and last longer.
Upgrading a ventilation fan requires accuracy and attention to detail. Proper installation improves air quality and prevents water damage over time.
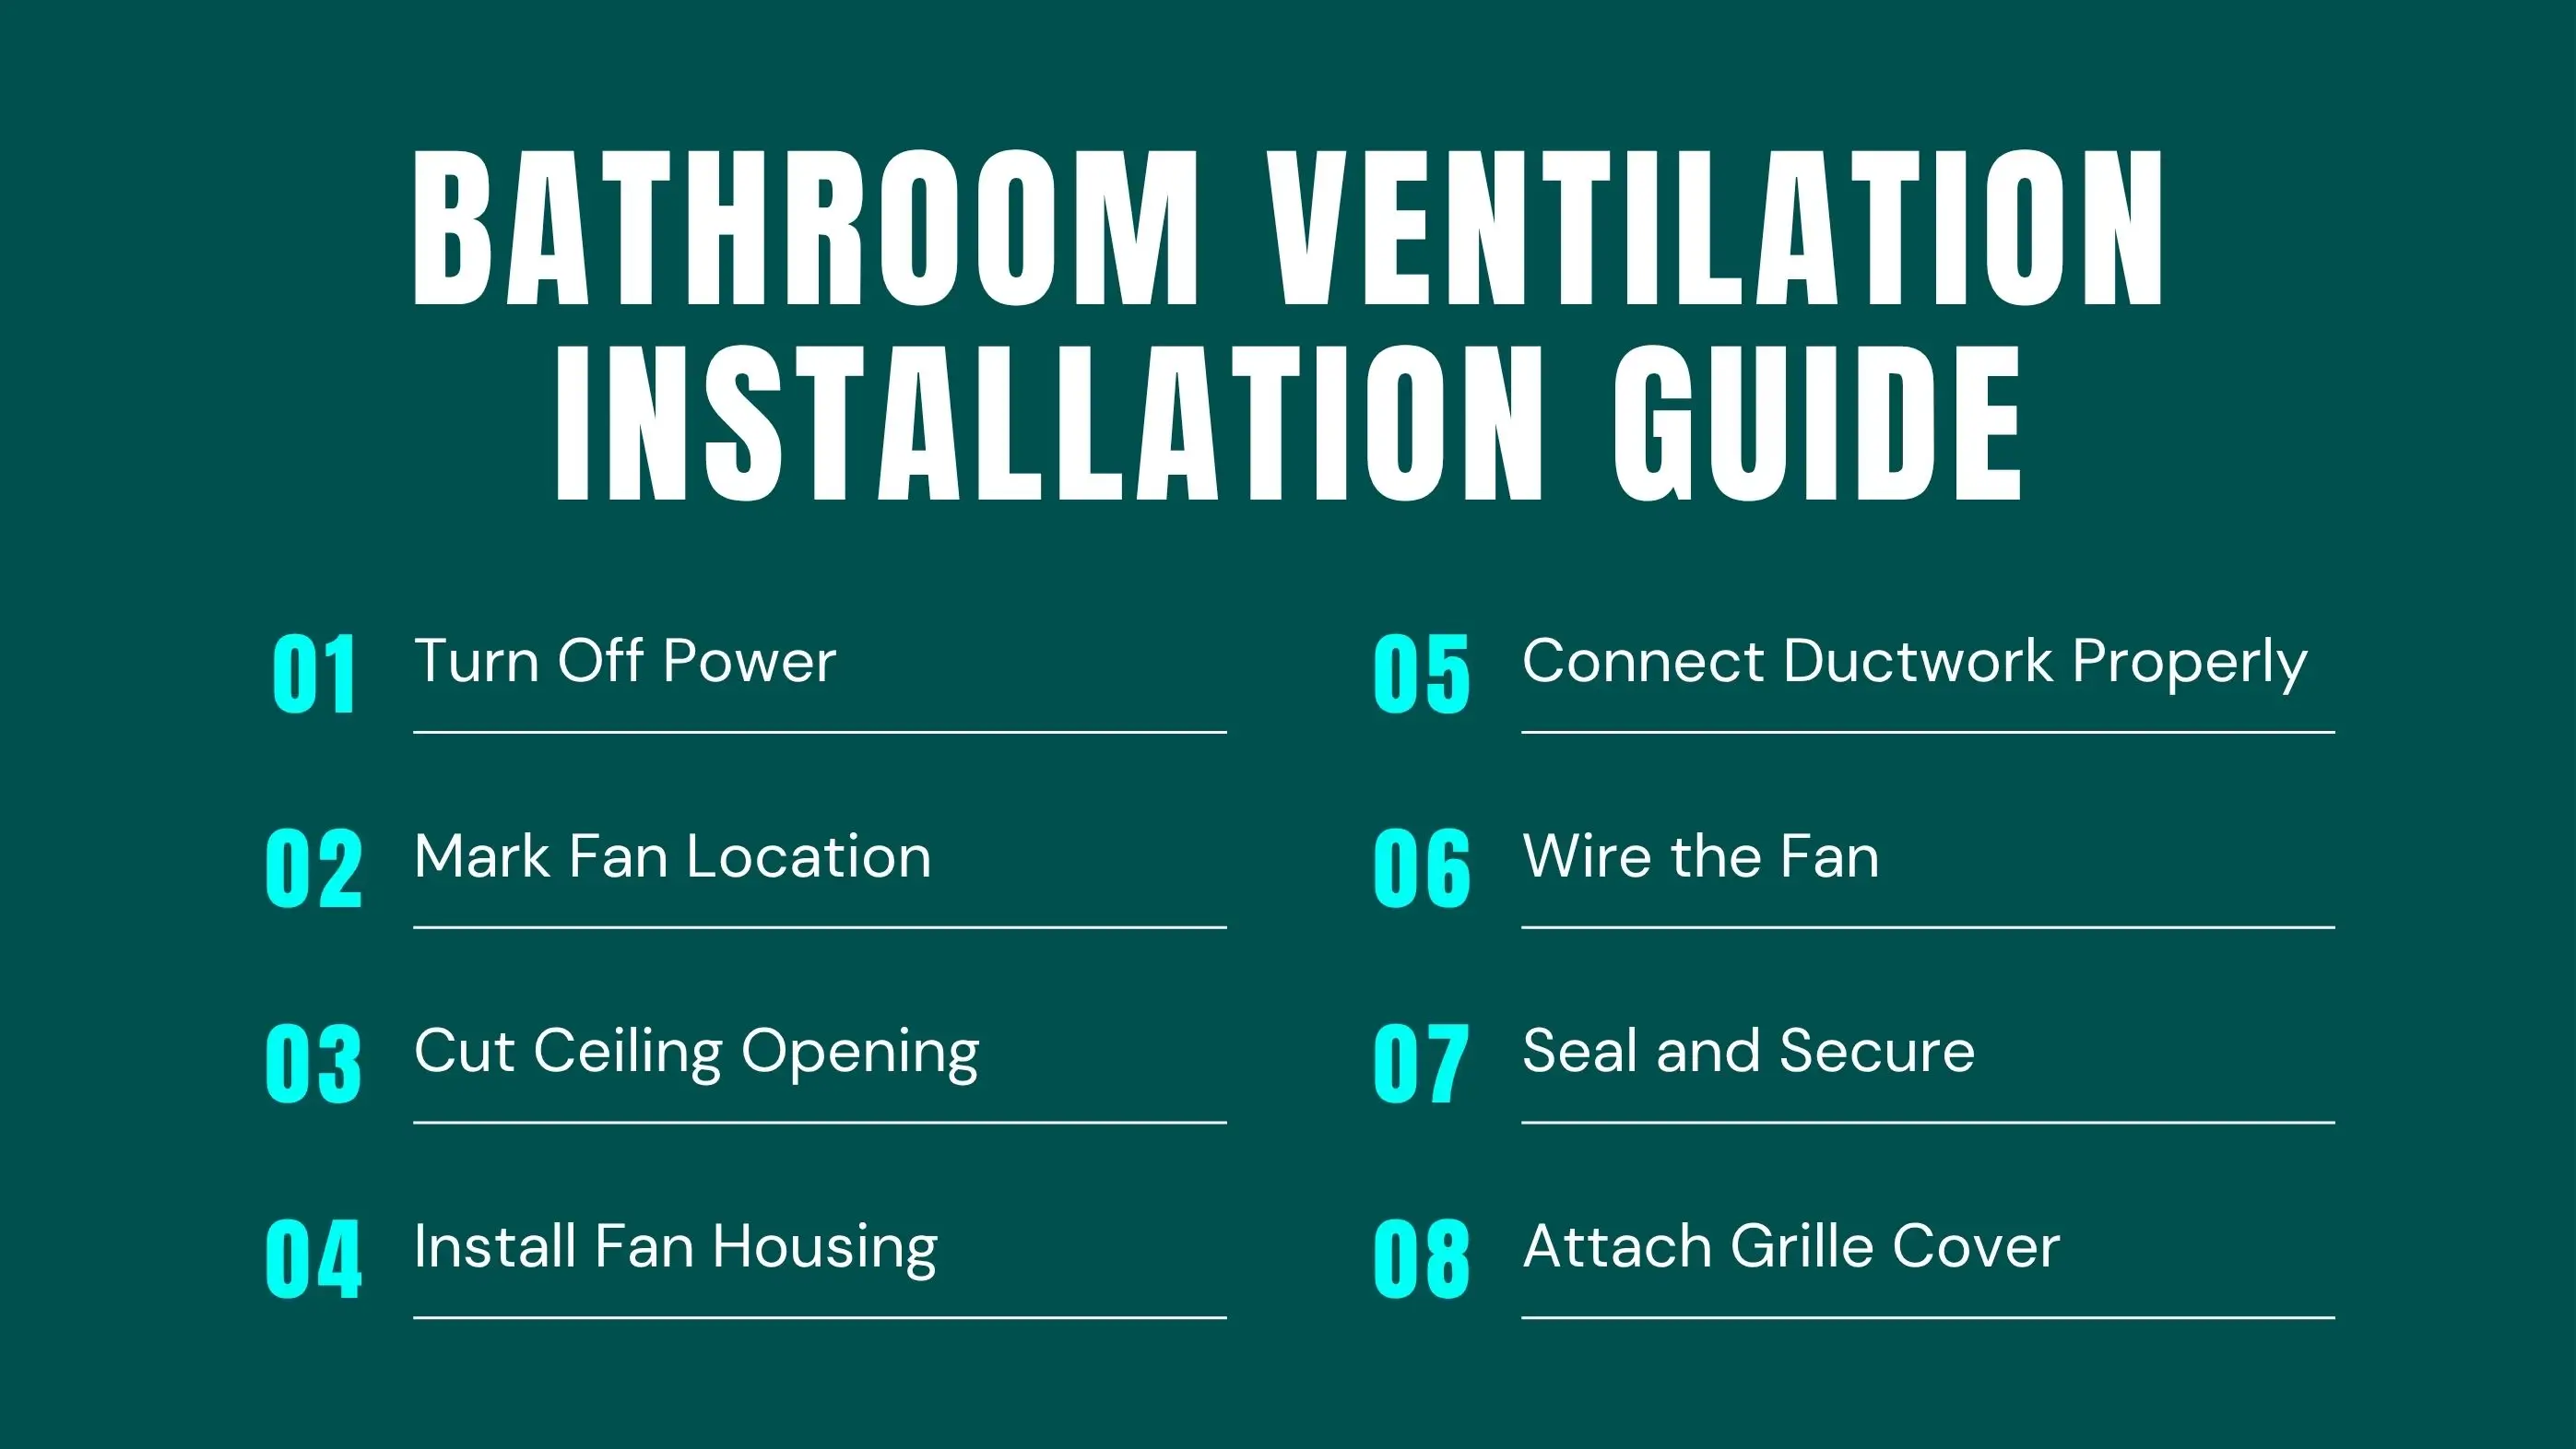
Here’s a detailed step-by-step guide for installing a bathroom exhaust fan safely and effectively:
Switch off power from the circuit breaker to avoid any electrical hazard. Use a voltage tester to confirm there’s no electricity running in the circuit.
Choose a spot on the ceiling between joists. Mark the fan housing size using a pencil or stencil. Make sure the location is centered above the shower or tub area for better airflow.
Use a drywall saw to carefully cut along the marked lines. Ensure the opening matches the fan housing dimensions exactly so the fan sits snugly.
Mount the fan housing securely to the ceiling joist using screws and support brackets. It must sit flush against the ceiling surface to prevent vibration noise.
Attach the duct hose to the fan’s outlet. Use foil tape or a metal clamp to seal the connection tightly. The duct should lead directly outside through a vent cap to expel air efficiently.
Connect the wires using color-coded wire connectors: black for power, white for neutral, and green or bare for ground. If your model has light or heater functions, connect those lines separately.
Use caulk or foam sealant around the fan housing to prevent air leaks. Recheck that all connections are tight and the duct is securely attached.
Snap the grille cover into place. Turn the power back on and test the fan to ensure proper suction, quiet operation, and no rattling.
For best airflow, use rigid aluminum ducting instead of flexible plastic hoses. Keep ducts as short and straight as possible to reduce resistance. Secure the end to a roof or wall vent cap and seal joints with foil tape to prevent leaks.
Bathroom fans must be connected to a GFCI-protected circuit to prevent electric shock. Always ensure the wiring meets local electrical codes. Smart or LED fans may require dedicated circuits or professional wiring help.
Avoid venting air into the attic, as this causes mold and insulation damage. Do not undersize or oversize the fan this reduces performance. Always seal joints tightly and ensure no part of the duct dips down, as water may pool there.
Replacing an old fan improves both comfort and efficiency. Upgrades are especially useful for homeowners dealing with noise or poor airflow.
Turn off the power and remove the grille. Unscrew and pull out the old fan. Disconnect the wiring and duct carefully. Clean the surrounding area, install the new fan into the existing housing, connect the wires, reattach the duct, and test for airflow.
New models feature LED lights, built-in speakers, humidity sensors, and app control. These upgrades improve visibility, convenience, and long-term savings.
If your fan hums, vibrates, or struggles to spin, the motor might be worn out. Replacing just the motor or grille can restore performance and reduce noise without a full system replacement.
| Upgrade Type | Added Features | Approx. Cost |
|---|---|---|
| Standard Replacement | Quieter, stronger airflow | $150–$400 |
| LED or Smart Fan | Lighting, sensors, app control | $600–$1,000 |
| Motor Only | Reuse existing fan body | $80–$200 |
Bathrooms without windows rely entirely on mechanical ventilation to maintain air quality.
Install a high-capacity ducted fan (100–150 CFM) that vents directly outside. Use rigid ducting to ensure proper airflow and prevent leaks.
Inline fans can be installed remotely to minimize noise. Portable fans can provide temporary air movement in small bathrooms or rental units.
Pairing your exhaust fan with a compact dehumidifier keeps moisture under control, especially in bathrooms that stay humid after showers.
U.S. building codes require a minimum of 50 CFM airflow for small bathrooms and 80 CFM for larger ones. Always verify compliance before installation.
The cost depends on fan type, labor, and ducting complexity.
| Item | Estimated Cost | Description |
|---|---|---|
| Standard Fan | $100–$300 | Basic wall or ceiling model |
| Smart/LED Fan | $400–$800 | With sensors or integrated lighting |
| Labor | $150–$400 | Installation, wiring, and testing |
| Ducting & Vent Caps | $50–$150 | For airflow routing and sealing |
On average, expect to pay $250–$700 for standard installations and $800–$1,200 for advanced smart models. DIY installation may cost under $200, but professional work ensures safety and code compliance.
A proper ventilation system keeps your bathroom dry, mold-free, and fresh. From basic ceiling fans to smart, humidity-sensing systems, the right setup enhances your home’s air quality and value. If you’re unsure which system suits your space, connect with verified local professionals through Renovize Home to ensure safe, efficient, and long-lasting bathroom ventilation.
Fans rated between 50 and 80 CFM provide the right airflow for small bathrooms. Models like Panasonic WhisperValue and Broan NuTone 688 are reliable choices that remove moisture quickly and operate quietly.
Yes, you can. Wall-mounted or ductless fans are designed specifically for spaces without attic access and still provide effective ventilation. They offer an easy installation process without major structural changes.
Use a ducted exhaust fan that vents moisture outdoors to prevent mold and humidity buildup. Pairing it with a small dehumidifier adds extra moisture control and keeps the bathroom fresh.
Most bathroom fans should be replaced every 8 to 10 years. Heavy usage, dust buildup, and worn-out motors can reduce performance, so regular cleaning helps extend their lifespan.
Yes, they are a great long-term investment. Quiet, energy-efficient fans use less electricity, last longer, and make the bathroom more comfortable by reducing noise and maintaining steady airflow.
Join our mailing list for exclusive updates, expert tips, and special offers tailored to your needs. Be the first to know about the latest in home services.

Renovize Home is a platform that supports homeowners from planning to renovation. Whether it’s Renovize AI for guidance or a one-on-one call with Pro Finder, we understand your project and match you with local contractors tailored to your needs.
Who We Are
About Renovize HomeGet in TouchHomeownwer Support:
Coming Soon!
General Inquiries:
support@renovizehome.com
Head Office:
24 Greenway Plaza, STE 1800M, Houston, TX 77046.