Explore All
BROWSE BY CATEGORY
Interior
Exterior
Home Essentials
Homeowner Tools
Blogs & Guides
Find a Pro
Book Your Appointment Now
Home Essentials
About Renovize Home
Explore All
BROWSE BY CATEGORY
Interior
Exterior
Home Essentials
Homeowner Tools
Blogs & Guides
Find a Pro
Book Your Appointment Now
Home Essentials
About Renovize Home
Last Updated 2025-11-13
Replacing your bathroom floor is one of the best ways to refresh your space and prevent water damage. Over time, moisture, daily use, and old materials can cause tiles to crack or floors to weaken. A proper bathroom flooring replacement not only makes your bathroom safer and easier to clean but also improves its look and value. In this, you’ll learn how to replace bathroom flooring, the costs involved, and the best material options to choose from.
Table of Contents
Understanding Bathroom Floor Replacement
Signs It’s Time to Replace Your Bathroom Floor
Process to Replace a Bathroom Floor
Choosing the Right Materials for Bathroom Flooring
Bathroom Subfloor Considerations
Cost to Replace Bathroom Flooring
DIY vs Professional Bathroom Floor Replacement
Maintenance Tips After Floor Replacement
Final Thought
Bathroom floor replacement involves removing worn or damaged flooring and installing a new, moisture-resistant surface that restores functionality and appearance. It’s necessary when water damage, mold, or cracks compromise both the look and safety of your bathroom. Regularly replacing bathroom flooring prevents long-term structural issues and helps maintain home value.
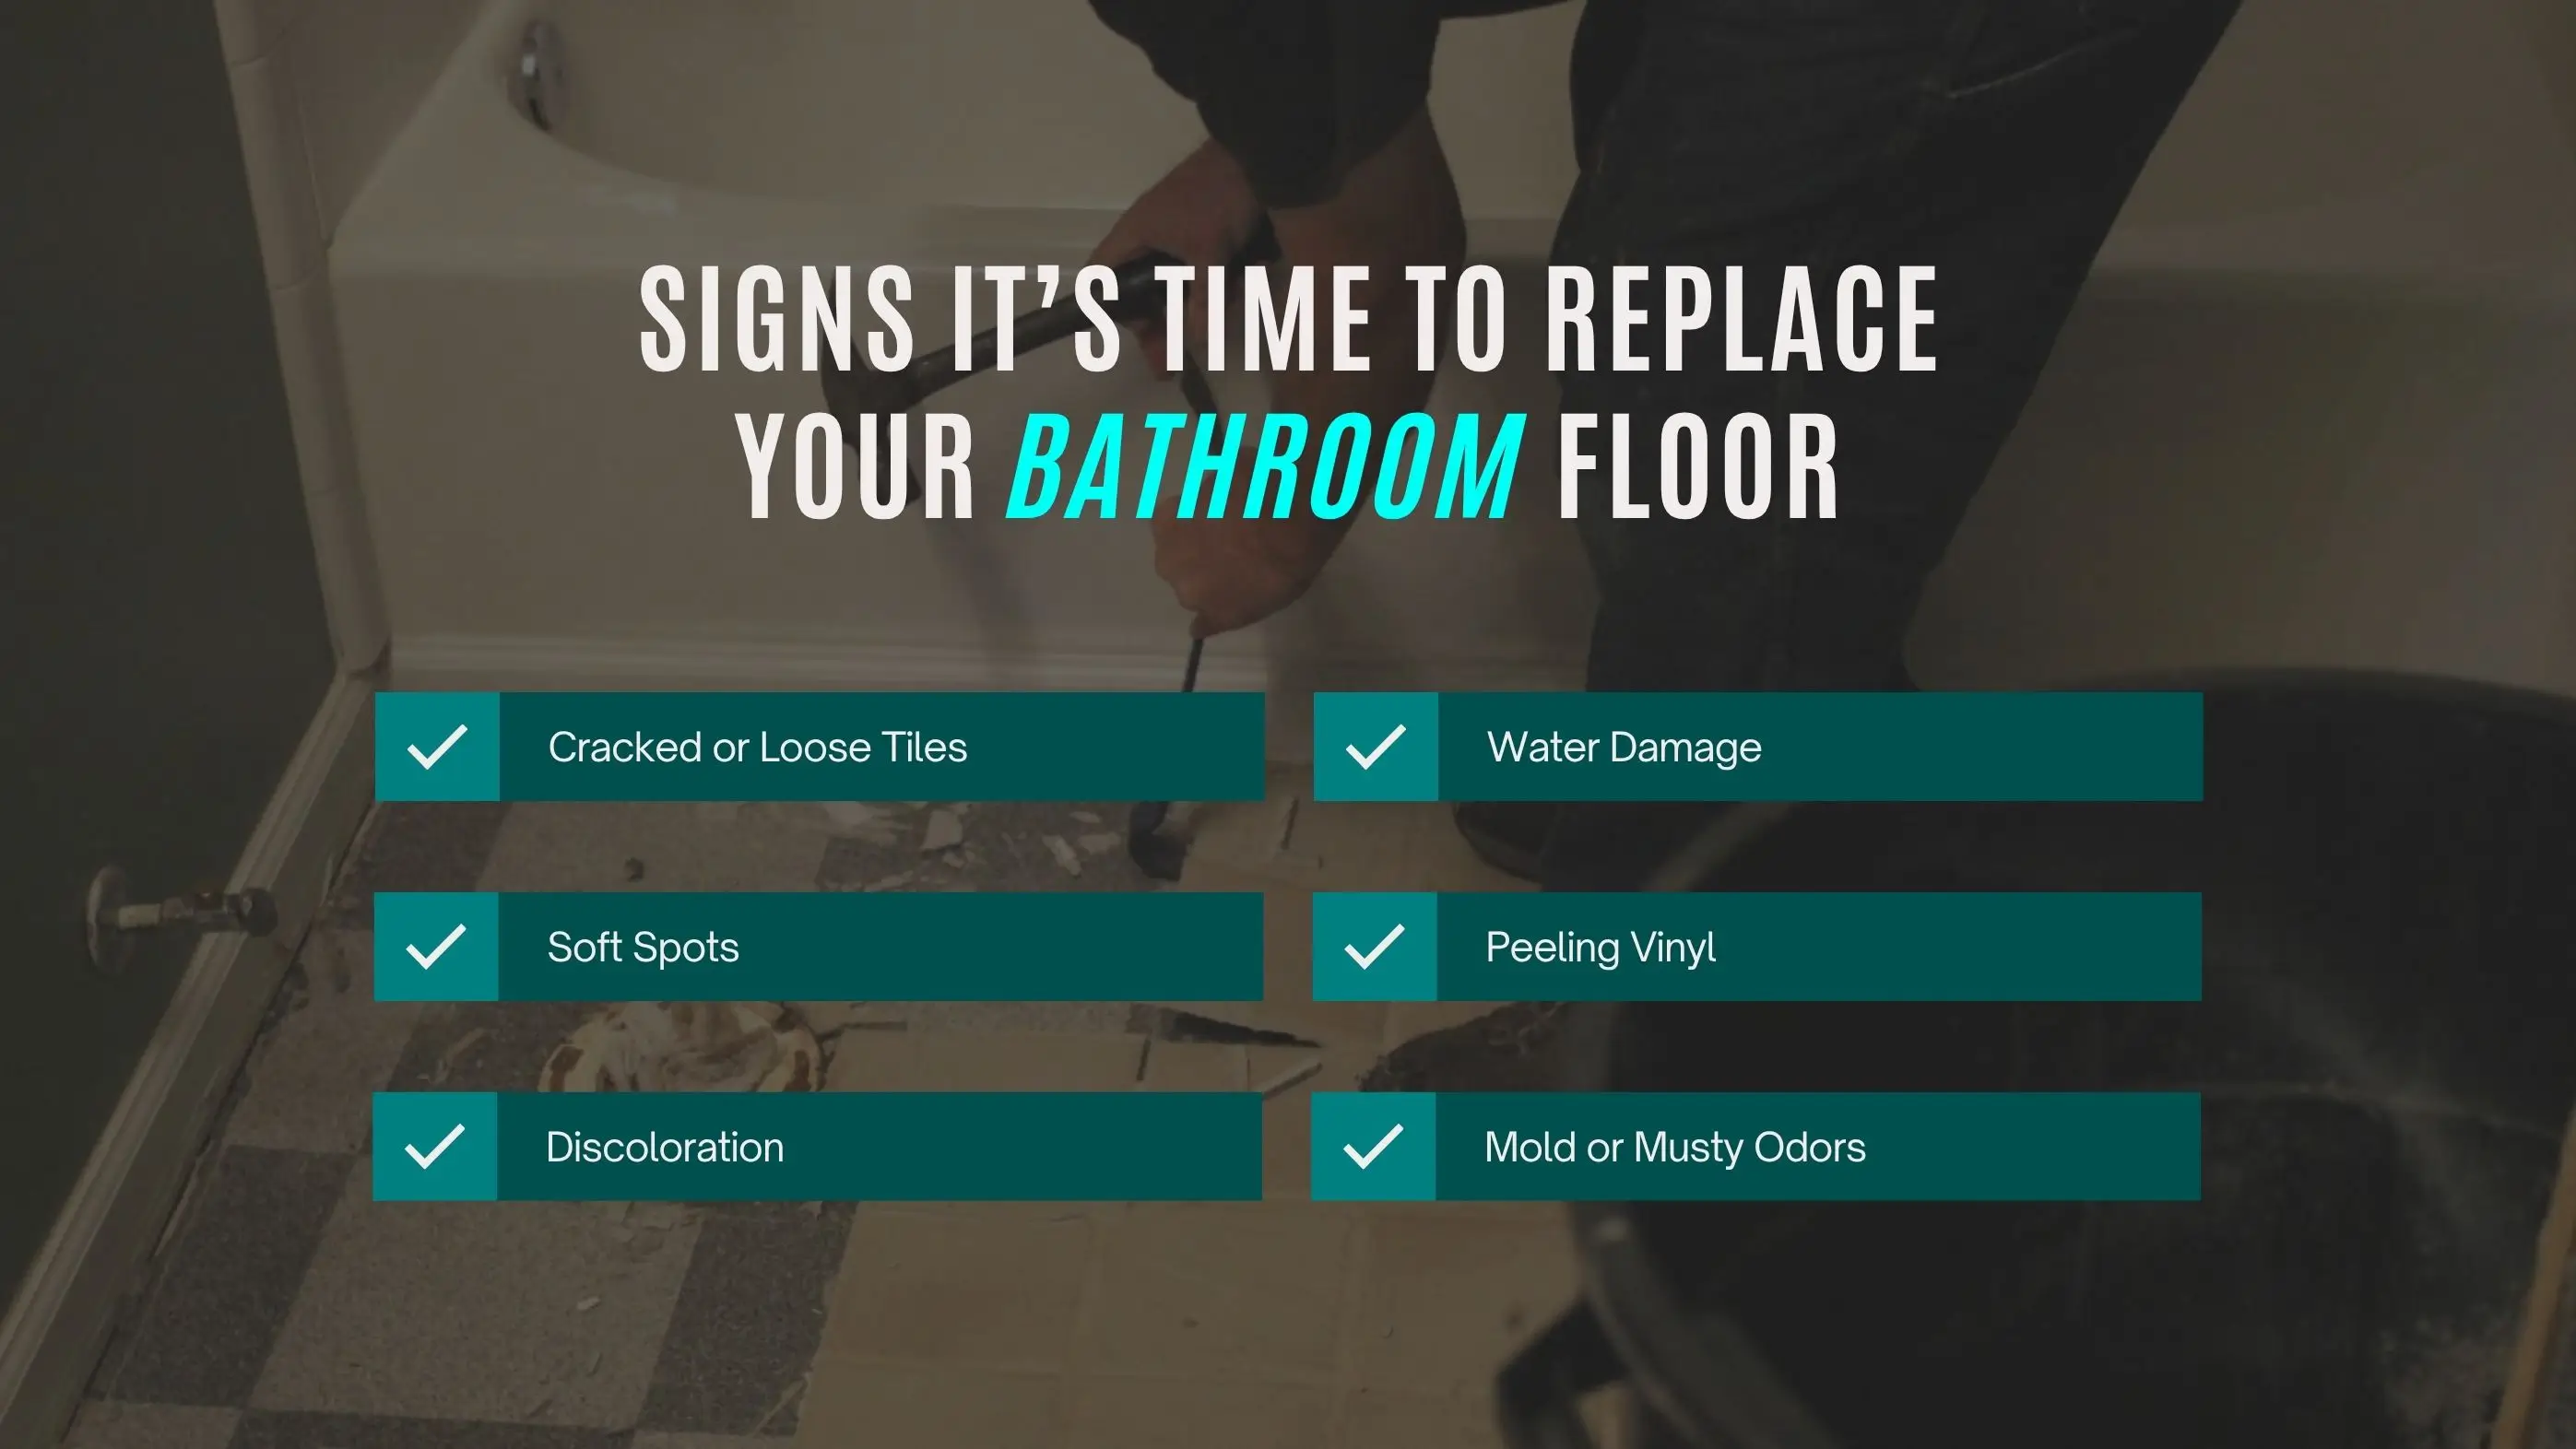
Knowing when to replace your bathroom floor helps prevent costly water damage and ensures your subfloor remains strong. Here are common signs that it’s time for a bathroom floor board replacement:
Replacing a bathroom floor involves several stages from preparation to sealing. Make sure that your new flooring looks great and lasts for years. Follow these professional steps to learn how to replace bathroom flooring safely and effectively.

Before starting, remove fixtures like the toilet and vanity to clear the work area. Shut off water supply lines, ensure good ventilation, and wear protective gloves, goggles, and a mask. Preparing properly helps avoid damage to plumbing or nearby surfaces during demolition.
Start by removing baseboards and fixtures like the toilet or vanity to clear the workspace. Carefully lift old tiles or flooring using a scraper or pry bar, working in small sections. Clean the subfloor thoroughly after removal to prepare it for the new flooring installation.
Inspect the subfloor for rot, mold, or warping caused by leaks. If it’s soft or discolored, you may need to replace the bathroom floor and subfloor, especially around toilets or tubs. Reinforce joists if necessary, as ignoring this step can double future costs to replace the bathroom floor and subfloor.
Once the base is solid, apply waterproof underlayment and begin installing your chosen material, like tile, vinyl, or stone. Use high-grade adhesives, level the surface, and stagger joints for strength. Proper alignment and sealing ensure a watertight, even finish that resists daily moisture.
Seal joints with silicone or grout to keep water from seeping beneath tiles. Clean the surface, allow 24–48 hours of drying time, and reinstall fixtures. A properly sealed floor prevents leaks and extends the lifespan of your new bathroom flooring.
Selecting the right flooring material is crucial for long-term durability, slip resistance, and design appeal. Always consider factors like moisture tolerance, budget, comfort, and maintenance when comparing bathroom flooring options. The right choice ensures your floor stays beautiful, safe, and resilient for years.
Tile is the most popular choice for bathroom floors because of its durability, water resistance, and endless design options. Ceramic and porcelain tiles are especially favored for their ability to handle humidity and heavy foot traffic. They come in matte, glossy, or textured finishes to fit any style, and with proper sealing, they can last 20–30 years. Grout sealing and anti-slip finishes improve both hygiene and safety, making tile a top choice for nearly every bathroom.
Vinyl flooring offers a budget-friendly and waterproof solution that’s comfortable underfoot and easy to maintain. It’s perfect for quick remodels and DIY installations. Available in sheets, tiles, or planks, vinyl can mimic the look of wood or stone at a fraction of the cost. While many homeowners upgrade to tile for added longevity, high-quality luxury vinyl plank (LVP) remains a low-maintenance, slip-resistant, and practical option—ideal for busy households or rental properties.
Natural materials like marble, slate, granite, and luxury vinyl tile (LVT) provide unmatched elegance and long-term durability. Stone floors resist scratches and wear while adding timeless beauty to the space. However, they require regular sealing to maintain stain resistance and prevent water absorption. When sealed properly, these luxury materials are highly durable, slip-resistant, and perfect for high-end or master bathrooms.
Engineered wood and waterproof laminate bring warmth and natural texture to bathrooms without the vulnerability of solid hardwood. These floors feature moisture-resistant cores that help prevent warping in humid conditions. They’re easier to install than tile and feel more comfortable underfoot. While not ideal for shower areas, they work well in half-baths or low-humidity spaces with proper sealing and ventilation.
Concrete flooring delivers a modern, minimalist aesthetic that’s both durable and easy to customize. It can be stained, polished, or textured to match your design style and is naturally resistant to moisture when sealed correctly. Although concrete can feel cold, pairing it with radiant floor heating creates a sleek, long-lasting, and low-maintenance surface perfect for contemporary bathrooms.
For a soft, warm, and eco-friendly option, cork and rubber floors are gaining popularity in modern bathrooms. Cork is naturally antimicrobial, renewable, and comfortable to walk on, while rubber provides excellent slip resistance and cushioning. Both materials resist water when sealed properly and are ideal for children’s or senior-friendly bathrooms where comfort and safety are priorities.
Your subfloor provides structural support for the entire bathroom. During a bathroom floor and subfloor replacement, verify that it’s strong, dry, and mold-free. Using waterproof barriers or cement boards under tile helps protect against long-term water damage and maintains a solid foundation.
The cost of replacing a bathroom floor depends on the material you choose, the size of the bathroom, and whether the subfloor needs repairs. Here’s a simple breakdown to help you understand what you might spend on each part of the project.
| Type of Work | What’s Included | Average Cost Range (USD) |
|---|---|---|
| Basic Bathroom Floor Replacement | Removing old flooring and installing new material (like vinyl or laminate) | $800 – $2,500 |
| Tile Floor Replacement | Removing old tiles, applying adhesive, and laying new ceramic or porcelain tiles | $10 – $25 per sq. ft. |
| Stone or Luxury Flooring | Marble, granite, or luxury vinyl with professional installation | $3,000 – $5,000+ total |
| Subfloor Repair or Replacement | Fixing water damage, mold, or weak floorboards before new flooring | $500 – $1,500 |
| Labor Costs | Professional installation, sealing, and cleanup | $4 – $8 per sq. ft. |
In DIY replacement, you can save money, but professional installation ensures long-term durability and waterproofing. Compare both options before deciding how to replace flooring in your bathroom.
Proper maintenance keeps your new bathroom floor looking fresh and functional for years. Regular care also prevents moisture damage and surface wear.
Replacing your bathroom floor is one of the most effective upgrades for both comfort and home value. From planning and preparation to choosing the right materials, every step plays a role in long-term performance. Whether you tackle it yourself or hire trusted professionals, investing in quality bathroom flooring ensures beauty, safety, and durability for years to come.
Yes, in some cases. Vinyl or laminate can go over existing floors if the surface is dry, level, and mold-free. For tile or stone, it’s best to remove the old flooring to ensure proper adhesion and waterproofing.
Only if it’s damaged, soft, or shows signs of mold. A solid, dry subfloor ensures your new flooring remains stable, prevents leaks, and supports heavy fixtures like bathtubs or vanities.
Yes, especially for tile, stone, or grout. Sealing prevents moisture penetration, staining, and mold growth, extending the life of your bathroom flooring.
Yes, the best time to install radiant floor heating is during replacement, before laying new tiles or flooring. It improves comfort and increases property value with minimal additional labor.
Select slip-resistant options like textured porcelain tile, rubber flooring, or waterproof vinyl with matte finishes. These materials provide traction and cushioning, reducing fall risks in wet areas.
Join our mailing list for exclusive updates, expert tips, and special offers tailored to your needs. Be the first to know about the latest in home services.

Renovize Home is a platform that supports homeowners from planning to renovation. Whether it’s Renovize AI for guidance or a one-on-one call with Pro Finder, we understand your project and match you with local contractors tailored to your needs.
Who We Are
About Renovize HomeGet in TouchHomeownwer Support:
Coming Soon!
General Inquiries:
support@renovizehome.com
Head Office:
24 Greenway Plaza, STE 1800M, Houston, TX 77046.