Explore All
BROWSE BY CATEGORY
Interior
Exterior
Home Essentials
Homeowner Tools
Blogs & Guides
Find a Pro
Book Your Appointment Now
Home Essentials
About Renovize Home
Explore All
BROWSE BY CATEGORY
Interior
Exterior
Home Essentials
Homeowner Tools
Blogs & Guides
Find a Pro
Book Your Appointment Now
Home Essentials
About Renovize Home
Last Updated 2025-11-18
Bathroom tile installation plays an important role in both the look and durability of your space. The right tiles can make your bathroom safer, easier to clean, and more resistant to moisture. In this, you’ll learn how bathroom tile installation works, what materials are best, how much it costs, and which methods professionals use to ensure long-lasting results. This simple breakdown will help you plan your project with confidence and avoid common mistakes.
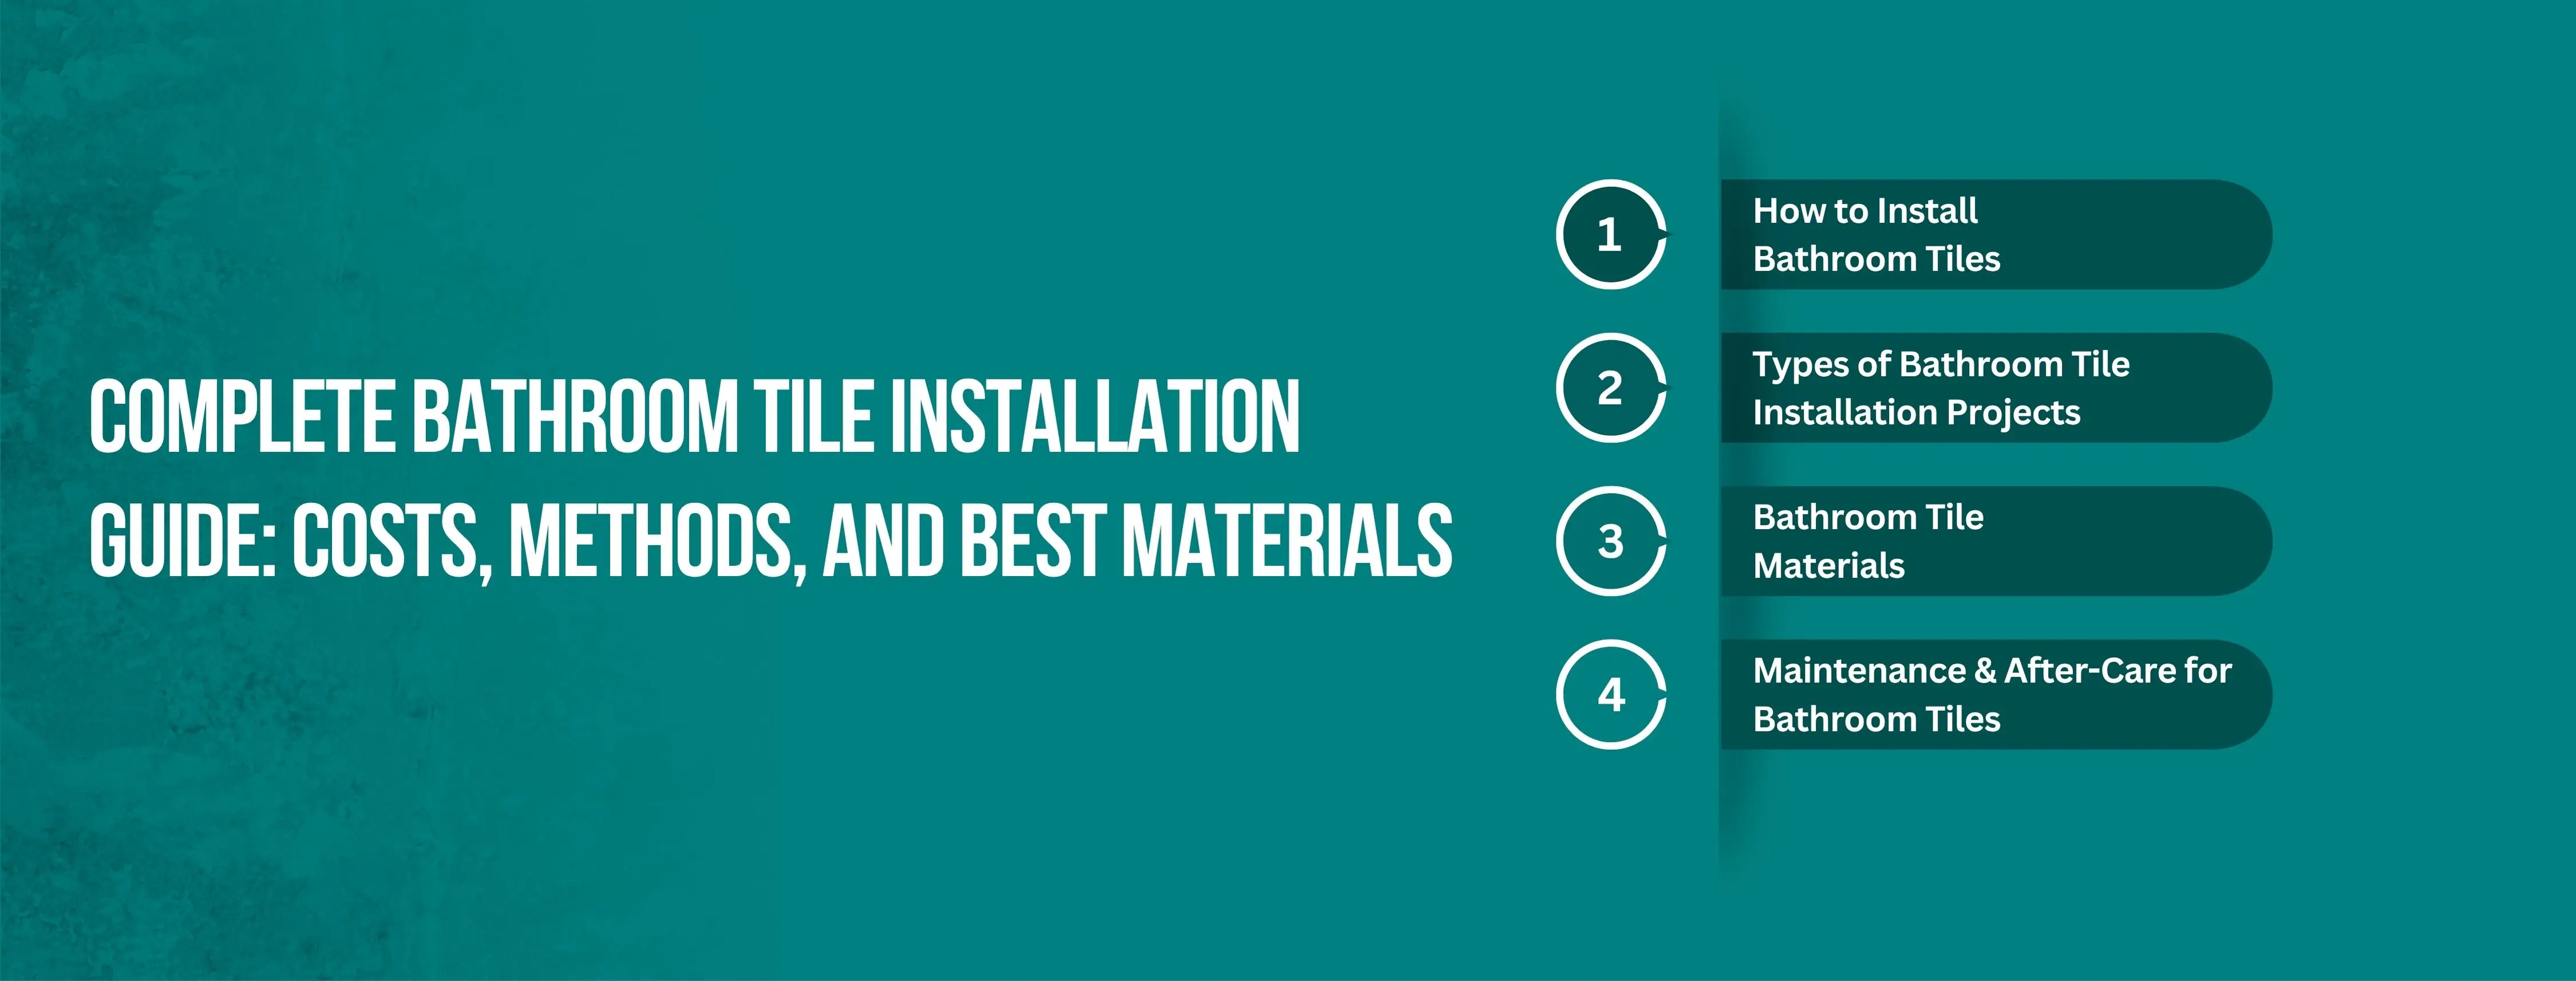
Table of Contents
What is Bathroom Tile Installation?
How to Install Bathroom Tiles
Types of Bathroom Tile Installation Projects
Bathtub Surround Tile Installation
Bathroom Tile Materials and Finishes
Tile Installation on Different Bathroom Surfaces
DIY vs Professional Bathroom Tile Installation
Bathroom Tile Installation Cost Guide
Maintenance and After-Care
Hiring a Bathroom Tile Installer
Final Views
Bathroom tile installation is the process of placing tiles on floors, walls, or shower areas using strong adhesives and waterproofing systems. It matters because bathrooms deal with constant moisture, and proper installation prevents leaks, mold, and water damage. Good tile work also improves durability, hygiene, and makes cleaning much easier. A well-installed tile surface boosts your bathroom’s appearance and increases your home’s overall value.
Installing bathroom tiles requires careful preparation, the right tools, and a few essential steps to ensure a strong and long-lasting finish. This quick guide covers the most important parts of the installation process so you can understand how professionals create a clean, durable tile surface.
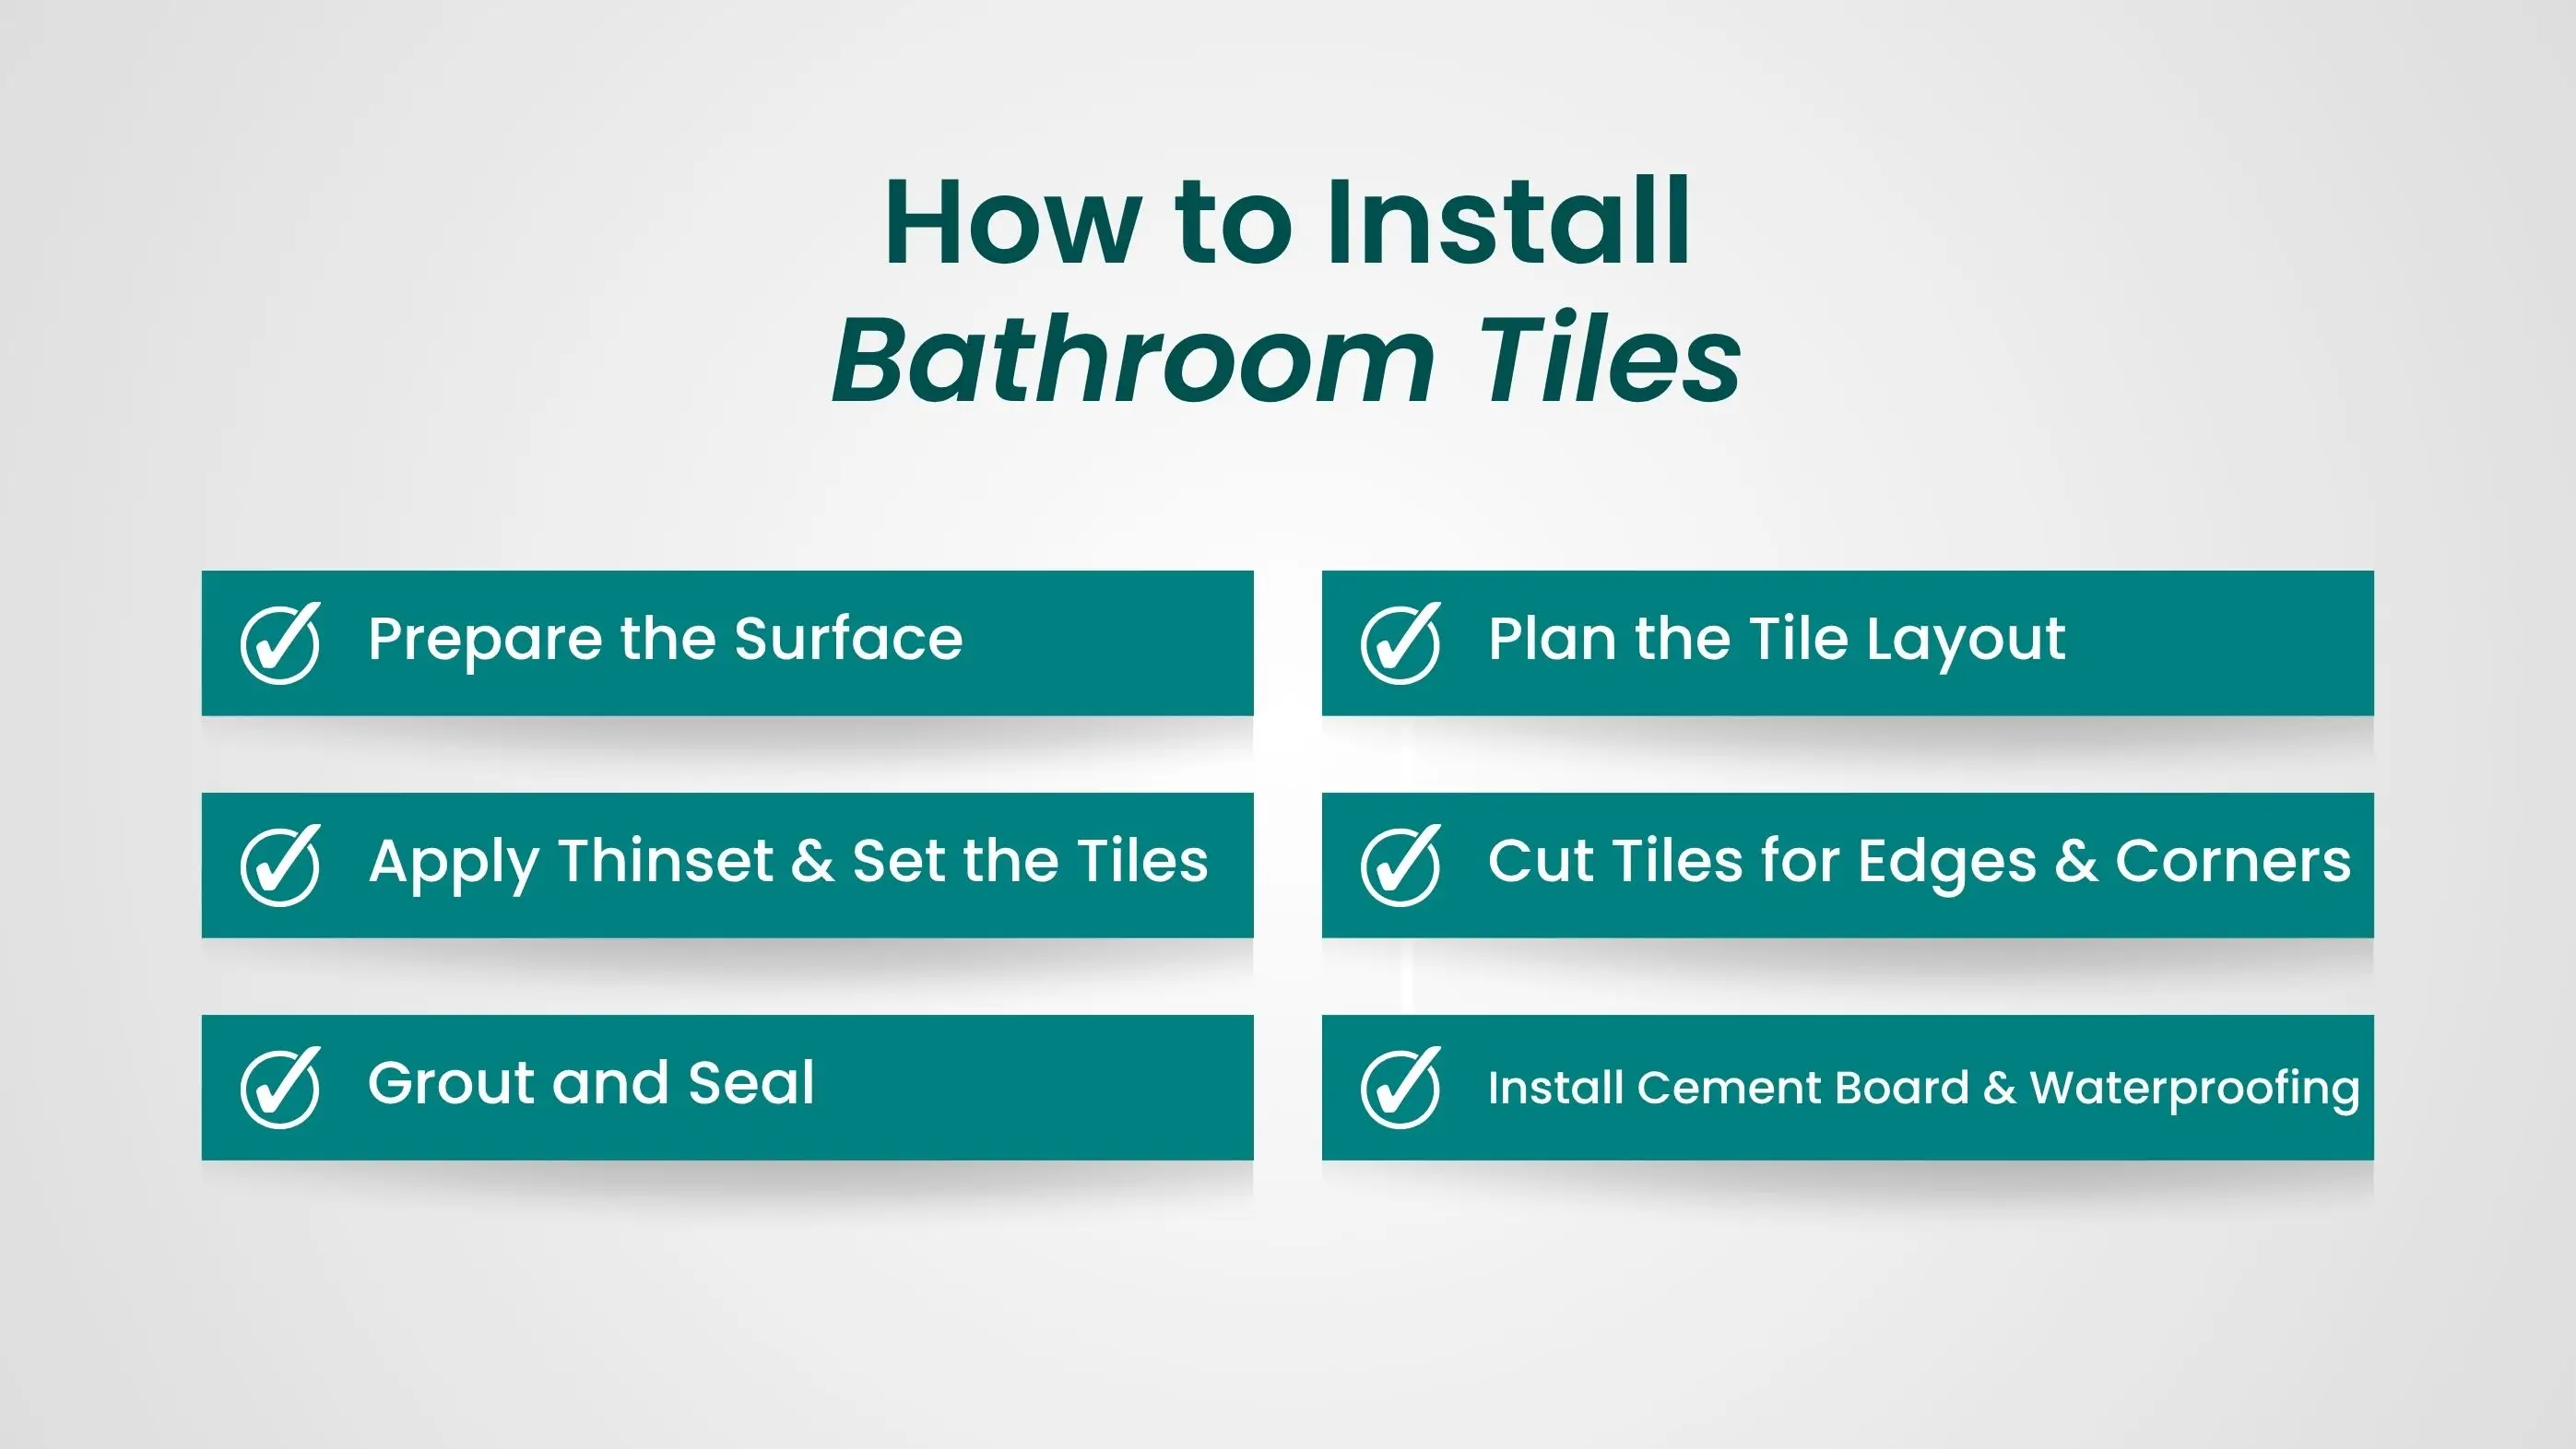
Start by making sure the floor or wall is clean, dry, and level. Any dust, old adhesive, or damage must be removed so the tiles stick properly. A smooth surface helps prevent uneven tile lines and future cracking.
In bathroom areas, especially showers and tub surrounds, cement board is essential for creating a strong, moisture-safe base. After installing it, apply a waterproofing membrane to block water from soaking into the walls or floor. This protects your bathroom from leaks and mold growth.
Measure the area and find the center point to ensure the tiles look balanced and symmetrical. Dry-lay a few tiles to check spacing and alignment before spreading any adhesive. Good planning prevents awkward cuts along edges and creates a cleaner finish.
Spread thinset evenly using a notched trowel to help the tiles bond securely. Place each tile gently into the adhesive and use spacers to keep consistent gaps between them. This step ensures straight lines and even grout joints.
Use a tile cutter or wet saw to make clean, precise cuts around corners, pipes, and fixtures. Proper cutting helps the tiles fit neatly into tight areas and maintains the overall look of the design. Accurate cuts also reduce the risk of breakage.
After the tiles have set and dried, fill the spaces between them with grout and wipe away the excess. Once the grout cures, apply a sealer to protect it from moisture, stains, and mold. Sealing keeps your bathroom tiles looking clean and lasting longer.
Bathroom tile installation can vary depending on where the tiles are placed and how much moisture the area is exposed to. Each part of the bathroom, floors, walls, showers, and bathtub surrounds, requires a different installation method to ensure durability and long-term protection.
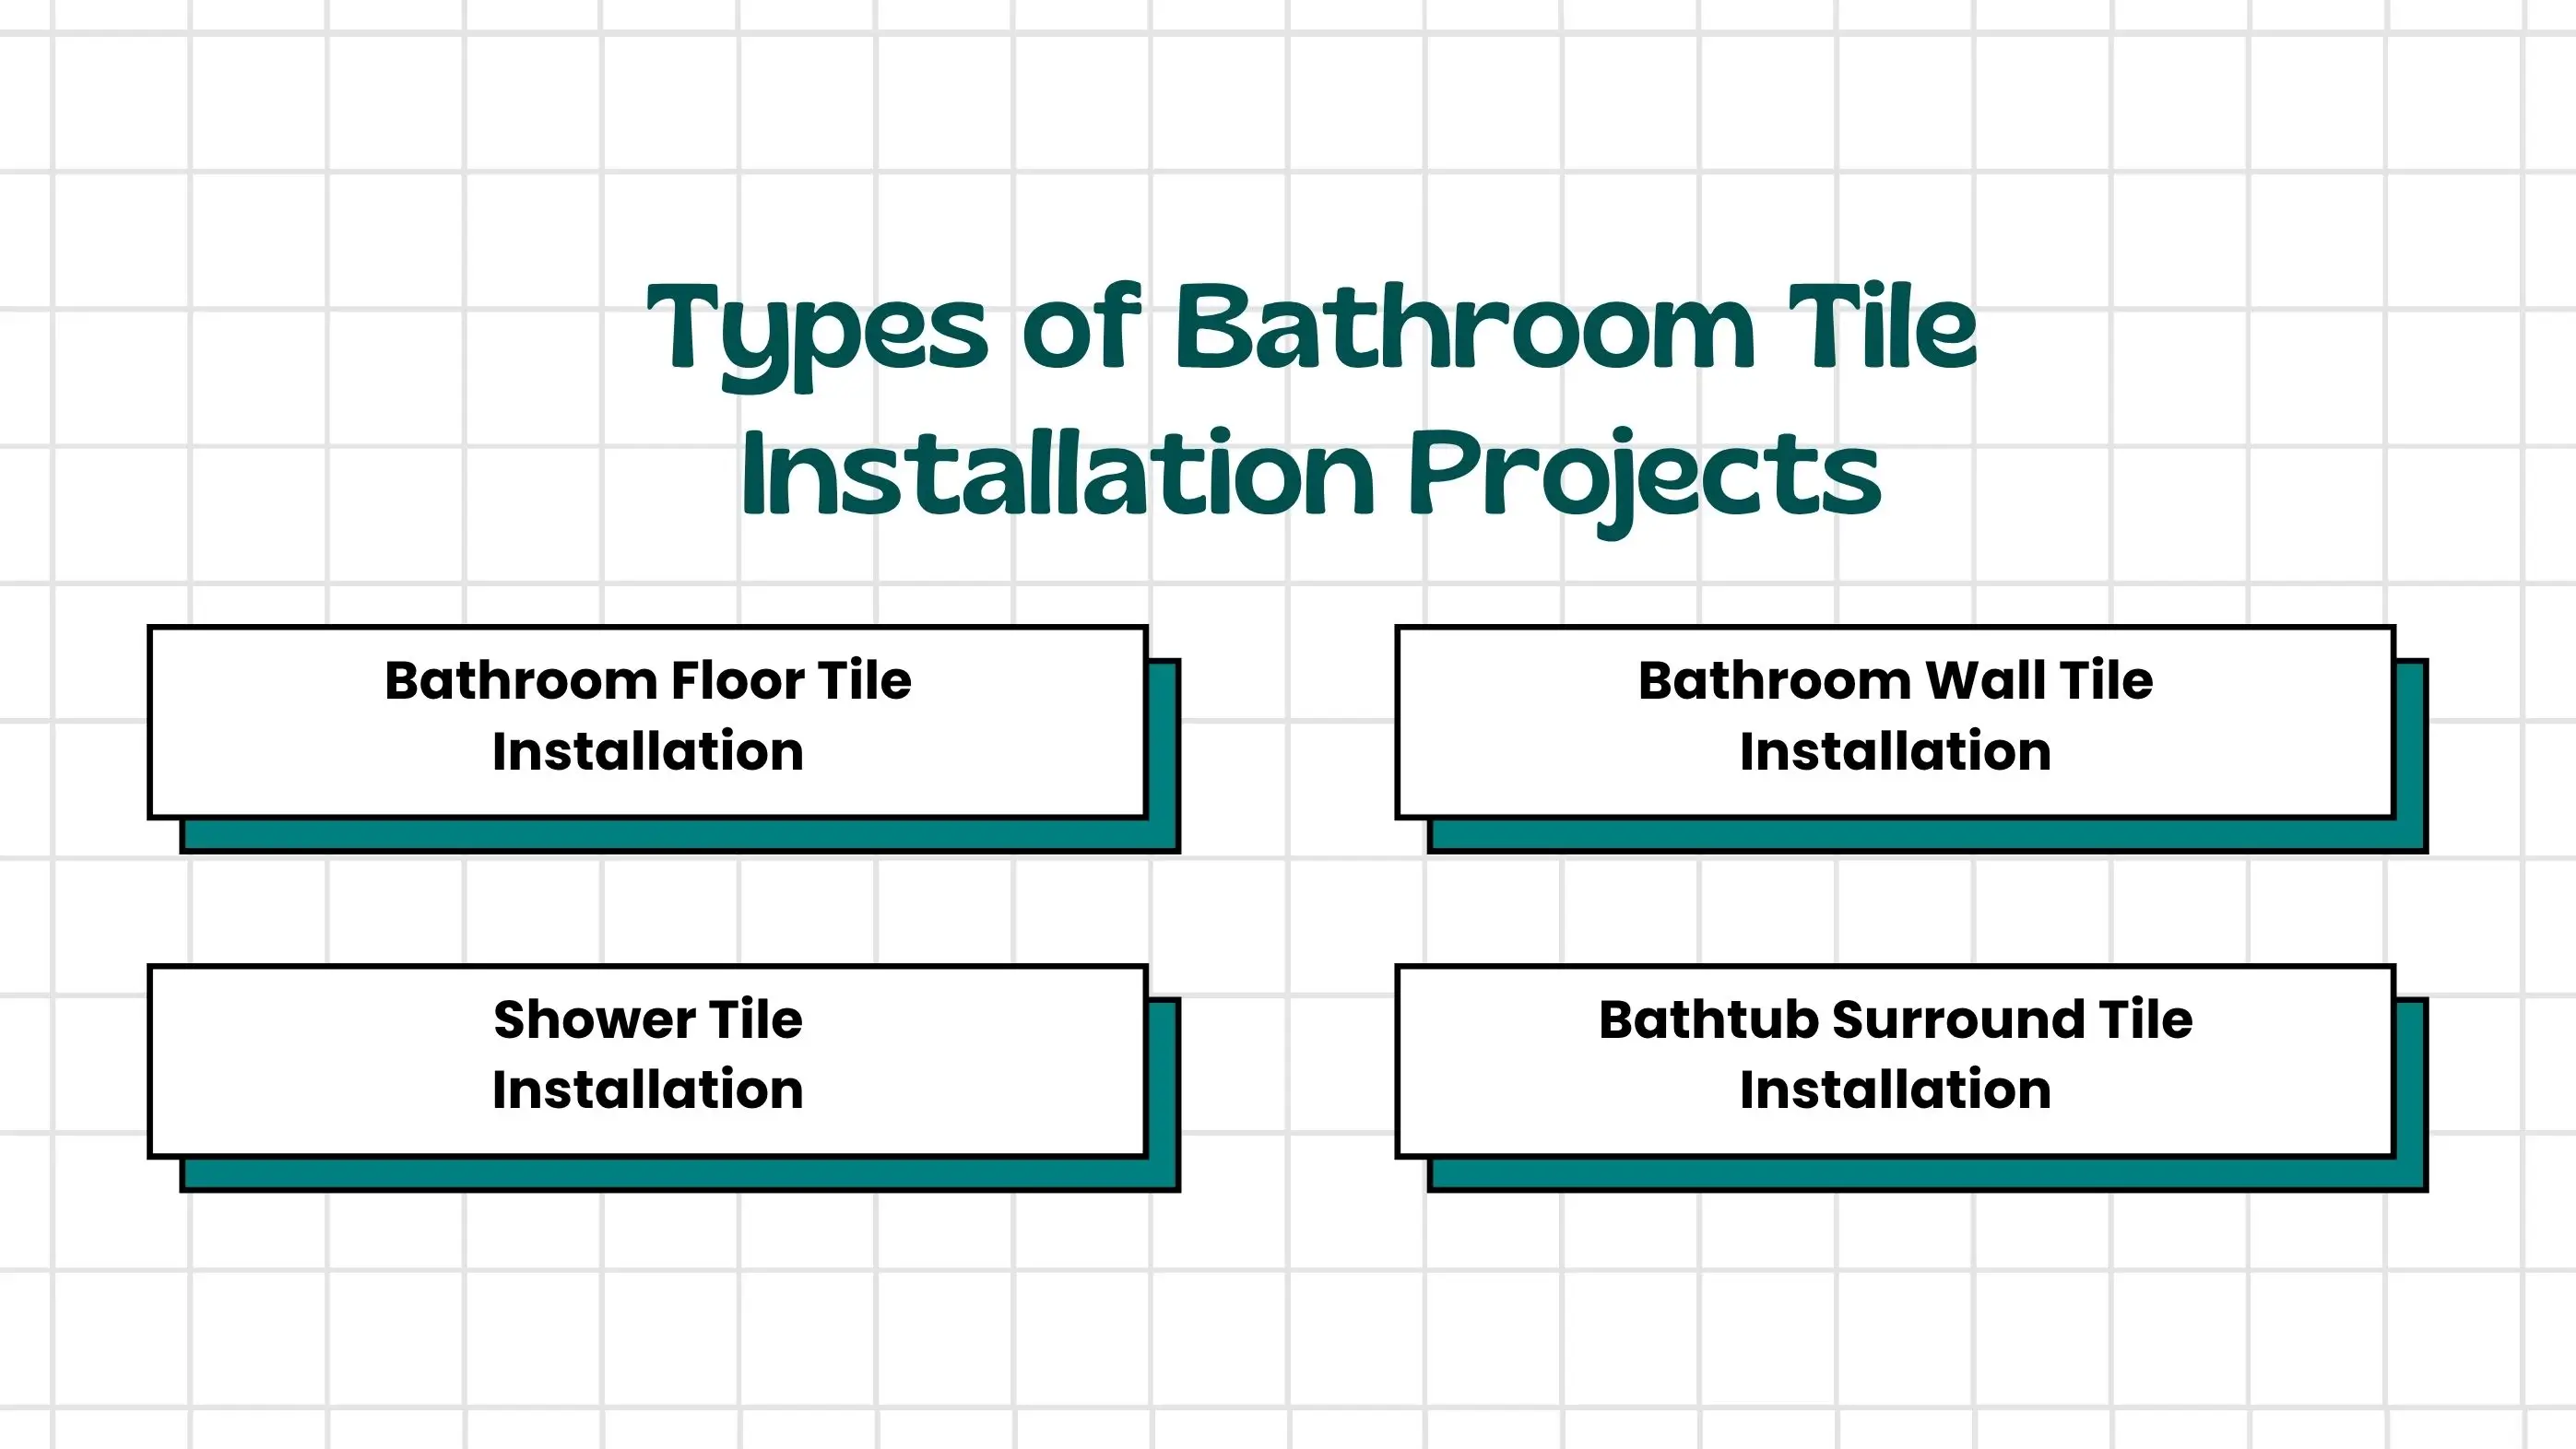
Bathroom floor tile installation focuses on creating a safe, level, and durable surface that can handle daily moisture. The process includes preparing the subfloor, adding underlayment, leveling the surface, and laying tiles with proper spacing for long-term stability. Large-format tiles like 12×24 can reduce grout lines and give the bathroom a cleaner, more modern look. Floor tile costs depend on tile size, material, labor, and any preparation needed before installation.
Bathroom wall tile installation covers areas like sink walls, full-height walls, and accent sections. Tiles can be installed on drywall, but cement board is recommended in wet zones to prevent moisture damage. Proper vertical alignment, waterproofing, and smooth transitions between wall sections ensure a polished, long-lasting finish. Wall tiles add protection against splashes while giving the bathroom a clean, stylish appearance.
Shower tile installation is one of the most detailed parts of a bathroom remodel and requires strong waterproofing. Shower walls and floors use tiles designed to resist moisture, with mosaic tiles often placed on the floor for better grip and drainage. The installer must create the right slope toward the drain and use a secure shower pan system to prevent leaks. Shower tile installation cost depends on tile type, patterns, waterproofing materials, and labor complexity.
Bathtub surround tile installation involves placing tiles around the tub walls to protect them from constant water exposure. This area requires reinforced waterproofing, especially around corners and edges where leaks are common. Tile layout, grout choice, and sealing all contribute to a clean, durable finish that resists mold and stains. The cost to tile around a bathtub depends on tile size, pattern, and the amount of prep work needed.
Bathtub surround tile installation involves placing tiles around the tub walls to protect them from constant water exposure. This area requires reinforced waterproofing, especially around corners and edges where leaks are common. Tile layout, grout choice, and sealing all contribute to a clean, durable finish that resists mold and stains. The cost to tile around a bathtub depends on tile size, pattern, and the amount of prep work needed.
Choosing the right tile material is one of the most important decisions in any bathroom remodel. Different tiles offer different levels of durability, moisture resistance, and style, so understanding your options helps you create a space that looks beautiful and lasts for years.

Ceramic and porcelain tiles are the most popular choices for bathroom floors and walls because they handle moisture well and are easy to clean. Porcelain is denser and more water-resistant, making it ideal for shower areas and wet zones. Ceramic is lighter and often cheaper, which works well for bathroom walls and decorative sections. Porcelain tile installation cost is slightly higher, but it provides better long-term durability in bathrooms.
Natural stone tiles give bathrooms a premium and timeless look, but they require proper sealing to stay protected from moisture. Marble and travertine create a soft, elegant finish, while granite offers more strength and durability. These materials need regular waterproofing and careful maintenance to prevent stains or water spots. When sealed correctly, natural stone tiles provide excellent slip resistance and long-lasting beauty.
Waterproof and slip-resistant tiles are important for bathroom safety, especially in wet areas like showers and floors. Textured porcelain and matte-finish tiles offer better grip and reduce the risk of slipping. Anti-slip tiles are designed to handle daily moisture without losing traction. These options make the bathroom safer while maintaining a clean, modern style.
Bathroom tiles can be installed on several types of surfaces, but each one needs proper preparation to handle moisture and prevent long-term damage. Understanding how tiles bond to concrete, plywood, drywall, or existing tile helps you choose the safest and most durable installation method.
When installing tiles on concrete or plywood, the surface must be clean, dry, and level. A moisture test is important for concrete because excess moisture can weaken the adhesive and cause tiles to loosen. Plywood often needs a cement board or underlayment to create a stable base. Proper patching and leveling ensure the tiles sit evenly and stay secure over time.
Installing new tile over old tile is possible in bathrooms, but only if the existing tiles are solid, crack-free, and firmly attached. The old surface must be cleaned, lightly sanded, and primed to help the new adhesive bond properly. This method saves time and avoids messy demolition, but it's not recommended if the original tiles are loose or damaged. A professional can help determine whether this option is safe for your bathroom.
Bathroom tiles can be installed on drywall or sheetrock in low-moisture areas, but wet zones like showers should always use cement board. Cement board is water-resistant and prevents damage from daily steam and splashes. Proper preparation, such as sealing seams and using the right adhesive, helps create a strong surface that supports long-lasting tile installation. This is essential for protecting your bathroom from leaks and mold growth.
Waterproofing systems like RedGard, Schluter Kerdi, and liquid membranes protect bathroom walls and floors from hidden moisture. These barriers are applied before tiling to stop water from reaching the structure behind the tile. Waterproofing is especially important in showers, tub surrounds, and near sinks where water exposure is constant. Using a reliable system helps prevent leaks, mold, and expensive repairs in the future.
Bathroom tiling can be done on your own, but it requires careful planning, the right tools, and proper techniques to avoid water-related issues. Choosing between DIY and professional installation depends on your skill level, project size, and how confident you are in handling precision work.
DIY bathroom tile installation involves following clear steps like surface preparation, tile layout planning, spreading thinset, placing tiles, and grouting. Basic tools such as a tile cutter, trowel, spacers, and a level are needed to achieve an even finish. Beginners often make mistakes like uneven spacing, poor waterproofing, and rushing drying times. For simple areas, ceramic tiles are easier to install and more forgiving for new learners.
Hiring a professional ensures accurate tile placement, strong adhesion, and long-lasting results. Experts follow proven techniques, handle complex cuts, and create smooth transitions between surfaces. They also provide proper waterproofing systems, which reduces the risk of leaks, mold, and structural damage. Professionals give more accurate cost estimates and help you choose materials that fit your budget and bathroom design.
Bathroom tile installation costs depend on the size of the project, tile material, labor rates, and the amount of surface preparation required. Understanding these cost ranges helps you plan your budget more confidently and avoid unexpected expenses.
Bathroom tile installation typically costs $7 to $25 per sq ft, depending on the tile type and design complexity. Labor alone averages $4 to $15 per sq ft, with higher rates for detailed cuts or waterproofing work. Materials include tiles, thinset, grout, cement board, and sealers, which add to the overall cost. Larger tiles or premium materials like marble usually increase the total price.
| Item | Average Cost | Notes |
|---|---|---|
| Tile Material | $2 – $15 per sq ft | Ceramic is cheaper; porcelain & marble cost more |
| Labor Installation | $4 – $15 per sq ft | Higher for showers & detailed cuts |
| Prep Work (Leveling, Cement Board) | $1 – $5 per sq ft | Depends on the subfloor condition |
| Grout & Thinset | $1 – $3 per sq ft | Needed for all installations |
| Waterproofing Membrane | $5 – $10 per sq ft | Required for showers & wet zones |
| Total Estimated Cost | $7 – $25 per sq ft | Full project cost range |
Installing bathroom floor tile typically costs $7 to $20 per sq ft, depending on tile size, layout pattern, and subfloor preparation. Large-format tiles may cost more due to additional leveling and precision spacing. If your bathroom requires new underlayment or repairs, this will increase the overall cost. A simple calculator can help estimate the final budget based on your bathroom’s square footage.
Shower tile installation is more expensive because it requires waterproofing, precise cuts, and extra labor. Costs generally range from $15 to $40 per sq ft, covering shower walls, floors, and the waterproofing system. Mosaic tiles are often used on shower floors, which increases labor time but improves safety and drainage. The final cost depends on tile material, pattern, and shower size.
Tiling a bathtub surround usually costs $10 to $25 per sq ft, depending on the style and material used. Labor is higher around tubs because installers must seal edges carefully and work around fixtures. Decorative patterns or accent strips may increase cost, but they create a more stylish bathroom design. Proper waterproofing is included in this price to prevent long-term moisture issues.
Regular maintenance keeps your bathroom tiles clean, safe, and long-lasting. A few simple habits can protect your tiles from stains, mold, and moisture damage.
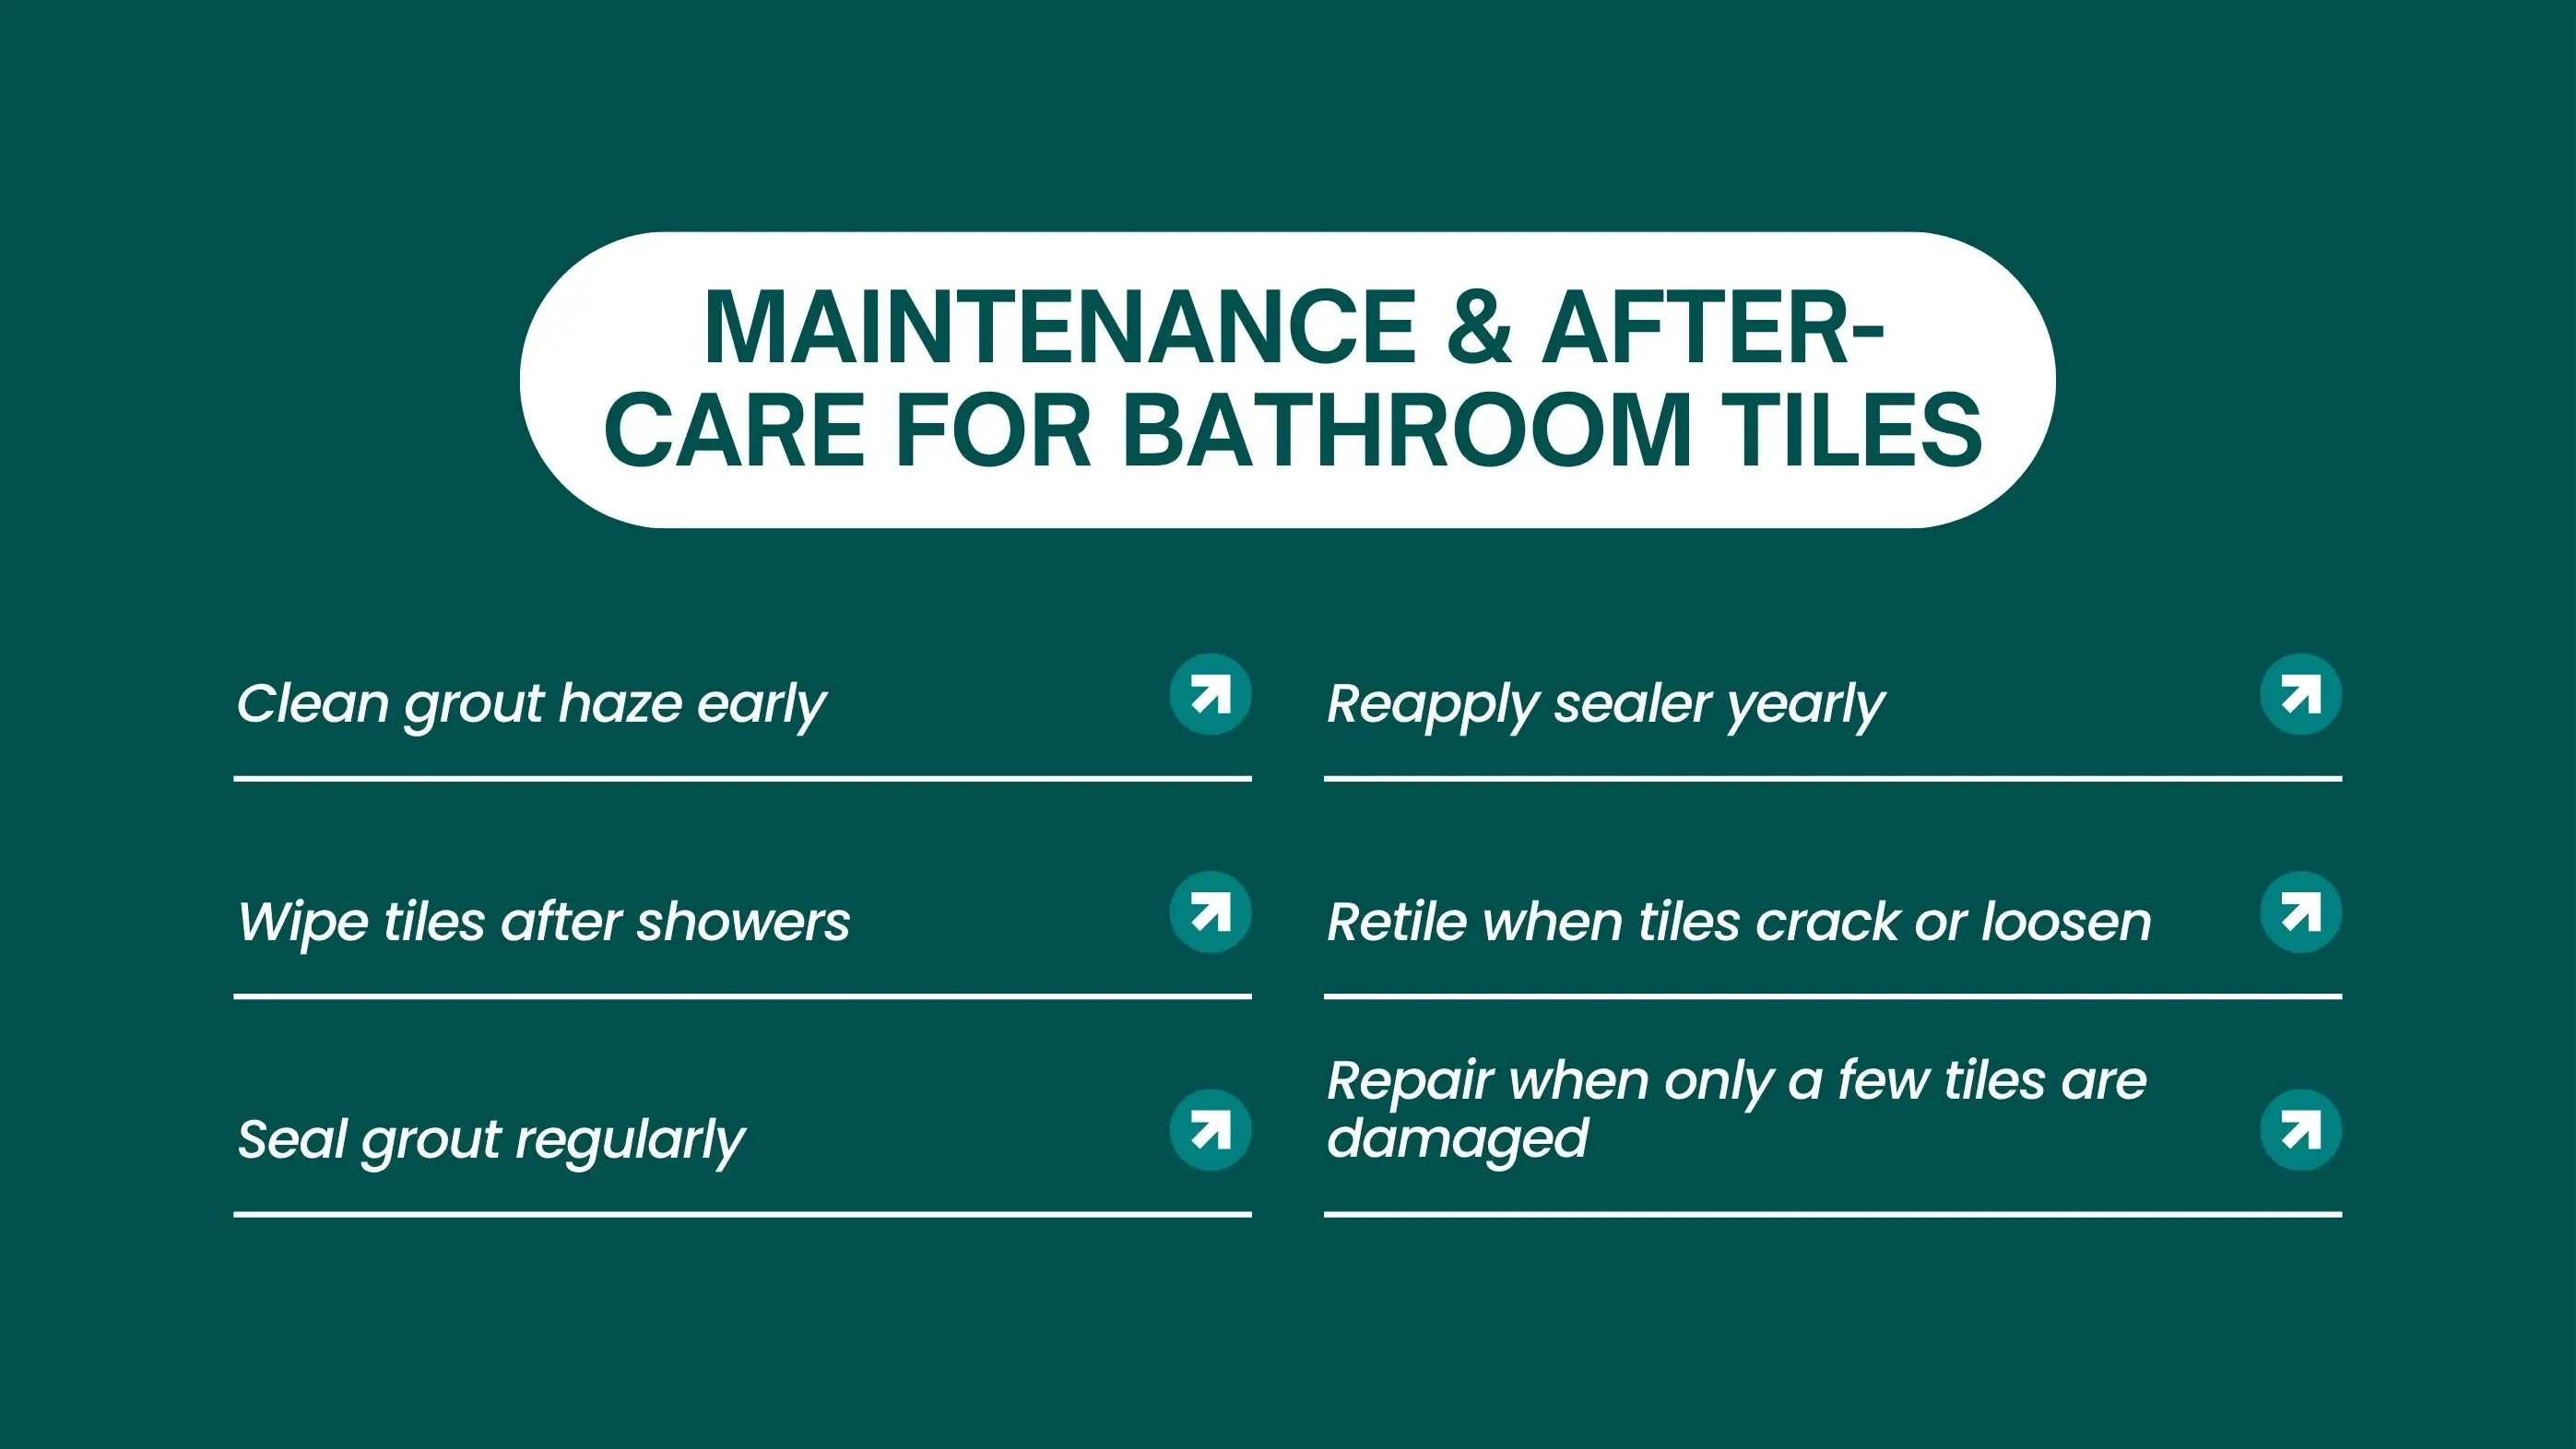
Newly installed tiles should be cleaned carefully to remove grout haze and leftover dust. Use a soft sponge, warm water, and a gentle cleaner instead of harsh chemicals.
Grout absorbs moisture easily, so sealing it is essential to keep it clean and mold-free. Regular maintenance keeps bathroom tiles looking fresh and bright.
Replacing or repairing depends on the condition of your tiles. Minor surface damage can be fixed, but deeper issues often require retiling.
Choosing the right installer ensures strong waterproofing, clean tile alignment, and long-lasting results. A qualified professional helps you avoid costly mistakes and ensures your bathroom is both safe and visually appealing.
Look for installers with bathroom-specific experience, positive customer reviews, and a portfolio of past projects. Certified installers understand waterproofing requirements and proper preparation methods. Local professionals also know typical pricing and can recommend the best materials for your climate. Always check licenses, insurance, and availability before deciding.
A well-planned bathroom tile installation not only improves the look of your space but also strengthens its durability and moisture protection. By choosing the right materials, preparing surfaces correctly, and using proper waterproofing, you ensure a tile job that lasts for many years. Whether you decide to install the tiles yourself or hire a professional, understanding each step of the process helps you make confident decisions. With good maintenance and regular grout care, your bathroom will stay clean, safe, and visually appealing for the long term.
Yes, if the existing tile surface is flat and stable. Use proper underlayment for sound and moisture control.
Yes, provided the tile is level and grout lines aren’t deep. It’s a cost-effective way to refresh floors without demolition.
Yes, but use cement board in wet areas and seal joints properly. For plywood, apply thin-set mortar and underlayment first.
Yes, with proper mounting systems designed for tile roofs. Professional installers ensure tiles remain intact and watertight
Join our mailing list for exclusive updates, expert tips, and special offers tailored to your needs. Be the first to know about the latest in home services.

Renovize Home is a platform that supports homeowners from planning to renovation. Whether it’s Renovize AI for guidance or a one-on-one call with Pro Finder, we understand your project and match you with local contractors tailored to your needs.
Who We Are
About Renovize HomeGet in TouchHomeownwer Support:
Coming Soon!
General Inquiries:
support@renovizehome.com
Head Office:
24 Greenway Plaza, STE 1800M, Houston, TX 77046.